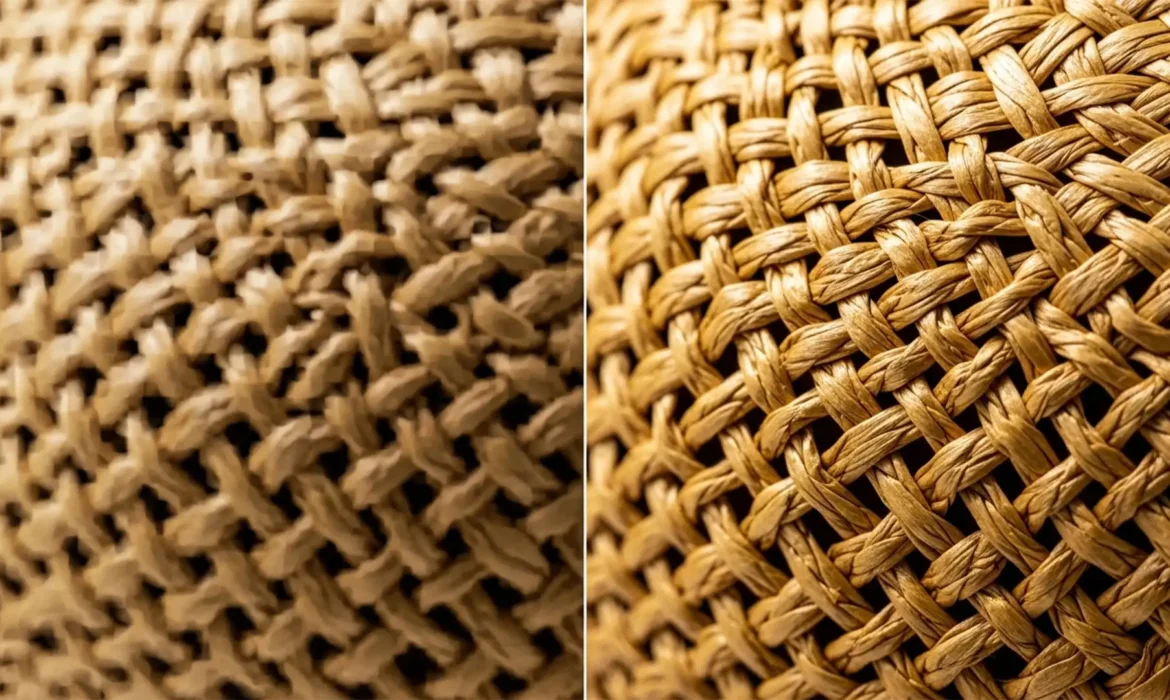
You used Generative Fill to extend a background or remove a tag from a woven straw hat, and now it looks like melted plastic. Adobe Firefly’s 1024×1024 resolution limit notoriously struggles with high-frequency details, turning intricate repeating patterns like wicker, canvas, and woven straw into blurry, mushy AI artifacts. If you are doing high-end e-commerce or accessory photography, this completely ruins the shot. Do not abandon the tool just yet. In this guide, we will show you exactly how to bypass these limitations and restore crisp, realistic woven textures in Photoshop v25.0 and newer.
Why Does Photoshop Generative Fill Ruin Woven Textures?
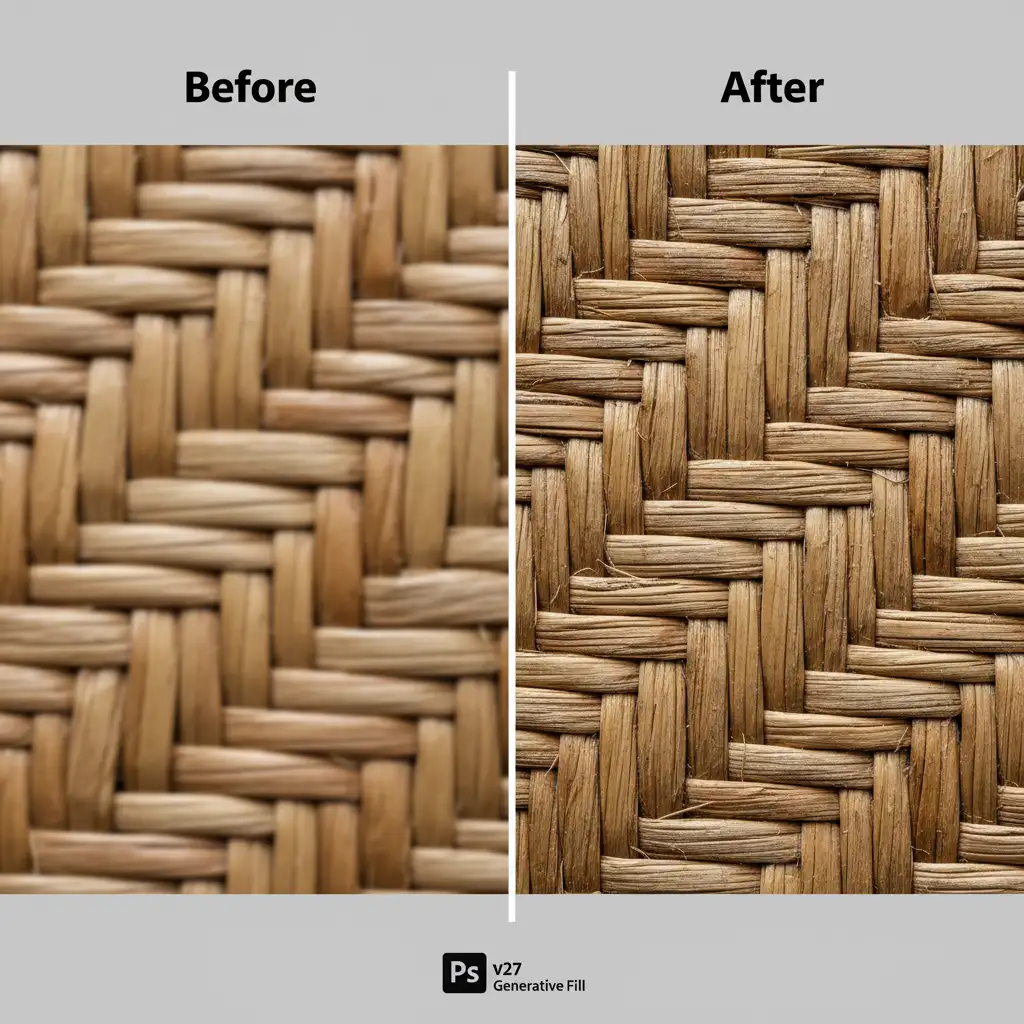
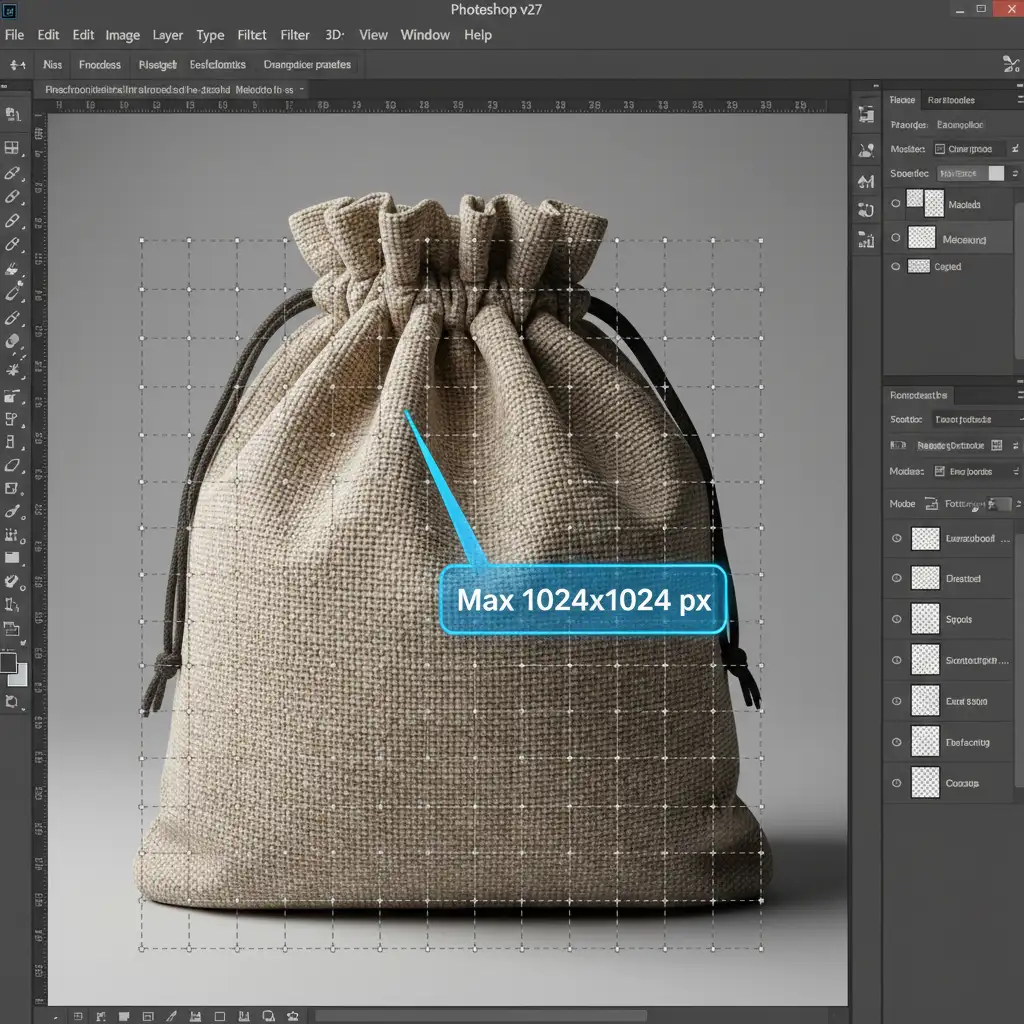
The core issue lies in how the Adobe Firefly image model processes image generation. Currently, Generative Fill processes imagery in maximum blocks of 1024×1024 pixels. When you make a large selection over a highly detailed area, Photoshop forces the generated result to stretch across that space, effectively dropping the resolution.
Furthermore, AI models inherently struggle with high-frequency detail—the tiny, sharp, repeating contrast changes found in woven straw, wicker furniture, and heavy canvas. Instead of perfectly recreating the weave, the AI estimates the average color and tone, resulting in a smooth, plastic-like anomaly that stands out against high-resolution photographic textures.
To fix this, we need to separate the structural AI repairs from the actual photographic texture. Here are three professional workflows for restoring woven texture in Photoshop Generative Fill.
3 Professional Methods for Restoring Woven Texture
Method 1: The Quick Fix (High Pass Overlay)
If the AI generated the correct shape and shadows but lost the surface texture, you can borrow texture from another part of the image using a High Pass Filter.
- Duplicate Texture: Find a clean, unedited section of the woven texture in your original image. Use the Lasso tool to select it, press Ctrl/Cmd + J to duplicate it to a new layer, and drag this layer over your blurry AI generation.
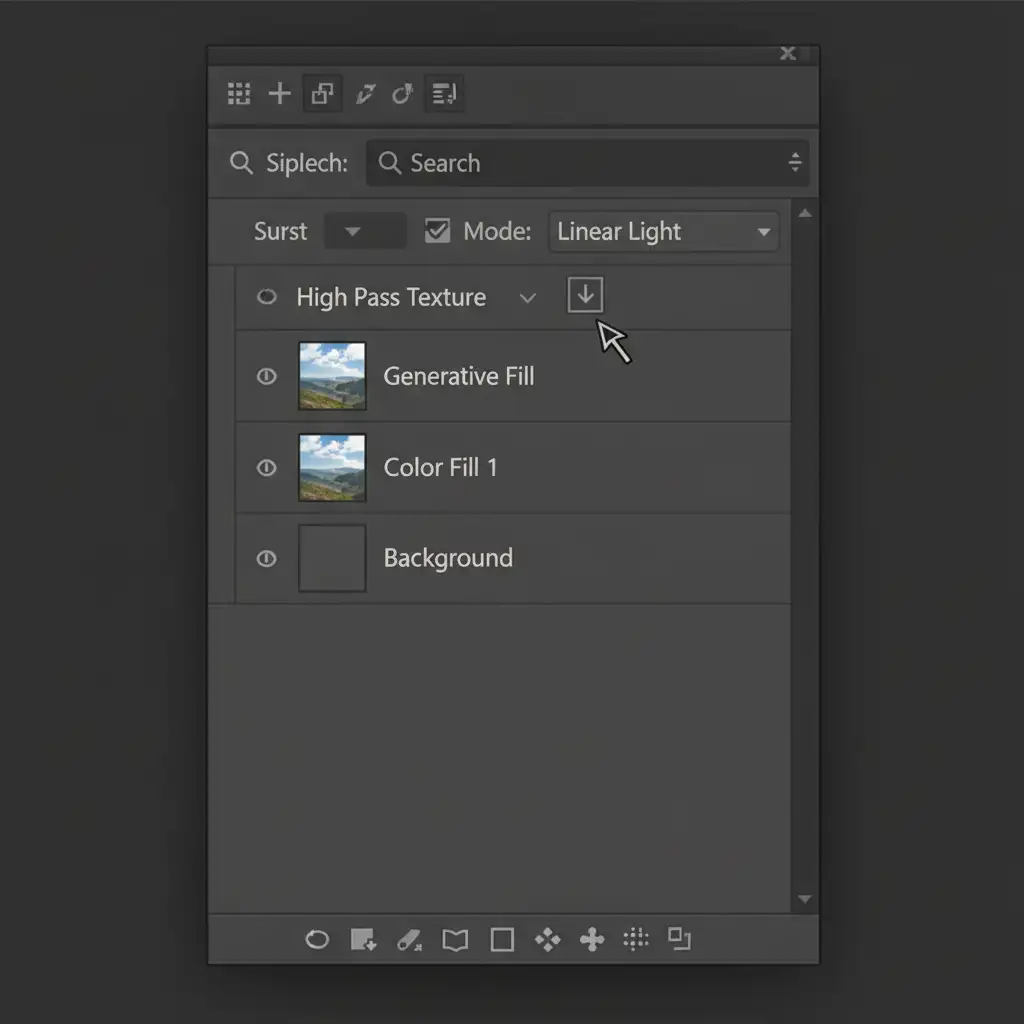
- Apply High Pass: With the new texture layer selected, navigate to Filter > Other > High Pass. Set the radius to 2-4px (just enough to see the outlines of the straw weave without bringing in color).
- Blend and Clip: Change the layer’s blend mode to Linear Light. Finally, hold Alt/Option, click between your High Pass layer and the Generative Fill layer to create a Clipping Mask. This ensures the crisp texture strictly applies over the blurry AI patch without affecting the rest of the image.
Method 2: The Pro Workaround (Frequency Separation)
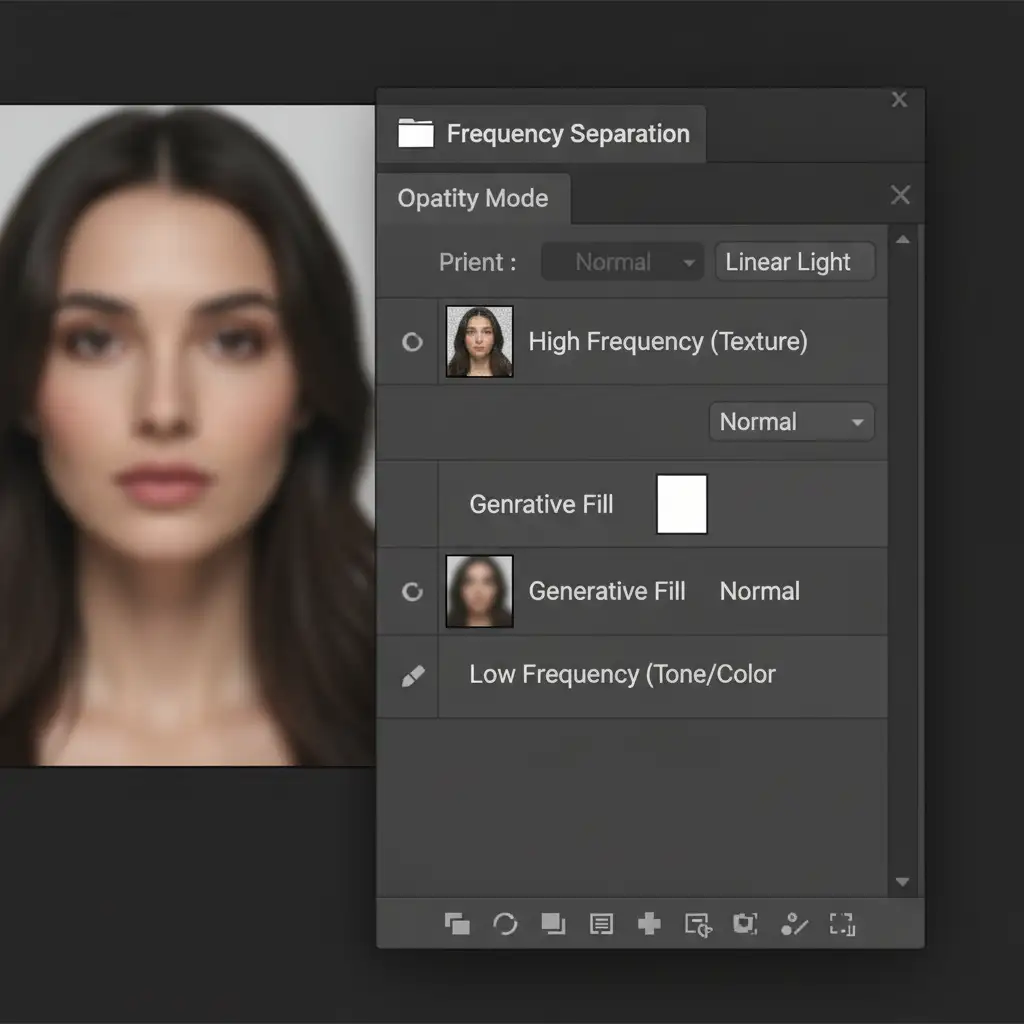
For high-end product photography, Frequency Separation is the gold standard. This technique splits your image into two distinct layers: Low Frequency (underlying colors, tones, and shadows) and High Frequency (the sharp, woven texture).
- Setup Frequency Separation: Run your standard Frequency Separation action to split the original image into a Low Frequency and High Frequency layer stack.
- Generate on Low Frequency: Make your selection and run Generative Fill only on the Low Frequency layer. This allows the AI to fix the structure, remove objects, or build shadows without touching the texture.
- Reconstruct Texture: Select your High Frequency layer. Use the Clone Stamp tool (set to Current Layer) to perform manual texture cloning. Carefully sample clean woven patterns and stamp them over the area where the AI altered the underlying tones.
Because you are only cloning textures, you don’t have to worry about matching shadows or highlights—the AI already handled that on the layer below.
Method 3: The Technical Deep-Dive (Tiled Generation and Grain Matching)
If you must generate an entirely new section of a woven product, you need to work within the AI’s constraints and match the camera’s sensor characteristics.
- Mind the 1024×1024 Resolution Limit: Instead of selecting a massive area of a straw bag, use the Marquee tool to make selections smaller than 1024×1024 pixels. Generate the weave in small, overlapping tiles. This forces the AI to render at a higher pixel density, yielding sharper patterns.
- Noise Injection: Even at high density, AI lacks authentic camera grain. Create a new layer at the top of your stack, fill it with 50% Gray, and set the blend mode to Overlay. Go to Filter > Noise > Add Noise. Choose Uniform Monochromatic and set the amount to 1-3%. This mathematical noise injection matches your camera’s sensor grain, effectively hiding the plastic AI look and binding the composite together.
Stop Fighting AI Artifacts—Let the Experts Handle It
Restoring woven texture in Photoshop Generative Fill requires a deep understanding of high-frequency detail, blend modes, and advanced retouching workflows. While these techniques are highly effective, they are also incredibly time-consuming—especially if you are processing a massive batch of e-commerce product photos or an extensive editorial accessory spread.
Tired of AI ruining your intricate product textures? Partner with Image Work India and Cloud Retouch. Our professional retouching team specializes in pixel-perfect, realistic texture preservation and restoration. We handle the complex technical workflows so you can focus on shooting. Contact us today to ensure your high-end e-commerce imagery always looks flawless, natural, and perfectly textured.


