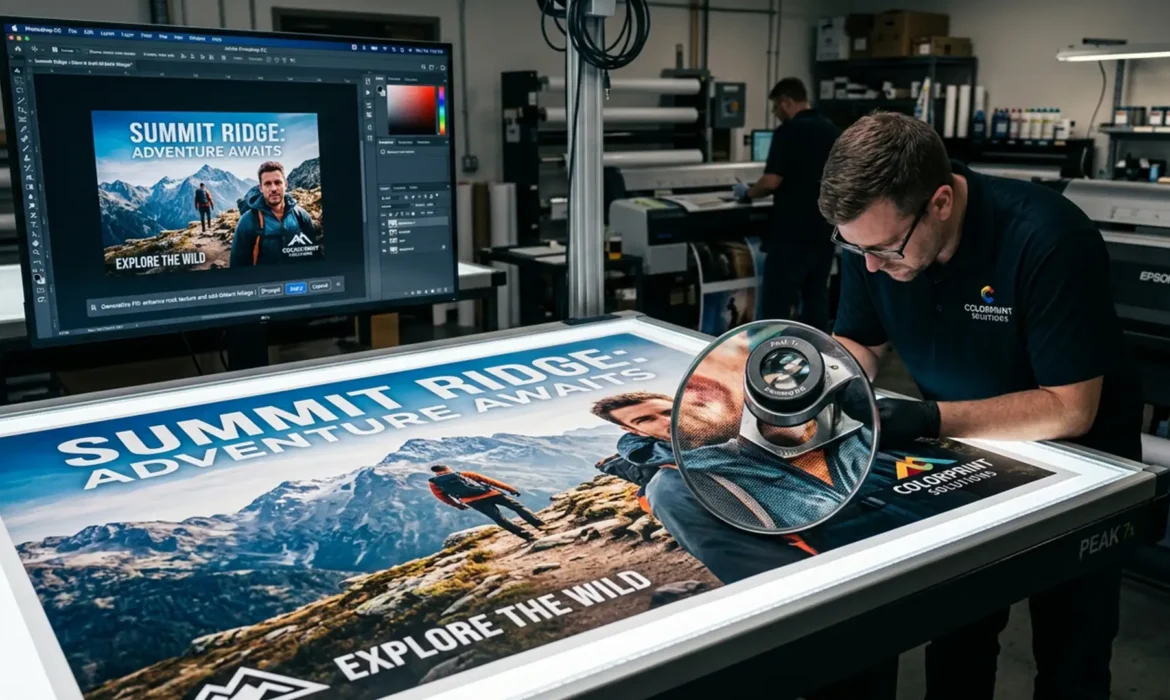
You just used Photoshop’s Generative Fill for large format printing to extend the background of a commercial campaign image. Zoomed out on your monitor, the composition looks flawless. But when you zoom in to 100% to prep the file for a 300 DPI billboard or trade show banner, the illusion shatters. The AI-generated area is a blurry, pixelated mess.
This happens because Adobe Firefly currently has a hard resolution limit of 1024×1024 pixels per generation. When you select an area larger than this on a high-resolution canvas, Photoshop stretches that 1024px patch to fit the selection using basic pixel interpolation. This destroys the high-fidelity texture required for commercial large format printing.
Here is exactly how to bypass this limitation and achieve flawless, print-ready results.
The Technical Problem: The 1024×1024 Resolution Cap
When preparing files for large format printing, pixel density is everything. A standard 300 DPI document destined for commercial output contains massive amounts of native image data.
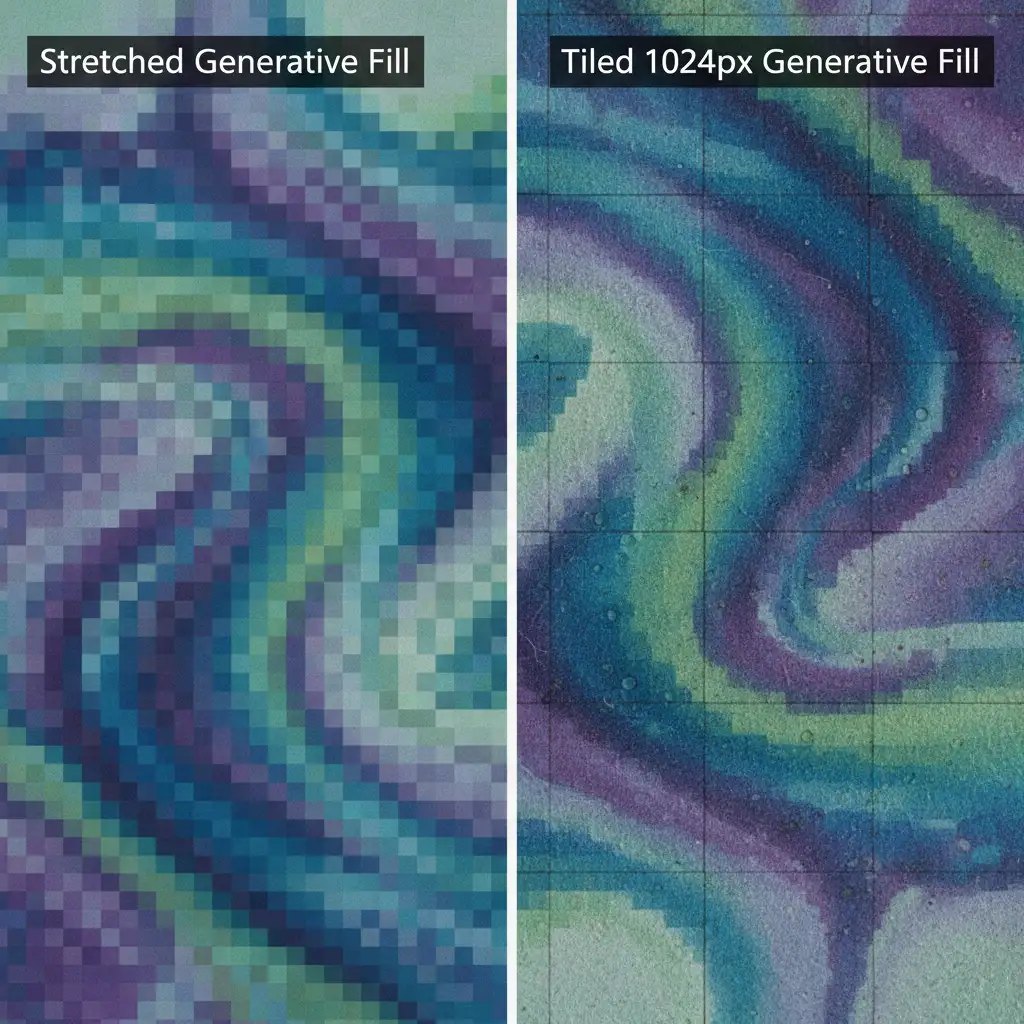
If you make a 4000×4000 pixel selection and hit “Generate,” Photoshop does not generate 16 million pixels of data. It generates exactly 1,048,576 pixels (1024×1024) and forcibly stretches them across your 4000×4000 selection. The result is severe pixelation, blurry edge artifacts, and a highly noticeable drop in resolution compared to the surrounding native image data.
To fix this, you must adjust your workflow to force Photoshop to generate pixels at a 1:1 ratio, or artificially upscale the AI output.
Method 1: The Quick Fix (Image Tiling)
The most reliable way to maintain native resolution is to prevent Photoshop from stretching the image in the first place. Instead of selecting a massive area all at once, you will generate the fill in small, overlapping grid sections. This ensures Adobe Firefly processes each patch at its maximum native resolution.
Step-by-Step Tiling Workflow
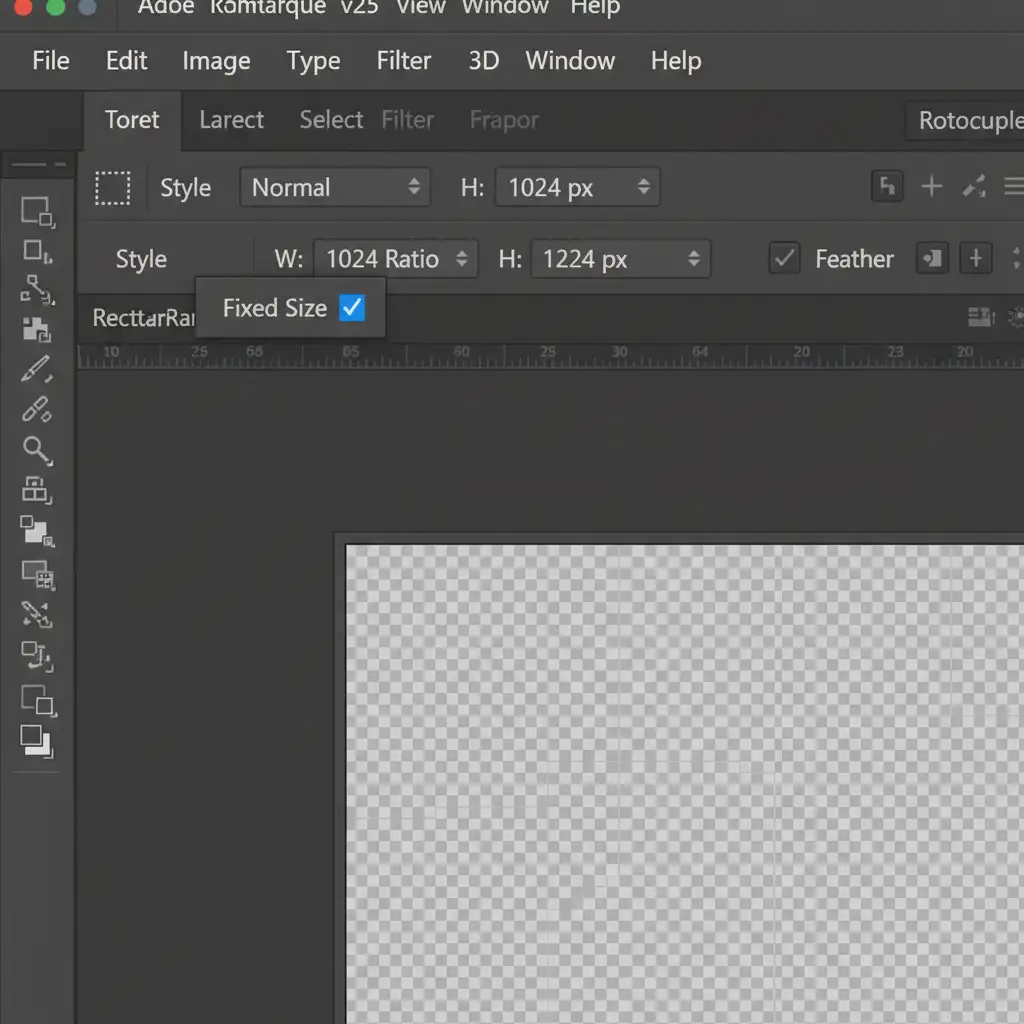
- Select the Rectangular Marquee Tool (M).
- Look at the top options bar and change the Style dropdown from ‘Normal’ to Fixed Size.
- Enter 1024 px for both the Width and Height.
- Click on your canvas to create a perfect 1024×1024 selection.
- Click Generative Fill and enter your prompt.
- Repeat this process, slightly overlapping your previous generations, until the entire area is filled.
By feeding the AI engine exactly what it can handle, you eliminate pixel interpolation entirely. The resulting texture will perfectly match the sharpness required for 300 DPI output.
Method 2: The Pro Workaround (AI Upscaling)
Tiling is highly effective but can be incredibly time-consuming if you are extending a massive background. The alternative is to make your large selection, allow Photoshop to stretch the 1024px output, and then use dedicated AI upscaling to rebuild the lost detail.
Using Smart Objects and Neural Filters
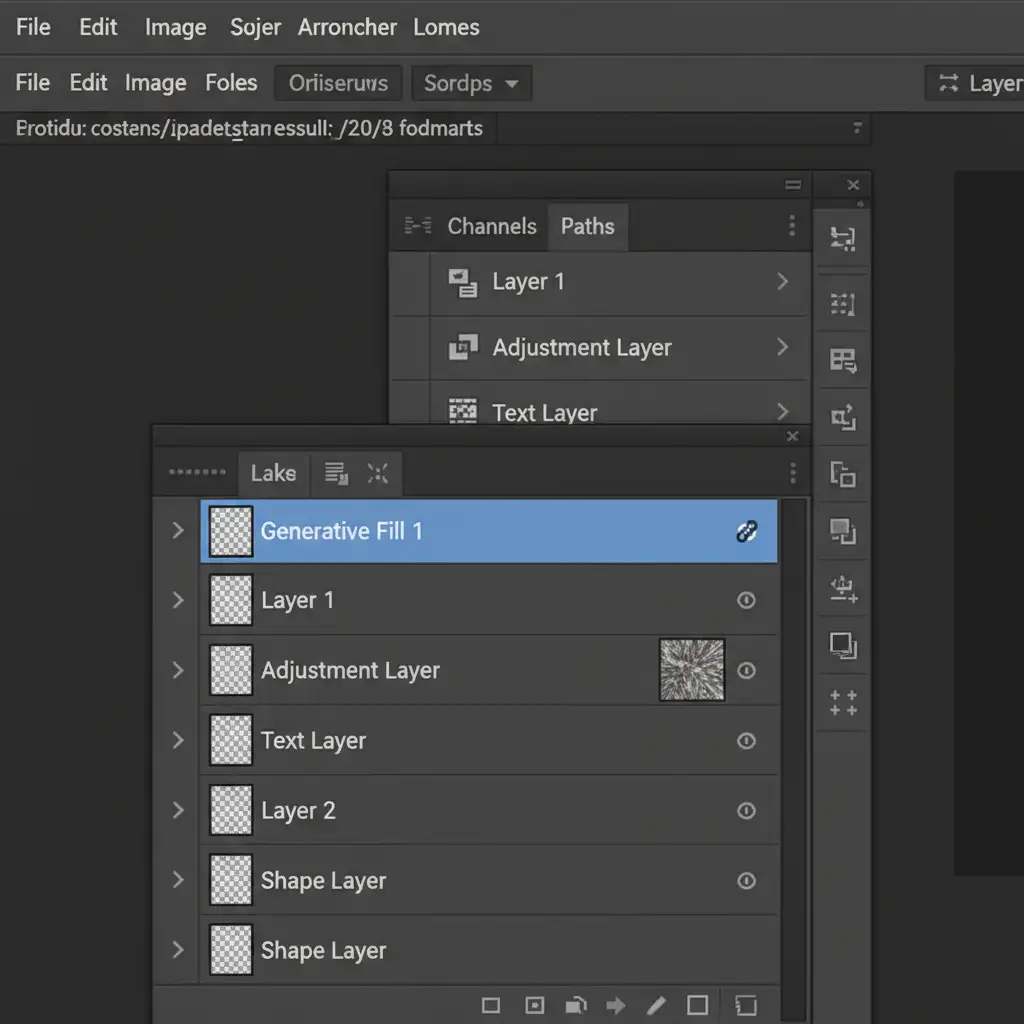
- Make your large selection and run Generative Fill.
- In the Layers panel, right-click the new Generative Layer and select Convert to Smart Object. This protects the layer data and allows for non-destructive filtering.
- Navigate to Filter > Neural Filters.
- Toggle on the Super Zoom filter.
- Set the zoom multiplier to 2x or 4x (depending on how large your original selection was) to multiply the pixels and match the native 300 DPI document resolution.
- Check the “Enhance image details” box and click OK.
Note: For even better results, many professional retouchers prefer to export the stretched Generative Fill layer and run it through a dedicated third-party plugin like Topaz Gigapixel AI before bringing it back into the master file.

Method 3: The Technical Deep-Dive (Frequency Separation)
Even after tiling or AI upscaling, you may notice that Generative Fill output has a smooth, almost “plastic” look. AI generation often fails to replicate the exact film grain, sensor noise, or micro-contrast of the original photograph. On a large format print, this discrepancy between the native photo and the AI extension is glaringly obvious.
To fix this, you must use Frequency Separation to steal texture from the original image and apply it to the AI-generated area.
Texture Matching for Print
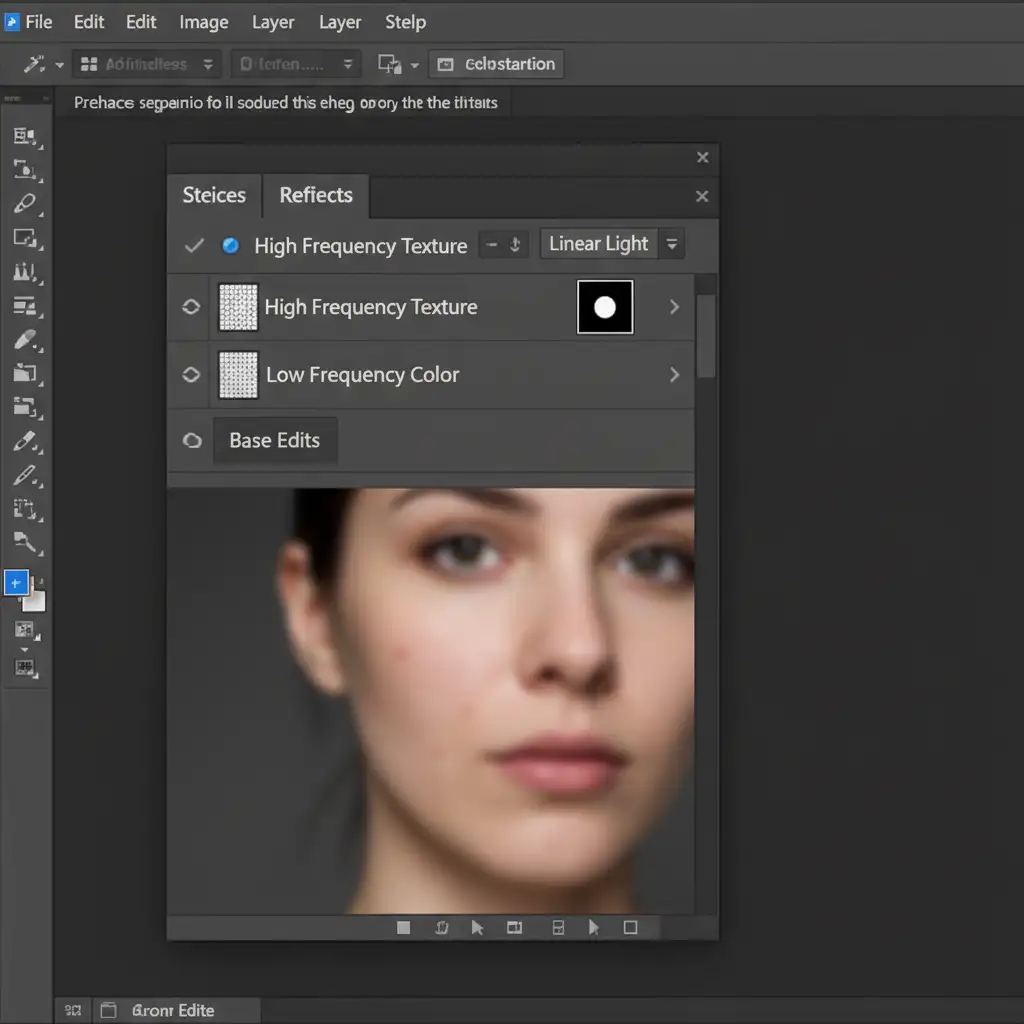
- After finalizing your Generative Fill and upscaling it, set up a standard Frequency Separation layer stack.
- Locate a native, sharp area of the original photograph that has the exact texture/grain you want.
- Copy the high-frequency (texture) data from that area.
- Paste it over your Generative Fill area.
- Set the copied texture layer’s blend mode to Linear Light.
- Apply a layer mask to seamlessly blend the edges.
This technique forces the AI-generated pixels to adopt the exact noise profile of the native camera sensor, ensuring the final file passes commercial print quality control standards.
Guarantee Flawless Large Format Output
Using Generative Fill for large format printing requires a deep understanding of pixel density, AI upscaling, and advanced texture blending. A single blurry patch can ruin an expensive commercial print run.
If you are struggling with low-res AI artifacts on your large format print files, you don’t have to fix them yourself. Hire Image Work India and Cloud Retouch for meticulous, print-ready commercial image editing and retouching. Our team of expert retouchers utilizes industry-leading workflows to guarantee flawless, high-resolution output for billboards, banners, and commercial campaigns. Contact us today to ensure your next large format project is pixel-perfect.


