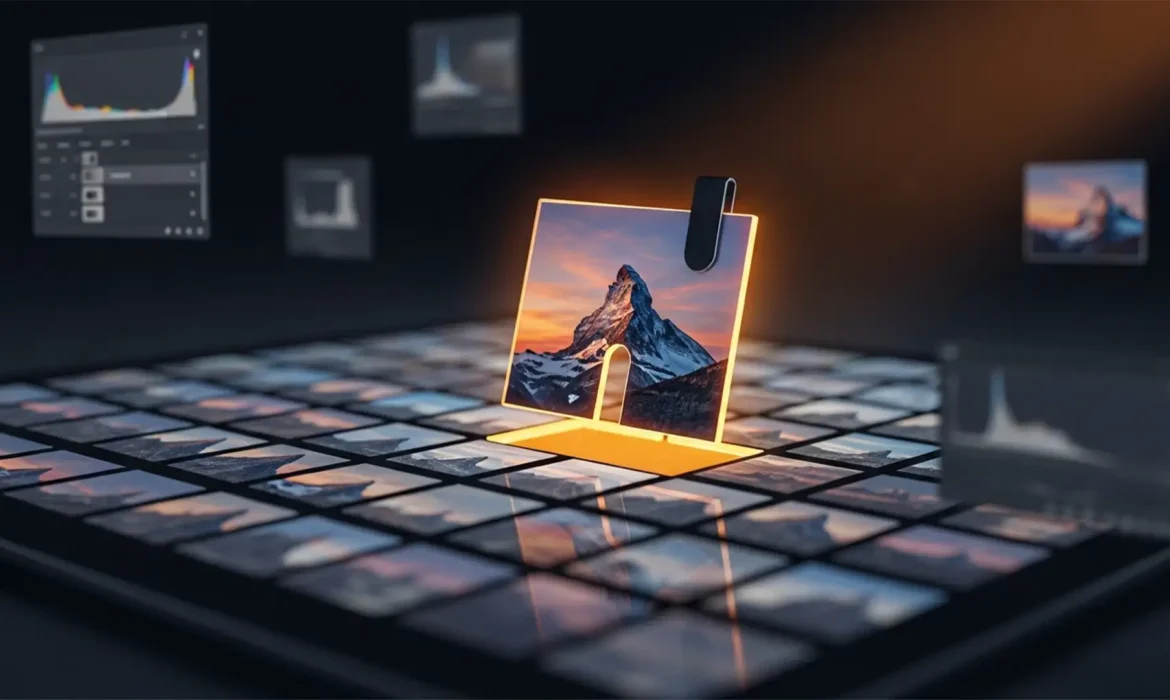
You just selected a large background area in your 50-megapixel commercial shoot, clicked “Generate” on the Contextual Task Bar, and waited for the magic. But instead of a flawless image expansion, you are staring at a blurry, low-resolution patch surrounded by harsh, visible lines.
If you are working on professional, large-scale images, this is a massive workflow killer in Photoshop Generative Fill. These visible seams and low-res blocks are known as tiling artifacts. They ruin the illusion of a seamless edit and render commercial photos unusable.
Fortunately, this isn’t a bug—it’s a known technical limitation of the software. In this guide, we will break down exactly why this happens and provide the definitive Photoshop Generative Fill tiling artifacts fix so you can maintain perfect pixel density across your entire canvas.
Why Does Photoshop Generative Fill Create Blurry Patches and Seams?
To understand the fix, you must understand the engine under the hood. Photoshop version 25.0 and later integrates Adobe’s Firefly Image Model for Generative AI tasks.
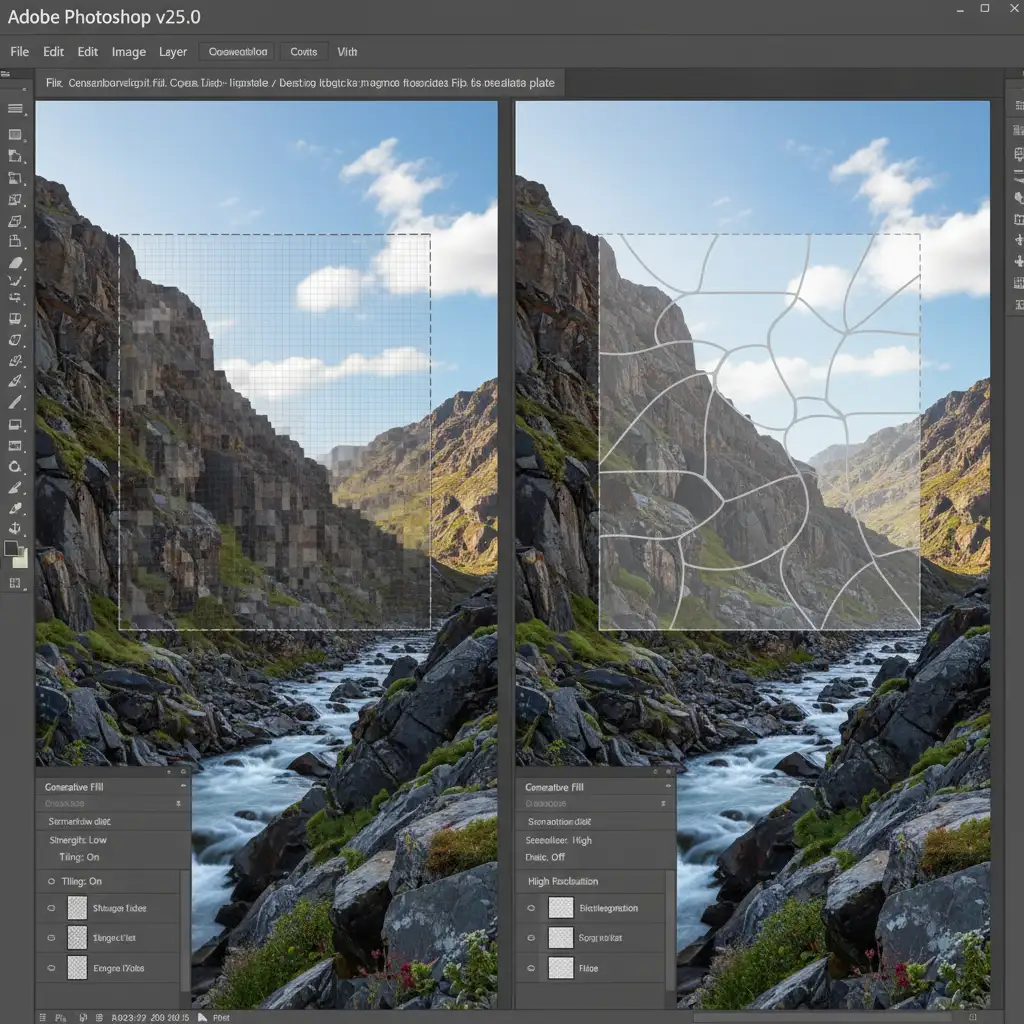
The core technical limitation is that the Firefly image model natively generates outputs at a strict 1024×1024 resolution limit.
When you draw a large selection (anything larger than 1024×1024 pixels) on a high-resolution professional image, Photoshop doesn’t generate a massive high-res patch. Instead, it generates a 1024px square and forcibly stretches it to fit inside your marching ants boundary. This severe upscaling causes heavy interpolation, resulting in blurry patches, mismatched grain structures, and harsh tiling artifacts along the edges of your selection.
3 Professional Methods to Fix Generative Fill Tiling Artifacts
Professional retouching workflows require specific bypassing techniques to outsmart the Firefly engine. Here are three proven methods to eliminate tiling and maintain maximum image quality.
Method 1: The Quick Fix (The 1024 Rule)
The simplest way to prevent upscaling interpolation is to never let Photoshop generate a patch larger than its native capability. By working in chunks, you guarantee 1:1 pixel accuracy.
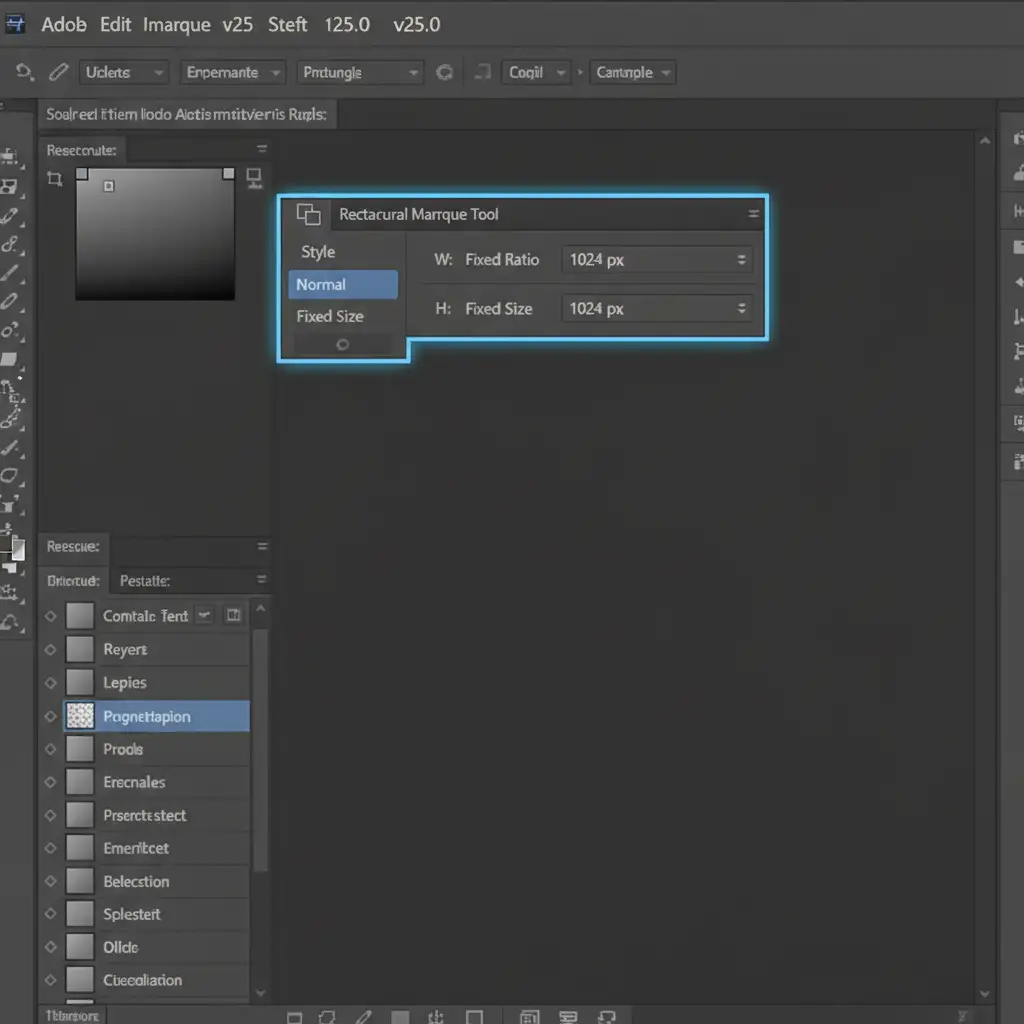
- Select the Rectangular Marquee Tool.
- In the top options bar, change the Style dropdown from “Normal” to Fixed Size.
- Set the width and height to exactly 1024 px by 1024 px.
- Click on your canvas to create a perfect 1024 square selection.
- Use the Contextual Task Bar to run Generative Fill.
- Crucial Step: When generating the next block, ensure your new 1024px selection overlaps the previous generated patch slightly to prevent edge seams.
Method 2: The Pro Workaround (Layer Mask Blending)
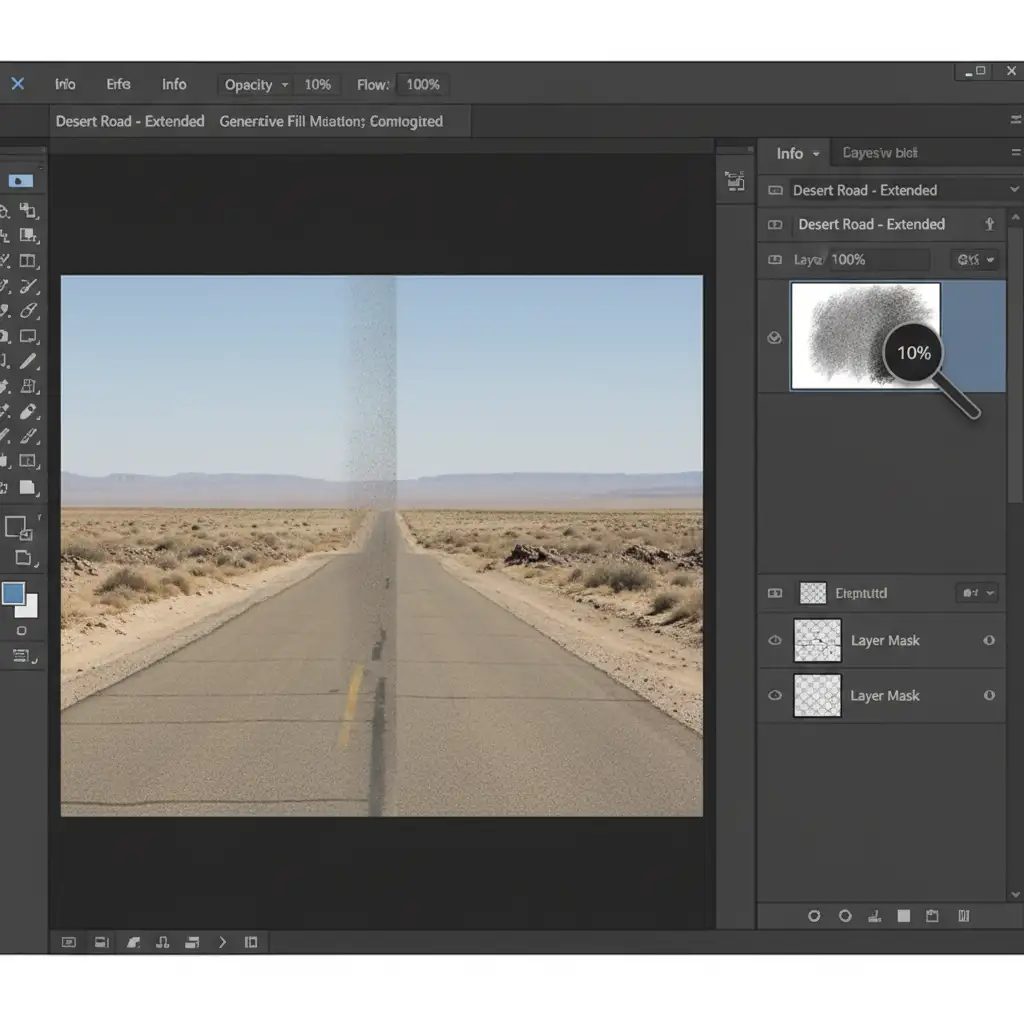
Even when working in 1024px blocks, slight lighting or grain mismatches can create visible seams where the AI patches meet. To fix this, you must utilize manual Layer Masking.
- Generate your overlapping 1024×1024 patches (ensure they overlap by at least 200 pixels).
- Select the Generative Layer in your layers panel.
- Select the Brush Tool and choose a soft round brush.
- Set your foreground color to Black and drop your brush Opacity to 10%.
- Select the Generative Layer Mask (the white box linked to your generated layer).
- Gently paint over the harsh tiling lines. This manual feathering blends the grain structure of the AI patch flawlessly with the original plate beneath it.
Method 3: The Technical Deep-Dive (Smart Object Upscaling)
Sometimes, you need to generate a massive area all at once to get the right compositional concept from the AI, even if it results in a blurry patch. When this happens, you can fix the interpolation retroactively using Smart Objects and AI upscaling.
- Make your large selection and run Generative Fill.
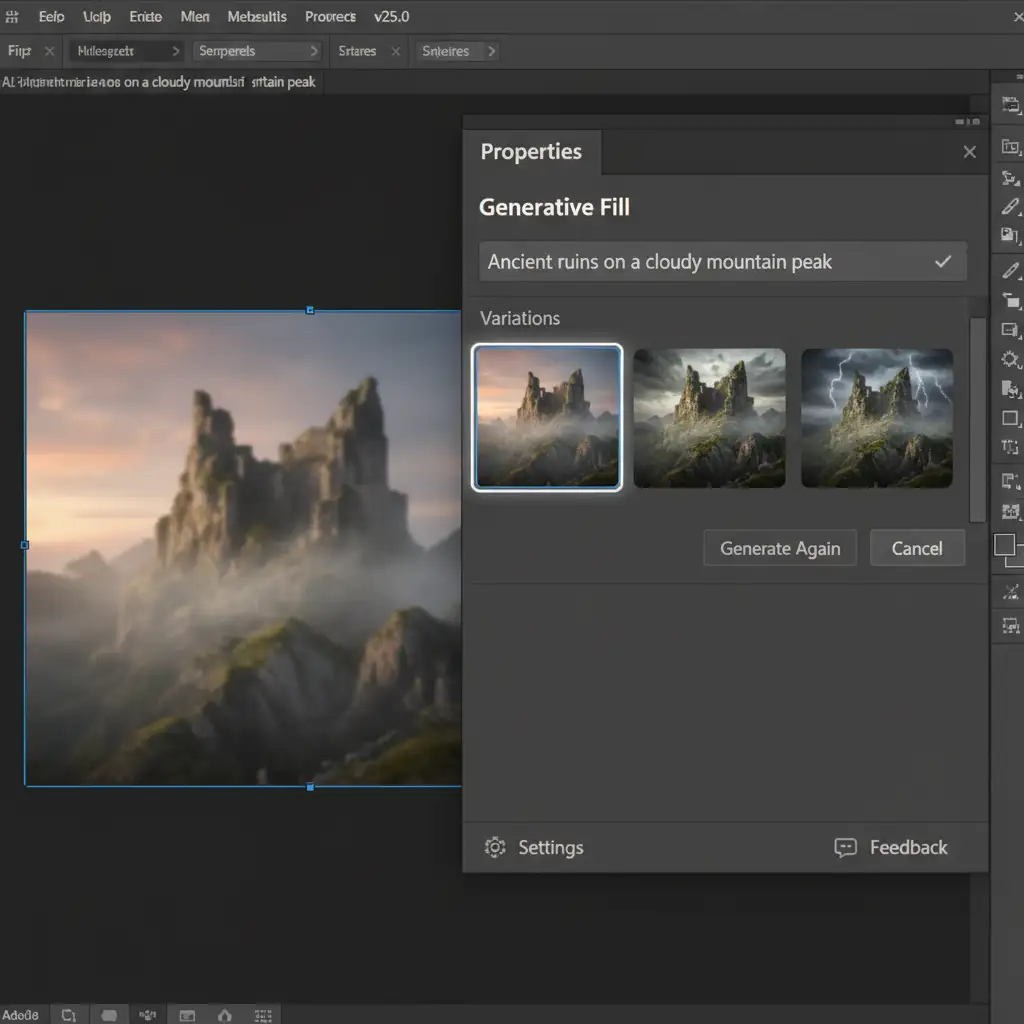
- Review the variations in the Properties Panel and choose the best composition.
- Right-click the Generative Layer and select Convert to Smart Object.
- Double-click the Smart Object thumbnail to open the generated patch in a new tab.
- Export this blurry patch and run it through a dedicated AI upscaler (like Topaz Gigapixel or Photoshop Camera Raw Super Resolution).
- Bring the newly sharpened, high-res patch back into your Smart Object document, align it, and save.
- Return to your main composition. The blurry patch will automatically update with the high-res texture, instantly eliminating the upscaling artifacts.
Stop Wasting Time on AI Artifacts
Understanding the 1024×1024 resolution limit is the key to mastering the Photoshop Generative Fill tiling artifacts fix. By using fixed-size selections, manual layer mask blending, and smart object upscaling, you can force the Firefly engine to play nice with your high-res workflow.
However, executing these workarounds on hundreds of commercial images is incredibly tedious and drains valuable creative hours.
Don’t want to spend your day painting out AI seams?
Let the experts handle it. At Image Work India and Cloud Retouch, we specialize in flawless, pixel-perfect professional retouching at scale. Whether you need complex image expansions, high-end compositing, or bulk commercial editing, our dedicated team ensures your final images are pristine, sharp, and artifact-free.
Contact Image Work India and Cloud Retouch today to streamline your post-production workflow and deliver exceptional results to your clients every single time.


