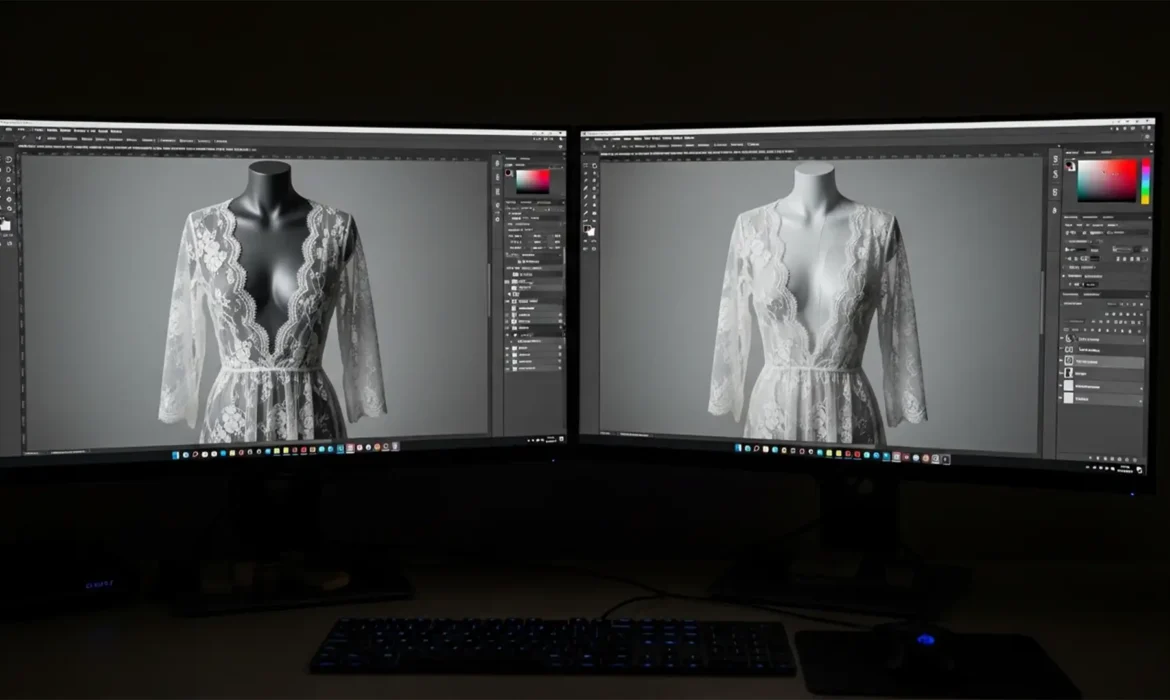
Have you ever tried to apply a standard clipping path to a lace dress, only to watch the delicate fabric turn into a jagged, opaque mess? Removing a solid mannequin from underneath semi-transparent sheer, lace, or mesh fabrics is one of the most frustrating challenges in e-commerce post-production. It often results in a loss of fabric texture, artificial opacity, or muddy edges. If you are struggling to execute a flawless ghost mannequin for sheer and mesh fabrics in Photoshop CC 2024 (v25.x), you are not alone. Let’s explore the precise channel masking and compositing techniques required to retain perfect transparency.
The Challenge of Transparent Clothing in Post-Production
Standard ghost mannequin workflows rely heavily on the Pen Tool to create a precise Clipping Path around the garment. However, when dealing with sheer fabrics, this approach fundamentally fails. A Clipping Path is binary—pixels are either visible or hidden. Because it cannot handle semi-transparent pixels, it destroys the natural transparency of the garment, leaving you with a flat, unrealistic image.
To achieve high-end, non-destructive retouching for sheer materials, you must bypass the Pen Tool for the transparent areas. Instead, the solution lies in leveraging Photoshop’s Alpha Channels for luminosity-based selections, advanced Blend Modes, and precise Layer Masking to seamlessly composite the front sheer fabric over an interior back-plate image.
3 Professional Methods for Sheer Ghost Mannequin Edits
Depending on the complexity of the fabric, Photoshop CC 2024 offers three distinct workflows to isolate semi-transparent pixels from the underlying mannequin form.
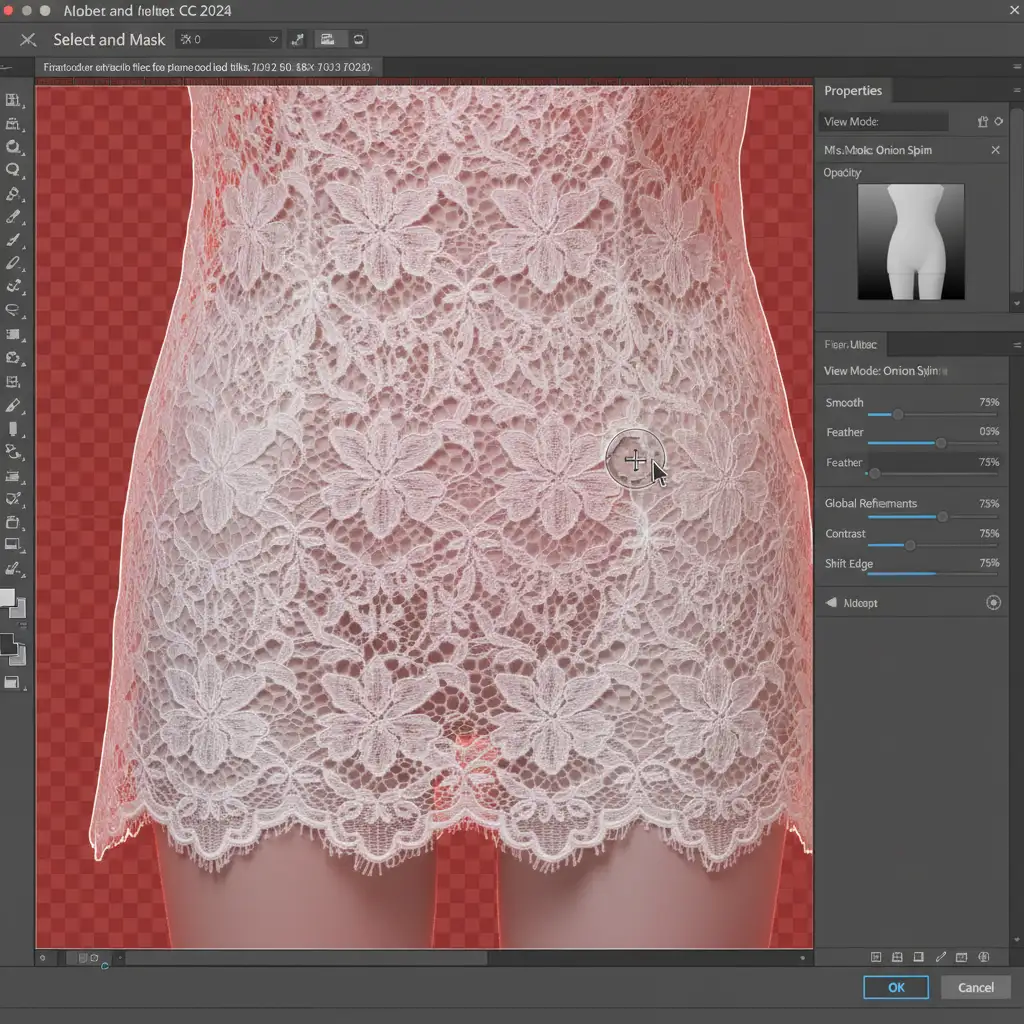
Method 1: The Quick Fix – Select and Mask Workspace
For garments with moderately transparent edges, Photoshop’s built-in algorithmic tools can do the heavy lifting.
- Make a rough selection around the sheer area of your garment.
- Open the Select and Mask workspace.
- Select the Refine Edge Brush Tool.
- Brush over the sheer or mesh areas. Photoshop will algorithmically drop out the contrasting mannequin underneath.
- Adjust the Shift Edge slider slightly inward to reduce any lingering white or grey halos.
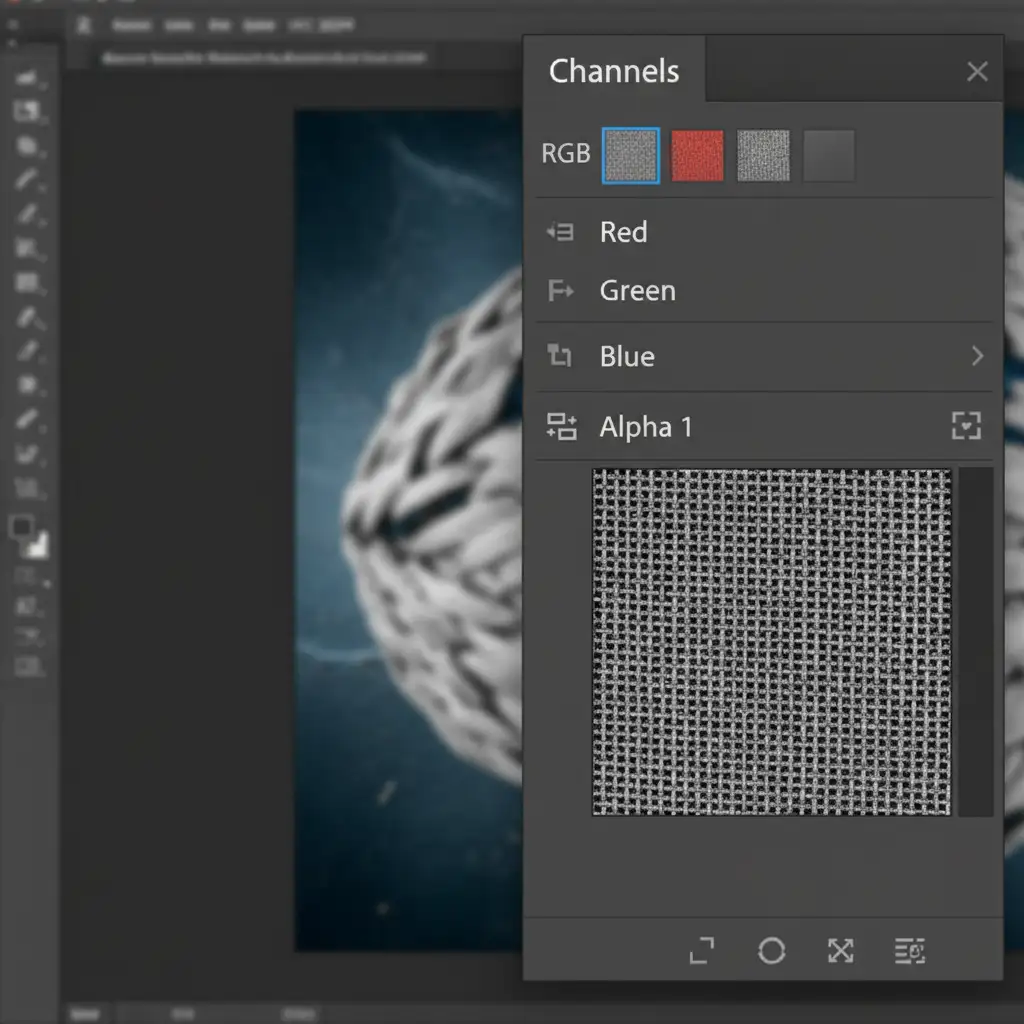
Method 2: The Pro Workaround – Channel Masking
When dealing with fine mesh or intricate lace where every individual thread must be perfectly isolated, Channel Masking is mandatory.
- Open the Channels panel.
- Inspect the Red, Green, and Blue channels to find the one with the most contrast between the mesh fabric and the mannequin (this is often the Blue channel for white/grey mannequins).
- Duplicate this high-contrast channel to create an Alpha Channel.
- Press Ctrl+L (or Cmd+L) to open Levels. Crush the blacks and whites by dragging the outer sliders inward until the fabric is pure white and the mannequin/background is pure black.
- Ctrl+Click (or Cmd+Click) the Alpha Channel thumbnail to load it as a luminosity selection.
- Return to your Layers panel and apply this selection as a Layer Mask.
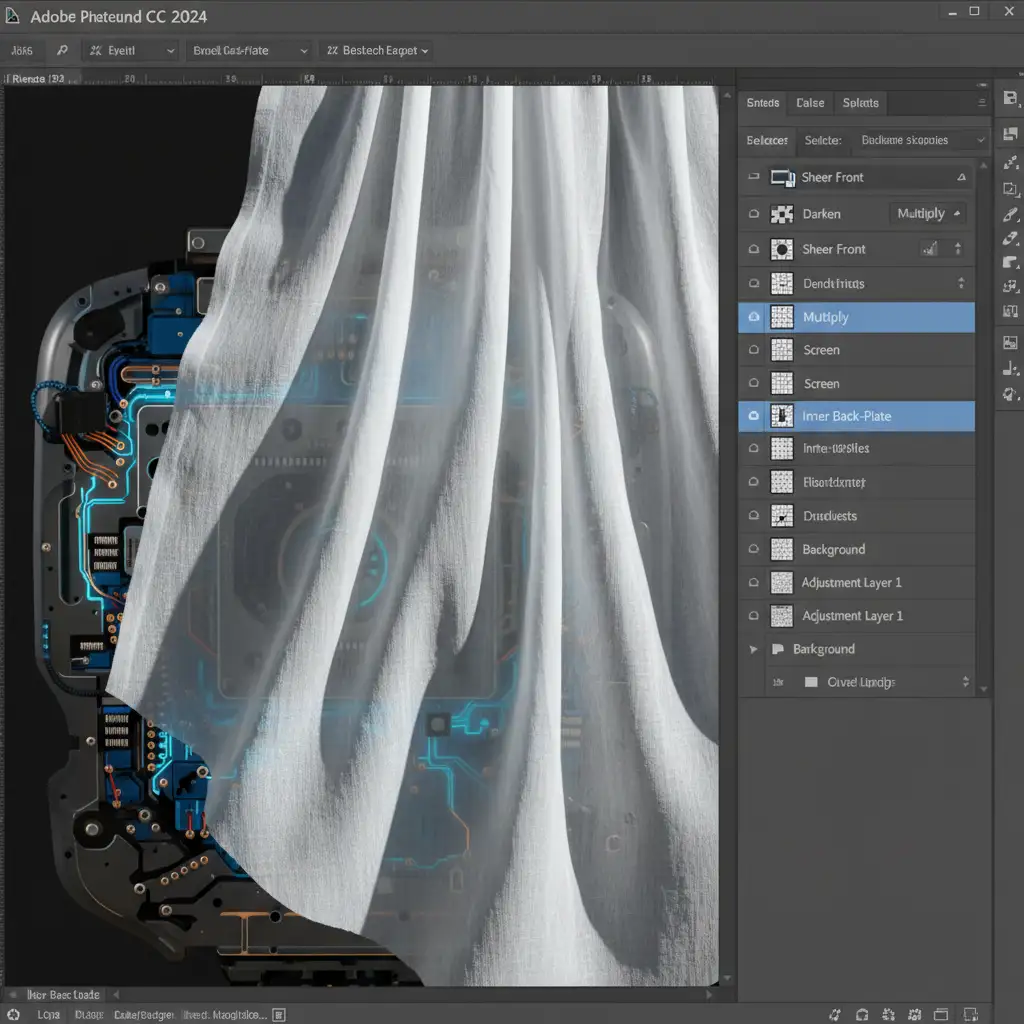
Method 3: The Technical Deep-Dive – Compositing & Blend Modes
The most realistic ghost mannequin for sheer and mesh fabrics requires compositing two separate photographs: the on-mannequin shot and an interior flat-lay shot.
Step 1: Aligning the Back-Plate
First, you need a clean shot of the inside of the garment.
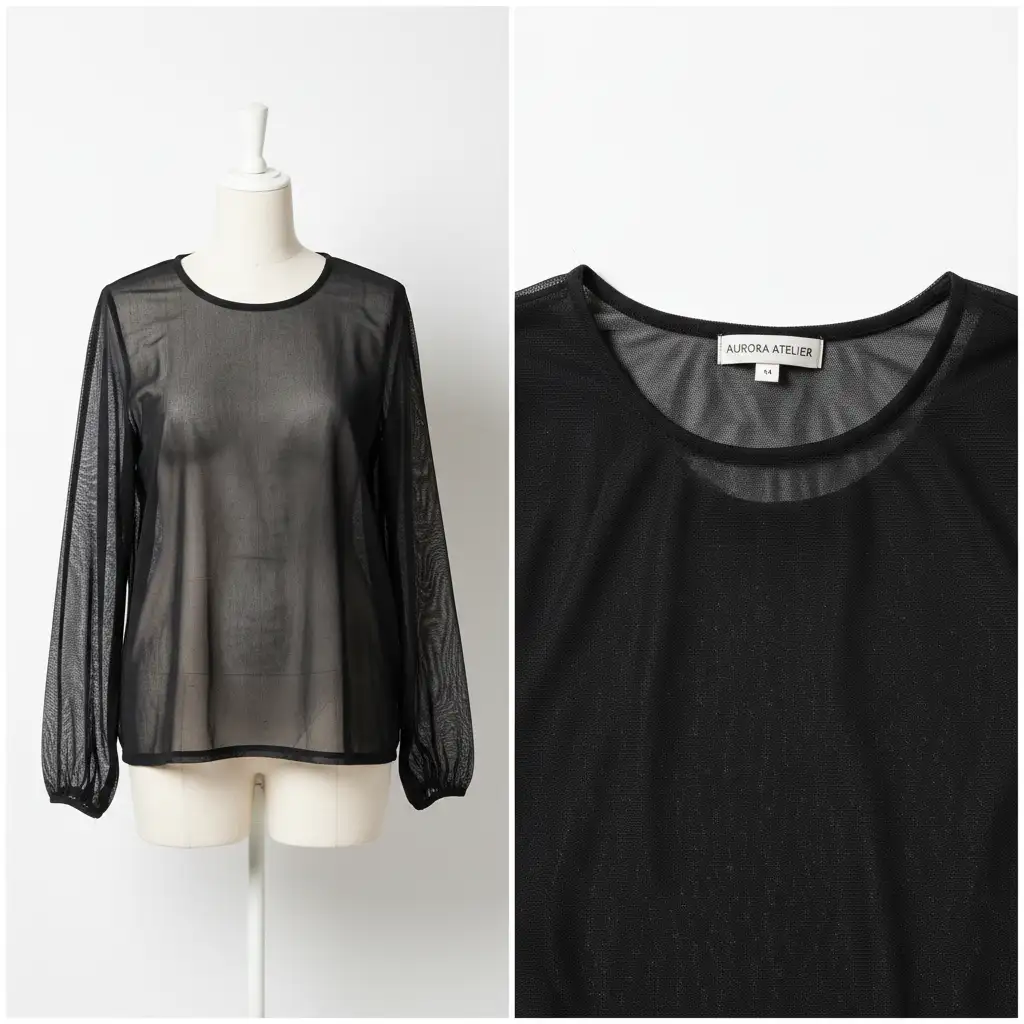
Step 2: Applying Blend Modes
Once the interior back collar shot is placed underneath your isolated sheer layer, standard blending often looks artificial.
- Select your top sheer layer.
- Change the Blend Mode to Multiply (for dark fabrics) or Hard Light / Screen (for light fabrics). This forces the sheer fabric to interact with the back-plate, simulating real transparency.
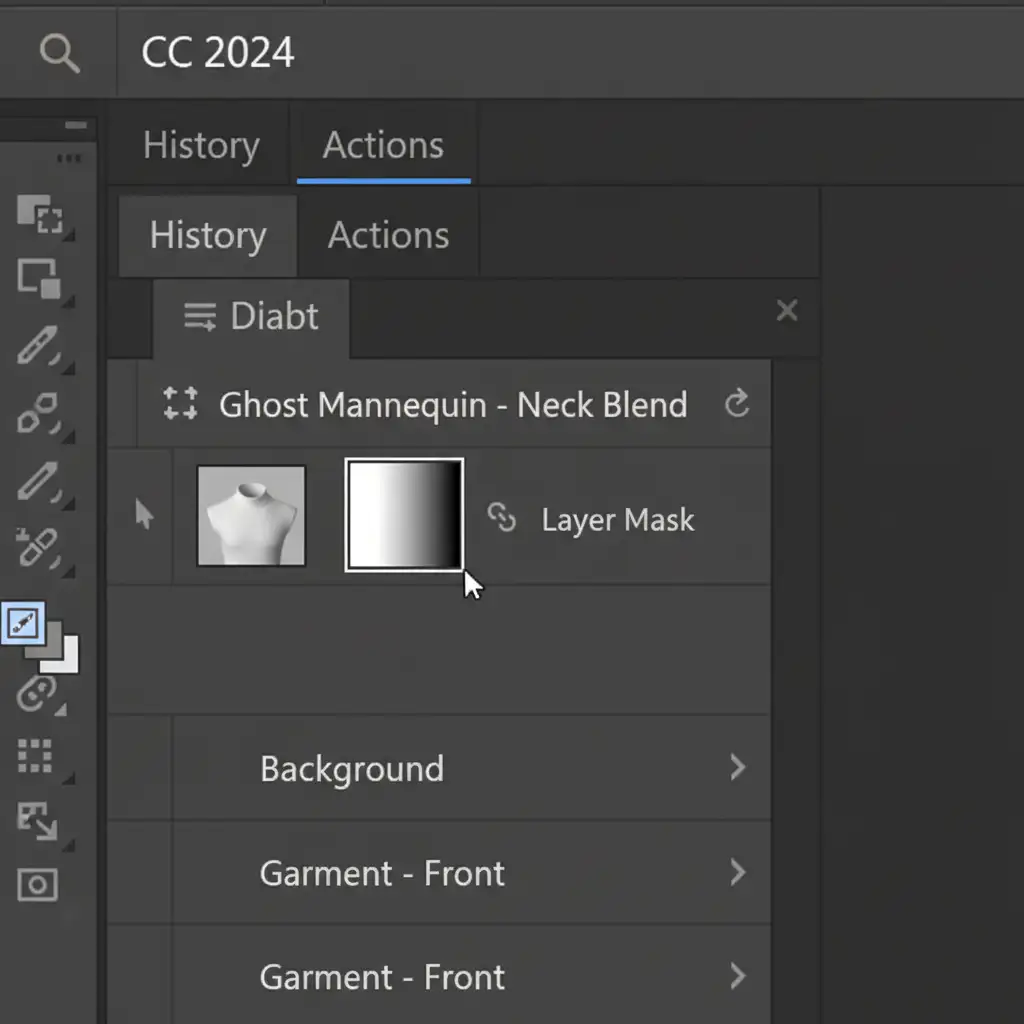
Step 3: Blending the Neck Joint
To ensure a seamless transition between the front collar and the inner back-plate, use an Opacity Gradient on your Layer Mask. Drag the gradient tool from black to white across the inner neck joint to softly blend the composite together.
Advanced Retouching: Fixing Fabric Bunching and Moiré Patterns
Even with perfect masking, shooting sheer fabrics on a solid mannequin often causes the fabric to stretch or bunch unnaturally. Furthermore, the overlapping grids of mesh fabrics can create a distracting visual distortion known as a Moiré Pattern.
To resolve this, utilize Frequency Separation. By separating the texture of the fabric (high frequency) from the underlying color and tone (low frequency), you can smooth out harsh shadows caused by the mannequin’s shape without destroying the delicate threads of the mesh.
Why Outsource Your Complex Ghost Mannequin Edits?
Mastering the ghost mannequin for sheer and mesh fabrics requires an incredibly high level of technical precision. From balancing Alpha Channels to executing flawless Frequency Separation, these non-destructive retouching techniques consume a significant amount of time—time that e-commerce studios and fashion brands cannot afford to lose during high-volume catalog processing.
Handling complex ghost mannequin edits for sheer fabrics requires expert precision. Hire Image Work India and Cloud Retouch to ensure your delicate apparel retains its natural transparency and texture flawlessly. Our dedicated teams specialize in advanced apparel compositing, guaranteeing that every thread of lace, mesh, and sheer fabric looks as luxurious on-screen as it does in real life. Contact us today to streamline your post-production workflow and elevate your e-commerce imagery.


