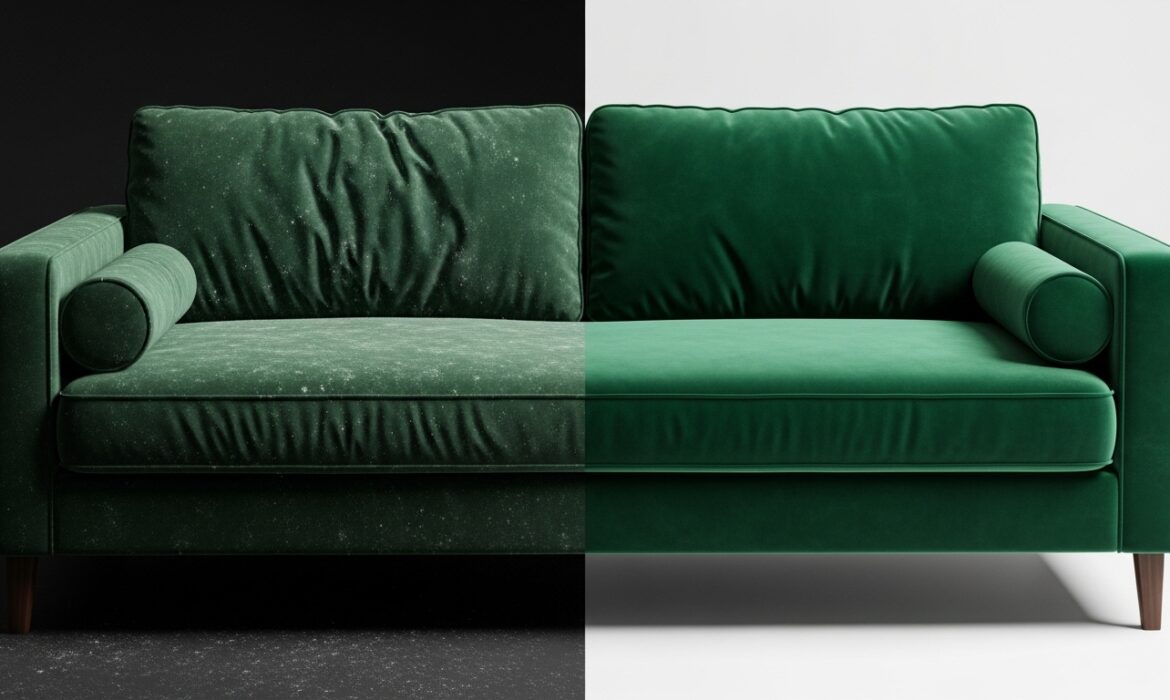
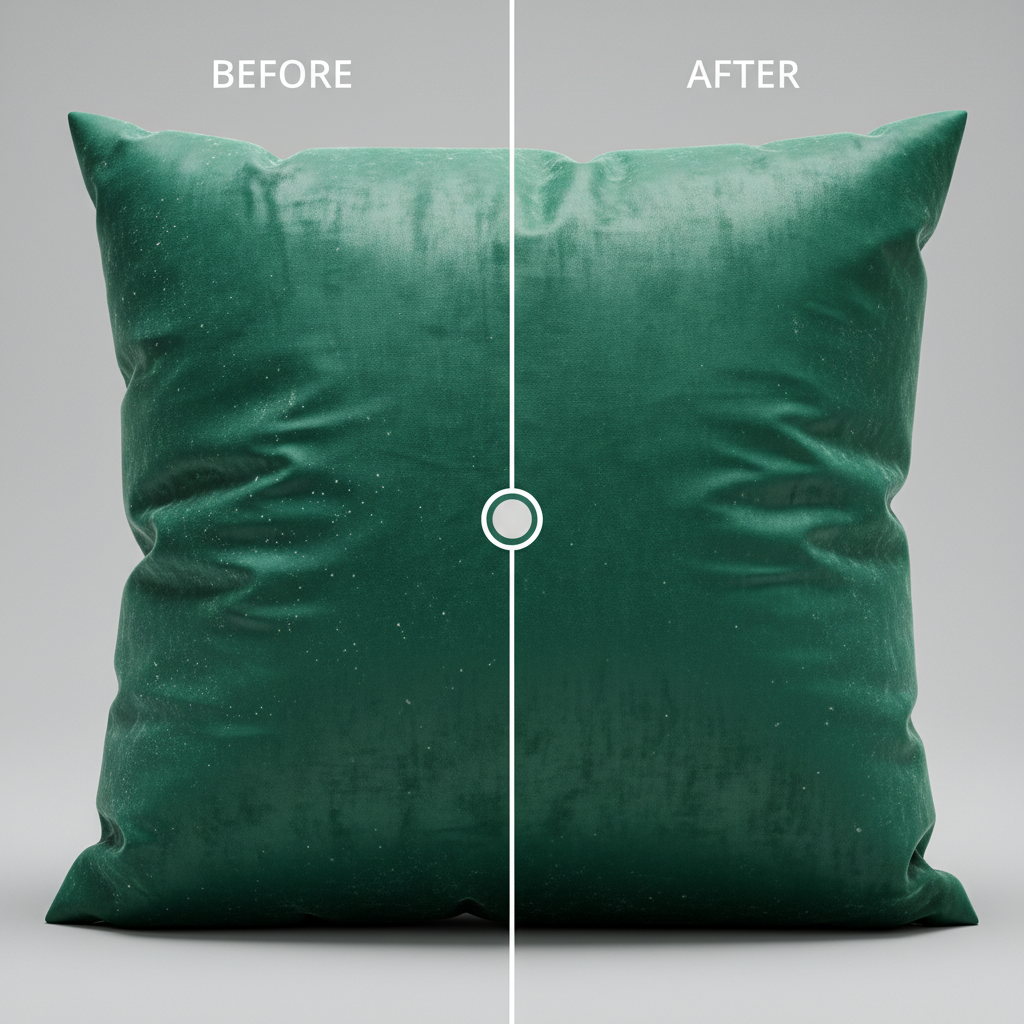
If you’ve ever tried to retouch a velvet or suede sofa, you know the immediate frustration. You use the Healing Brush or Clone Stamp to remove a simple wrinkle, and suddenly, the delicate fabric nap is destroyed. You are left with patchy, smudged lighting that ruins the high-end tactile look of the upholstery photoshop frequency. For e-commerce and furniture photographers, resolving color shifts and wrinkles without losing that luxurious texture is a massive pain point.
The secret to flawless, non-destructive editing doesn’t lie in stamping over the problem. The solution is mastering Photoshop frequency separation for velvet upholstery.
In this guide, we will walk through the exact technical steps to decouple fabric texture from underlying color tones in Photoshop v24.x and v25.x, ensuring your furniture catalogs look pristine.
Why Velvet and Suede Are a Retoucher’s Nightmare
Velvet and suede possess a directional fabric nap. This means the fibers reflect light differently depending on how they are brushed or crushed. When a cushion gets wrinkled, it doesn’t just create a shadow; it creates a harsh, high-contrast shift in the fabric’s micro-contrast.
Standard retouching tools blend pixels indiscriminately. When you try to smooth a velvet wrinkle with the Healing Brush, Photoshop attempts to blend the dark shadow of the crease with the bright, reflective highlight of the nap. The result is a muddy, blurred patch that screams “bad Photoshop.”
By using Frequency Separation, we mathematically split the image data into two distinct layers:
- Low Frequency Layer: Contains the color, shadows, and lighting transitions.
- High Frequency Layer: Contains the crisp fabric texture, lint, and sharp edge details.
This allows you to smooth out the lighting on the low layer while the premium velvet texture remains untouched on the high layer.
Method A: The Quick Fix (Standard Frequency Setup)
For standard 8-bit e-commerce web files, this method provides a rapid, highly effective workflow.
- Duplicate your Background: Press Ctrl/Cmd + J twice.
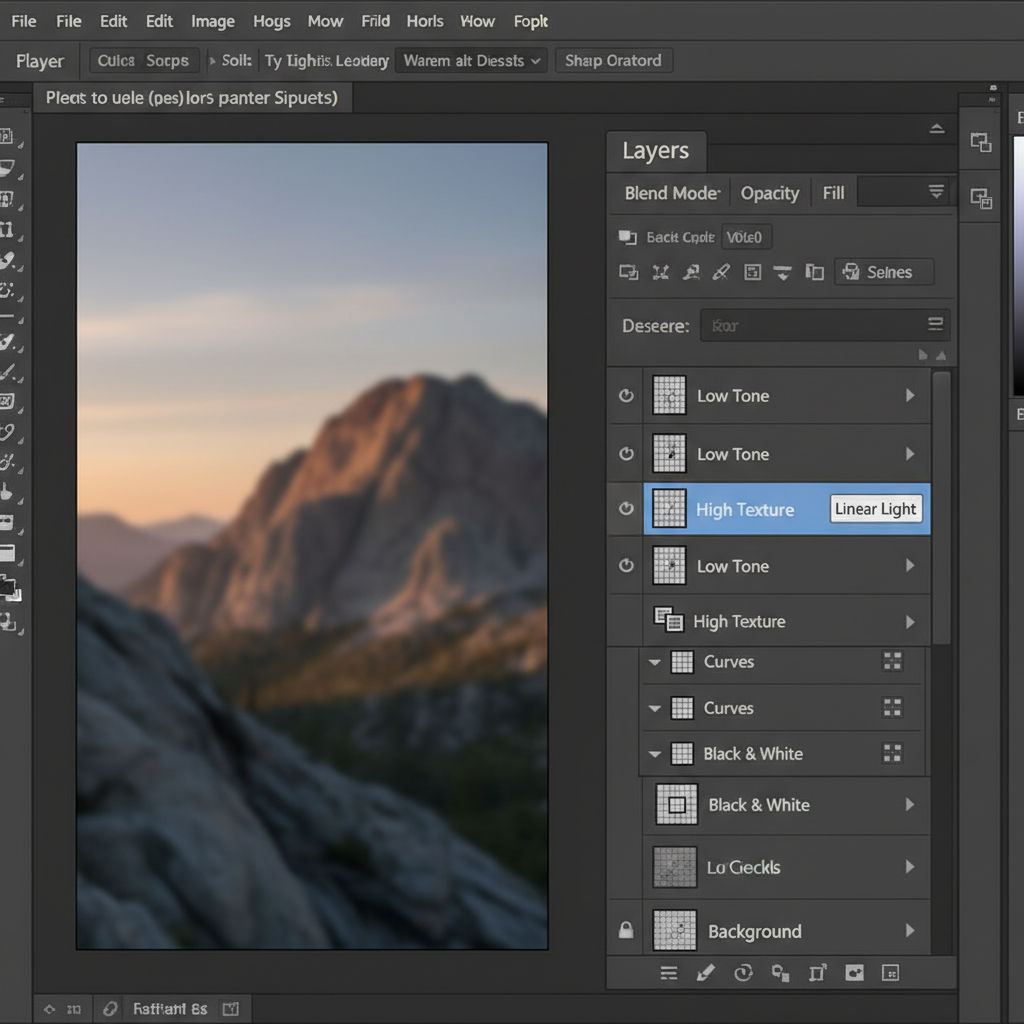
- Rename the Layers: Name the bottom duplicate Low Tone and the top duplicate High Texture.
- Blur the Low Tone: Hide the High Texture layer. Select the Low Tone layer and go to Filter > Blur > Gaussian Blur. Push the radius just until the velvet wrinkles disappear, but the general shape of the sofa remains.
- Apply Image: Unhide and select the High Texture layer. Go to Image > Apply Image.
- Configure the Math: Set the Layer to “Low Tone”. Set the Blending mode to Subtract. Set Scale to 2 and Offset to 128.
- Change Blend Mode: Change the High Texture layer’s blend mode to Linear Light.
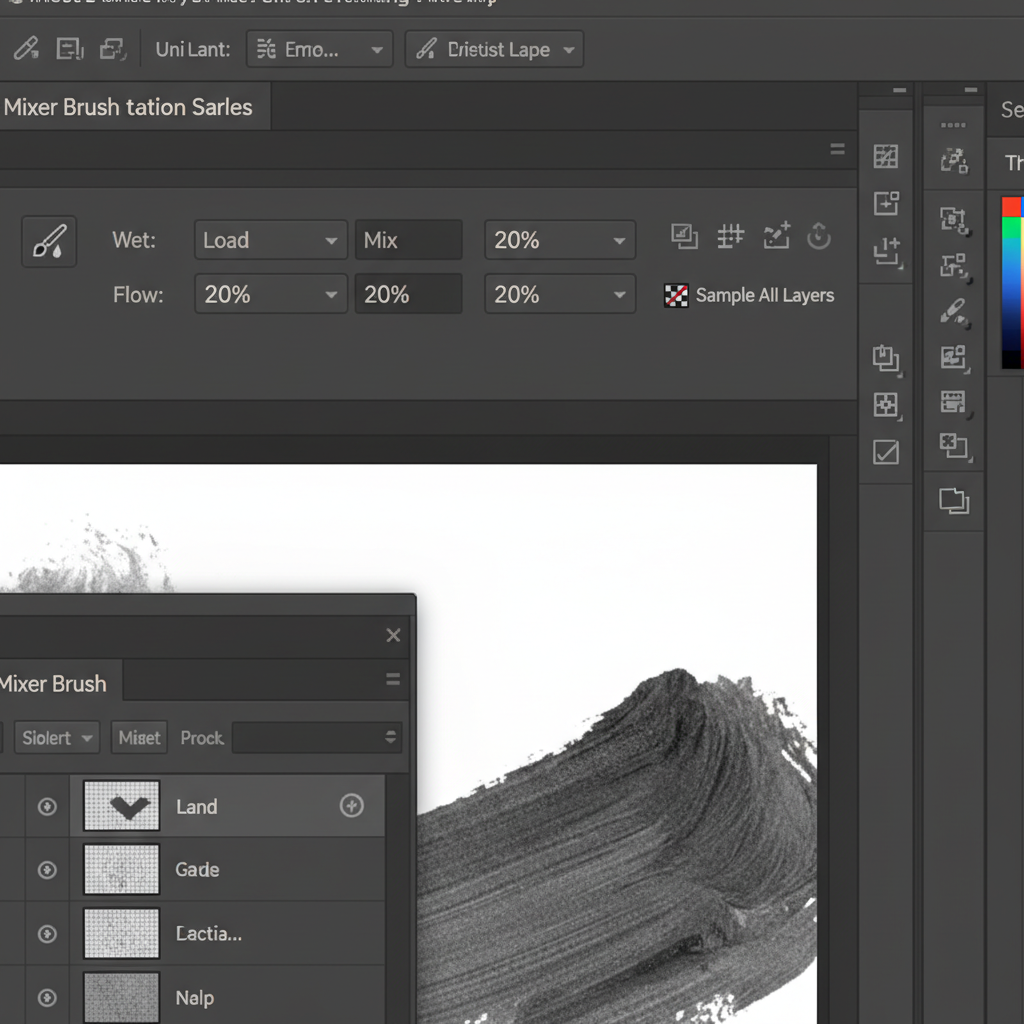
Now, select the Mixer Brush Tool and target your Low Tone layer. Gently brush over the wrinkles. Because the texture is isolated on the layer above, the wrinkles will melt away while the fabric nap remains perfectly intact.
Method B: The Pro Workaround (Median Filter Technique)
While Gaussian Blur works well for the center of cushions, it can cause “haloing” around the sharp structural edges of furniture seams and piping.
The Fix: Instead of Gaussian Blur, use Filter > Noise > Median on the Low Tone layer. The Median filter is edge-aware. It blurs the flat surfaces of the velvet to remove lighting inconsistencies but preserves the sharp structural edges of the upholstery seams.
Once your frequency separation is set up, select the Clone Stamp Tool, set it to Current Layer, and target the High Texture layer. You can now surgically remove white dust, lint, and pet hair without altering the deep, rich velvet shadows underneath.
Method C: The Technical Deep-Dive (16-bit vs 8-bit Processing)
High-end furniture catalogs and raw e-commerce files are often processed in 16-bit to preserve dynamic range. If you use the 8-bit Apply Image settings on a 16-bit file, you will destroy the micro-contrast in the velvet nap and introduce severe color banding.
The Apply Image math changes drastically for 16-bit image processing.
16-Bit Apply Image Settings:
- Blending: Add
- Scale: 2
- Offset: 0
- Invert: Check the box next to the channel.
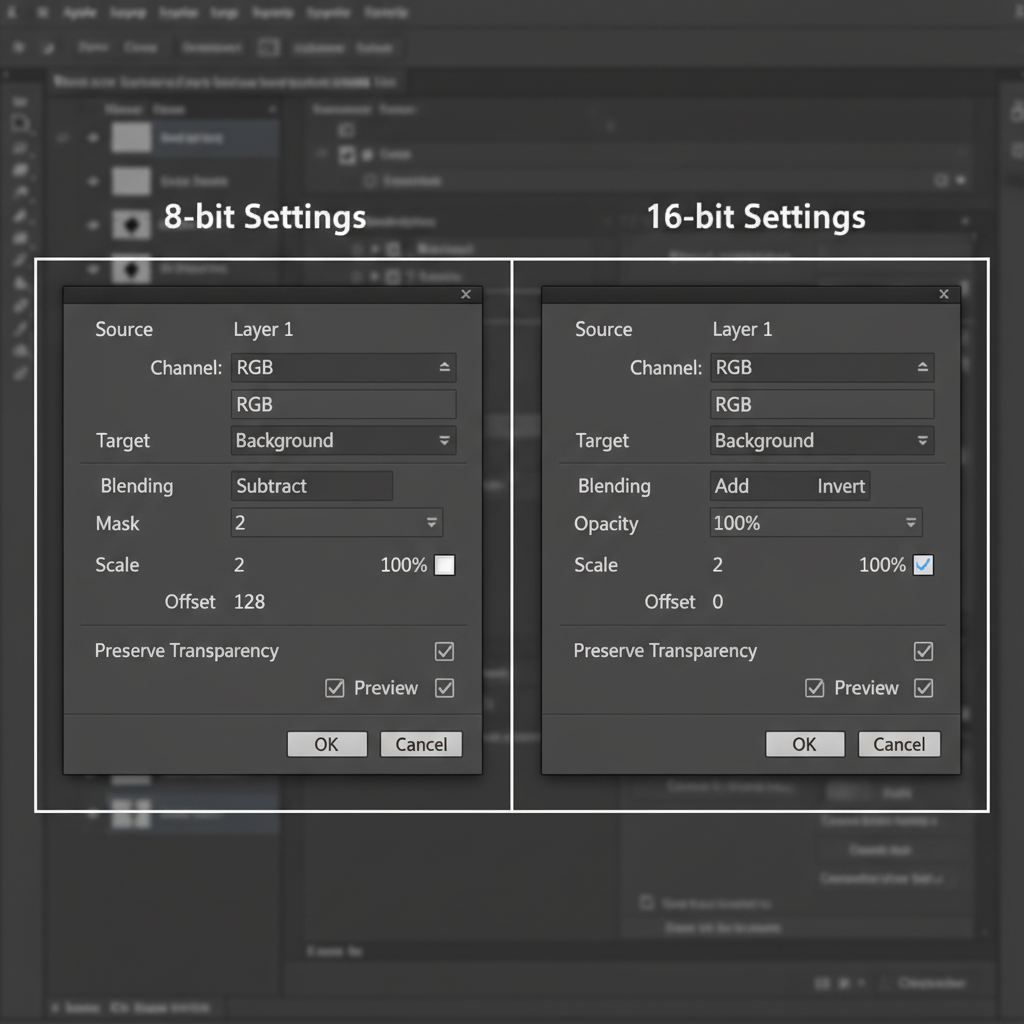
Failing to use these specific bit-depth settings is the number one reason editors end up with muddy, gray artifacts when attempting non-destructive editing on high-resolution furniture files.
Outsource Your Furniture Retouching to the Experts
Mastering Photoshop frequency separation for velvet upholstery takes time, patience, and a deep understanding of fabric behavior. When you are managing a massive e-commerce catalog with hundreds of furniture SKUs, spending 20 minutes meticulously separating frequencies on a single armchair simply isn’t scalable.
Struggling to get your furniture catalogs looking flawless on a tight deadline?
Image Work India and Cloud Retouch specialize in high-volume, pixel-perfect e-commerce editing. Our teams of professional retouchers are experts in non-destructive editing, complex fabric nap restoration, and color correction.
Let our experts handle the heavy lifting, dust removal, and wrinkle smoothing so you can focus on what you do best: shooting stunning photography. Contact us today to scale your post-production workflow.


