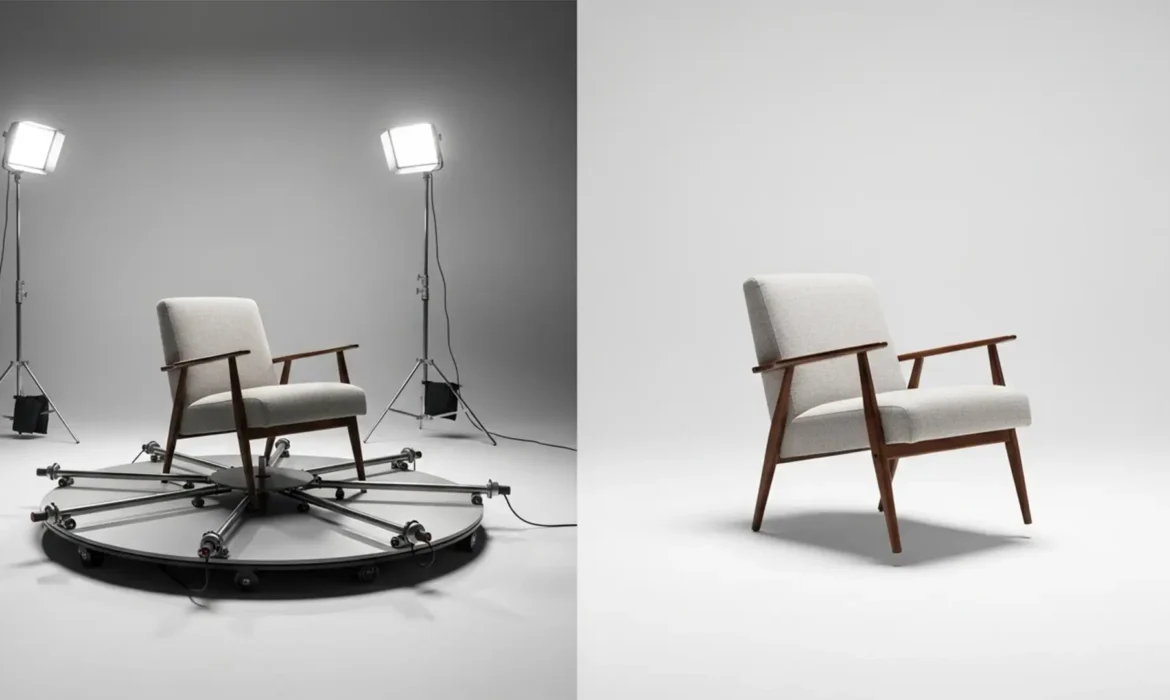
If you shoot 360 product photography, you know the sinking feeling of reviewing 72 perfectly exposed frames—only to realize the motorized base, center pin, and support arms are glaringly visible in every single shot. The technical challenge is immense: you need to remove furniture turntable rig 360 photography elements across dozens of consecutive frames without destroying the bottom edge geometry of the product or losing its natural cast shadow. Even a slight pixel variation between frames will cause severe jitter when compiled into a 360 viewer.
In this comprehensive guide, we will walk you through three distinct methods to seamlessly remove 360 hardware in Adobe Photoshop, ranging from quick AI fixes to professional batch processing workflows.
The Challenge of 360 Product Photography Rig Removal
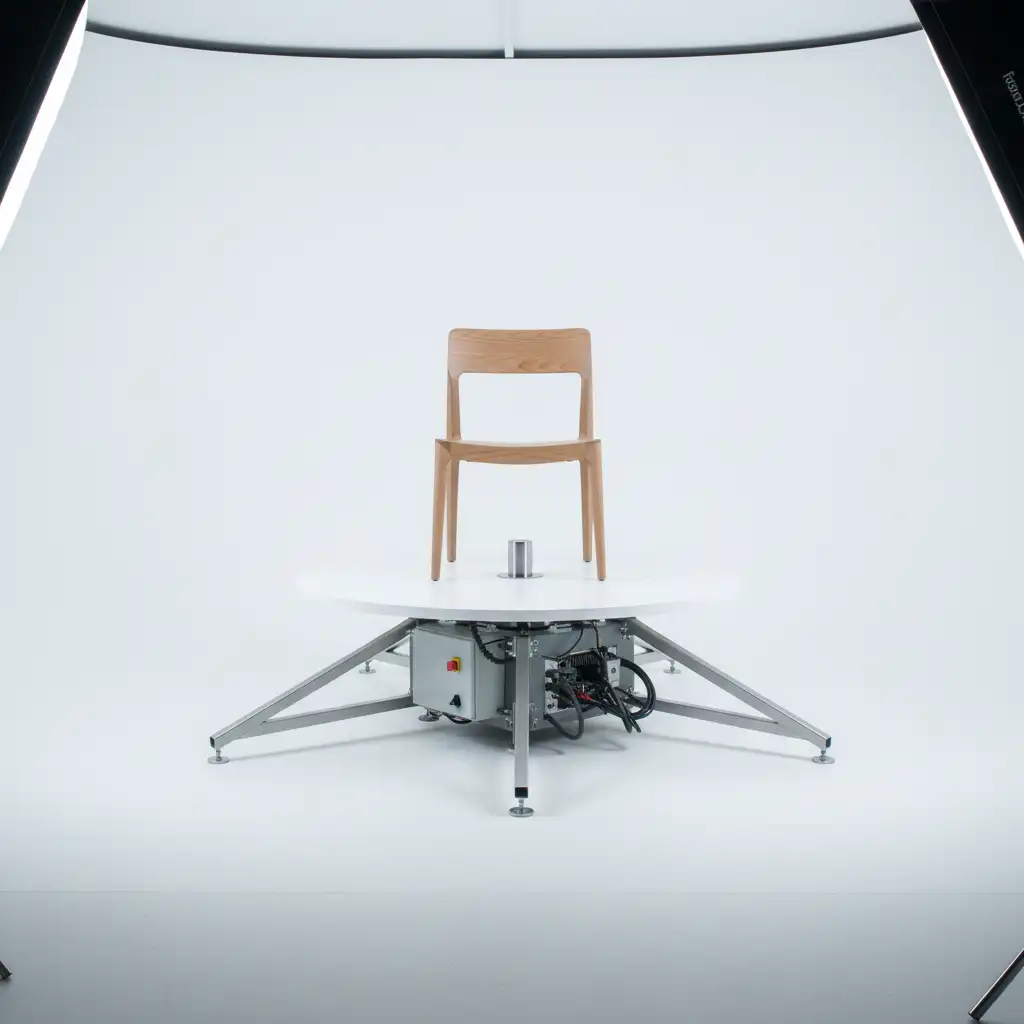
Automated turntables and motorized rigs are essential for capturing smooth, equidistant frames. However, large items like furniture require heavy-duty support plates that inevitably creep into the frame.
Removing these rigs requires more than a simple stamp tool. You must maintain consistency across the spin axis. If the contact shadow shifts or the furniture’s bottom edge morphs between frame 1 and frame 36, the final interactive 360 spin will look glitchy and unprofessional.
Method A: The Quick Fix (Photoshop v25+ Generative Fill)
For fast turnarounds where minor shadow variations won’t break the final output, Adobe’s latest AI features offer a massive speed upgrade over legacy Content-Aware Fill.
Step-by-Step Generative Fill Workflow
- Open your frame in Adobe Photoshop v25.x or newer.
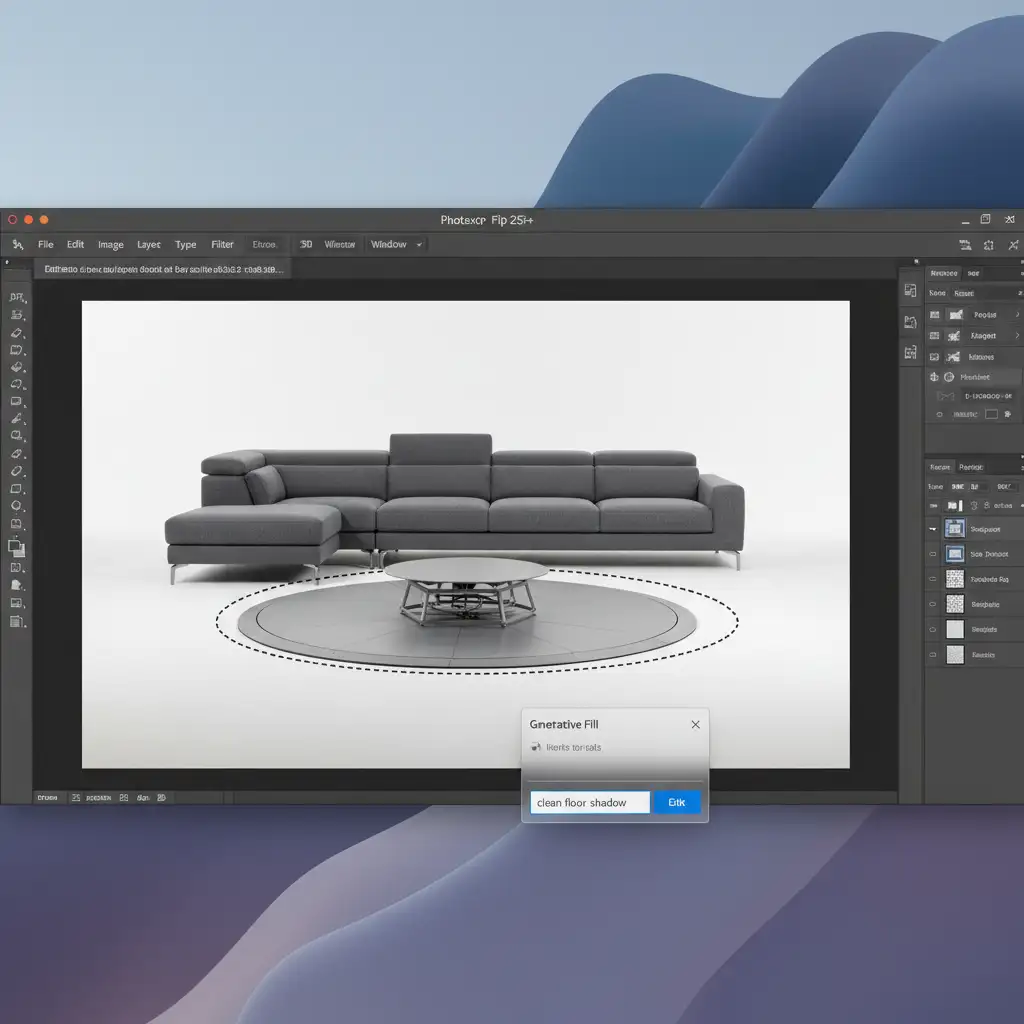
- Select the rig: Use the Lasso Tool to draw a loose selection around the turntable base, center pin, and support arms. Ensure you overlap slightly with the bottom edge of the furniture.
- Activate AI: Locate the Contextual Task Bar floating below your selection and click Generative Fill.
- Prompting: You can leave the text prompt blank for Photoshop to analyze the surrounding pixels, or type exactly: “clean floor shadow”.
- Generate and Verify: Hit Generate. Photoshop will provide three variations. Choose the one that best preserves the furniture’s geometry and grounding shadow.
Method B: The Pro Workaround (Frequency Separation & Shadow Recreation)
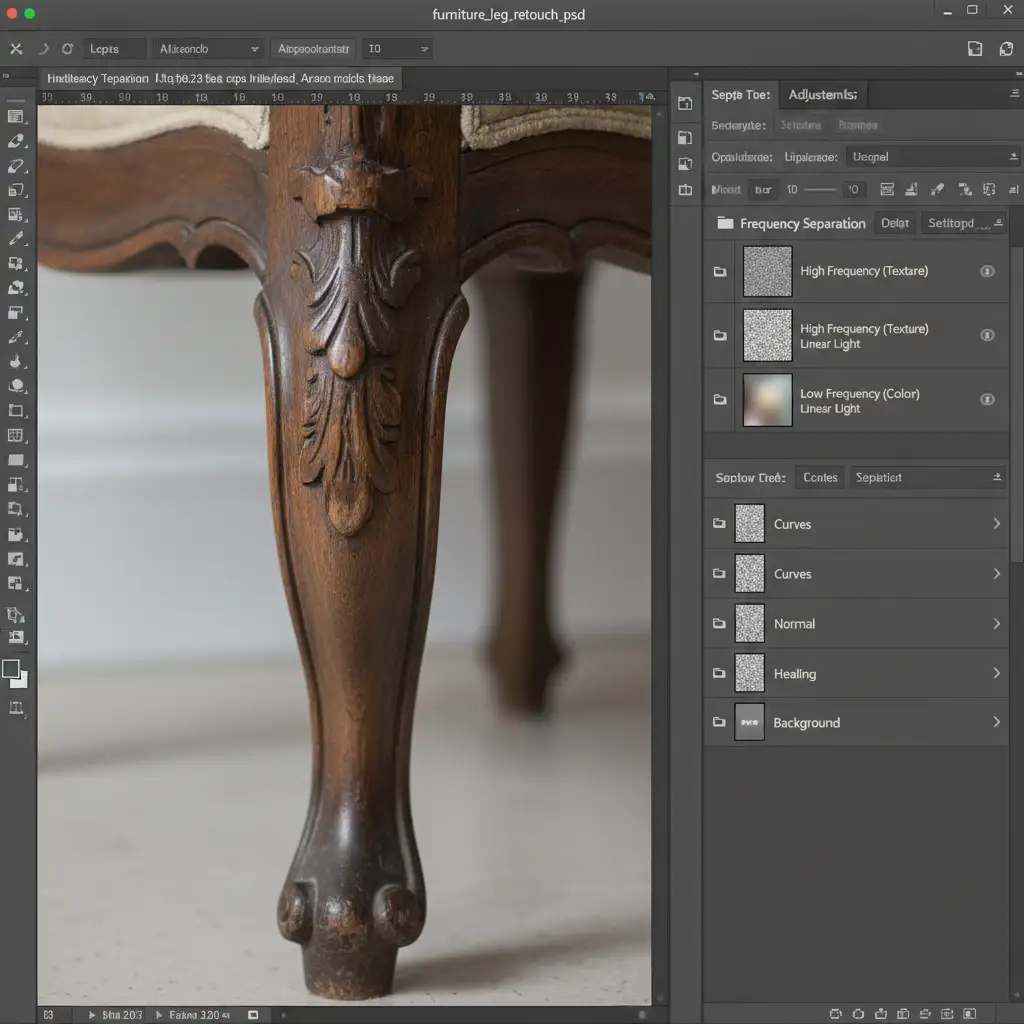
When the turntable rig overlaps complex wood grain or fabric textures on the bottom of the furniture, automated tools often fail. Frequency Separation allows you to edit the color of the rig out without destroying the texture of the product.
Step 1: Separate Texture and Color
Create your Frequency Separation setup to divide the image into a High layer (Texture) and a Low layer (Color).
Step 2: Clone and Heal
Select your Low (Color) layer and use a soft Mixer Brush or Clone Stamp to paint out the dark colors of the rig, replacing them with the floor color. Switch to your High (Texture) layer and use the Healing Brush to remove the sharp mechanical lines of the turntable pins.
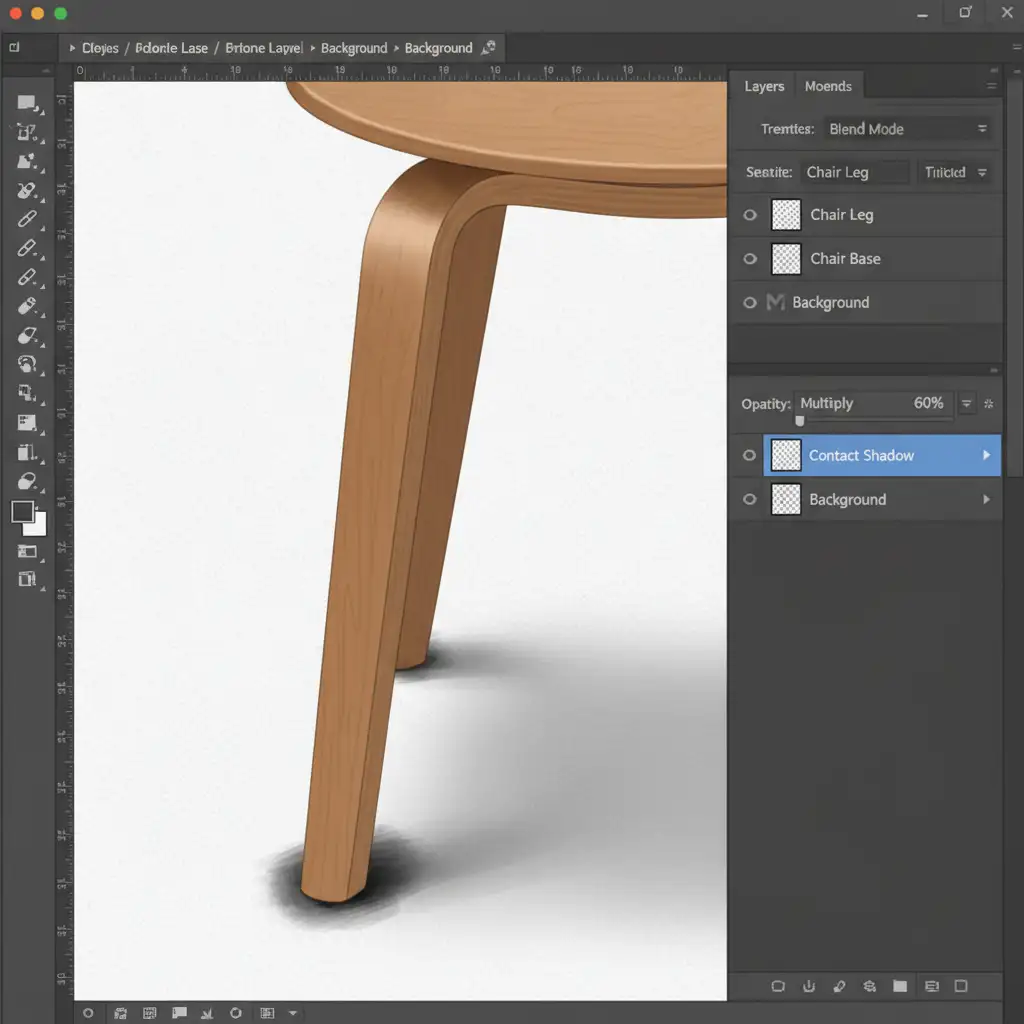
Step 3: Recreate the Contact Shadow
Removing the rig often removes the grounding shadow, making the furniture look like it’s floating.
- Create a new layer on top of your stack.
- Set the layer’s blend mode to Multiply.
- Select a soft, round brush and set the color to black.
- Drop the brush Opacity to 15 percent.
- Carefully paint a tight, dark line exactly where the furniture meets the floor, fading it outward to mimic natural light falloff.
Method C: The Technical Deep-Dive (Clean Plate Batch Masking)
For high-volume e-commerce studios, manually editing 36 to 72 frames per product is not financially viable. The most robust, jitter-free method is Clean Plate Batch Masking.
Step 1: Shoot a Clean Plate
Before placing the furniture on the rig, shoot one frame of the empty floor and background with the exact same lighting. This is your “clean plate.”
Step 2: Create the Photoshop Action
Open Frame 1 of your 360 sequence and begin recording a new Photoshop Action:
- Place the clean plate image as a layer underneath your product layer.
- Load a pre-saved Layer Mask that hides the static area where the turntable rig always sits.
- Use Select and Mask to refine the bottom edge of the furniture where it overlaps the mask.
- Add a pre-built, static contact shadow layer (set to Multiply) to ground the object uniformly.
- Save and close the file. Stop recording the Action.
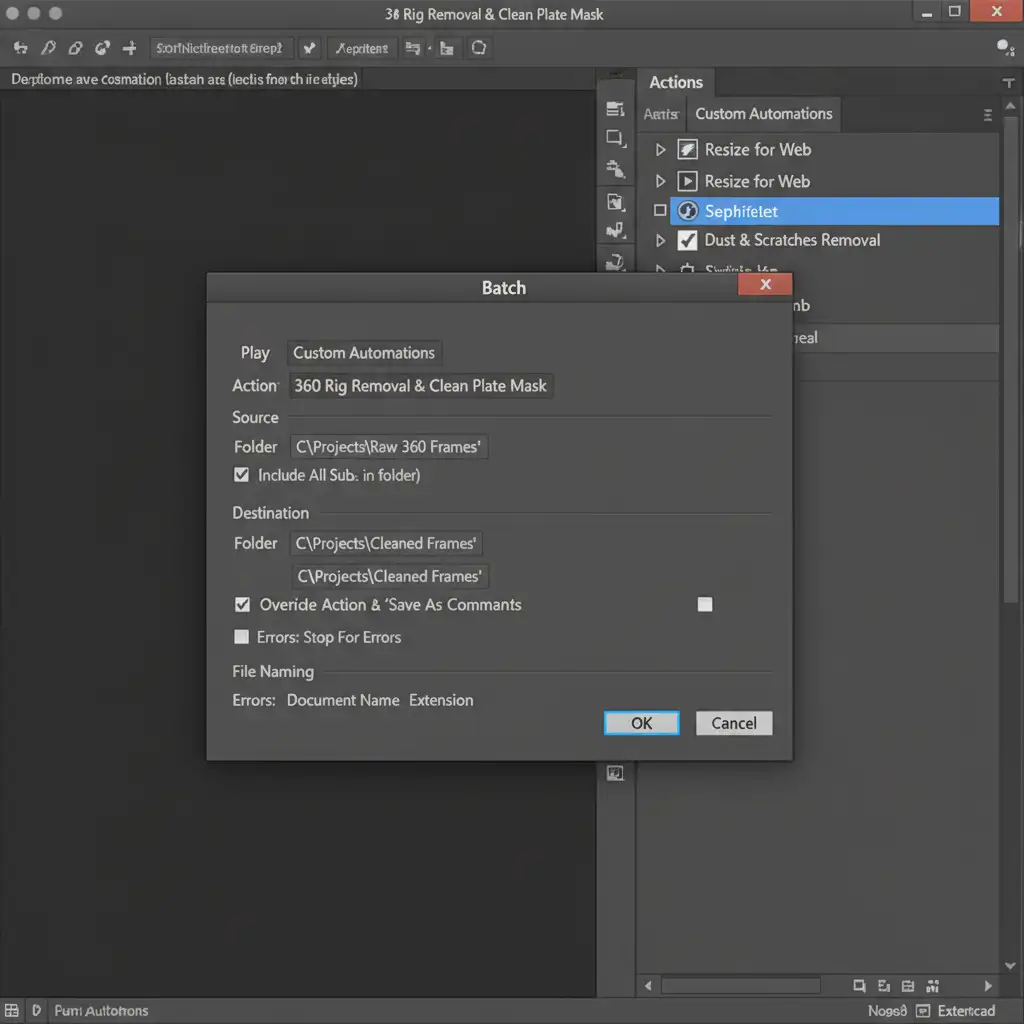
Step 3: Batch Processing
With your Action recorded, you can now automate the entire 360 spin. Navigate to File > Automate > Batch. Select your source folder (your 72 raw frames), apply your new Action, and set a destination folder. Photoshop will seamlessly replace the rig with the clean plate across every single frame with zero manual brushwork, ensuring absolute consistency.
Video Tutorial: Seamless 360 Spin Workflow
Watch the entire process in action to see how clean plate masking prevents jitter in the final 360 viewer.
Outsource Your 360 Furniture Photo Editing to the Experts
Learning how to remove furniture turntable rig 360 photography elements is a valuable skill, but executing it flawlessly across thousands of catalog images is a massive drain on your studio’s time and resources.
If you need a flawless, jitter-free 360-degree spin for your furniture catalog, leave the tedious pixel-pushing to us. At Image Work India and Cloud Retouch, our dedicated teams specialize in high-volume batch processing, complex rig removal, and hyper-realistic shadow recreation.
Stop wrestling with layer masks and let us deliver pixel-perfect, web-ready 360 frames. Contact Image Work India today for a free test edit and see how we can streamline your e-commerce photography workflow!


