You are on a tight deadline, finalizing a layout, and you need to drop out the background of a placed product image. You navigate to Object > Clipping Path > Options, but there is a major problem: the menu is completely grayed out.
This frustrating technical bottleneck stops thousands of graphic designers in their tracks. Fortunately, the InDesign clipping path grayed out fix 2025 is usually a simple matter of clicking the right tool or properly saving your Photoshop paths before importing.
In this guide, we will break down exactly why Adobe InDesign 2025 is locking you out of your clipping paths and provide three proven methods to fix it instantly.
Why is “Object > Clipping Path” Grayed Out?
In Adobe InDesign 2024 and 2025 (v19.x – v20.x), the Clipping Path menu becomes inaccessible primarily for three reasons:
- Incorrect Frame Selection: You have selected the parent image frame rather than the actual embedded image content.
- Temporary Photoshop Paths: The clipping path was created in Adobe Photoshop but left as a temporary “Work Path” rather than being explicitly saved and named.
- Unsupported File Formats: You imported a standard JPEG or PNG, which lacks the embedded vector path data required for InDesign to recognize it.
Here is how to troubleshoot and resolve the issue step-by-step.
3 Proven Fixes for the Grayed-Out Clipping Path Issue
Method 1: The Quick Fix (Use the Direct Selection Tool)
The most common reason your clipping path options are locked is that InDesign thinks you want to modify the container, not the image inside it.
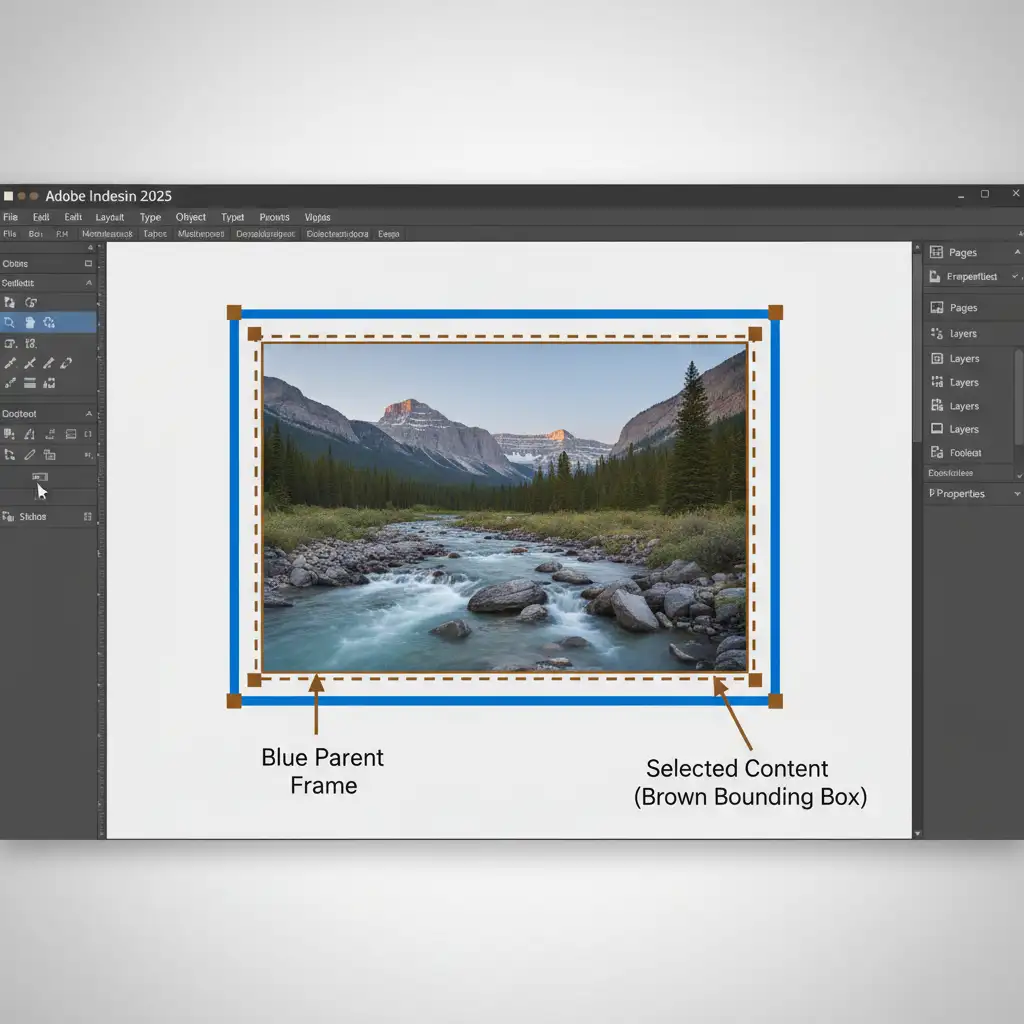
By default, the standard Selection Tool (V) grabs the outer blue image frame. To access clipping paths, you must target the image itself.
The Fix:
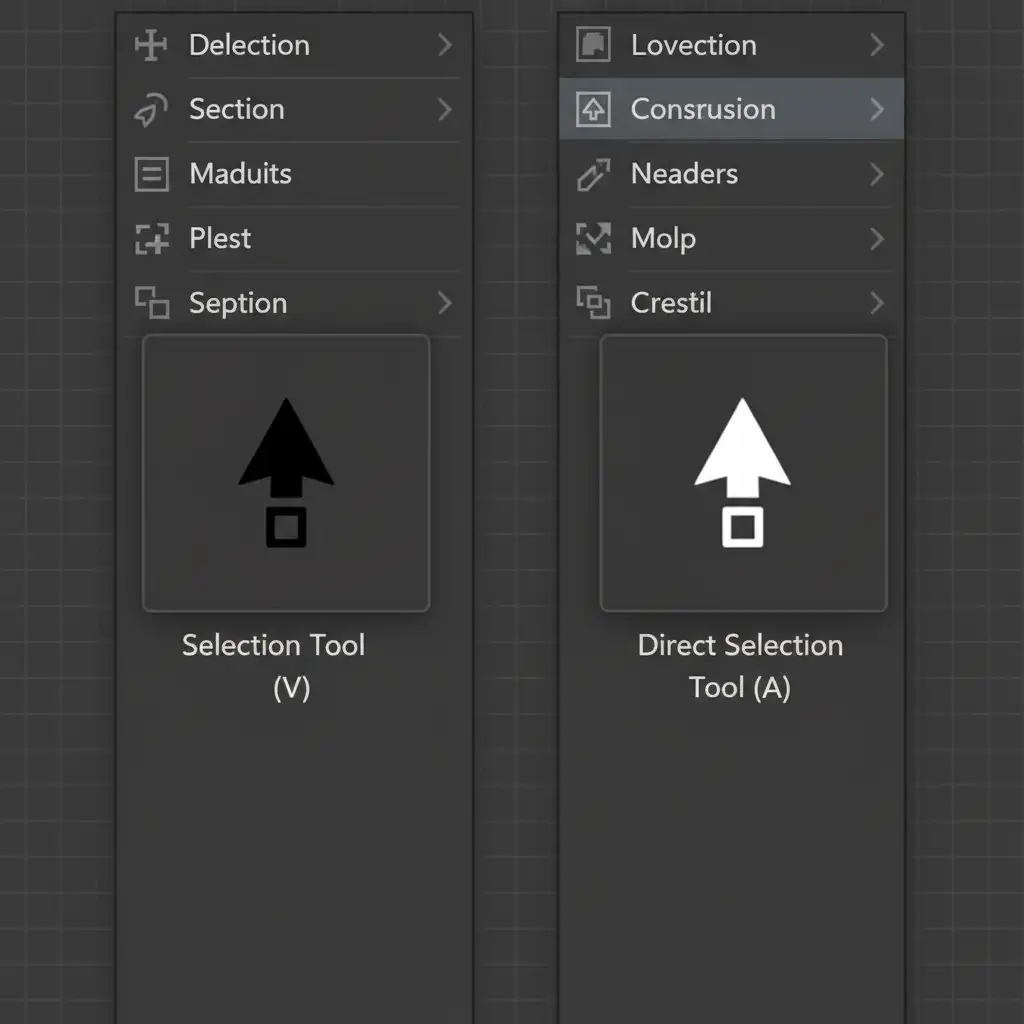
- Switch from the standard Selection Tool (V) to the Direct Selection Tool (A).
- Click directly on the image inside the frame.
- The bounding box will turn brown, indicating the image content is now selected.
- Navigate back to Object > Clipping Path > Options. The menu will now be active.
Method 2: The Pro Workaround (Photoshop Path Correction)
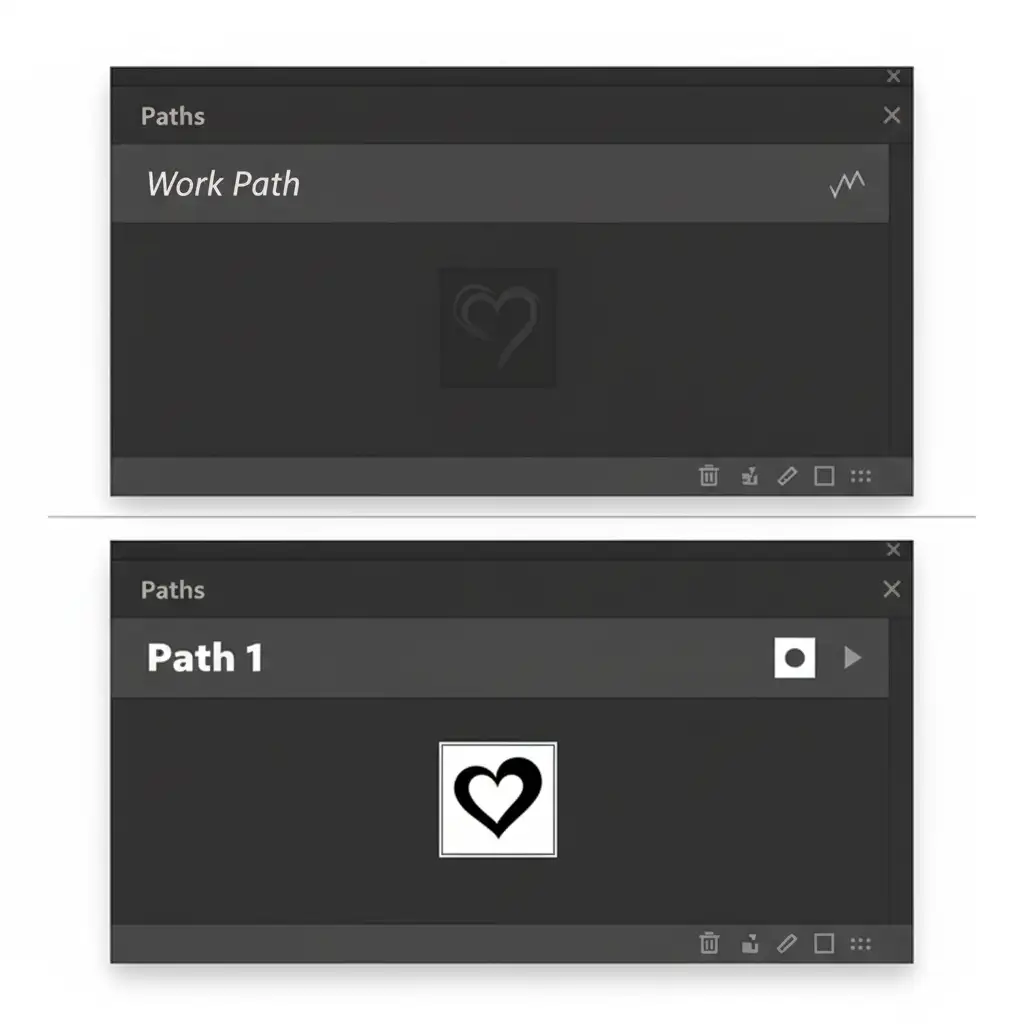
If you have used the Direct Selection Tool and the menu is still grayed out, the problem lies within your source file. When creating vector clipping paths in Photoshop using the Pen Tool, the path is initially created as a temporary “Work Path.” InDesign ignores temporary paths.
The Fix:
- Open your source image in Photoshop.
- Navigate to the Paths Panel (Window > Paths).
- If your path is labeled Work Path in italics, double-click it.
- Rename it (e.g., “Path 1” or “Product Outline”) and click OK. The text will change from italics to standard font, meaning it is now permanently saved.
- Save your document as a native PSD or TIFF to maintain a flawless PSD workflow.
- Return to InDesign and update the link in the Links panel.
Method 3: The Technical Deep-Dive (Import Options Override)
Sometimes, InDesign needs to be explicitly told to read the path or Alpha Channel during the import process. If your file is correct but InDesign is still being stubborn, force the software to read the data upon placement.
The Fix:
- Delete the problematic image from your InDesign spread.
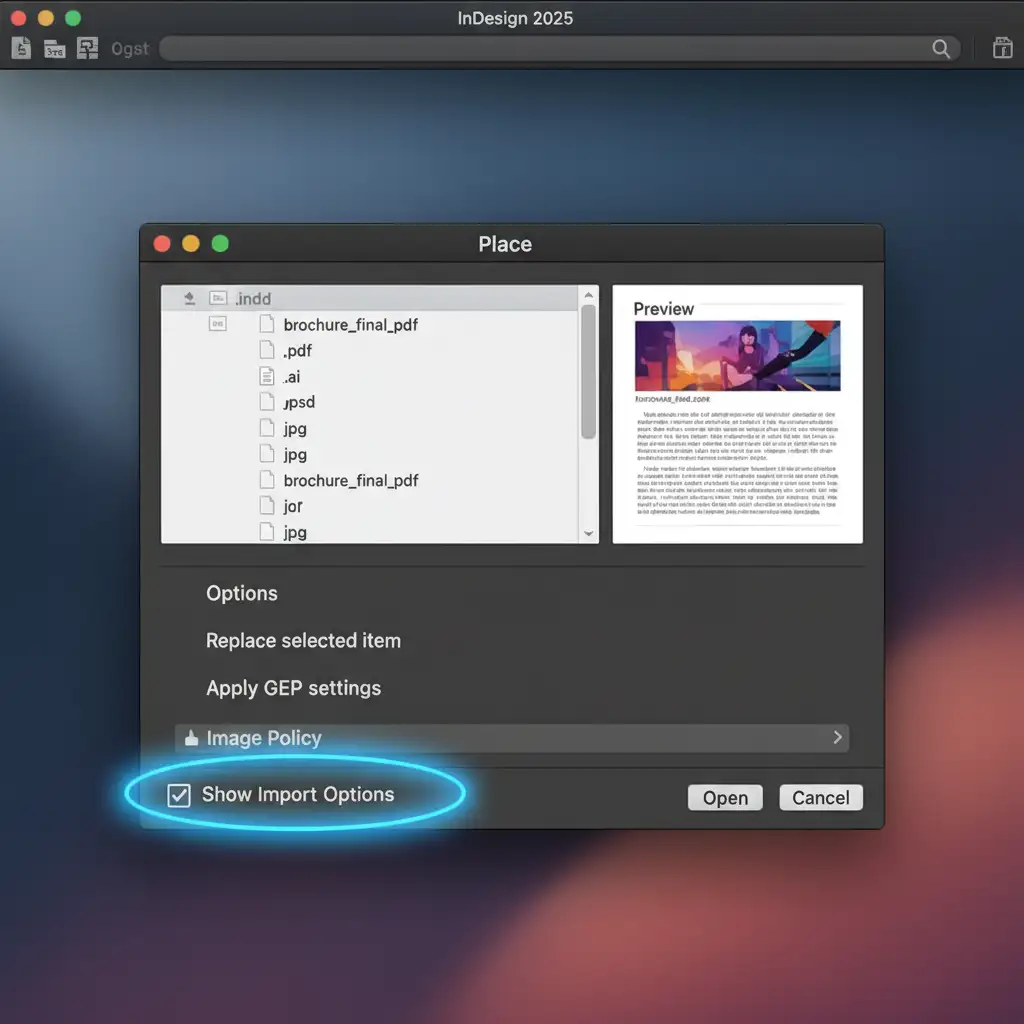
- Press Cmd/Ctrl + D to Place the image again.
- In the Place dialog box, check the Show Import Options box at the very bottom.
- Click Open. A new dialog box will appear.
- Navigate to the Image tab.
- Under the Clipping Path dropdown, explicitly apply your saved Photoshop path or Alpha Channel.
- Click OK and place the image.
Stop Fighting with Paths-Let the Experts Handle It
Applying the InDesign clipping path grayed out fix 2025 is easy once you know the technical steps. However, manually drawing, saving, and managing Photoshop paths for hundreds of product images is a massive drain on your agency’s time and resources.
If you want flawless, pixel-perfect cutouts without the technical headaches, Image Work India and Cloud Retouch are here to help.
We specialize in advanced image masking, hand-drawn vector clipping paths, and high-volume photo retouching. We deliver print-ready PSD and TIFF files with perfectly named paths that drop into your InDesign layouts seamlessly every single time.
You are on a tight deadline, finalizing a layout, and you need to drop out the background of a placed product image. You navigate to Object > Clipping Path > Options, but there is a major problem: the menu is completely grayed out.
This frustrating technical bottleneck stops thousands of graphic designers in their tracks. Fortunately, the InDesign clipping path grayed out fix 2025 is usually a simple matter of clicking the right tool or properly saving your Photoshop paths before importing.
In this guide, we will break down exactly why Adobe InDesign 2025 is locking you out of your clipping paths and provide three proven methods to fix it instantly.


