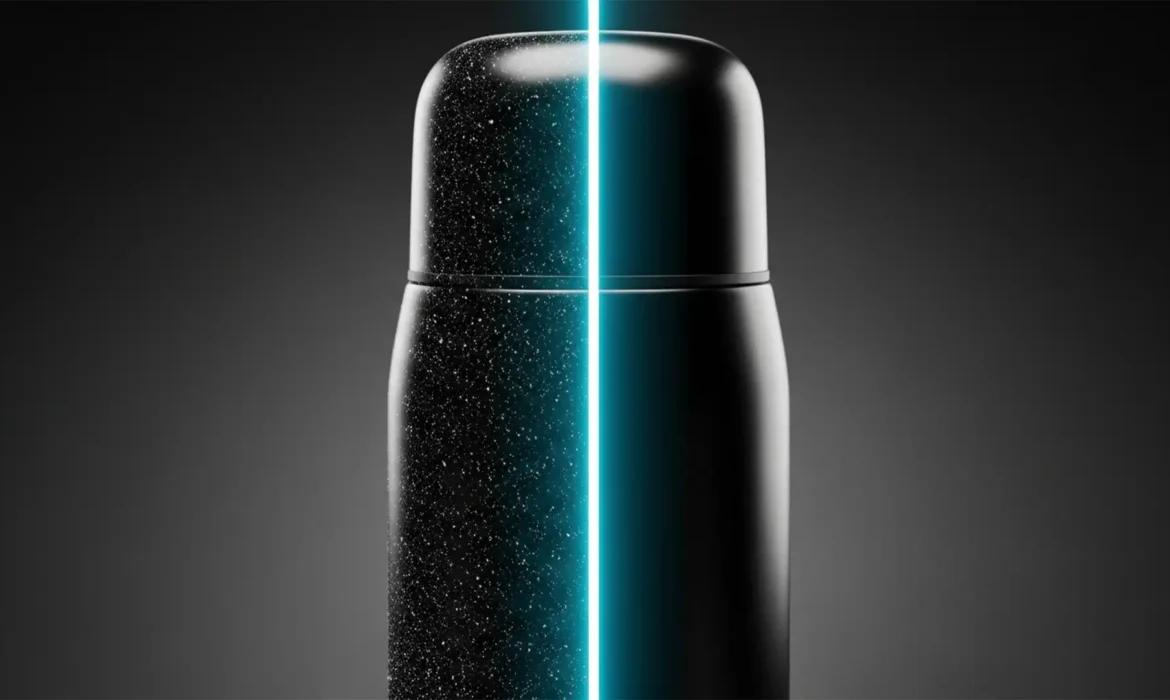
If you shoot e-commerce, you know the nightmare: zooming in on a stunning, low-key dark product photo only to find it covered in hundreds of high-contrast white dust speckles. Manual removal using the Spot Healing Brush is soul-crushing and kills your retouching efficiency. Conversely, slapping on a basic noise reduction filter destroys the micro-contrast and edge sharpness that makes your product pop.
You need a better workflow. Efficiently cleaning white dust speckles from dark product photos requires isolating luminance values rather than painting over them manually. In this guide, we will explore three advanced Photoshop CC (v24.x and newer) techniques—ranging from smart filters to mathematical frequency separation—that eliminate white dust in seconds without degrading product texture.
Why Standard Retouching Fails on Dark Surfaces
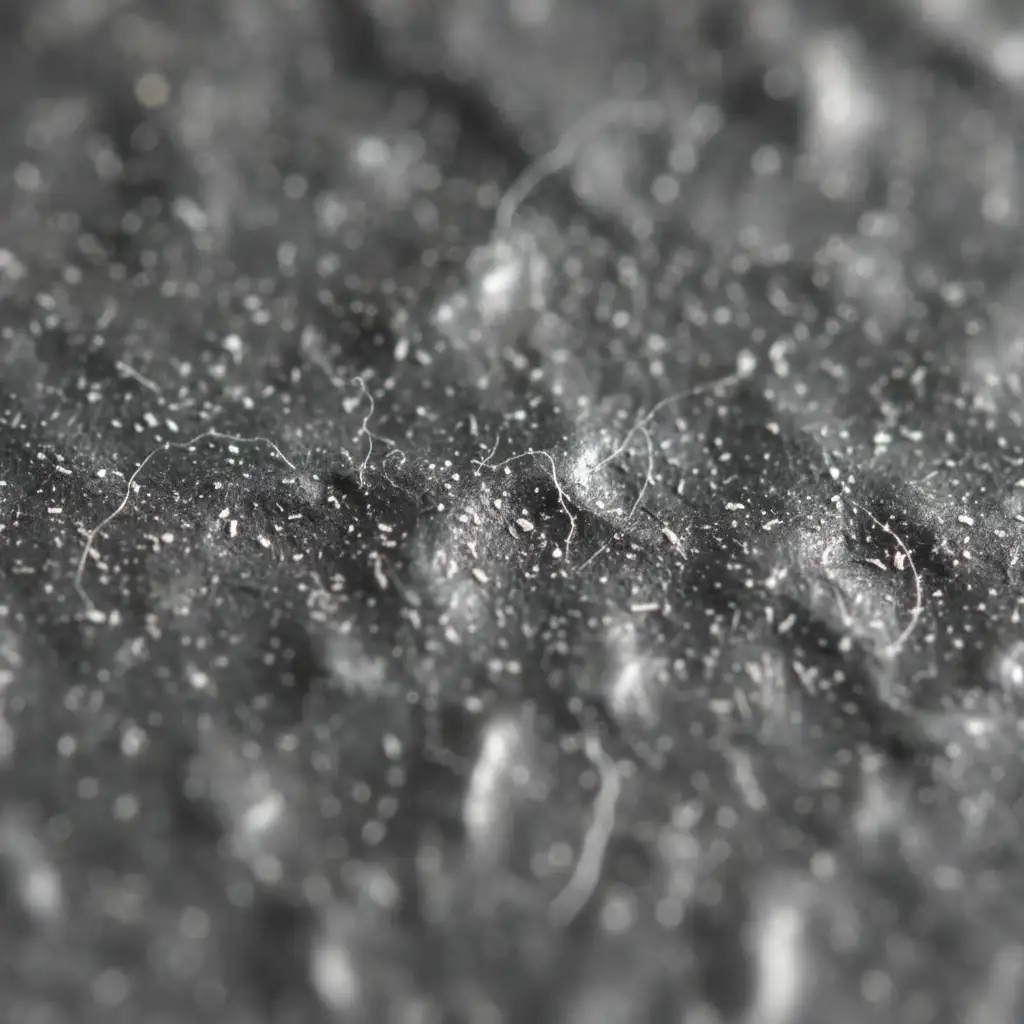
The core pain point with dark commercial products is the extreme luminance contrast. White dust on a black or dark metallic surface represents a massive jump in pixel brightness. Standard blur filters cannot distinguish between the sharp edge of a dust speck and the sharp edge of your product’s logo or texture.
To achieve non-destructive editing that preserves the integrity of the item, we must use techniques that target these specific high-contrast pixels globally.
Method 1: The Quick Fix Using Dust & Scratches
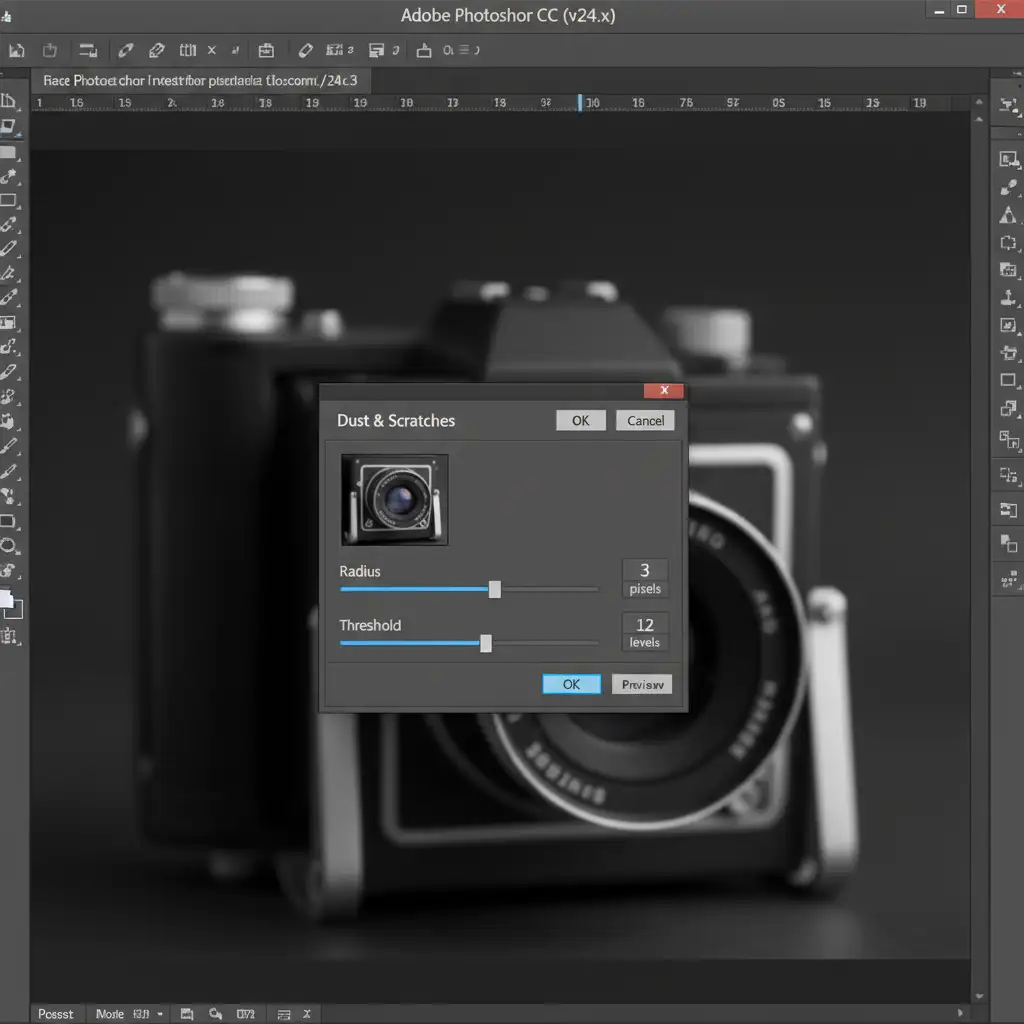
For products with smooth, uniform dark surfaces, the Dust & Scratches filter is a massive time-saver when combined with Smart Objects.
- Convert to Smart Object: Right-click your image layer and select “Convert to Smart Object.” This ensures your adjustments remain non-destructive.
- Apply the Filter: Navigate to Filter > Noise > Dust & Scratches.
- Adjust Radius and Threshold:
- Set the Radius to 2–3 pixels. This blurs the image just enough to make the dust disappear.
- Slowly increase the Threshold slider (usually between 10–15). The Threshold brings back the underlying product texture while keeping the high-contrast dust hidden.
- Refine with Layer Masking: If the filter softens the sharp outer edges of your product, use the Smart Filter’s layer mask to paint black over the edges, restricting the effect strictly to the interior surfaces.
Method 2: The Pro Workaround with Blend-If
When dealing with complex lighting or gradients, relying on the Darken Blend Mode combined with Blend If parameters offers surgical precision. This method mathematically forces bright white specks to vanish.
- Duplicate and Darken: Duplicate your background layer (Ctrl/Cmd + J) and change the layer blend mode to Darken.
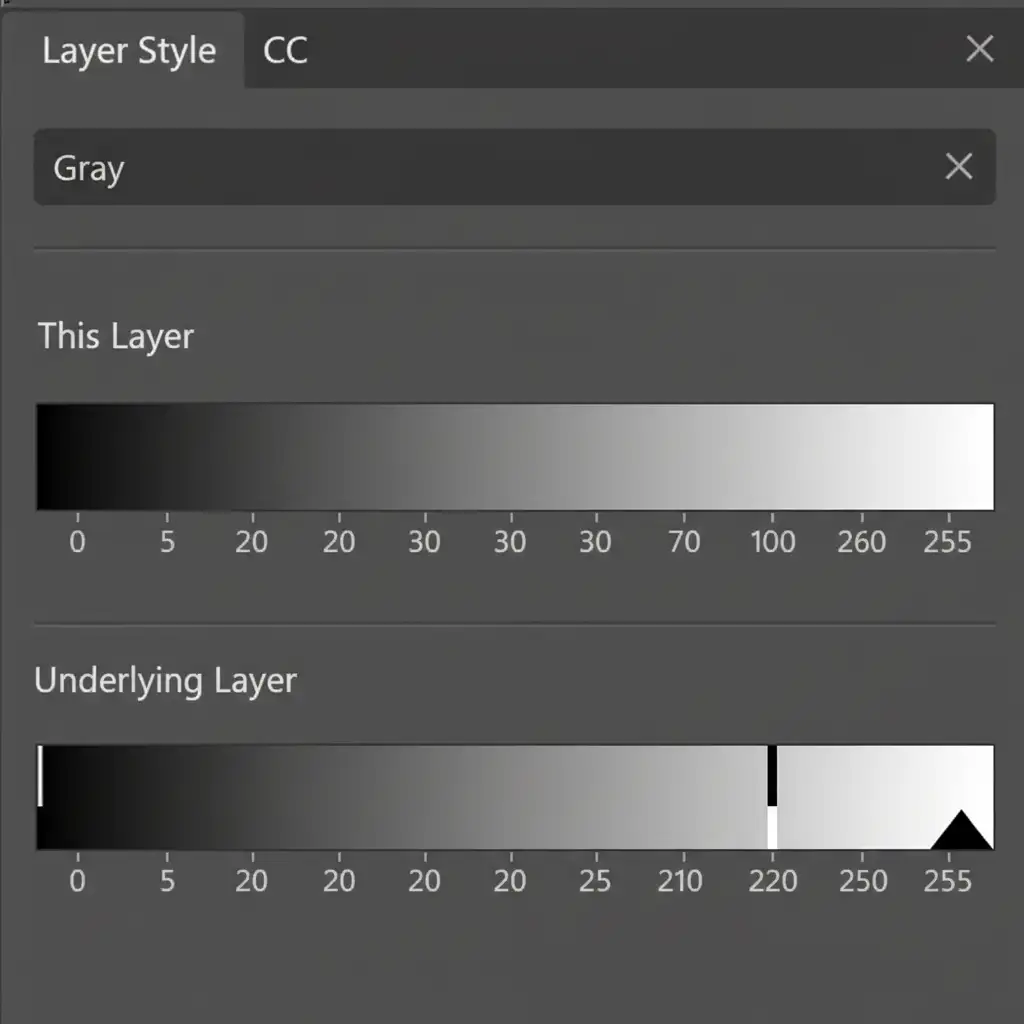
- Open Layer Styles: Double-click the empty space next to the duplicated layer’s name to open the Layer Style dialog box.
- Adjust Blend If: Look at the “Blend If” section at the bottom, ensuring it is set to “Gray.”
- Split the Slider: Go to the “Underlying Layer” gradient bar. Hold Alt (Windows) or Option (Mac) and click the white slider on the far right. Drag the left half of this split slider toward the left.
- The Result: This tells Photoshop to hide the brightest pixels (the white dust) on the current layer, revealing the clean, dark pixels underneath.
Method 3: The Technical Deep-Dive into Frequency Separation
For high-end e-commerce retouching where you cannot afford to lose a single pore of texture, Frequency Separation is the ultimate solution. This technique spatially divides the image into high-frequency texture and low-frequency color.
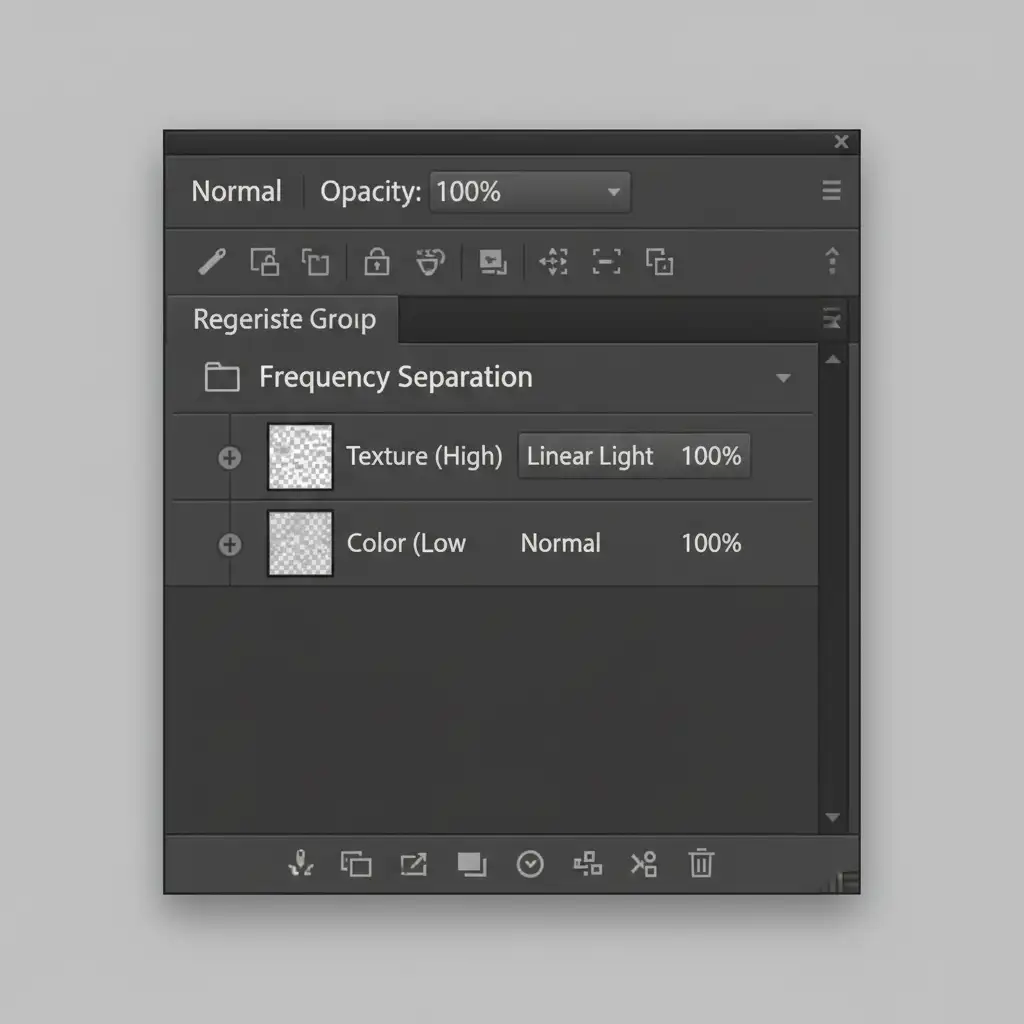
- Create the Layers: Duplicate your background layer twice. Name the bottom duplicate “Color” (Low-Frequency) and the top duplicate “Texture” (High-Frequency). Group them together.
- Blur the Color Layer: Select the “Color” layer. Apply a Gaussian Blur until the white dust just barely melts away.
- Apply Image to Texture Layer: Select the “Texture” layer. Go to Image > Apply Image.
- Layer: Select the “Color” layer.
- Blending: Subtract.
- Scale: 2.
- Offset: 128.
- Change Blend Mode: Set the “Texture” layer’s blend mode to Linear Light. Your image will look exactly like the original, but the data is now split.
- Wipe Away the Dust: Select the Clone Stamp tool. Ensure it is set to sample “Current Layer” only. Select the “Texture” layer. Because the underlying dark gradients and shadows live on the Color layer, you can quickly and aggressively clone over the white dust specks on the Texture layer without ruining the product’s lighting or form.
Scale Your E-Commerce Retouching with the Experts
Efficiently cleaning white dust speckles from dark product photos using these methods will save you hours, but high-volume e-commerce shoots still require massive amounts of post-production time. If you are processing hundreds or thousands of SKUs, even the fastest Photoshop tricks eat into your profit margins and delay your time-to-market.
Stop wasting your team’s valuable time on tedious dust removal. Hire the expert retouching teams at Image Work India and Cloud Retouch. We specialize in flawless, high-volume e-commerce image editing, utilizing advanced non-destructive workflows to ensure your products look pristine, sharp, and ready to convert.
Contact us today to streamline your post-production pipeline and get your images retouched to perfection.


