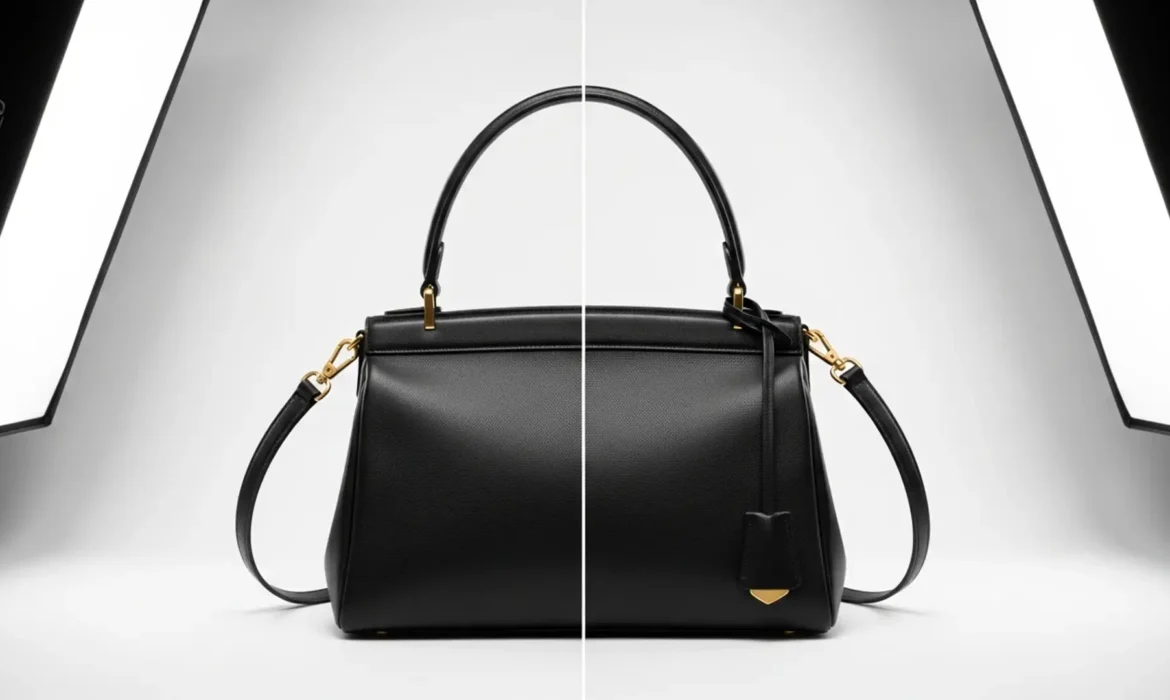
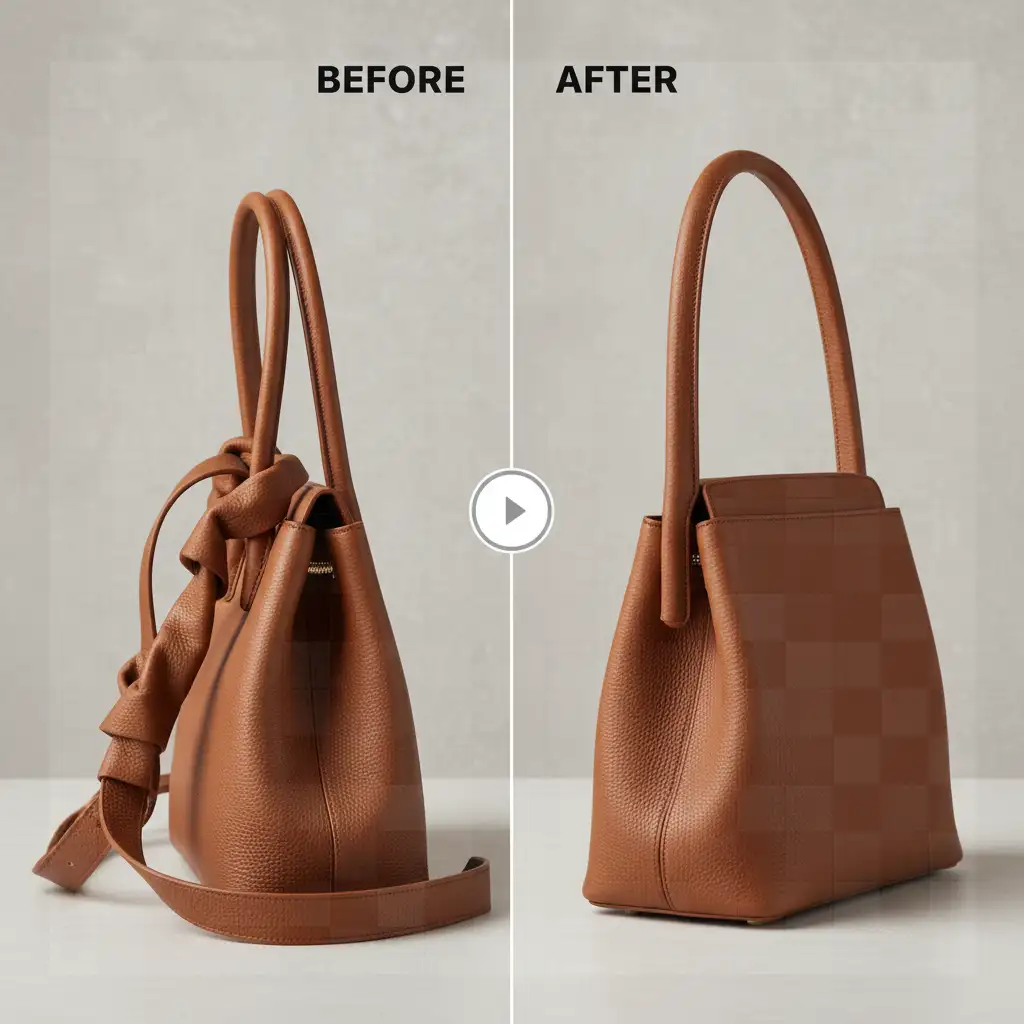
You’ve nailed the lighting, the focus is crisp, and the leather looks luxurious. But there’s one glaring issue: the handbag straps are sagging. In high-end e-commerce retouching, floppy, twisted, or asymmetrical straps can instantly make a premium product look cheap and unprofessional. Physical styling on set often falls short of creating that perfect, gravity-defying arc, leaving the heavy lifting to post-production.
If you are wondering how to straighten bag straps in Photoshop without stretching the leather grain, distorting pixels, or losing the natural lighting gradient, you are in the right place. Standard transform tools simply won’t cut it for curved, stiff materials. Today, we are breaking down the industry-standard mesh-based deformation algorithms that guarantee perfect symmetry.
Why Standard Transform Tools Fail on Leather
When dealing with product photography, preserving the material’s integrity is non-negotiable. Using basic scaling or standard warping on a curved strap often results in stretched leather textures and warped lighting highlights. To achieve a flawless finish, professional retouchers rely on non-destructive editing techniques that isolate the strap and manipulate it through advanced mesh grids or precise pathing.
Here are the three best methods to straighten bag straps in Photoshop CC v25.x and newer.
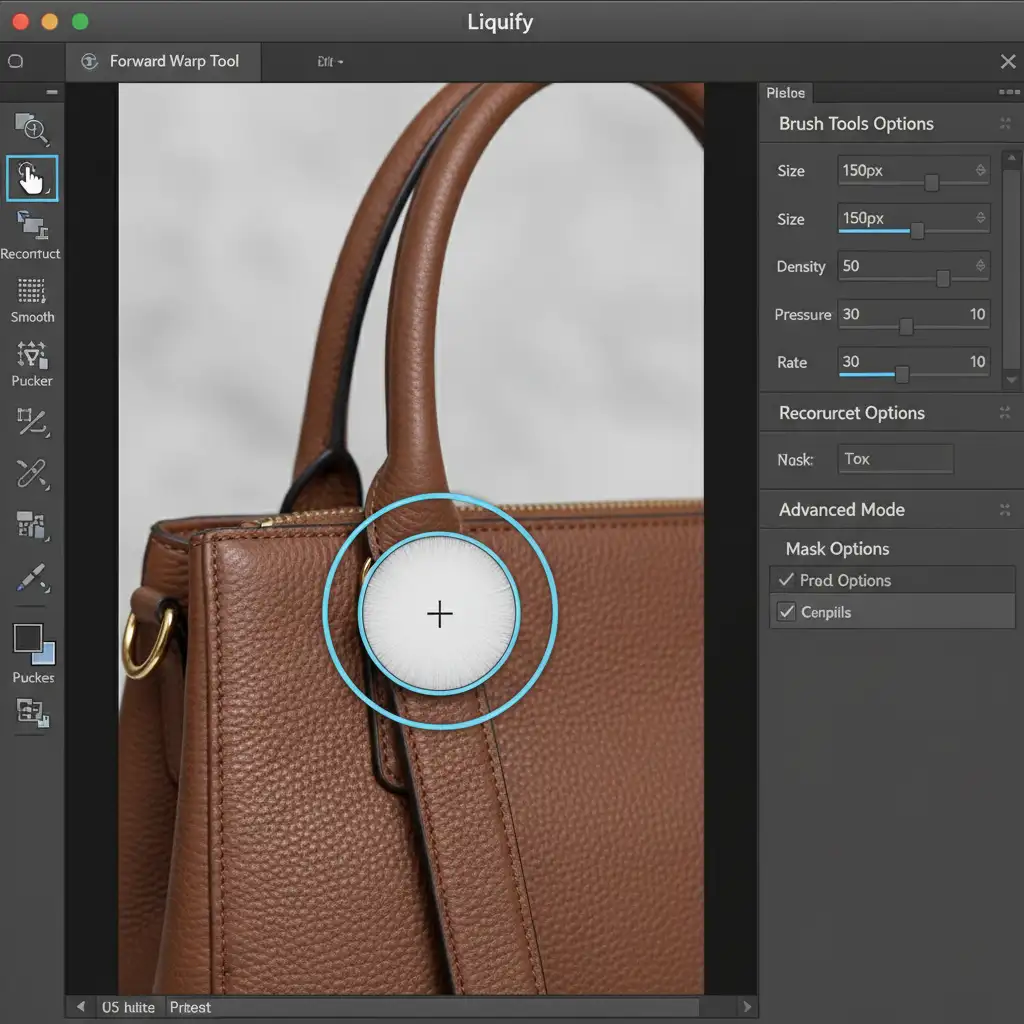
Method 1: The Quick Fix (The Liquify Tool)
For minor kinks, slight asymmetries, or small bumps in an otherwise decent strap, the Liquify Tool is your fastest option.
Step-by-Step Workflow:
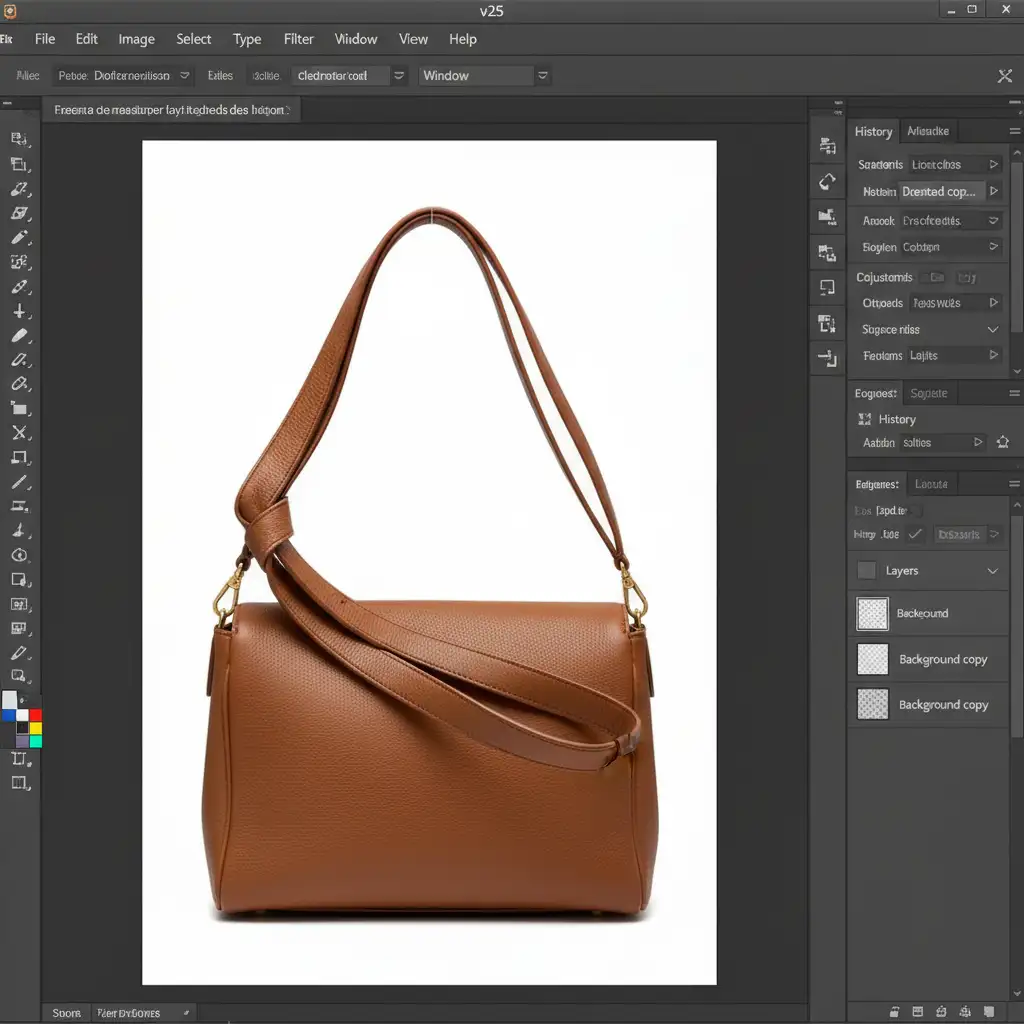
- Prepare the Layer: Duplicate your product layer and convert it to a Smart Object to ensure non-destructive editing.
- Open Liquify: Press Shift + Ctrl + X (Windows) or Shift + Cmd + X (Mac) to open the Liquify dialogue box.
- Select the Forward Warp Tool: Choose the Forward Warp Tool from the left toolbar.
- Adjust Brush Settings: This is the critical step. Set your brush size to be slightly larger than the width of the strap. A brush that is too small will create localized dents, while a brush that is too large will warp the surrounding background.
- Gently Push: Carefully push the edges of the strap to smooth out the curve.
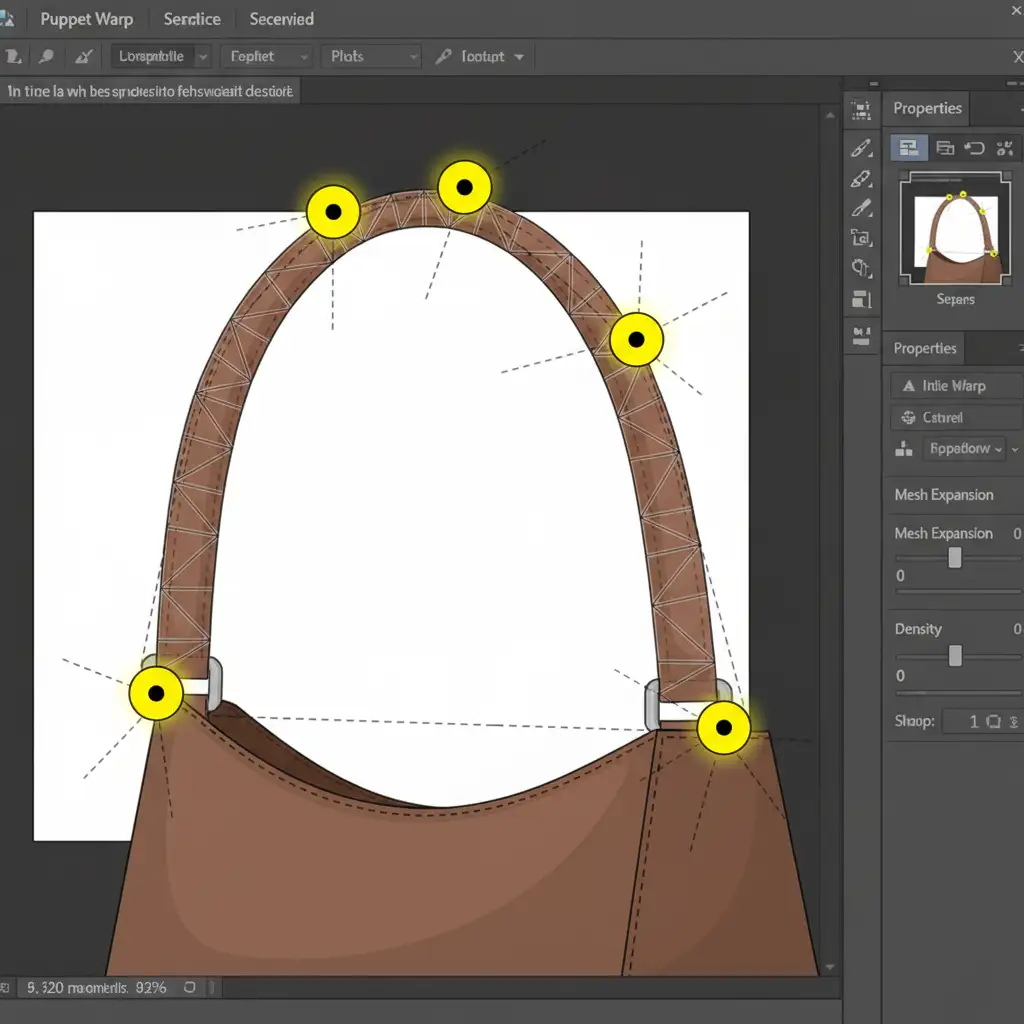
Method 2: The Pro Workaround (Puppet Warp)
When a strap is heavily sagging and needs to be completely reshaped into a stiff, perfect arc, Puppet Warp is the industry standard. It allows you to lock specific parts of the image while bending others.
Step-by-Step Workflow:
- Isolate the Strap: Use the Pen Tool to cut out the strap onto its own layer. Convert this layer to a Smart Object.
- Activate Puppet Warp: Navigate to Edit > Puppet Warp. A geometric mesh will appear over your strap.
- Place Anchor Pins: Click to place yellow anchor pins at the absolute base of the strap (where it connects to the bag) to lock it in place.
- Reshape the Arc: Place additional pins along the apex of the curve. Click and drag these pins upward and outward to rebuild the natural stiffness of the strap. The mesh ensures the leather texture bends smoothly without pixel distortion.
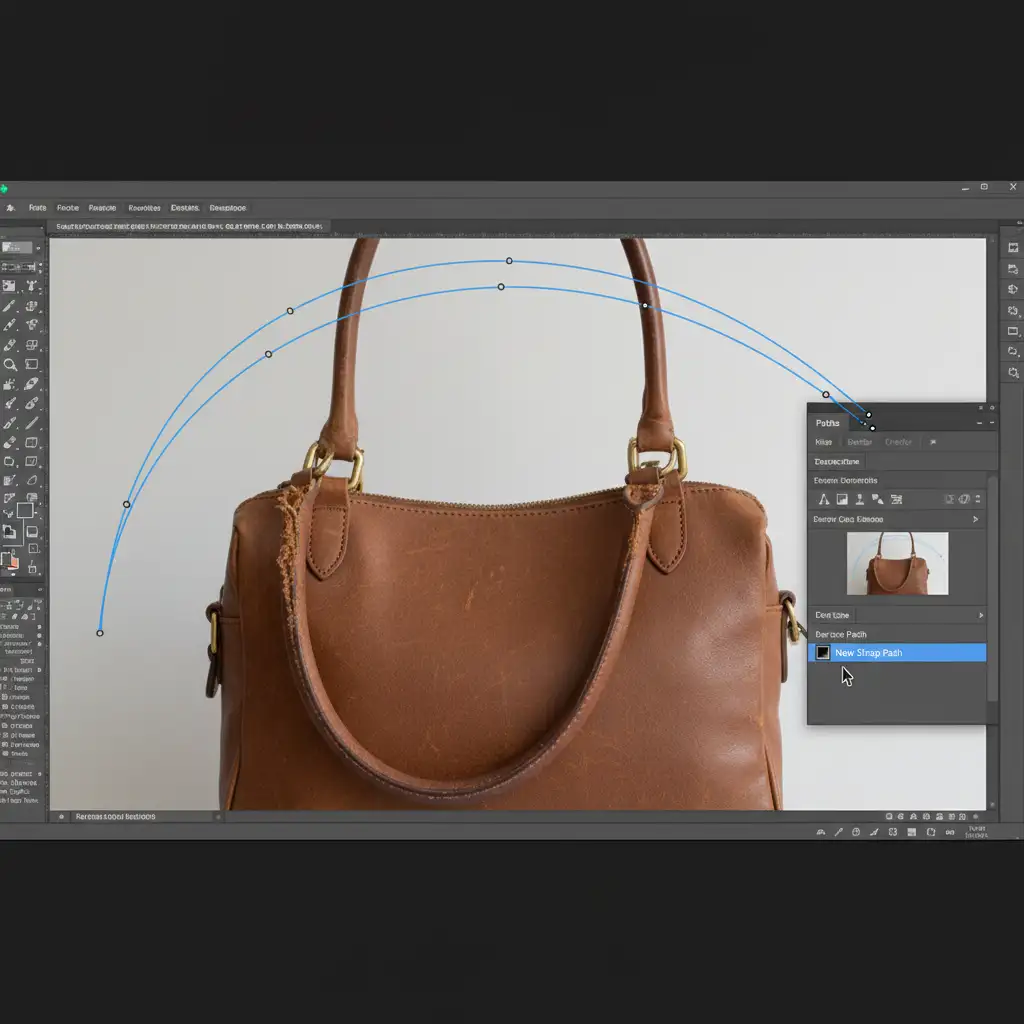
Method 3: The Technical Deep-Dive (Pen Tool & Custom Warp)
For heavily damaged straps that cannot be salvaged through pushing or pulling, you must rebuild the strap using a clean section of leather and a perfect Bezier curve.
Step-by-Step Workflow:
- Draw the Perfect Arc: Select the Pen Tool and draw a flawless, symmetrical Bezier curve over where the strap should be.
- Harvest Clean Texture: Find a straight, clean section of the existing strap. Duplicate it onto a new layer and convert it to a Smart Object.
- Custom Warp: Go to Edit > Transform > Warp. Change the Grid option in the top toolbar to “Custom” (e.g., a 1×3 or 1×4 grid depending on the strap length).
- Map to the Path: Carefully drag the grid handles to map your clean leather texture exactly along the perfect Pen Tool path you created.
- Blend: Use Layer Masking with a soft brush to seamlessly blend the base of your newly constructed strap into the hardware of the handbag.
Achieving Perfect Symmetry in Post-Production
Regardless of which method you choose, the goal of e-commerce retouching is perfection. Always check your work by dropping a vertical guide down the center of the handbag to ensure both sides of the strap peak at the exact same height and angle.
Streamline Your E-commerce Retouching Workflow
Learning how to straighten bag straps in Photoshop is essential for any product photographer, but executing these techniques across hundreds of SKUs is incredibly time-consuming. When you are managing a massive seasonal catalog, spending 15 minutes perfecting a single handbag strap simply isn’t scalable.
Struggling with high-volume product retouching? Let the experts handle the heavy lifting. At Image Work India and Cloud Retouch, our specialized team of retouchers delivers pixel-perfect, flawless eCommerce images for global brands. From complex Puppet Warp strap reconstructions to precise color correction and clipping paths, we ensure your products look luxurious, symmetrical, and ready to convert.
Contact Image Work India and Cloud Retouch today to scale your post-production and elevate your brand’s visual standard.


