
Are you tired of automated background removal tools ruining your premium product shots? While Photoshop’s latest features are powerful, fixing AI ghost mannequin artifacts on structured bags and hats remains a massive headache for e-commerce retouchers. When dealing with rigid materials and deep interior linings, tools like Generative Fill often leave behind jagged edges, awkward lighting mismatches, and frustrating AI halos.
If your luxury accessories look warped or artificially blended after a pass through automated software, you need manual precision. In this guide, we will break down the exact professional workflows required to rescue your 3D product photos and achieve flawless, retail-ready results.
Why Automated AI Fails on Structured Accessories
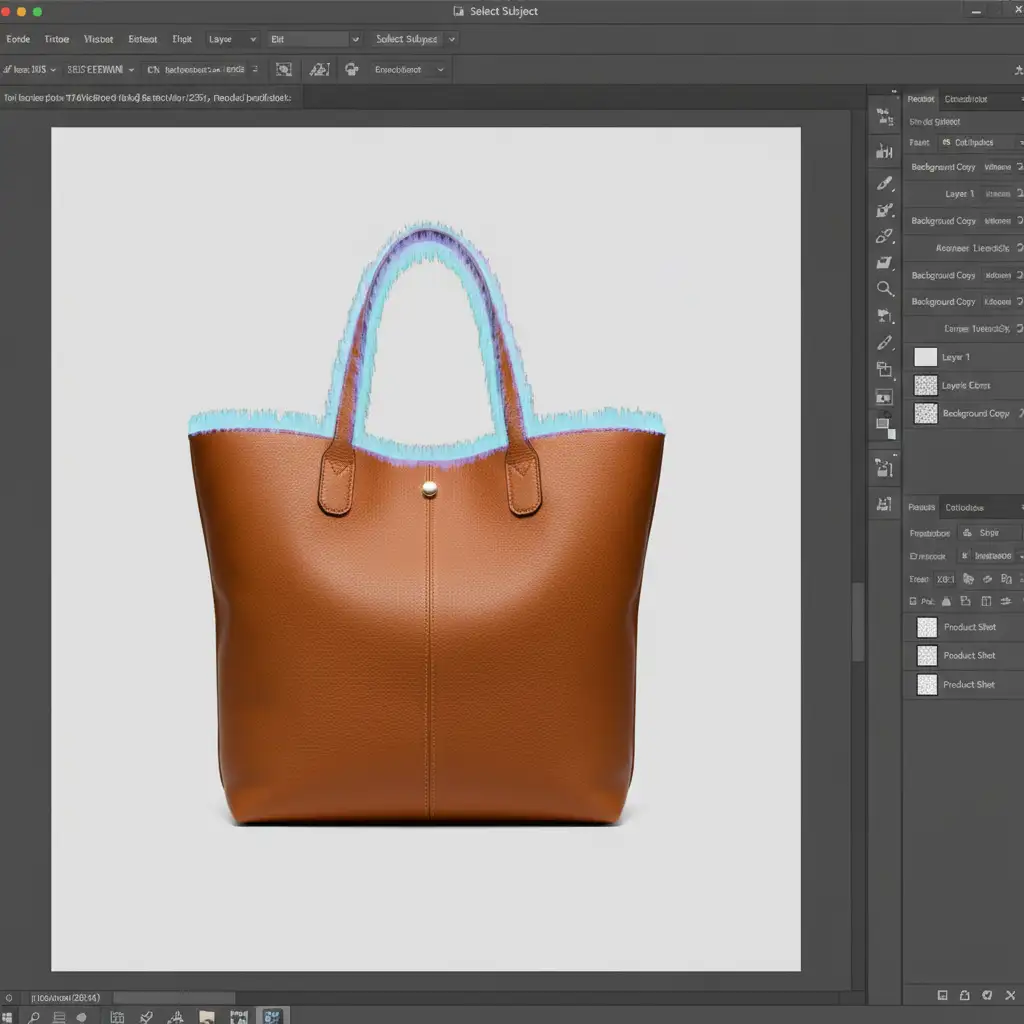
In Photoshop v24.x to v25.x, automated masking and Generative Fill features rely on contrast and pattern recognition. While this works beautifully for flowing garments like t-shirts, it struggles with the rigid structure and interior depth of structured bags and hats.
The software often misinterprets the 3D structure where the mannequin or stand meets the product. This results in AI halos (residual pixels from the prop) and warped interior edges that instantly cheapen the look of a premium item.
To achieve a true, high-end e-commerce finish, you must move beyond the AI’s default raster mask and implement manual composite techniques. Here are three methods to fix these artifacts, ranging from quick touch-ups to high-end commercial retouching.
Method A: The Quick Fix for Minor AI Halos
If the AI did a decent job but left a few glowing pixels or minor smudges along the rim of the hat or bag, you don’t necessarily need to start from scratch.
- Create a new blank layer above your product layer.
- Select the Remove Tool or the Spot Healing Brush.
- Ensure “Sample All Layers” is checked.
- Carefully paint away the minor AI-generated halos along the rim.
Pro Tip: Always do this on a blank layer. This preserves your original pixels and allows you to easily erase any healing mistakes without damaging the underlying product texture.
Method B: The Pro Workaround Using Vector Masks
When the AI completely mangles the rigid edge of a structured bag, you must bypass automated selections entirely. AI tools create a raster mask based on pixel contrast, which often results in jagged, uneven lines on hard surfaces like leather or stiff felt.
Instead, you need the absolute precision of a Vector Mask.
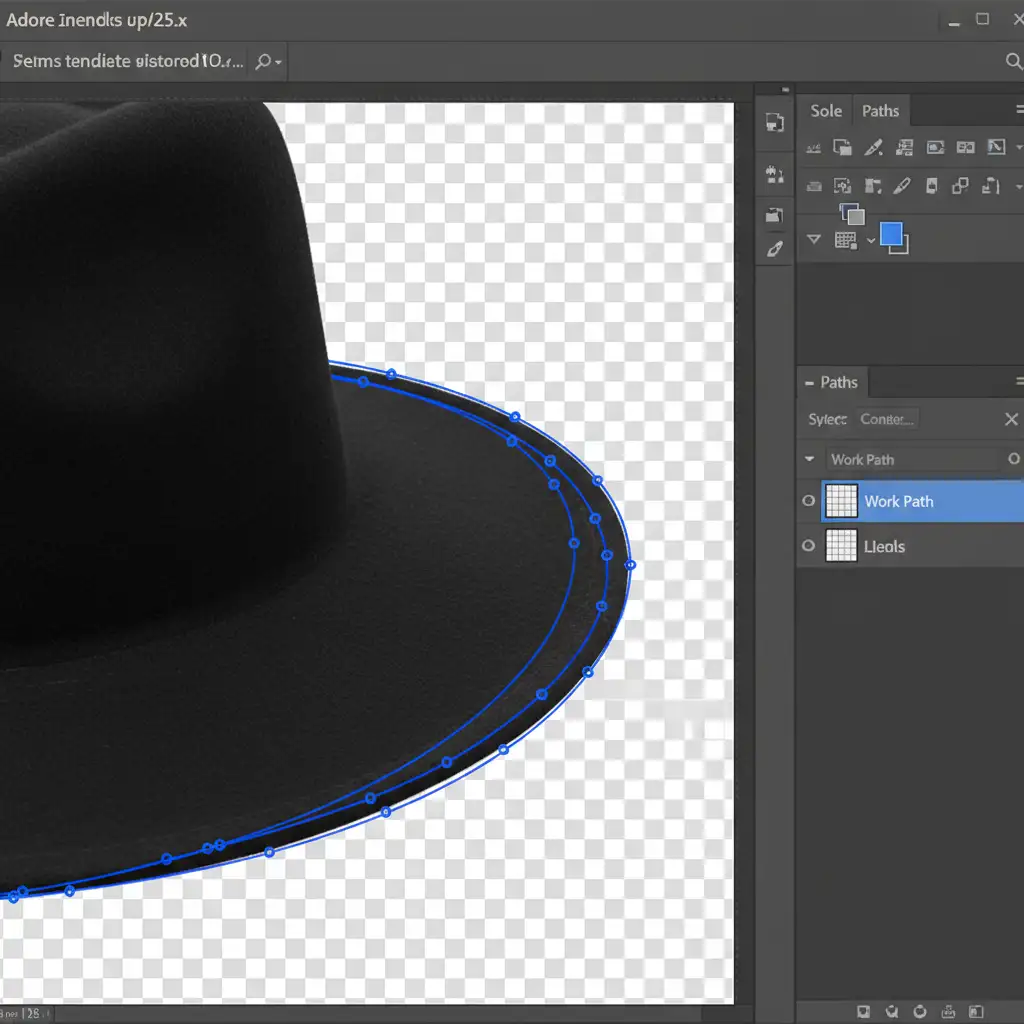
- Select the Pen Tool and carefully draw a path outlining the rigid exterior and interior edges of the item.
- Convert your Pen Tool path into a precise Vector Mask. This guarantees a razor-sharp edge that mimics the physical cut of the material.
- Bring in a separate reference photo of the bag’s interior lining (usually shot flat or inside-out).
- Create a new layer and use the Clone Stamp tool (set to “Current & Below”) to rebuild the interior lining, using the clean reference photo to cover the AI’s warped mistakes.
Method C: The Technical Deep-Dive (Frequency Separation)
The most complex issue with AI ghost mannequin edits is the texture and lighting mismatch. When Generative Fill tries to recreate the inside collar of a bag, it often blends the lighting incorrectly, resulting in a blurry, plastic-looking texture that doesn’t match the exterior leather or canvas.
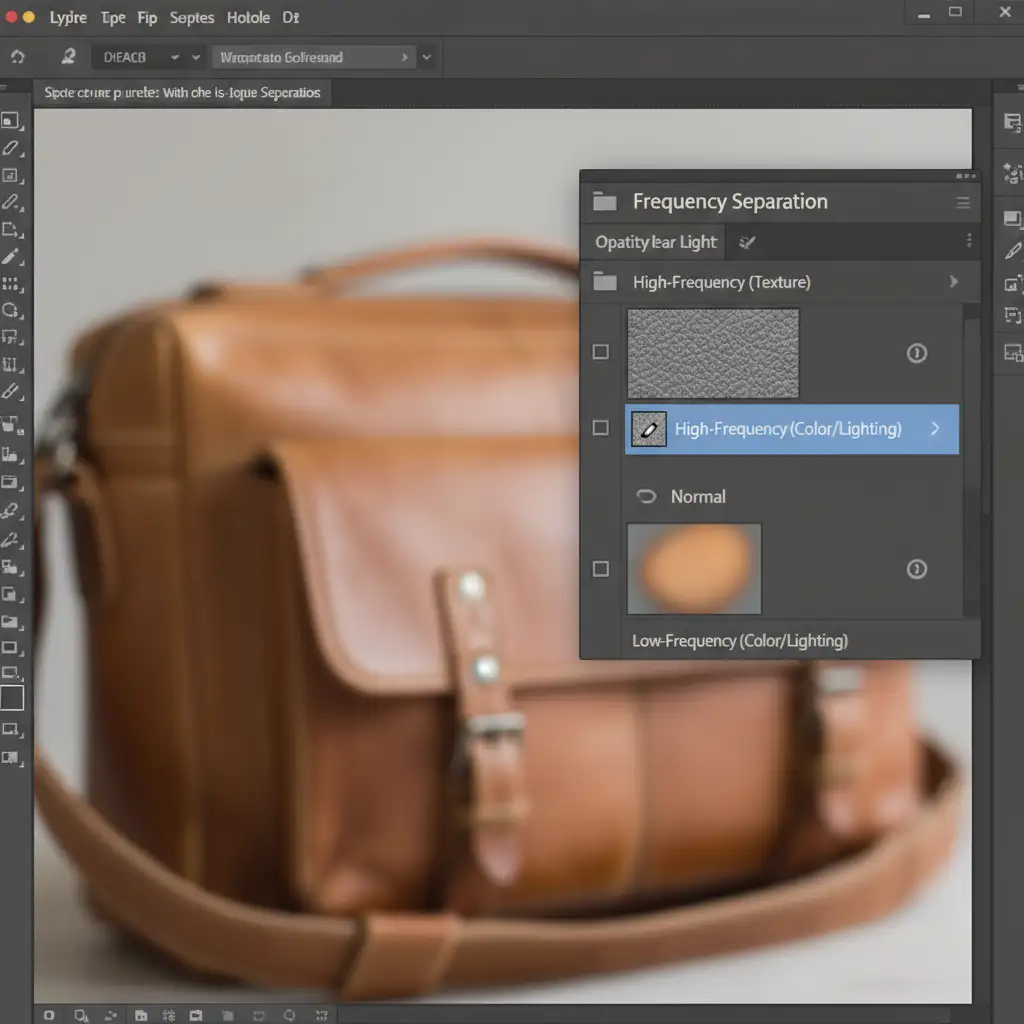
The solution is Frequency Separation, a high-end retouching technique that separates the image into two distinct layers: texture and lighting.
Step-by-Step Frequency Separation for Ghost Mannequins:
- Create the Layers: Duplicate your AI-generated fill area twice. Name the bottom layer “Low-Frequency” (color/lighting) and the top layer “High-Frequency” (texture).
- Isolate Lighting: Apply a Gaussian Blur to the Low-frequency layer until the texture disappears, leaving only the color and lighting gradients.
- Isolate Texture: Apply the “Apply Image” command to the High-frequency layer (Subtract blending mode, Scale 2, Offset 128) and change its blending mode to Linear Light.
- Fix the Lighting: Select the Low-frequency layer. Use a soft brush or Gaussian Blur to smooth out the mismatched lighting gradients the AI created on the interior lining.
- Graft the Texture: Select the High-frequency layer. Use the Clone Stamp tool to sample clean leather or fabric textures from unedited parts of the bag, grafting them over the AI-blurred areas.
The Final Polish: Composite Layers and Lighting
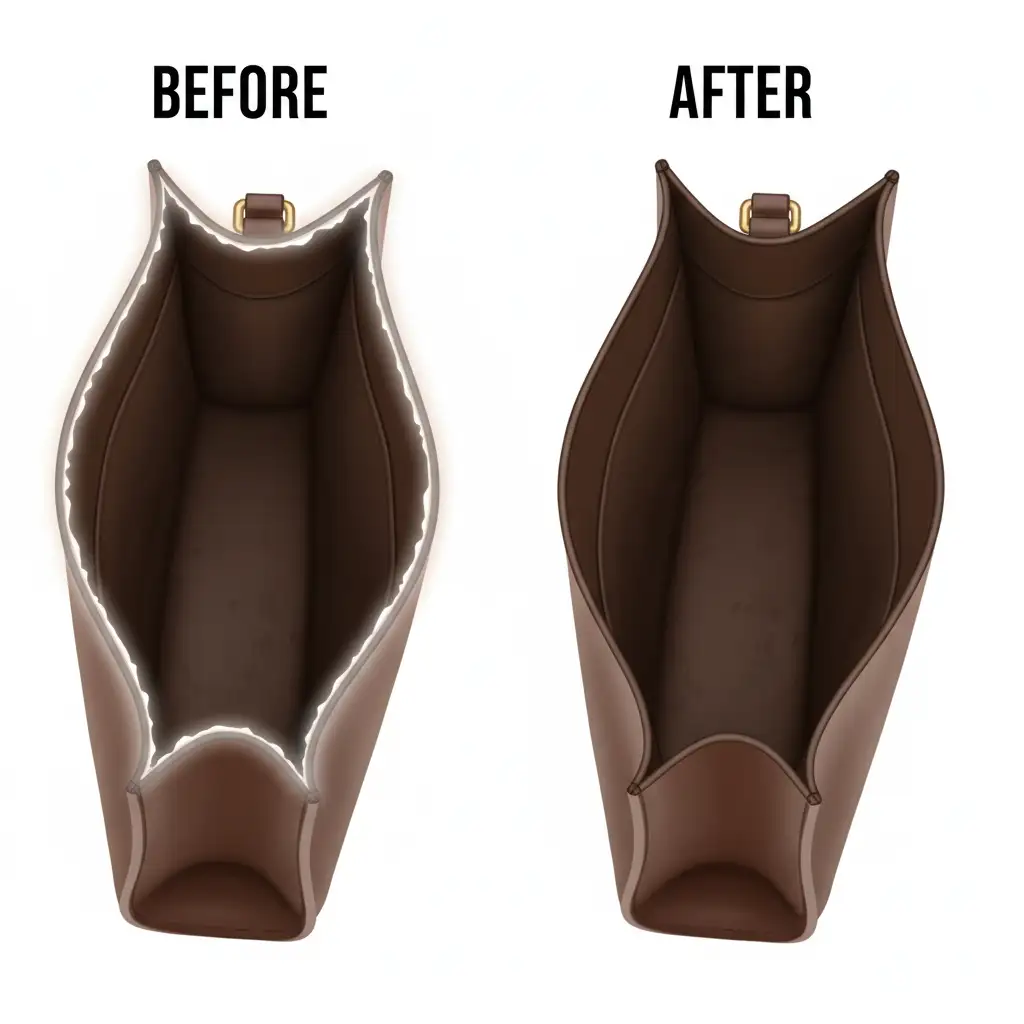
Once your edges are sharp and your textures are repaired, the final step is blending your composite layers. Ensure that the shadows cast by the front lip of the bag fall naturally onto the newly rebuilt interior back wall.
By combining precise vector masking with texture repair, you completely eliminate the tell-tale signs of automated editing.
Let the Experts Handle Your E-Commerce Retouching
Fixing AI ghost mannequin artifacts on structured bags requires a deep understanding of lighting, texture, and advanced Photoshop techniques. While mastering vector masks and frequency separation will elevate your imagery, it is incredibly time-consuming—especially when dealing with hundreds of product SKUs.
Struggling with inconsistent AI edits for your premium accessories? Let the experts at Image Work India and Cloud Retouch manually perfect your ghost mannequin images. Our team of senior retouchers specializes in high-volume, pixel-perfect e-commerce editing, ensuring your structured bags, hats, and garments are presented flawlessly.
Contact us today to streamline your post-production workflow and give your products the premium presentation they deserve.


