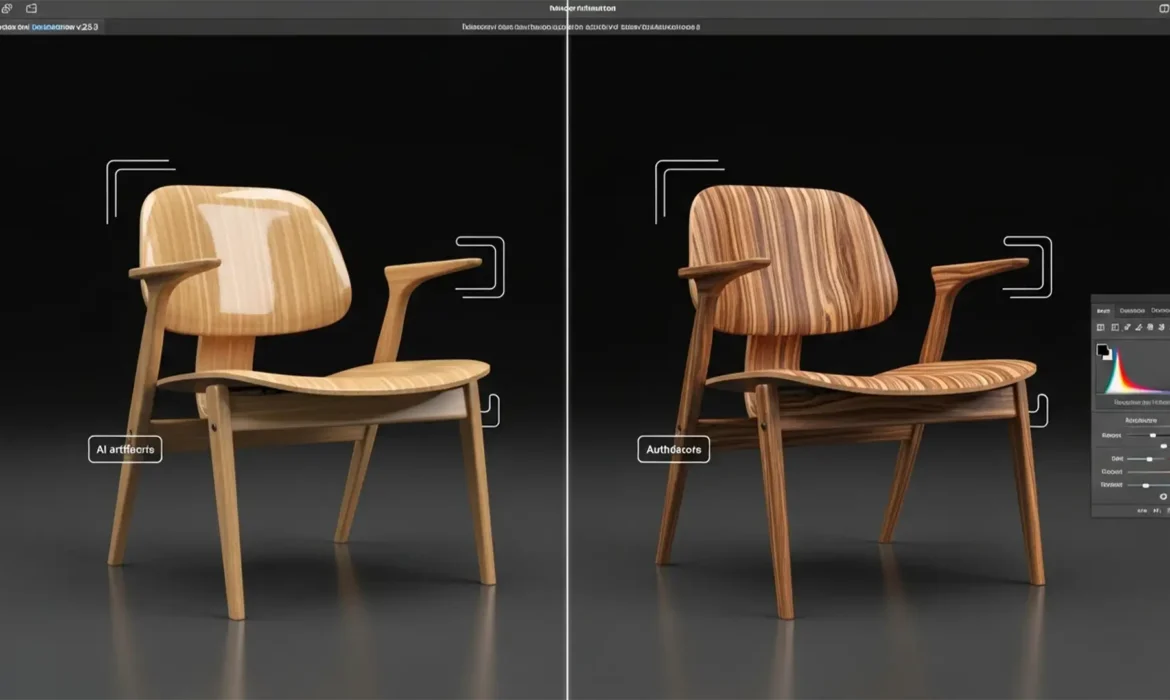
You just used Photoshop Generative Fill to extend a background or fix a scratch on a beautiful mahogany dining table. The geometry is perfect, the lighting matches seamlessly, but there is a glaring problem: the wood looks like cheap plastic.
In Adobe Photoshop v25.0 and later, diffusion models prioritize global lighting over micro-textures, completely obliterating the natural pores and striations of timber. This “AI glaze” is the fastest way to ruin a high-end product catalog. If you are struggling with restoring wood grain texture in AI furniture edits, you are not alone.
Here is the professional retouching workflow to eliminate AI artifacting and bring realistic, tactile texture back to your product images.
Why Generative Fill Destroys High-Frequency Texture
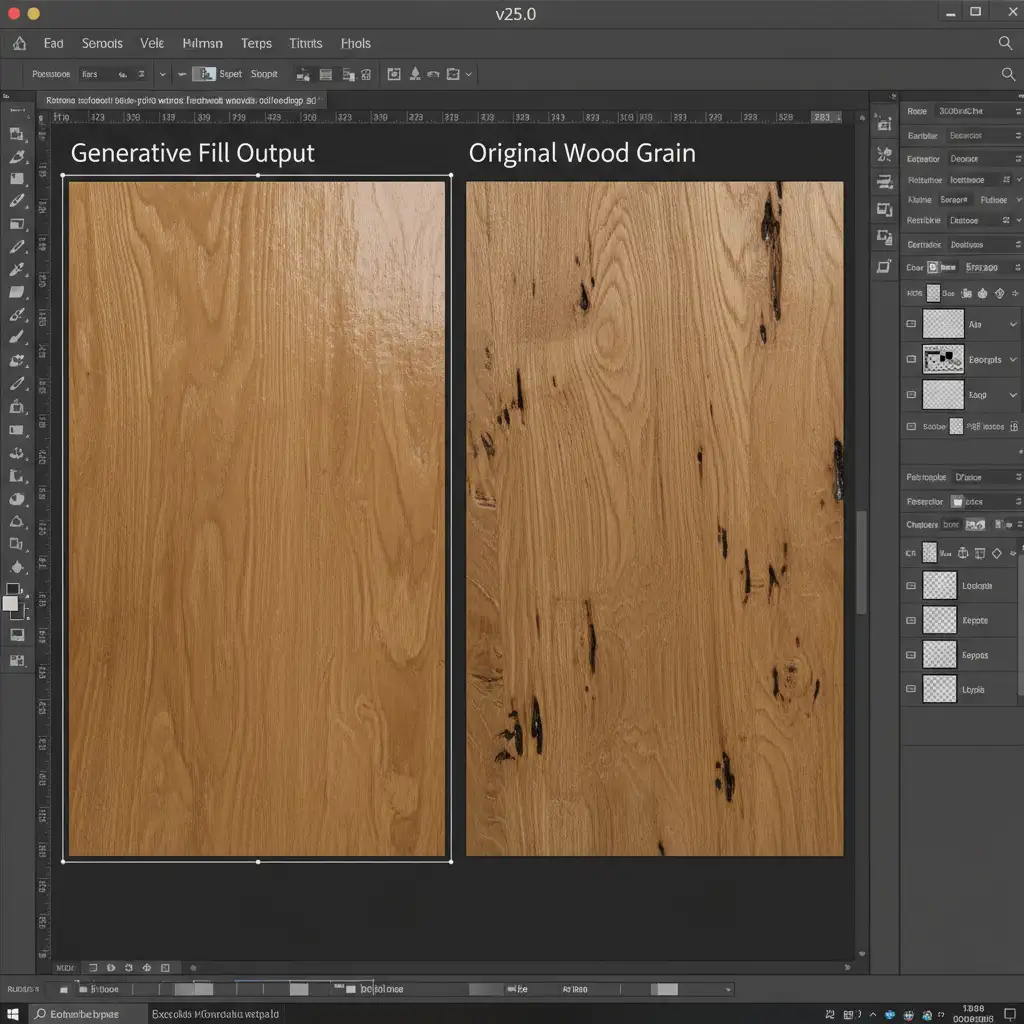
To fix the problem, you need to understand why it happens. AI image generators are trained to understand low-frequency data (global lighting, shadows, and color gradients) and structure. However, they consistently fail at generating accurate high-frequency data—the localized, granular details like wood grain texture, fabric weave, or leather pores.
When you expand or modify wooden furniture, the AI smooths out these microscopic variations. To fix this, professional retouchers do not rely on generating new texture; instead, they manually re-introduce high-frequency texture data from the original, unedited photo without destroying the AI-generated lighting and geometry.
3 Methods for Restoring Wood Grain Texture in AI Furniture Edits
Depending on the complexity of the AI artifacting, you can use one of these three professional techniques to recover the lost grain.
Method 1: The Quick Fix (Original Texture Overlay & Blend If)
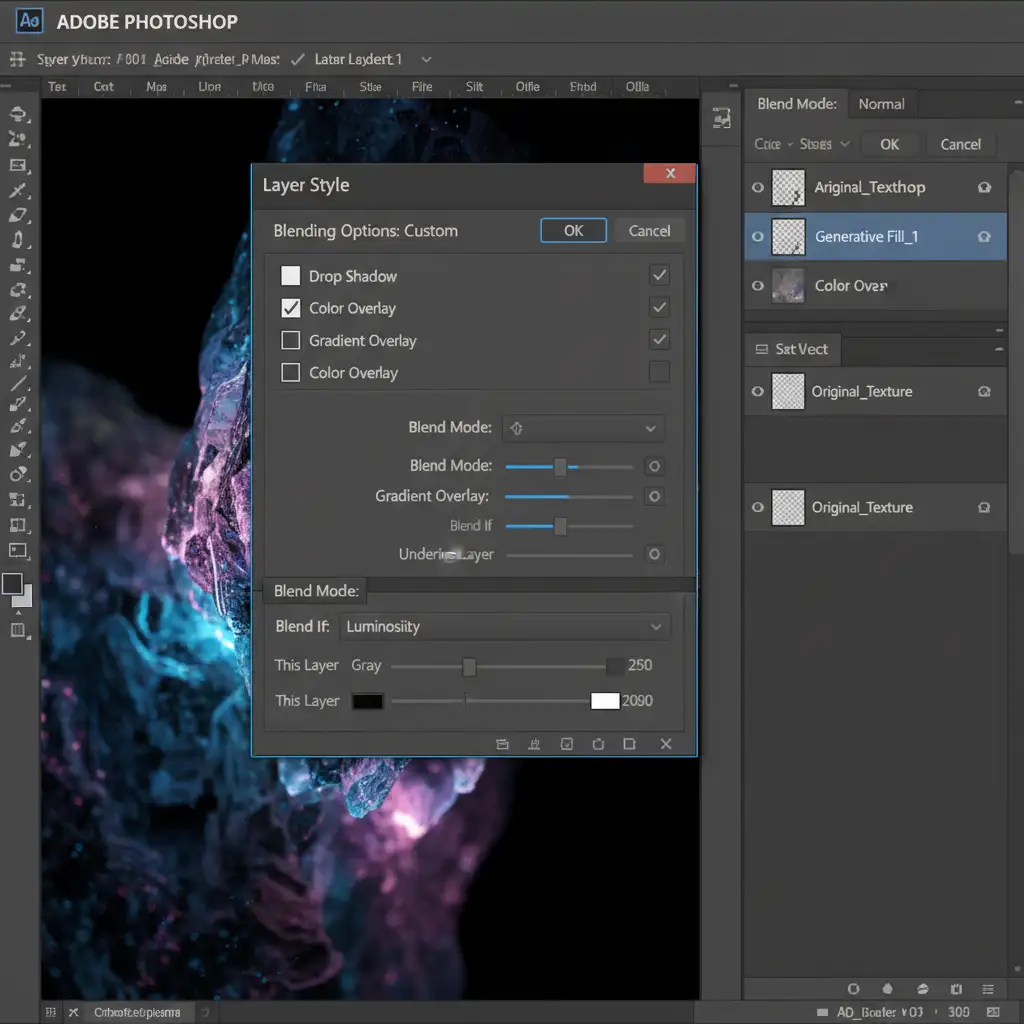
If the AI generation is relatively flat and aligns well with the original geometry, a simple layer overlay combined with Photoshop’s Blend If function is highly effective.
- Duplicate the Original: Duplicate your original unedited wood layer and drag it above your Generative Fill layer in the Layers Panel.
- Change Blend Mode: Set the blending mode of this duplicated layer to Luminosity or Overlay, depending on how much contrast the grain needs.
- Apply Blend If: Double-click the layer to open the Layer Style dialog box. Locate the Blend If section at the bottom.
- Protect Shadows and Highlights: Hold Alt (or Option on Mac) and drag the underlying layer sliders apart. This ensures the texture only applies to the midtones, preventing the grain from looking unnatural in deep shadows or bright highlights.
- Adjust Opacity: Drop the layer opacity to 30–50 percent to blend the wood grain texture naturally into the AI-generated base.
Method 2: The Pro Workaround (Frequency Separation)
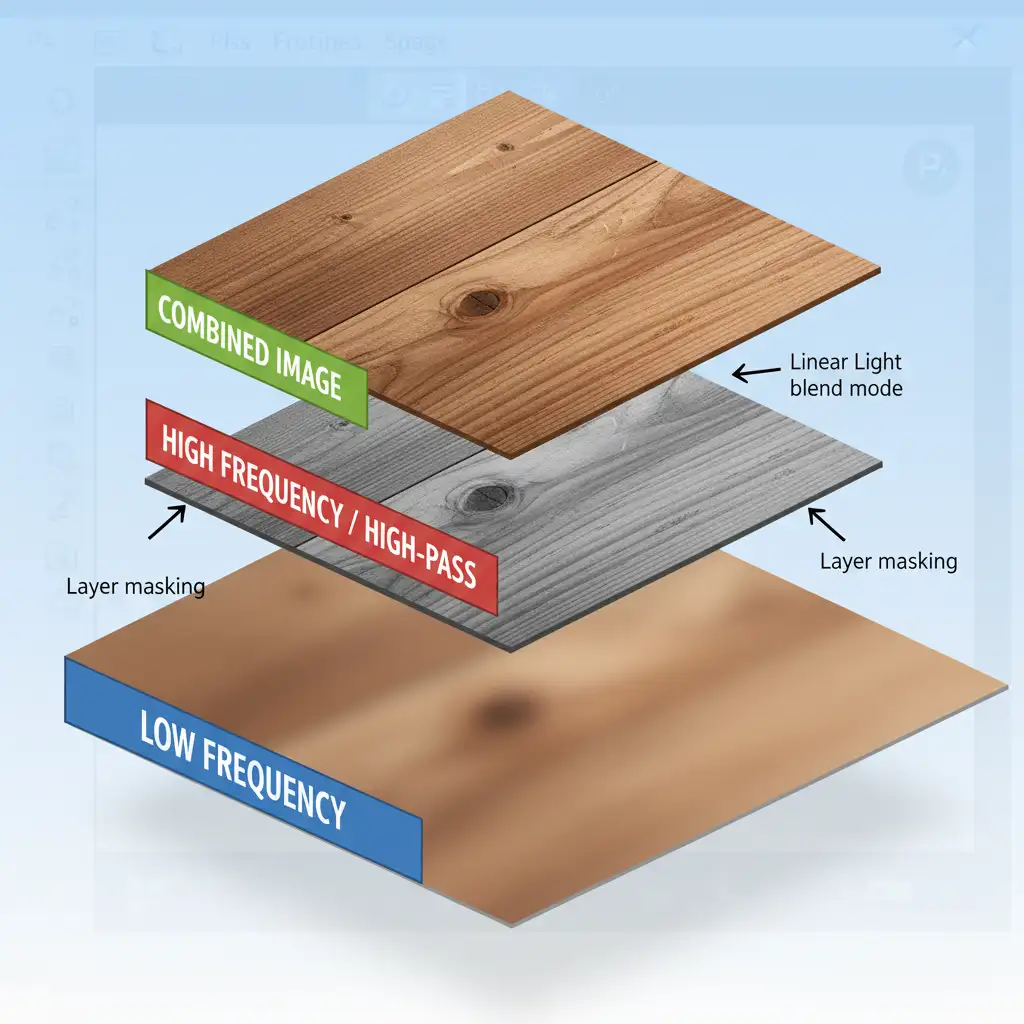
When the lighting of the AI generation is perfect but the texture is ruined, Frequency Separation is the industry-standard solution. This technique splits your image into two distinct layers: Color/Low-frequency and Texture/High-frequency.
- Create the Separation: Run a standard Frequency Separation action on your original, unedited image. (This uses a Gaussian Blur for the low layer and an Apply Image / High-pass filter for the high layer).
- Isolate the Texture: Copy only the High Frequency (Texture) layer.
- Clip to the AI Layer: Paste this texture layer above your Generative Fill layer and clip it directly to it (Ctrl+Alt+G or Cmd+Option+G).
- Set to Linear Light: Change the texture layer’s blend mode to Linear Light.
- Mask the Effect: Add a black layer mask to the texture layer. Use a soft white brush to paint the original wood grain back in only where the AI smoothed it out. This replaces the plastic look with real, high-frequency details.
Method 3: The Technical Deep-Dive (Displacement Maps & Pattern Stamp)
If the AI generated a completely new structural element—like an extended curved chair leg—you cannot simply overlay a flat texture. You need the grain to wrap around the 3D geometry of the new AI pixels. This requires a Displacement Map.
Step 1: Extract the Texture
Find a clean patch of wood grain from the original image. Select it, and go to Edit > Define Pattern. You can now use the Pattern Stamp Tool or a Pattern Fill layer to generate an infinite sheet of this grain.
Step 2: Create the Displacement Map
- Hide the texture layer temporarily.
- Create a duplicate of your entire working document.
- Desaturate the duplicate and heavily increase the contrast using a Curves adjustment. Save this file as a .PSD. This is your Displacement Map.
Step 3: Wrap the Grain
- Go back to your main document. Create a 50% gray layer, clip it to your Generative Fill layer, and fill it with your saved wood pattern.
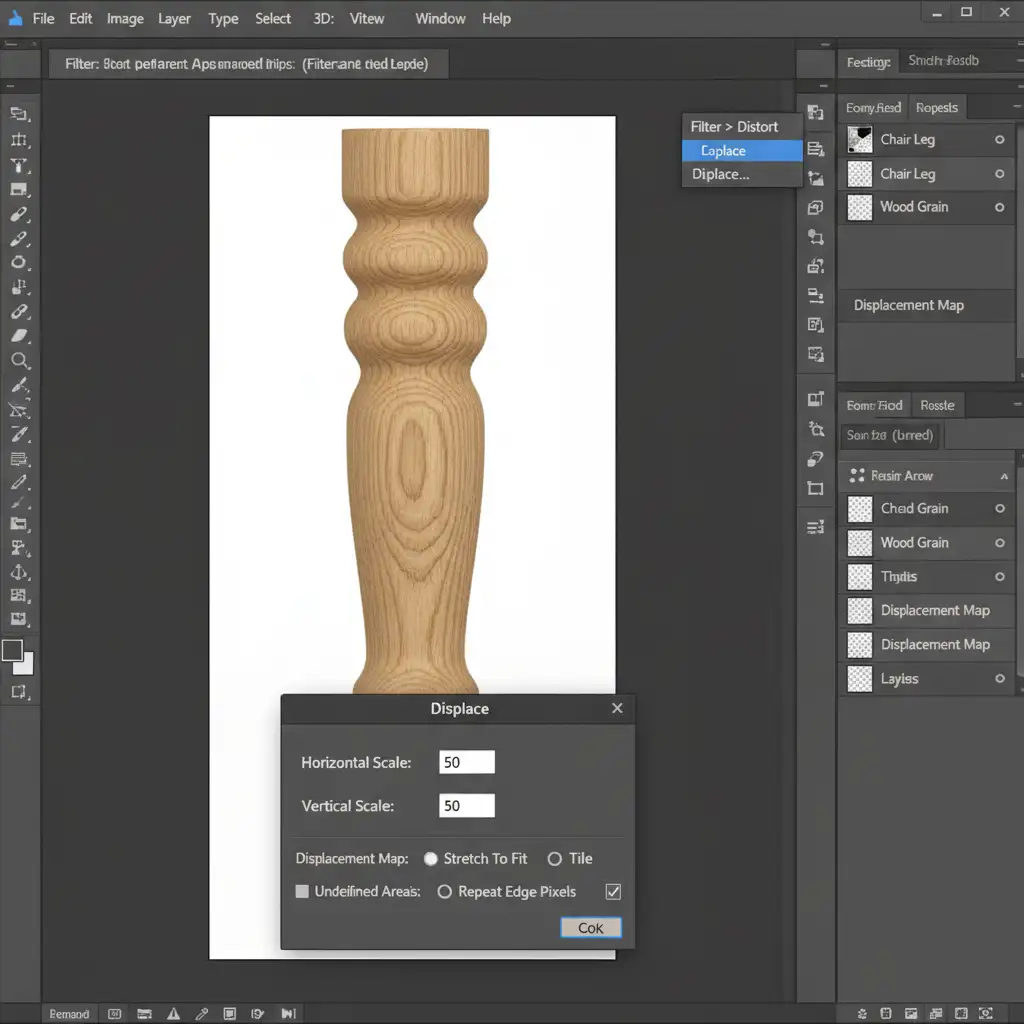
- Go to Filter > Distort > Displace.
- Select the .PSD file you just saved. Photoshop will use the light and dark values of the AI-generated furniture to physically warp and bend the wood grain pattern so it perfectly hugs the curves and edges of the object.
- Set the layer to Overlay or Soft Light and adjust the opacity.
Stop Fighting AI Artifacting: Outsource Your Furniture Retouching
Restoring wood grain texture in AI furniture edits is a meticulous, highly technical process. While Frequency Separation and Displacement Maps yield flawless results, applying these techniques across hundreds of product photos in an e-commerce catalog drains massive amounts of time and resources.
Don’t let AI artifacts ruin your product catalog or slow down your production pipeline. At Image Work India and Cloud Retouch, our team of specialized retouchers handles complex texture mapping, color correction, and high-end furniture retouching with pixel-perfect precision. We preserve every natural detail so your products look authentic, premium, and ready to sell.
Ready to scale your image editing? Contact Image Work India and Cloud Retouch today to get a custom quote for your next product photography batch.


