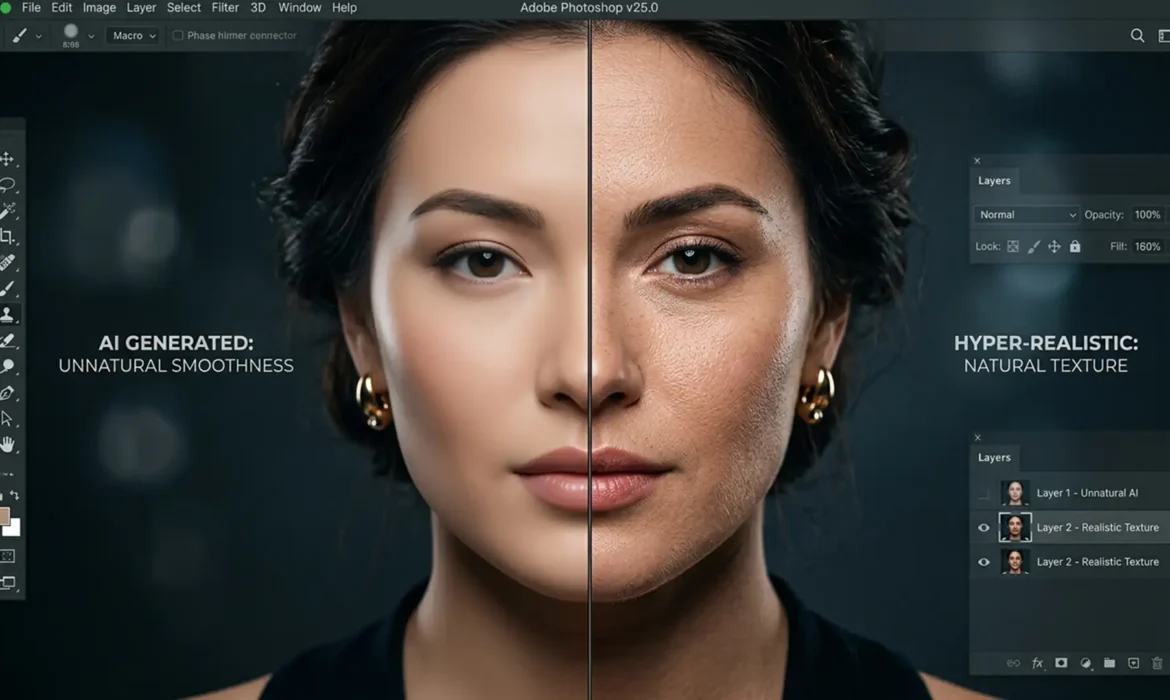
Photoshop’s Generative Fill is undeniably powerful, but if you restore skin texture or fashion portraits, you have likely hit a frustrating wall. While the Firefly AI model excels at replacing broad areas and generating structural content, it consistently fails to replicate high-frequency skin details.
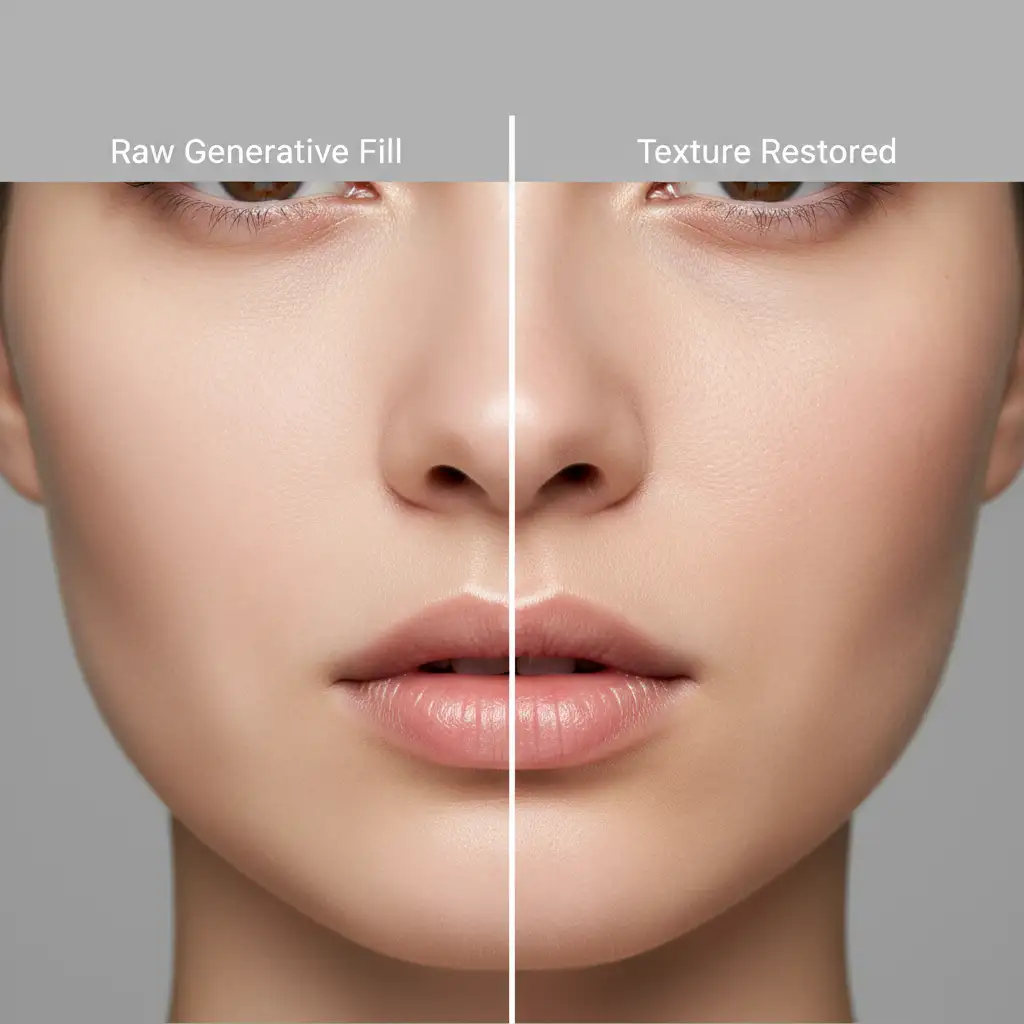
The result? Heavily smoothed, “plastic” skin that immediately breaks the illusion of a continuous photograph.
This happens because the AI generates pixels at a slightly lower resolution and a completely different noise profile than your raw camera sensor data. It effectively destroys essential micro-contrast—like pores, peach fuzz, and natural skin variations. If you need to restore skin texture to Generative Fill Photoshop edits, you cannot rely on the AI alone. You need to master manual texture grafting.
In this guide, we will walk through three non-destructive editing techniques to seamlessly blend natural skin pores back into AI-generated regions.
Why Firefly AI Fails at High-Frequency Details
In professional retouching workflows like frequency separation, image data is split into color/tone (low frequency) and texture (high-frequency layer). Photoshop’s Generative Fill currently operates almost entirely in the low-to-mid frequency range. It guesses the lighting and color perfectly but leaves the high-frequency layer completely blank.
To fix this, we have to manually graft texture back onto the AI-generated areas to match the original image.
3 Pro Methods to Restore Skin Pores in Photoshop
Depending on the severity of the AI smoothing and the proximity of the edit to the camera, you can use one of these three methods to rebuild a realistic skin surface.
Method 1: The Quick Fix (Noise Matching)
If the Generative Fill area is small or in the background, a simple noise match is often enough to break up the plastic look and trick the eye.
- Create a New Layer above your Generative Fill layer.
- Fill the layer with 50% Gray (Edit > Fill > 50% Gray).
- Change the layer’s Blend Mode to Soft Light.
- Navigate to Filter > Noise > Add Noise.
- Set the distribution to Gaussian, check Monochromatic, and adjust the percentage until the grain matches the natural noise profile of the original image.
Method 2: The Pro Workaround (High Pass Texture Grafting)
For high-end fashion and beauty edits, noise isn’t enough. You need actual skin pores. This method extracts genuine skin texture from the original photo and overlays it onto the smooth AI skin.
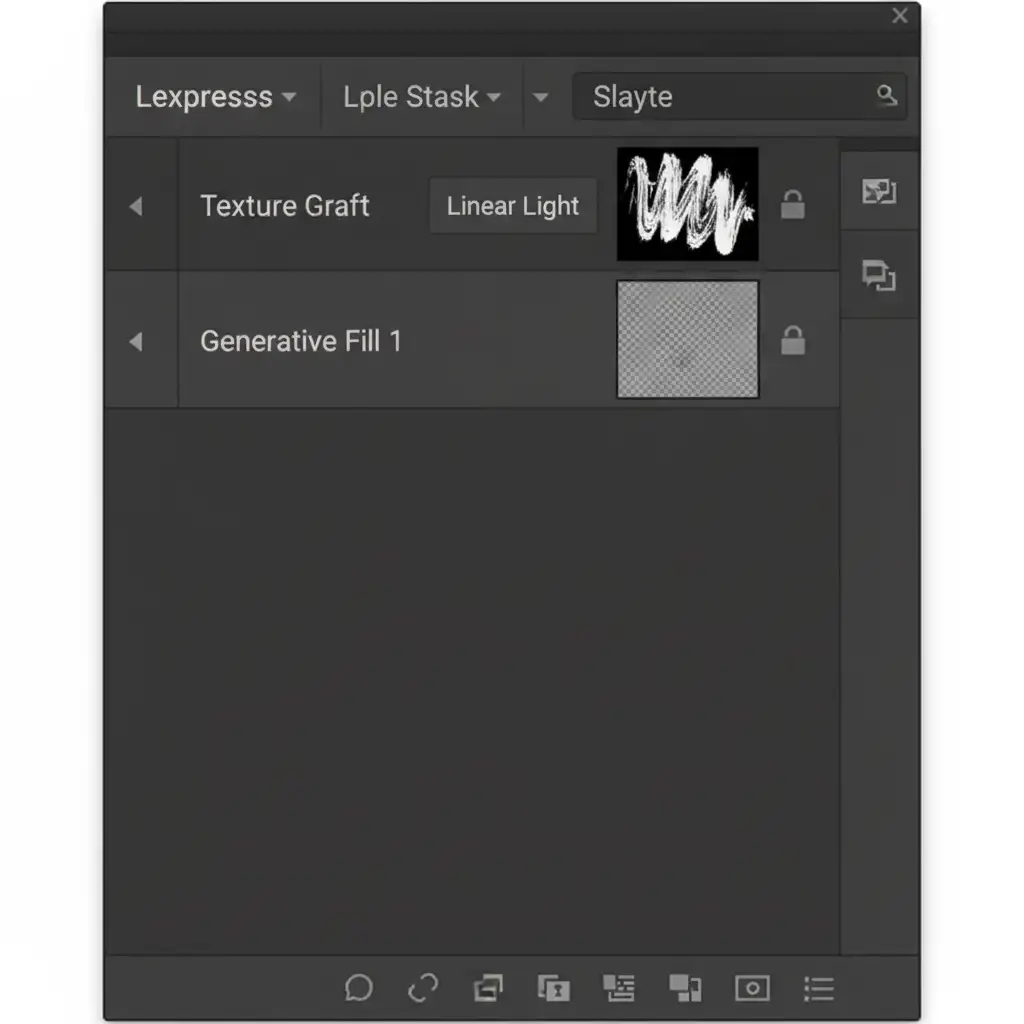
- Duplicate your original background layer (the raw photo) and drag it to the top of your layer stack, directly above the Generative Fill layer.
- Go to Filter > Other > High Pass.
- Adjust the radius to capture only the skin pores. A radius of 1.5px to 3px is usually perfect for high-resolution portraits. Click OK.
- Change this High Pass layer’s blend mode to Linear Light.
- Add an inverted (black) layer mask to hide the texture.
- Select a soft white brush and carefully paint over the AI-generated areas. This effectively grafts the original texture onto the smooth AI skin, restoring perfect realism.
Method 3: The Technical Deep-Dive (Pattern Stamp Custom Pores)
When the Generative Fill area is entirely new (e.g., expanding a canvas or generating a new limb), you might not have the original texture directly underneath to pull from. In this case, you must clone texture from elsewhere using a custom pattern.
- Select the Rectangular Marquee tool and draw a box around a clean, sharply in-focus patch of natural skin texture from the original image.
- Go to Edit > Define Pattern and name it “Skin Pores”.
- Create a new layer above your Generative Fill layer.
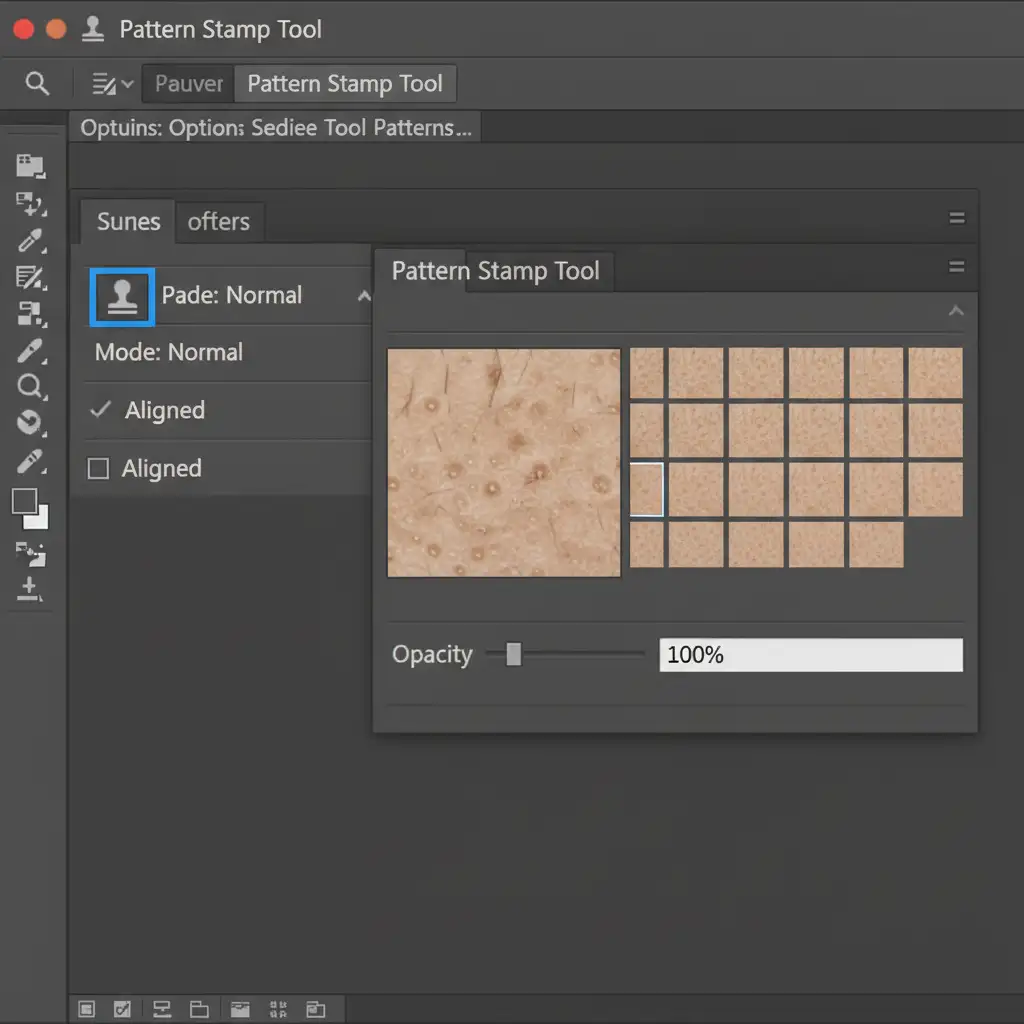
- Select the Pattern Stamp Tool (nested under the Clone Stamp tool).
- In the top tool options bar, choose your newly created skin pattern and uncheck ‘Aligned’.
- Paint gently over the smooth AI areas.
- Change the blend mode to Overlay or Soft Light and reduce the opacity to 30% to 50% to ensure the cloned pore structure blends seamlessly into the surrounding skin.
Stop Fighting AI: Outsource Your High-End Beauty Retouching
Fixing the plastic skin effect caused by Firefly AI is entirely possible, but doing it manually for every single image in a high-volume editorial or commercial shoot will destroy your profit margins. True commercial beauty retouching requires a meticulous eye for high-frequency detail that AI simply cannot replicate yet.
Struggling to maintain natural skin textures in your studio’s volume workflow? Image Work India and Cloud Retouch provide pixel-perfect, commercial-grade beauty edits that never look AI-generated.
Our team of expert retouchers specializes in advanced frequency separation, precise masking, and flawless texture grafting. We ensure your subjects retain their natural beauty, pores, and micro-contrast while delivering flawless, high-end results.
[Contact Image Work India Today] to elevate your retouching workflow and get back to shooting.


