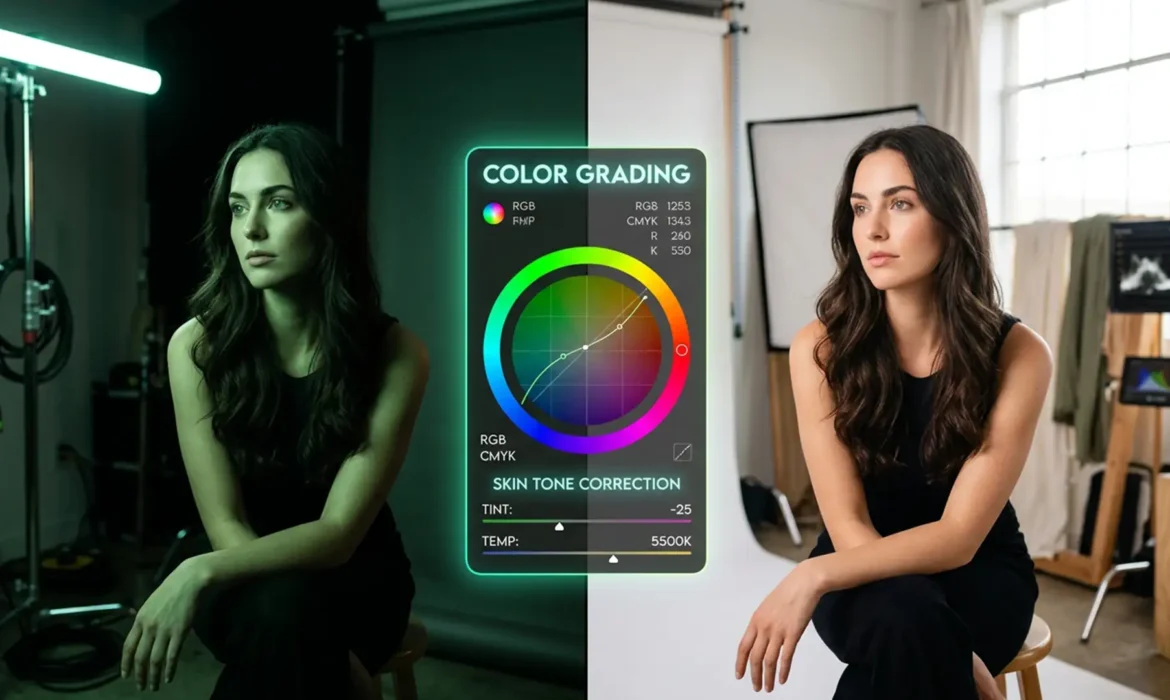
You’ve just wrapped a stunning glamour portrait session, harmonize skin tones in mixed LED & daylight but as you pull the RAW files into Photoshop, your heart sink tones. The mix of beautiful 5500K natural daylight and artificial studio LEDs has created a retouching nightmare: harsh, bi-color skin gradients. Thanks to the poor Color Rendering Index (CRI) of those cheaper LEDs, your subject’s skin is polluted with sickly green or magenta spectral spikes.
A global white balance adjustment won’t save you here—fixing one light source completely ruins the other. If you want to successfully color grade skin tones mixed LED daylight setups, you need targeted, non-destructive workflows. Here is the high-end guide to fixing inconsistent color casts and harmonizing skin chromatics without destroying your underlying texture.
Why Mixed Lighting Ruins Skin Tones
In Photoshop v24.x through v25.x, the challenge of mixing LED and natural daylight on skin tones stems purely from conflicting color temperatures and light quality. Natural daylight sits comfortably around 5500K, offering a full, continuous spectrum of light. Artificial LED panels, particularly those not rated for high-end cinema, introduce severe localized color pollution.
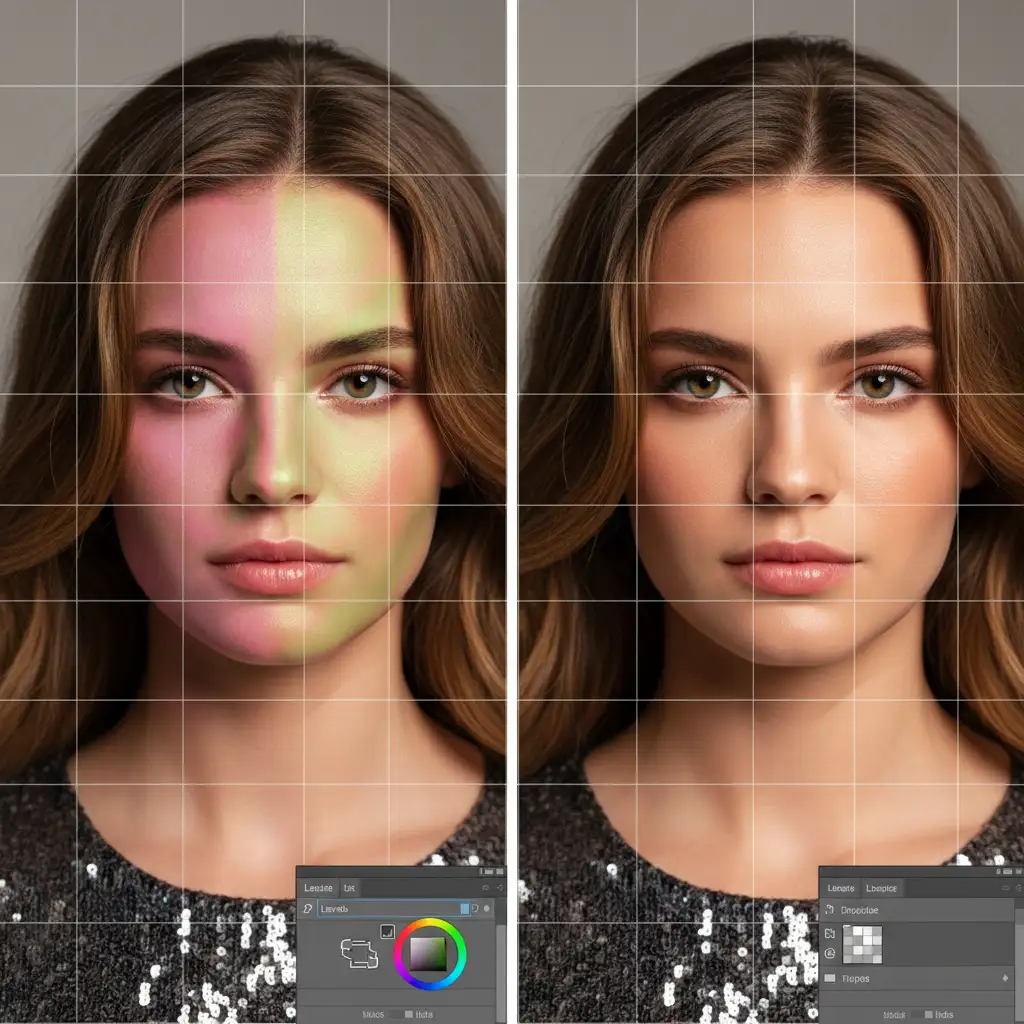
Because these lights lack a full color spectrum, they produce aggressive spectral spikes. The result? One side of your subject’s face looks natural, while the shadows or rim lights bleed a toxic magenta or sickly green. To fix this, we must isolate the polluted areas and blend them seamlessly into the natural skin chromatics.
Method A: The Quick Fix Using Camera Raw AI Masking
For rapid turnarounds, Adobe’s AI-driven masking tools in the Camera Raw Filter provide an excellent starting point for neutralizing localized casts.
Step-by-Step AI Masking
- Convert your portrait layer to a Smart Object to ensure a non-destructive workflow.
- Navigate to Filter > Camera Raw Filter.
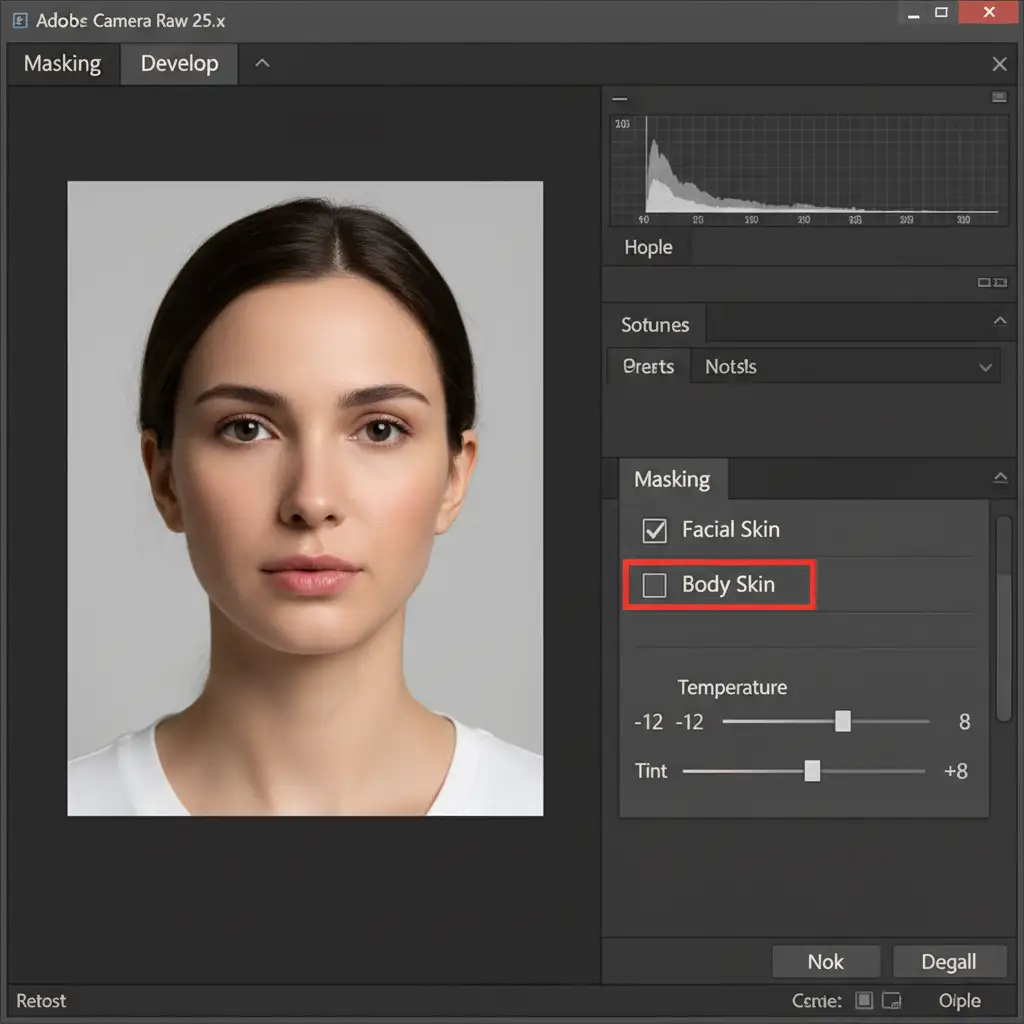
- Open the Masking panel (the circle icon with a dotted outline).
- Wait for the AI to detect the subject, then click on People.
- Check the boxes for both Facial Skin and Body Skin, then click Create.
- With your white balance mask active, adjust the Temp and Tint sliders locally to neutralize the specific LED cast. This allows you to warm up or cool down the skin without destroying the beautiful daylight background.
Method B: The Pro Workaround with Targeted Hue/Saturation
When AI masking isn’t precise enough for complex, patchy lighting, manual targeting is required. This method is highly effective when combined with advanced techniques like frequency separation, allowing you to fix color without blurring texture.
Isolating the LED Color Cast
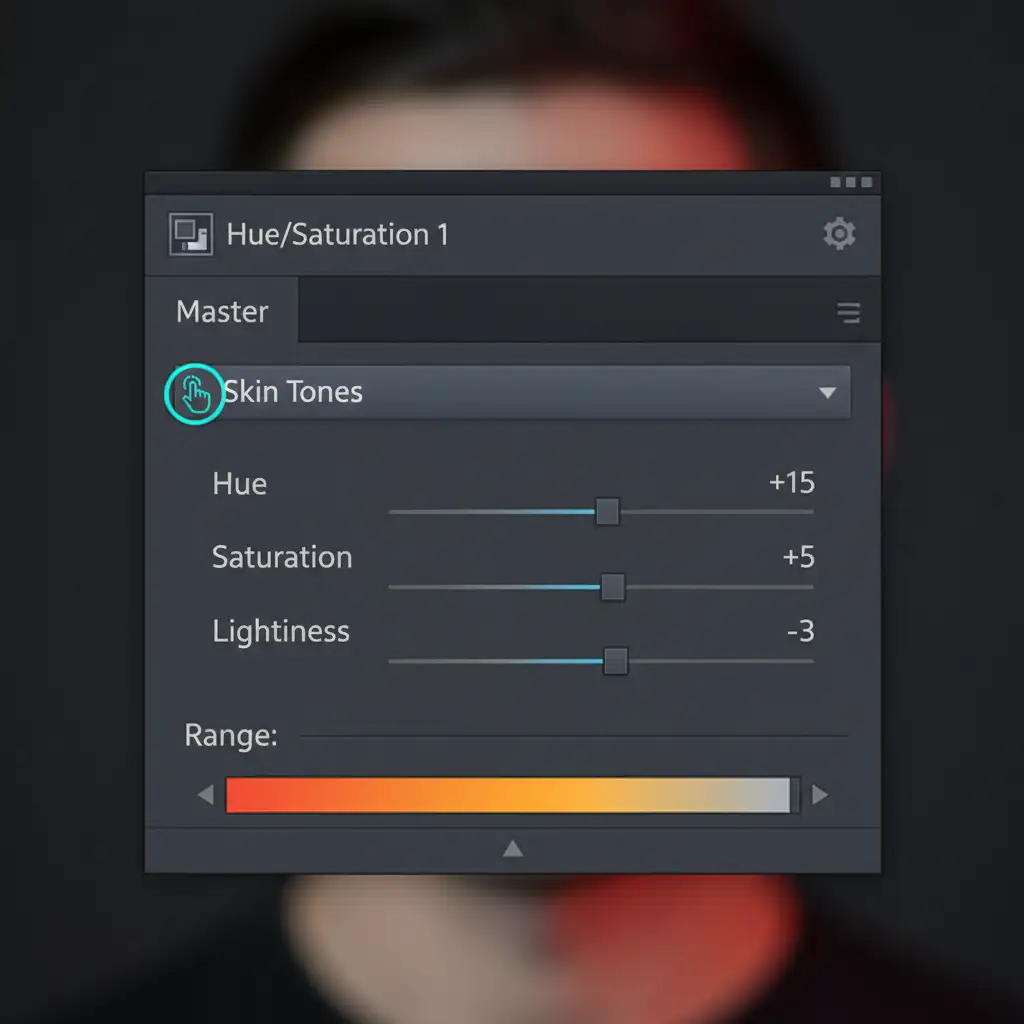
- Create a Hue/Saturation adjustment layer above your image.
- Select the Targeted Adjustment Tool (the hand icon with arrows pointing left and right).
- Click directly on the specific LED color cast on the skin (e.g., the harsh green patch). This forces Photoshop to narrow its color range sliders to that exact hue.
- Carefully adjust the Hue slider until the polluted patch matches the natural daylight skin tones. You may also need to slightly decrease the Saturation.
- Invert the mask (Ctrl/Cmd + I) to hide the adjustment.
- Select a soft round brush, set your foreground color to white, and paint only over the affected mixed-lighting areas.
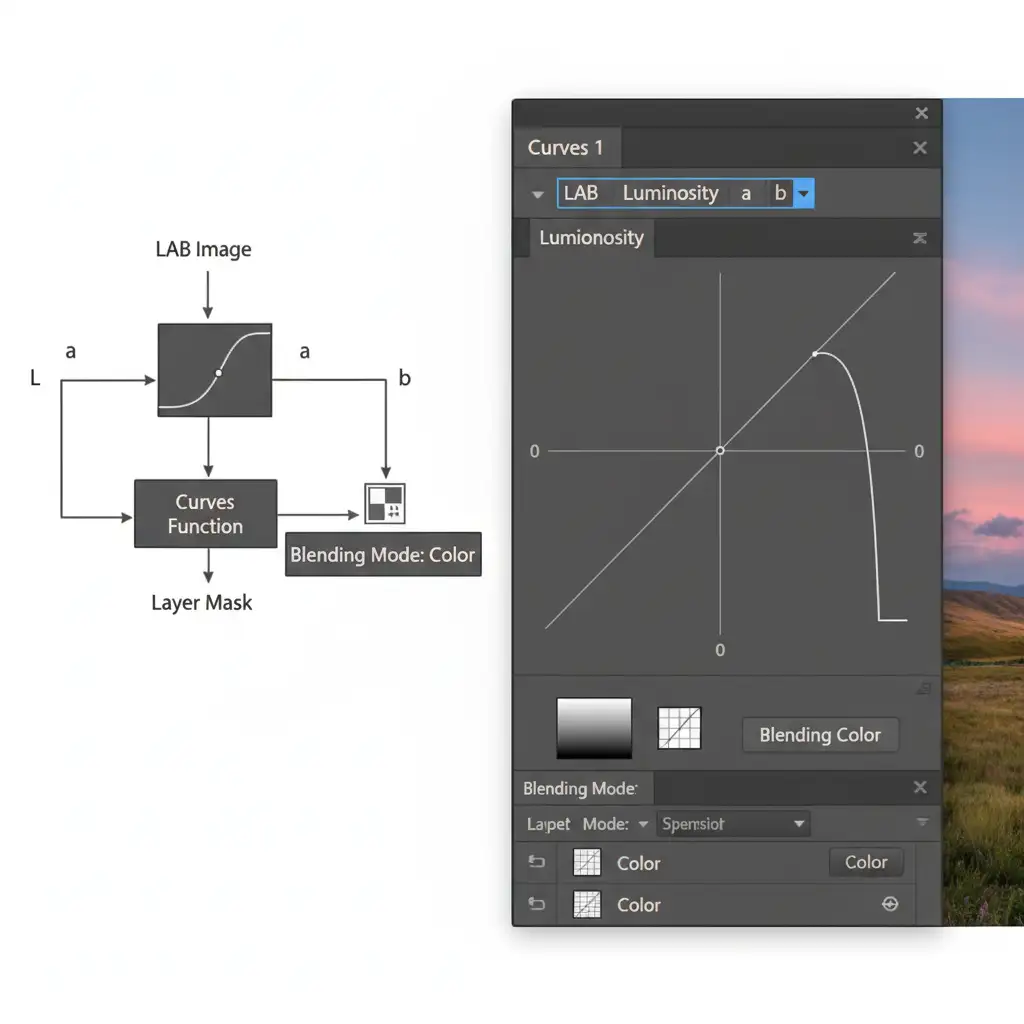
Method C: The Technical Deep-Dive Using LAB Color Space Curves
For high-end fashion and glamour photography, professionals rely on the LAB color space. Unlike RGB or CMYK curves, LAB separates luminosity (Lightness) from color (the ‘a’ and ‘b’ channels). This means you can aggressively manipulate color without altering the image’s contrast or brightness.
Correcting Spectral Spikes in LAB
- Duplicate your image as a Smart Object and convert your document to LAB Color space (Image > Mode > Lab Color).
- Create a Curves adjustment layer.
- To fix Magenta/Green shifts, select the ‘a’ channel from the dropdown menu. To fix Blue/Yellow shifts, select the ‘b’ channel.
- Pin the exact center of the curve. This is crucial—it protects your midtones from unwanted color shifts.
- Slightly bend the highlights or shadows of the curve, depending entirely on where the LED light hits the skin.
- Change the blending mode of the Curves layer to Color to ensure absolute zero impact on luminosity.
- Apply a black layer mask and paint precisely over the skin gradients.
Pro Tip: To ensure perfect color accuracy, you can use the Color Sampler tool to monitor your skin tone hex codes or CMYK values as you adjust the LAB curves.
Advanced Refinement: Blending the Final Image
Once you have neutralized the harsh LED casts, your skin tones might look uniform but slightly flat. To bring life back to the portrait:
- Selective Color Adjustment: Use a Selective Color adjustment layer targeting Reds and Yellows to globally unify the final skin tone.
- Luminosity Masking: Apply subtle dodge and burn through luminosity masks to rebuild the three-dimensional shape of the face that the conflicting light sources initially destroyed.
Outsource Your High-End Retouching
Struggling with complex lighting environments, poor CRI fixtures, and inconsistent skin tones? Color grading mixed lighting requires a deep understanding of color theory and hours of meticulous masking.
You don’t have to do it alone. Outsource your high-end fashion and glamour retouching to Image Work India and Cloud Retouch. Our team of expert retouchers specializes in advanced LAB color corrections, frequency separation, and flawless skin tone harmonization. We deliver pixel-perfect results that save you hours of editing, allowing you to focus on what you do best: shooting. Contact us today to elevate your portfolio.


