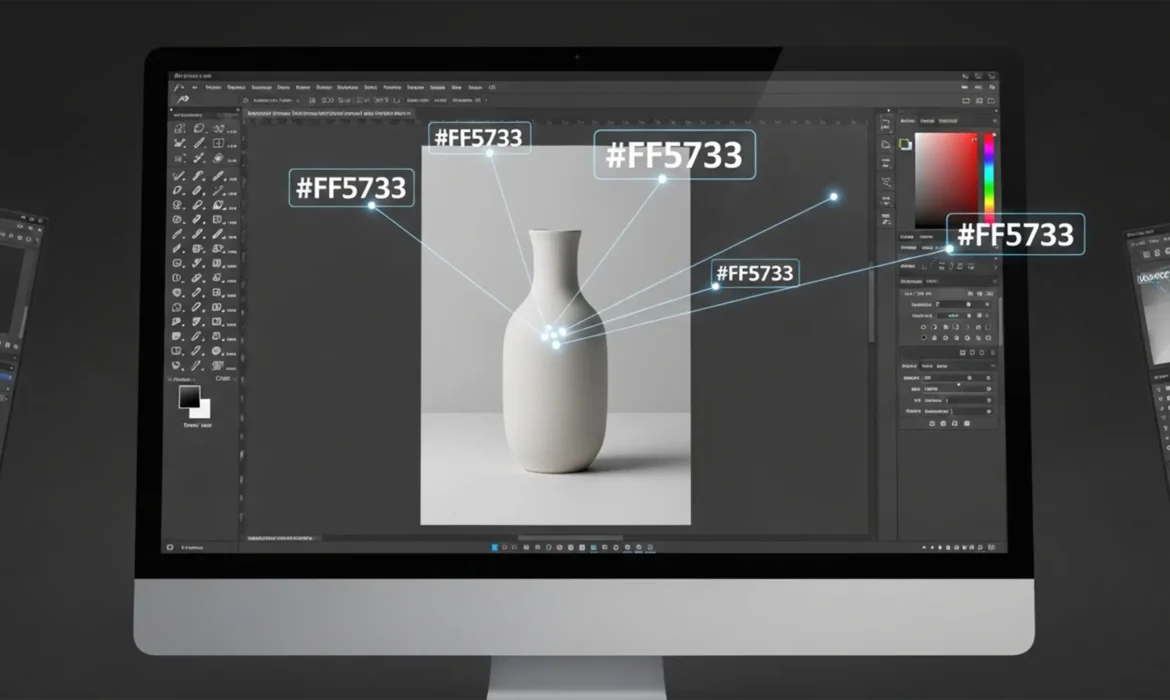
You already know the frustration: a client sends over a strict brand guideline with an exact #RRGGBB hexadecimal color for their new product line. You open Adobe Photoshop CC, reach for the standard Hue/Saturation slider, and instantly hit the dreaded “flat color” error. The exact color is there, but the product now looks like a lifeless, two-dimensional cartoon. The texture is gone, and the realistic lighting is destroyed.
If you want to accurately match hex code to product photo photoshop workflows, you have to completely separate color from luminosity. E-commerce retouching demands that you inject an exact client hex code into the midtones of an image without destroying the bright highlights or the deep shadows.
In this guide, we will break down three professional methods to achieve pixel-perfect color matching in Photoshop CC (v24.x and v25.x), ensuring your Color Sampler Tool reads the exact client hex code every single time.
Why Basic Colorization Fails in E-Commerce Retouching
Basic tools like Hue/Saturation apply a blanket color shift across the entire luminosity range of your image. Because real-world objects have highlights (pure white light reflections) and shadows (absence of light), forcing a flat midtone hex code over these areas flattens the visual depth.
To maintain photorealism, you must target the midtones—the true, underlying color of the object—while letting the original highlights and shadows shine through. Here is how the professionals do it.
Method A: The Quick Fix (Solid Color & Blend Modes)
If you are on a tight deadline and need a rapid approximation, leveraging a Solid Color layer with Blend Modes is your fastest route.
Step-by-Step Workflow:
- Open your product photo in Photoshop.
- Click the Create New Fill or Adjustment Layer icon at the bottom of the Layers panel.
- Select Solid Color.
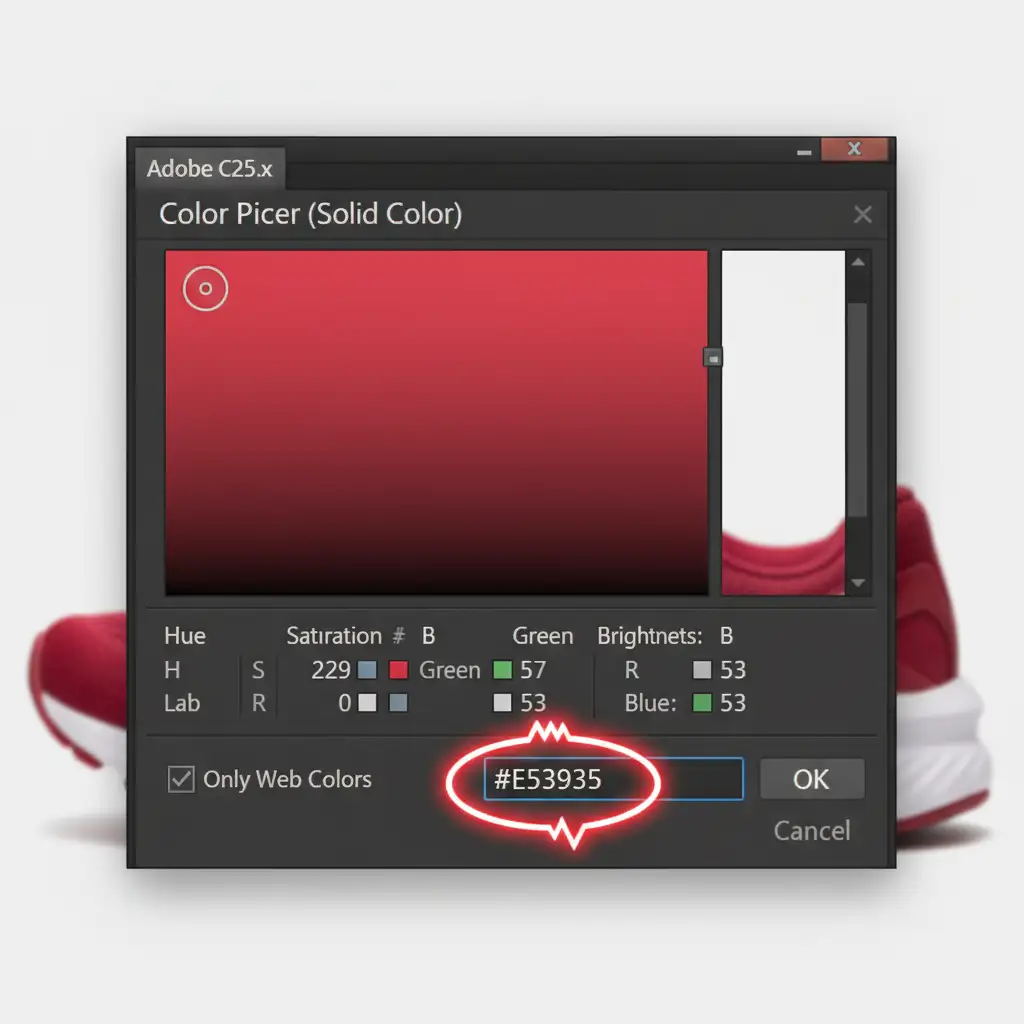
- When the Color Picker window opens, locate the Hexadecimal input box (marked with a #) at the bottom.
- Type or paste your client’s exact hex code and click OK.
- Change the Blend Mode of this Solid Color layer from ‘Normal’ to Color.
Caveat: While this method is fast, the exact hex output will shift slightly depending on the underlying luminosity of the original product layer.
Method B: The Pro Workaround (Gradient Map)
To gain tighter control over how the hexadecimal color interacts with the product’s lighting, use a Gradient Map. This method maps specific colors to specific brightness levels in your image.
Step-by-Step Workflow:
- Make a precise selection of your product and mask it.
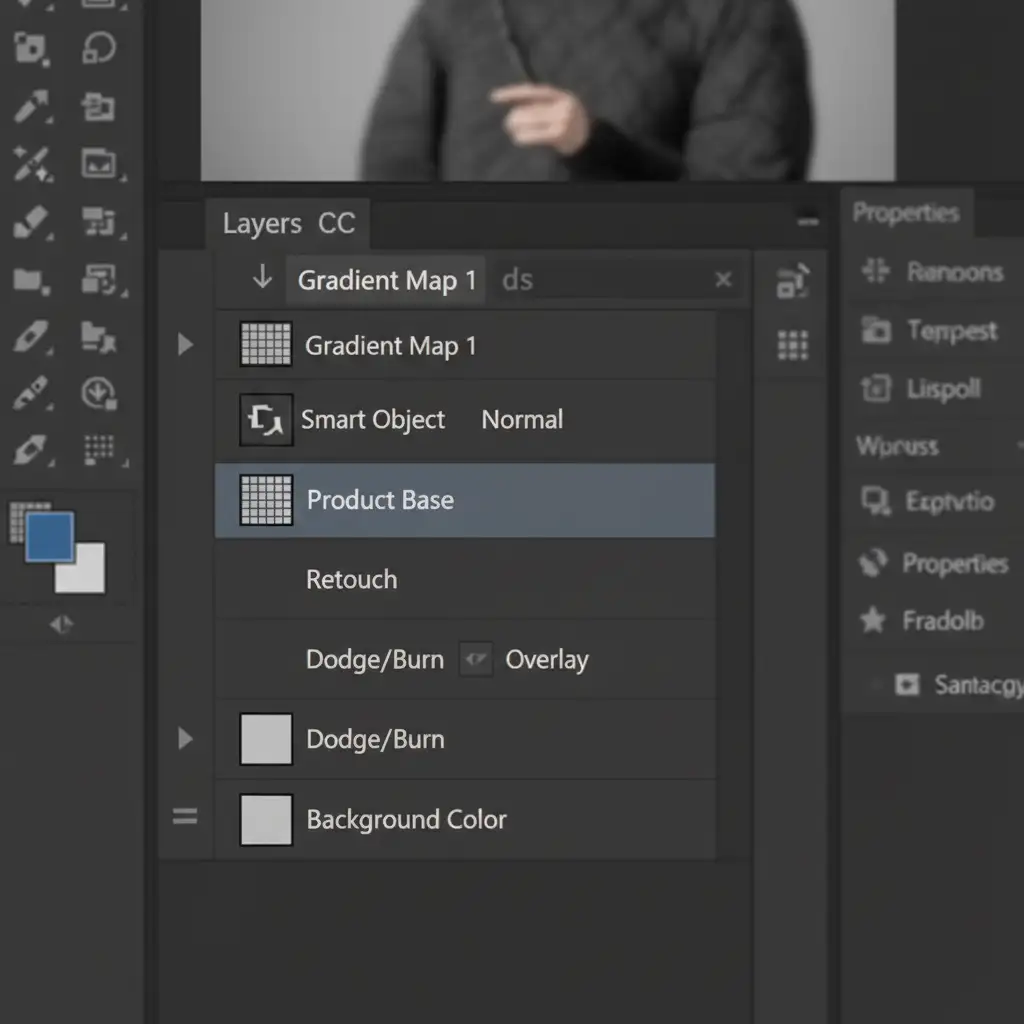
- Add a Gradient Map adjustment layer above your product layer.
- Apply a Clipping Mask (Right-click the Gradient Map layer > Create Clipping Mask) so the color only affects the product.
- Click the gradient bar in the Properties panel to open the Gradient Editor.
- Set the left color stop (Shadows) to pure black (#000000).
- Set the right color stop (Highlights) to pure white (#FFFFFF).
- Click exactly in the middle of the gradient bar to create a new color stop. Set its Location to exactly 50%.
- Double-click this 50% color stop and input your target Hex Code.
By placing the hex code exactly at the 50% mark, you ensure the pure brand color is injected strictly into the midtones, leaving the shadows and highlights perfectly intact.
Method C: The Technical Deep-Dive (Blend-If Sliders)
For absolute, undeniable color perfection—where the Color Sampler Tool verifies your exact hex code—you need to use Photoshop’s advanced Blend-If sliders. This is the industry standard for high-end e-commerce catalogs.
Step-by-Step Workflow:
- Add a Solid Color adjustment layer and input your exact Hex Code.
- Clip this layer to your product layer using a Clipping Mask.
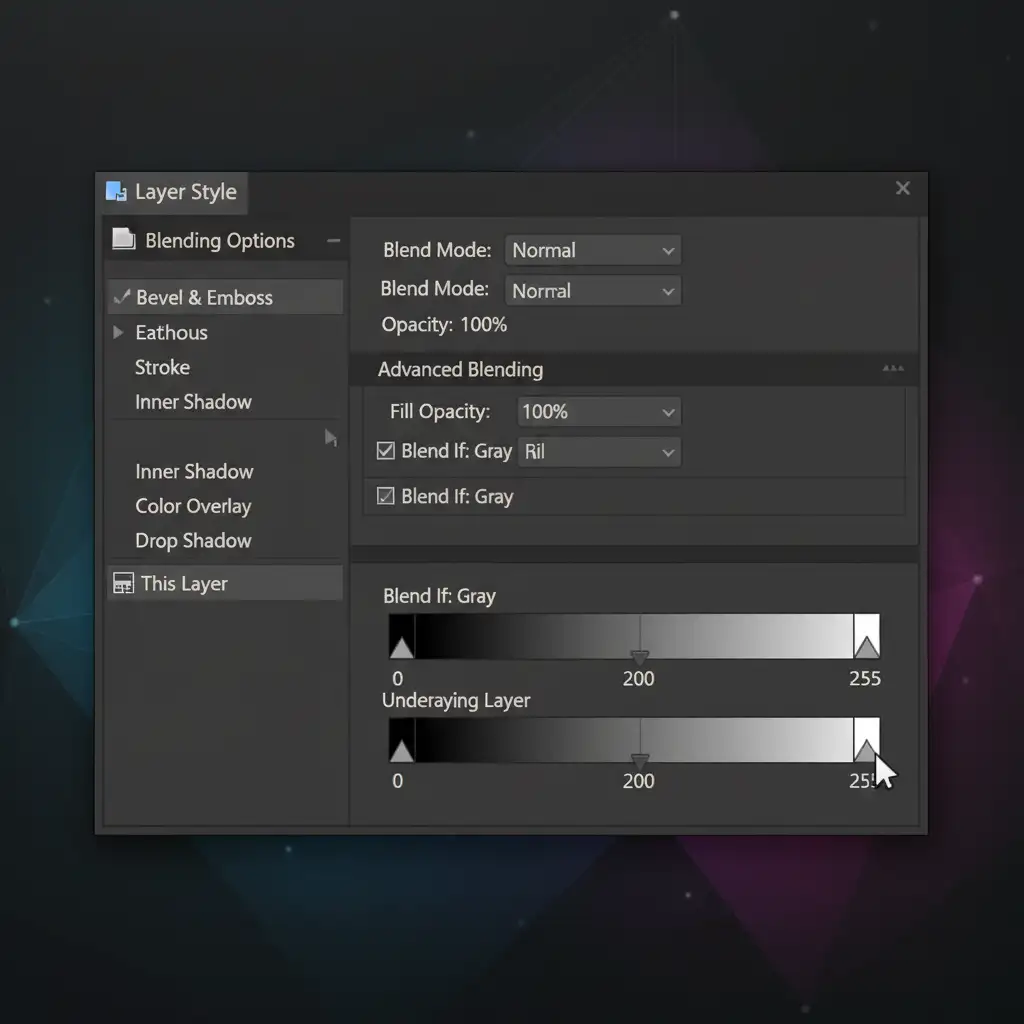
- Double-click the empty space on the Solid Color layer to open the Layer Style dialog box.
- Locate the Blend If section at the bottom, ensuring it is set to ‘Gray’.
- Look at the Underlying Layer gradient bar.
- Protect the Shadows: Hold Alt (Windows) or Option (Mac) and click the black slider on the left to split it. Drag the right half of the split slider toward the midtones. This smoothly transitions the color out of the darkest shadows.
- Protect the Highlights: Hold Alt or Option and click the white slider on the right to split it. Drag the left half toward the midtones to reveal the original bright, glossy highlights of the product.
Verifying the Color
To prove the color is accurate, select the Color Sampler Tool from the toolbar. In the top options bar, set the Sample Size to 3×3 Average. Click on a well-lit midtone area of your product. Open the Info Panel (F8), and you will see your client’s exact hex code reading back to you.
Scale Your E-Commerce Retouching with Cloud Retouch
Learning how to perfectly match hex code to produce photo photoshop techniques is essential, but executing this flawlessly across a catalog of 5,000 SKUs is a massive drain on your time and resources.
Need absolute color perfection for your next e-commerce catalog without the manual grind? Let the color correction experts at Image Work India and Cloud Retouch handle it. We specialize in high-volume, pixel-perfect batch image editing, ensuring every single product matches your brand’s strict hexadecimal guidelines while preserving flawless, photorealistic textures.


