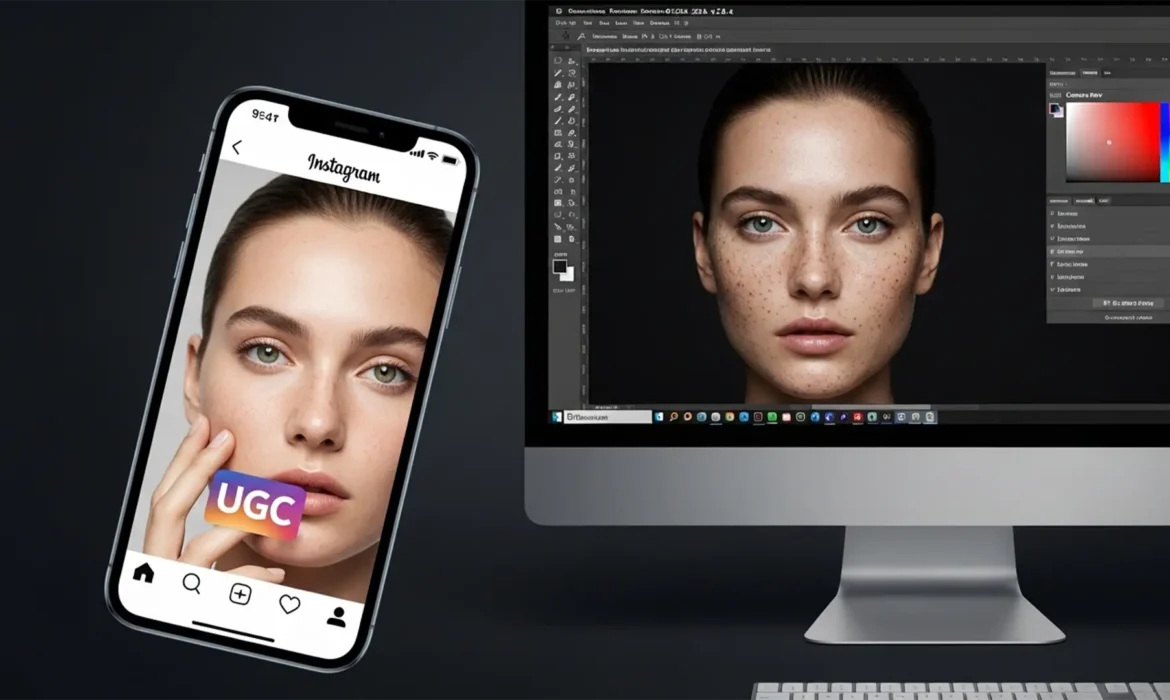
Running high-converting TikTok or Instagram campaigns requires a delicate balance. Your User-Generated Content (UGC) ads need an authentic, unedited look to stop the scroll, but raw smartphone photos often feature distracting blemishes and poor lighting that tank conversion rates. The problem? Most editors over-smooth the skin, creating a plastic, corporate vibe that Gen-Z audiences and social media algorithms immediately penalize. If you want to scale your campaigns, you need to master invisible retouching for UGC ads. In Photoshop 2024 v25.x, preserving native smartphone noise and micro-texture while executing flawless cleanups is the ultimate secret to winning social ads.
Here is the technical blueprint for keeping your ad creatives polished yet perfectly authentic.
Why the UGC Aesthetic Demands “Invisible” Retouching
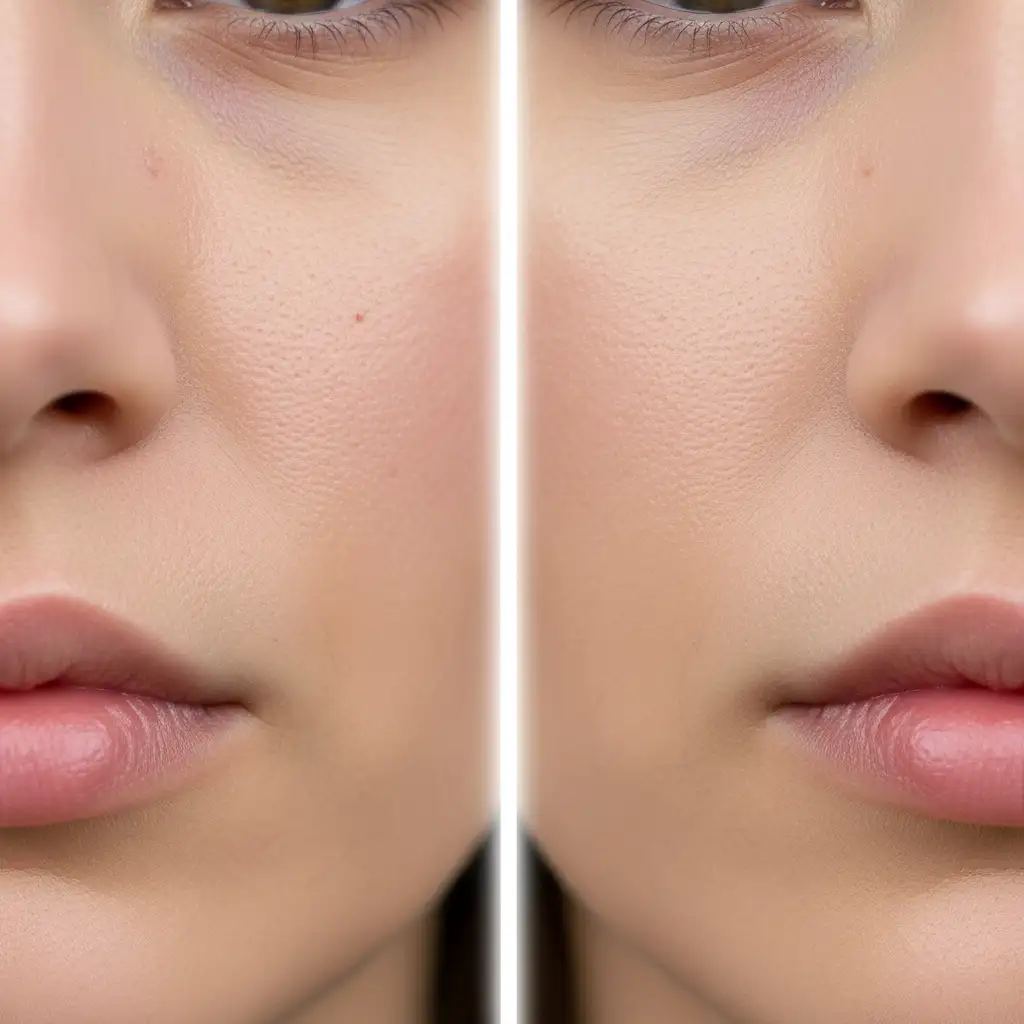
Modern social media users possess a highly tuned radar for corporate advertising. When a model’s skin looks airbrushed, the viewer immediately categorizes the video or image as a high-budget ad and scrolls past. To maintain the coveted UGC aesthetic, your imagery must look native to the platform.
The technical challenge lies in skin texture retention. You must remove distracting elements—like a temporary breakout or an awkward shadow—without destroying the underlying micro-contrast and camera sensor noise that makes a photo look like it was snapped on an iPhone 15.
How to Achieve Invisible Retouching in Photoshop 2024
To achieve this non-destructive, hyper-realistic finish, we need to abandon aggressive blurring tools and adopt a three-tiered approach in Photoshop 2024 v25.x.
Method A: The Quick Fix (Targeted Blemish Removal)
When dealing with high-volume UGC batches, you need rapid, non-destructive editing that doesn’t compromise the file. The goal here is to target only the high-contrast blemishes without touching the surrounding pores.
- Create a new blank layer above your base image.
- Select the Spot Healing Brush tool.
- In the top toolbar, ensure the mode is set to Content-Aware and check “Sample All Layers.”
- Crucial Setting: Drop the brush hardness to exactly 50 percent.
- Carefully click only on distinct blemishes. The 50% hardness ensures the healed edges blend into the existing smartphone grain without leaving soft, blurry patches.
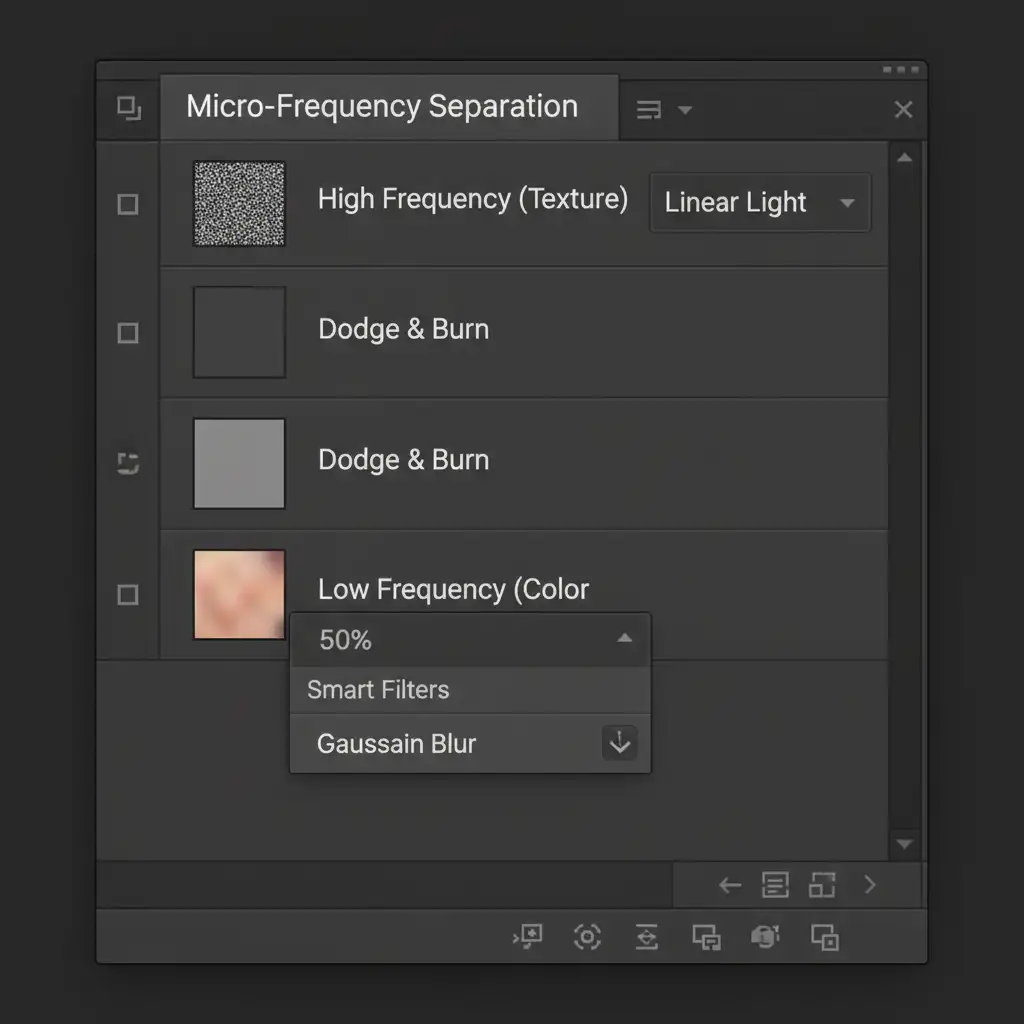
Method B: The Pro Workaround (Micro-Frequency Separation)
For models requiring more extensive skin tone evening without losing the raw social media vibe, standard Frequency Separation is too aggressive. We need to modify the technique for UGC.
- Duplicate your base layer twice. Name the bottom “Low Frequency” (Color) and the top “High Frequency” (Texture).
- On the Low Frequency layer, apply a Gaussian Blur. Do not exceed a radius of 2 to 4 pixels. You only want to blur the micro-transitions, not the overall facial structure.
- Apply the image to the High Frequency layer (Subtract blending mode, Scale 2, Offset 128) and set it to Linear Light.
- Instead of blurring the Low Frequency layer further to fix tones, create a 50 percent gray layer set to Soft Light between the two frequency layers.
- Use Dodge and Burn with a soft brush at 2% flow on this gray layer to gently contour the face and even out blotchy skin tones. This preserves 100% of the pixel data on the texture layer.
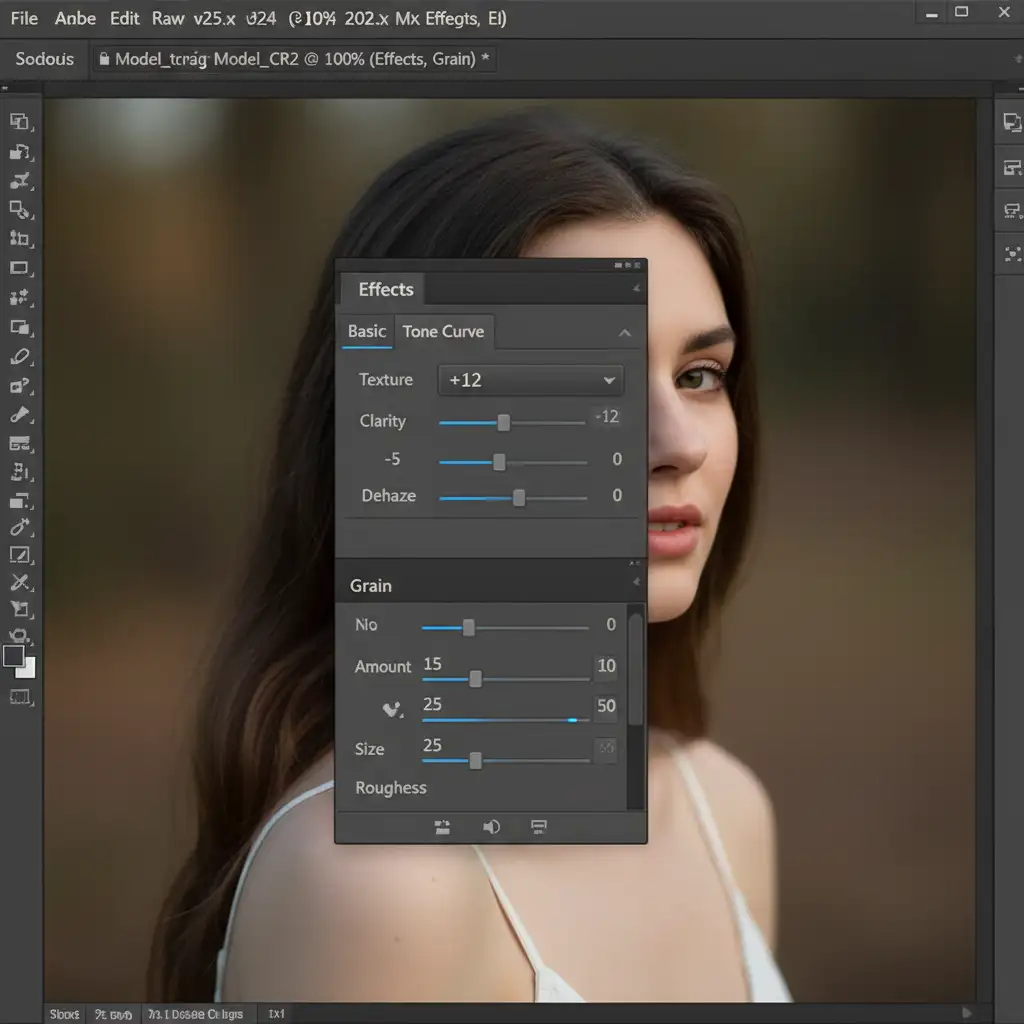
Method C: The Technical Deep-Dive (Texture & Noise Matching)
The biggest giveaway of a retouched UGC ad is the sudden lack of digital noise in the edited areas. Smartphone cameras naturally produce a specific grain structure. To unify your retouched areas with the rest of the image, utilize the Camera Raw Filter.
- Stamp your visible layers (Ctrl+Alt+Shift+E or Cmd+Option+Shift+E) and convert it to a Smart Object.
- Open the Camera Raw Filter.
- Navigate to the Effects panel.
- Slightly decrease the Clarity slider (around -5) to take the digital harshness off the skin, but immediately bump up the Texture slider (+10 to +15) to bring back the crispness of the pores.
- Scroll down to the Grain settings. Add a subtle Uniform Grain (Size 25, Roughness 50, Amount 10-15) to perfectly mimic smartphone camera sensor noise. This step acts as a visual glue, making the entire image look unedited.
The Final Polish: Keeping it Authentic
When finalizing your UGC creatives, restraint is your greatest asset. Advanced techniques like luminosity masking can be used to restrict your color grading only to the mid-tones, ensuring the highlights and shadows retain the slightly imperfect contrast native to mobile photography. Remember, the goal of invisible retouching for UGC ads isn’t perfection; it’s polished authenticity.
Scale Your UGC Ads with Image Work India & Cloud Retouch
Mastering micro-frequency separation and noise matching takes time—time you should be spending on media buying, scriptwriting, and scaling your campaigns. If your brand is processing hundreds of UGC assets a week, inconsistent editing will hurt your ROAS.
Let the expert digital artists at Image Work India and Cloud Retouch handle your high-volume editing. We specialize in high-end, invisible retouching that preserves the native smartphone aesthetic while delivering flawless, conversion-ready social media assets. Stop worrying about over-smoothed, plastic-looking ads. Partner with us today to scale your creative output with authentic imagery that drives real results.


