E-commerce photo editors know the exact frustration: you use Photoshop’s automated “Remove Background” tool, and instantly, your product’s beautiful, grounded natural shadow is completely destroyed.
To fix it, you might try manually saving the shadow using the “Multiply” blend mode. It looks flawless inside Photoshop, but the second you export it for your website, it’s ruined by an ugly, opaque white or gray halo. Why? Because PNG files do not natively carry Photoshop blend mode rendering to web browsers.
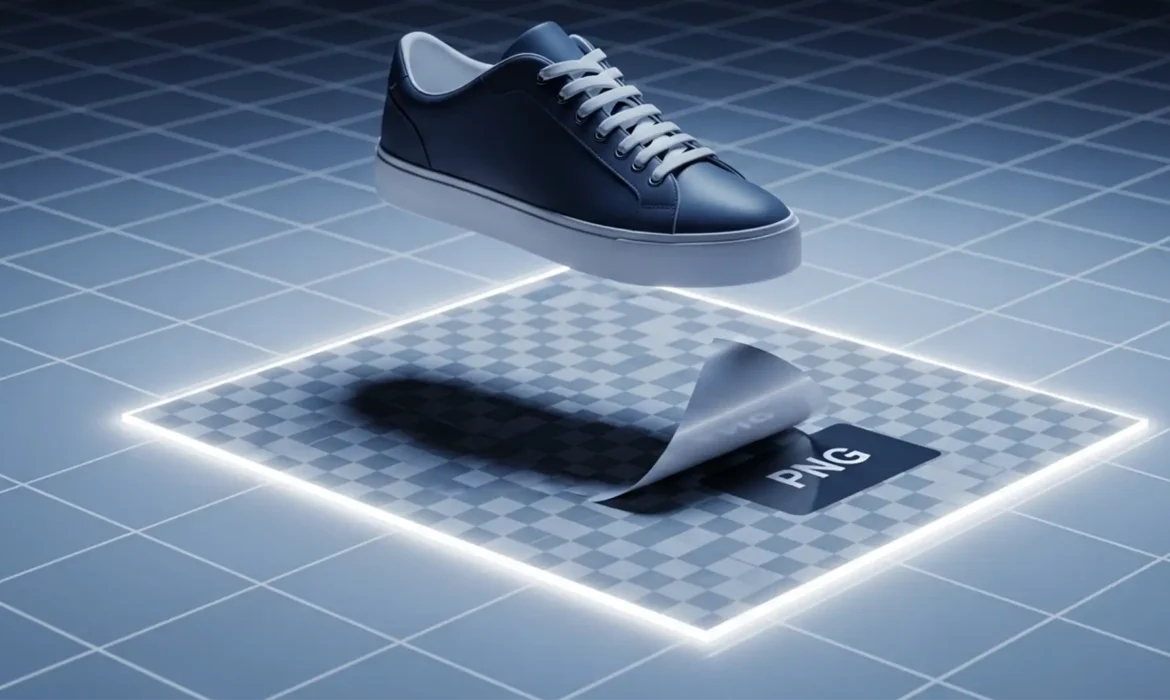
If you want to extract natural shadow for transparent background use, you must convert raw luminosity data into a true Alpha Channel. Here is the professional guide to achieving pixel-perfect shadow transparency.
Why the “Multiply” Blend Mode Fails for Web PNGs
In recent Photoshop updates (v24.x to v25.x), AI masking tools have become incredibly fast, but they lack the nuance required for complex shadow retention. When you set a shadow layer to “Multiply,” Photoshop mathematically darkens the pixels beneath it within the software.
However, when you export a PNG-24 for a website UI, there is no background layer to multiply against. The browser reads the original grayscale pixels—including the white background you thought you hid—resulting in a messy, unprofessional gray box around your product.
To fix this, we have to stop relying on blend modes and start physically extracting the shadow into an Alpha Channel.
3 Methods to Extract Natural Shadow for Transparent Background
Here are the three best workflows to isolate shadows, ranging from a quick automated fix to professional mathematical extraction.
Method 1: The Quick Fix (Color Range)
If you are working on a tight deadline and the shadow is on a perfectly uniform white background, the Color Range tool can provide a fast solution.
- Go to Select > Color Range.
- In the dialog box, change the Select dropdown menu to Shadows.
- Adjust the Fuzziness and Range sliders until only the shadow is isolated.
- Click OK, then apply this selection as a Layer Mask to your shadow layer.
The Catch: While fast, this method often leaves harsh, pixelated edges or faint gray halos around the shadow’s gradient. For high-end e-commerce, you need Method 2.
Method 2: The Pro Workaround (Channel Masking)
This is the industry-standard technique for creating flawless shadow masks. By utilizing Channel Masking, we convert the shadow’s contrast into a perfect transparency map.
Step 1: Isolate the Contrast Channel
Open your Channels panel. Click individually through the Red, Green, and Blue channels. Look for the channel that displays the highest contrast between the dark shadow and the bright white background. Duplicate this channel by dragging it to the “+” icon at the bottom of the panel.
Step 2: Crush the Whites and Blacks
With your duplicated channel selected, press Ctrl+L (Cmd+L on Mac) to open a Levels Adjustment. Drag the right (white) slider inward to force the background to pure white. Drag the left (black) slider inward to make the core of the shadow pure black. This perfectly defines your Luminosity Data.
Step 3: Invert and Select
Press Ctrl+I (Cmd+I) to invert the channel. Your shadow should now be white, and the background black. Hold down Ctrl (Cmd) and click the thumbnail of this duplicated channel. This loads the white areas (the shadow) as active Marching Ants on your canvas.
Step 4: Create a Solid Color Layer
Click back to your combined RGB channel and return to the Layers panel. Create a new Solid Color adjustment layer and set the color to pure black. Because you had an active selection, Photoshop automatically turns your marching ants into a flawless Layer Mask. Place this layer beneath your masked product cutout.
Method 3: The Technical Deep-Dive (Blend If & Smart Objects)
If you want a non-destructive workflow that bakes transparency directly into the layer, Blend If is your best option.
- Duplicate your original background layer and place it below your masked product cutout.
- Double-click the duplicated layer to open the Layer Style dialog box.
- Look at the Blend If section at the bottom, set to Gray.
- On the This Layer gradient bar, drag the right (white) slider to the left to knock out the white background.
- Hold Alt (Option on Mac) and click the white slider to split it in half. Drag the left half further down to create a smooth, feathered transition for the shadow.
Baking the Transparency
Because Blend If is a rendering effect, it won’t export correctly on its own. You must right-click the layer and convert it to a Smart Object. This forces Photoshop to rasterize the Blend If transparency into actual Alpha Channel data.
Finally, go to File > Export As and choose PNG-24 with the Transparency box checked. Your product and its shadow will now sit perfectly over a transparent checkerboard, ready for any web background.
Stop Wasting Time on Complex Cutouts
Learning to extract natural shadow for transparent background use is an essential skill, but it is also incredibly time-consuming. When you are dealing with seasonal catalogs, high-volume product drops, or complex items like jewelry and bicycles, manual Channel Masking can bottleneck your entire production pipeline.
You don’t have to do it alone.
If you need to extract complex natural shadows for thousands of e-commerce product images, let the professional retouching teams at Image Work India and Cloud Retouch handle the heavy lifting. We specialize in pixel-perfect transparency, advanced masking, and high-volume image editing at scale.
Focus on growing your brand, and let us deliver flawless, web-ready PNGs every single time. Contact Image Work India and Cloud Retouch today for a custom quote on your next e-commerce project!


