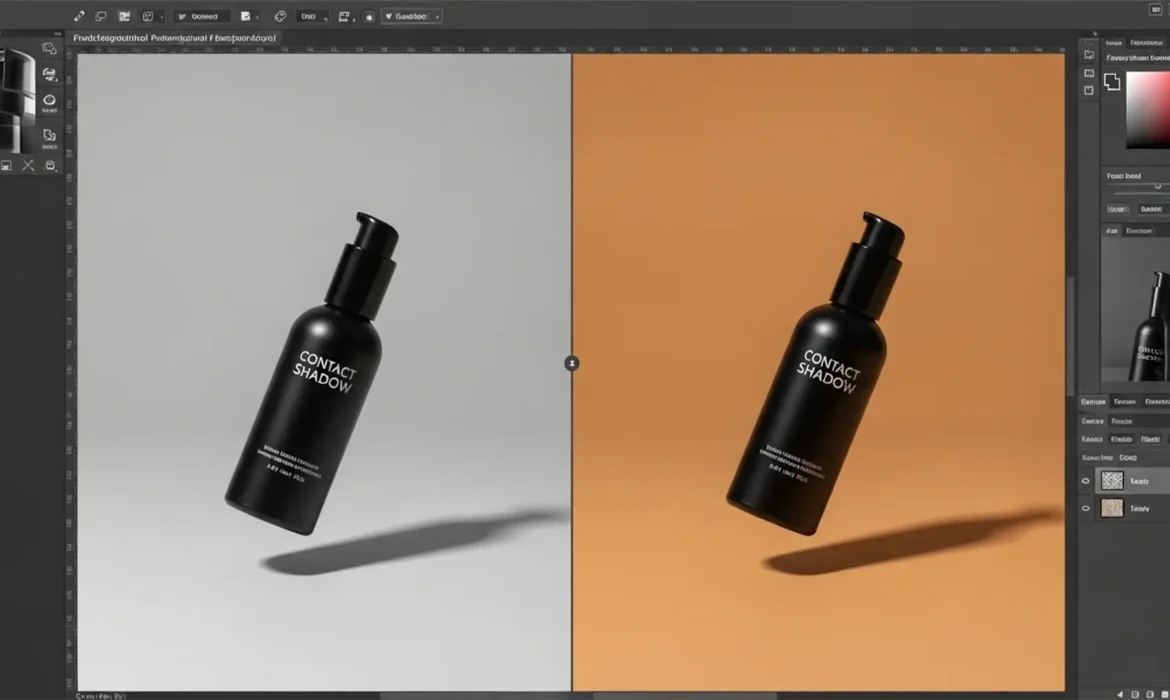
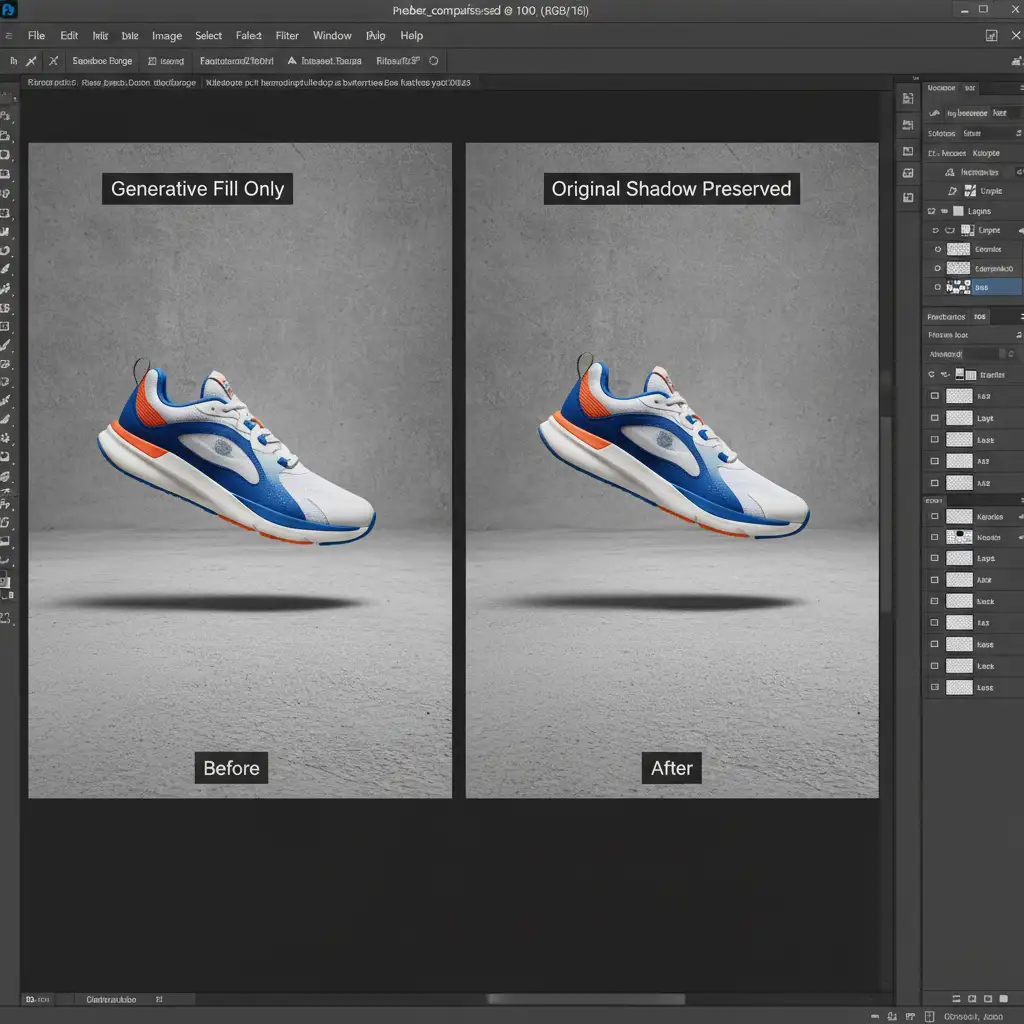
If you have recently used Photoshop’s AI tools to extend a background for an e-commerce shoot, you have likely encountered the dreaded “floating product” effect. You make a perfect selection, type your prompt, and watch as Adobe Firefly generates a stunning new environment—only to realize it completely obliterated your product’s natural drop shadow. Without that crucial contact shadow, your product looks pasted on, fake, and entirely unconvincing.
Learning how to preserve original shadow generative fill data is a mandatory skill for modern product retouchers. In this guide, we will break down three professional, non-destructive editing workflows to recover your original photometric shadow data in Photoshop v25.0 and later, ensuring your products stay firmly grounded.
Why Generative Fill Destroys Contact Shadows
Generative Fill, powered by Adobe Firefly, analyzes the pixels immediately surrounding your selection to synthesize new content. Because shadows are essentially just darker pixels reacting to the original environment’s lighting, the AI often misinterprets them as unwanted background elements and overwrites them with new textures.
To fix this, we must rely on non-destructive editing techniques to isolate the shadow from the original plate and blend it over the newly generated AI layer.
3 Workflows to Preserve Original Shadows After Generative Fill
Depending on the complexity of your background and the contrast of your original image, you can choose from one of the following three methods.
Method 1: The Quick Fix (Layer Masking)
This method works best for simple studio backgrounds where the shadow is clearly defined and the new background is relatively uniform in color.
- Generate Your Background: Run Generative Fill to create your new background extension.
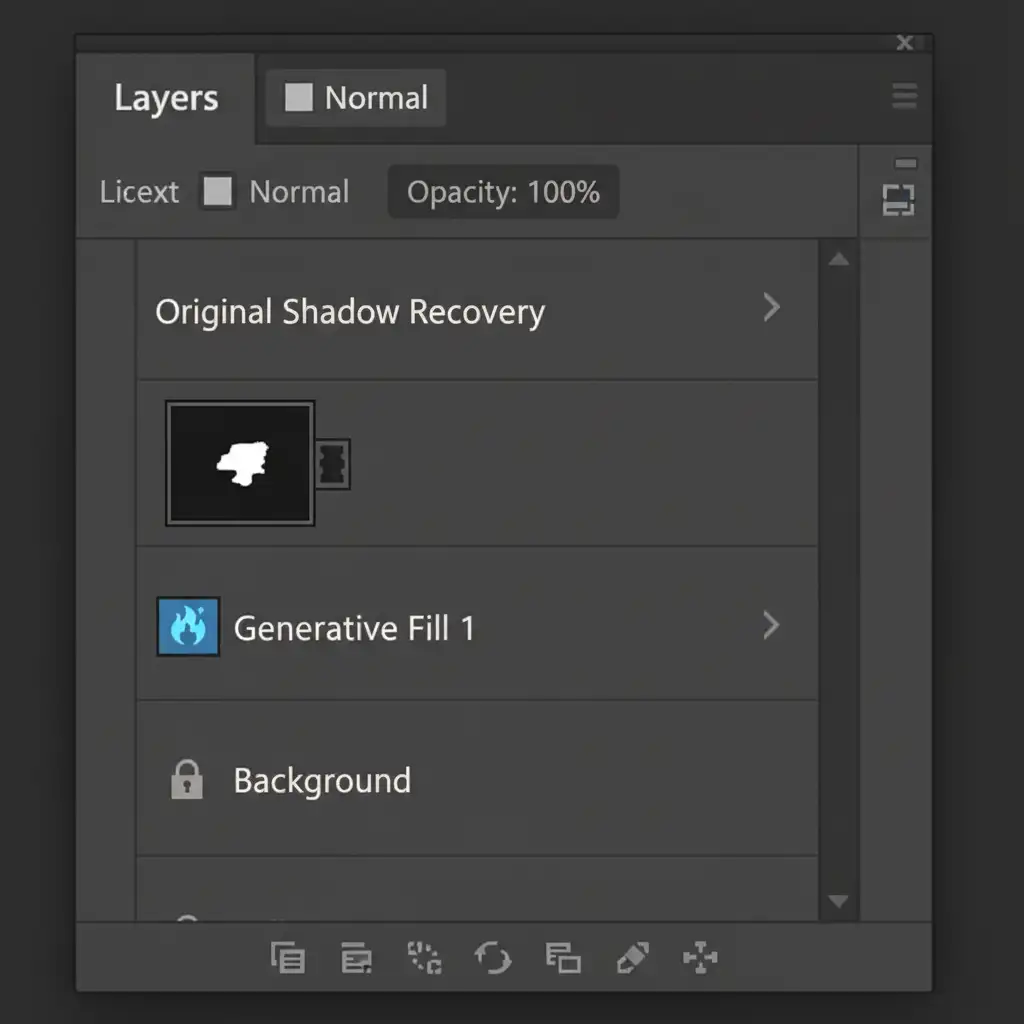
- Duplicate the Original: Select your original background layer, duplicate it (Ctrl/Cmd + J), and drag this duplicate to the very top of your layer stack, above the Generative Fill layer.
- Apply a Layer Mask: Hold Alt/Option and click the Layer Mask icon to add a black mask that completely hides the duplicated layer.
- Paint Back the Shadow: Select the Brush Tool (B), choose a soft round brush, set the foreground color to white, and drop the brush opacity to 30%. Carefully paint over the area where the original shadow existed to slowly reveal it over the AI-generated background.
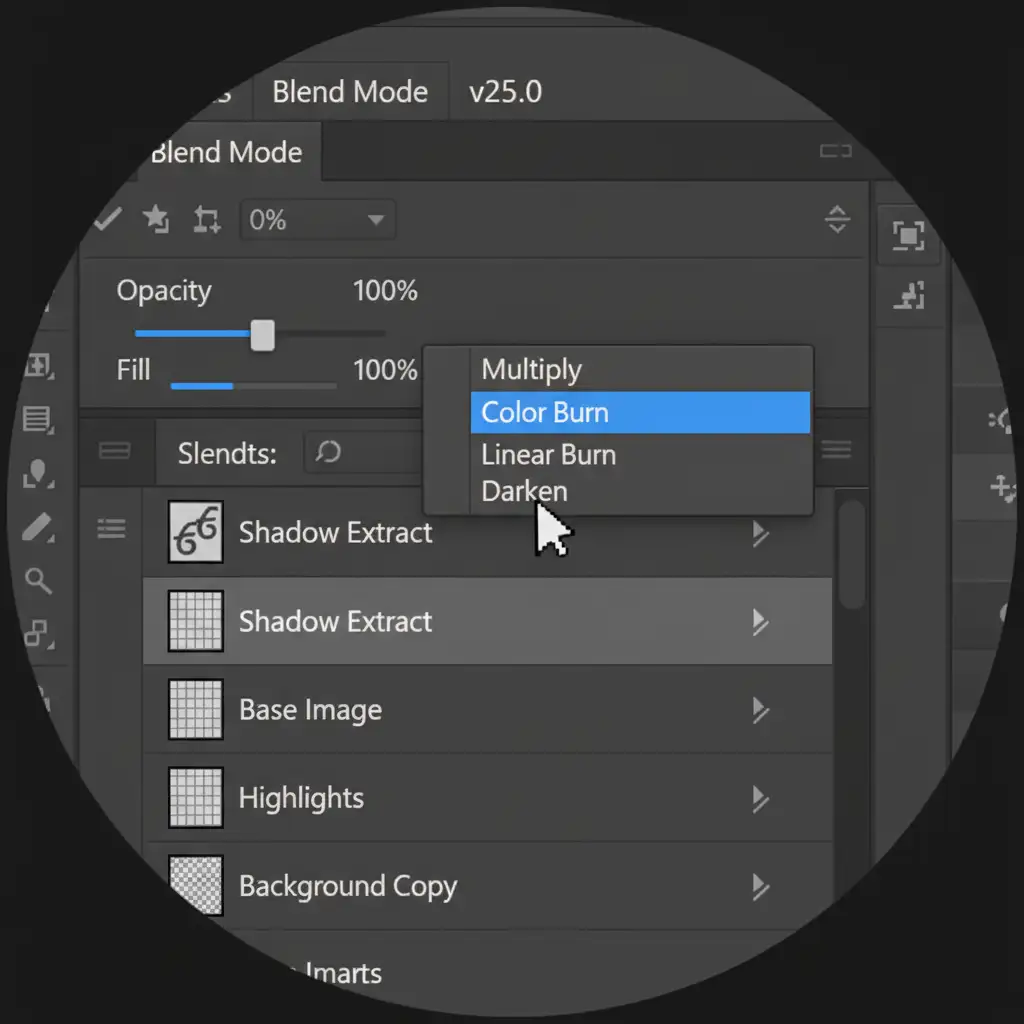
Method 2: The Pro Workaround (Multiply Blend Mode)
When layer masking leaves unwanted halos from the original background color, the Multiply blend mode is your best friend. Multiply drops out the lighter pixels (the original background) and only keeps the darker pixels (the drop shadow).
- Stack the Layers: Just like Method 1, duplicate your original image and place it above the Generative Fill layer.
- Change the Blend Mode: In the Layers panel, change the blending mode of this top layer from “Normal” to “Multiply”.
- Refine with a Clipping Mask: Create a Curves adjustment layer and clip it to your Multiply layer (Alt/Cmd + click between the layers). Adjust the curve to increase the contrast, ensuring the original background color turns pure white (which becomes transparent in Multiply mode) while keeping the shadow dark.
- Mask the Product: Add a layer mask to the Multiply layer and paint black over the actual product so the Multiply effect doesn’t incorrectly darken your item.
Method 3: The Technical Deep-Dive (Channels and Luminosity Masking)
For complex textures or highly critical commercial work, you need mathematical precision. This method uses the Channels panel to create a luminosity mask before you run Generative Fill, capturing the exact photometric data of the shadow.
- Analyze Channels: Open the Channels panel. Click through the Red, Green, and Blue channels to find the one with the highest contrast between the shadow and the background.
- Duplicate and Crush: Duplicate that channel. Press Ctrl/Cmd + L to bring up Levels. Drag the black and white sliders inward to crush the contrast—you want the shadow pitch black and the background pure white.
- Load the Selection: Ctrl/Cmd + click the thumbnail of your duplicated channel to load it as a selection. Invert the selection (Ctrl/Cmd + Shift + I) so only the dark shadow is selected. Save this selection (Select > Save Selection).
- Generate and Apply: Switch back to the RGB channel and your Layers panel. Run your Generative Fill to create the new background.
- Recreate the Shadow: Load your saved shadow selection. Add a Curves adjustment layer (the selection will automatically become the layer mask). Pull the curve down to darken the generated background exactly where the original shadow was, perfectly preserving the original light falloff.

Scale Your E-Commerce Retouching with the Experts
Learning to preserve original shadow generative fill data takes time, patience, and a deep understanding of Photoshop’s blending mechanics. While these techniques are incredibly powerful, applying them manually to hundreds or thousands of product photos per week is a massive drain on your studio’s resources.
If you are struggling with high-volume product photo editing, let the experts at Image Work India and Cloud Retouch handle it. Our professional retouching teams specialize in advanced e-commerce retouching, utilizing AI-enhanced workflows alongside pixel-perfect manual finishing to ensure your products look flawless, grounded, and ready to convert.
Stop wasting hours fixing floating products. Contact Image Work India and Cloud Retouch today for a free trial and see how we can streamline your post-production workflow.


