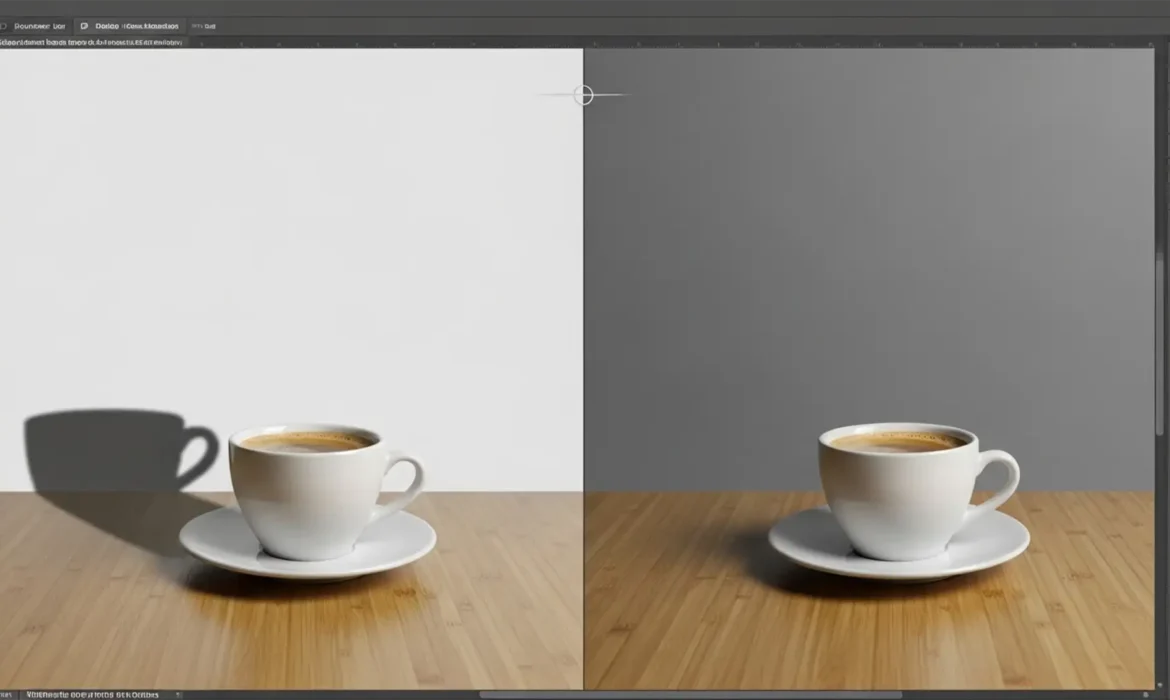
You just used Generative Fill in Photoshop 2024 to add the perfect element to your scene, but there is a glaring problem: the lighting is completely wrong. While Adobe’s Firefly Image 3 model is incredible at rendering objects, it frequently misinterprets the ambient lighting of the original photographic plate.
The result is a frustrating photoshop generative fill shadow mismatch. Your generated objects arrive with baked-in drop shadows or core shadows that contradict the direction, softness, and color temperature of your actual scene. This instantly breaks the photorealism of your composite.
Fortunately, you don’t have to settle for bad lighting. Here is the definitive guide to fixing AI shadow errors and achieving pixel-perfect realism.
Why Firefly Image 3 Struggles with Ambient Lighting
When you use Generative Fill in Photoshop v25.x and v26.x, the AI analyzes the pixels immediately surrounding your selection. However, it often fails to understand the macro-lighting setup of the entire image—especially if the primary light source is off-camera. This causes the AI to “guess” the lighting, resulting in conflicting shadow directions and incorrect shadow falloff.
To fix this, we need to override the AI’s assumptions using three distinct methods, ranging from prompt engineering to advanced manual retouching.

Method 1: The Quick Fix – Prompt Engineering for Lighting
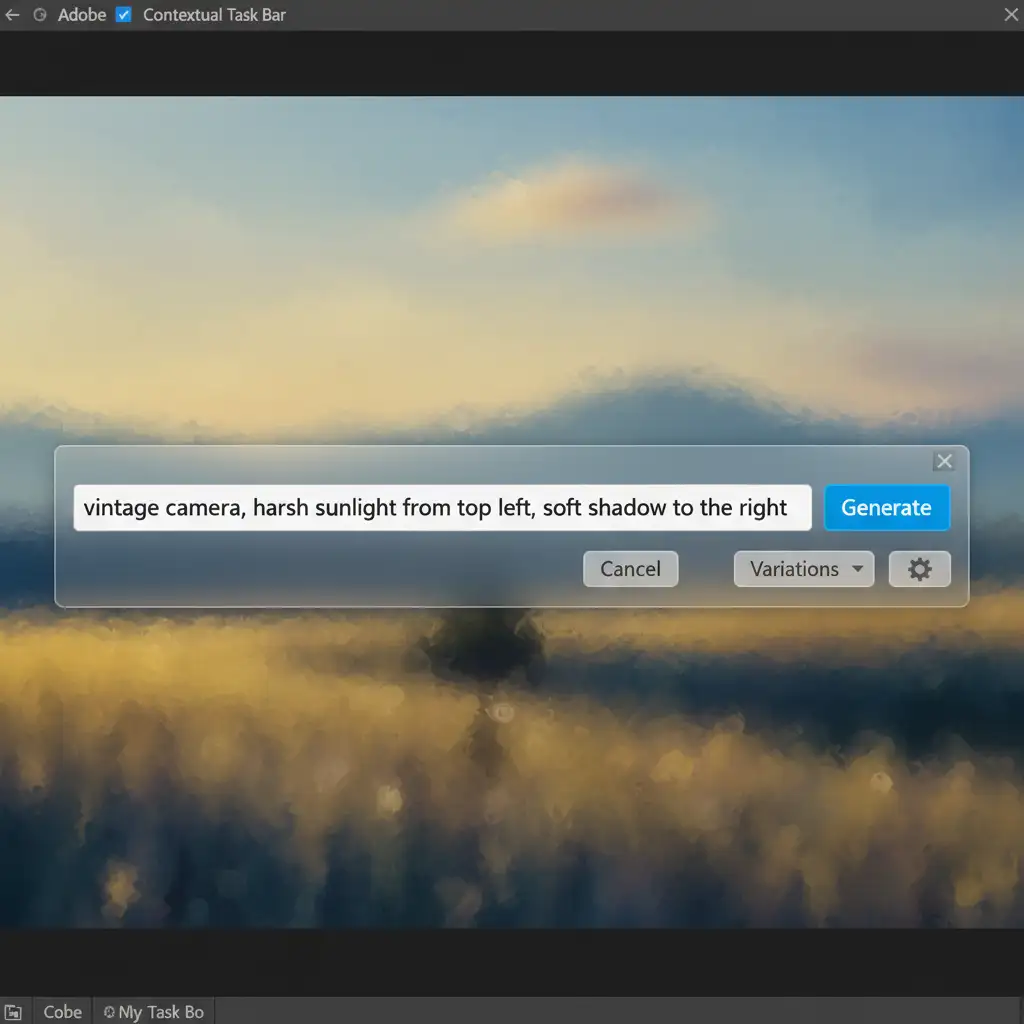
Before resorting to manual masking, you can force the Firefly Image 3 model to generate accurate lighting by applying strict constraints within the Contextual Task Bar.
If your initial prompt was simply “wooden chair,” the AI will apply default studio lighting. You need to explicitly define the light source and shadow behavior.
Updating Your Prompt
- Select your Generative Fill layer.
- Navigate to the Contextual Task Bar.
- Modify your prompt to include directional and quality constraints.
- Example: “wooden chair, harsh sunlight from top left, soft shadow to the right.”
- Click Generate and cycle through the variations.
Method 2: The Pro Workaround – Masking and Contact Shadows
If prompt engineering fails to produce a usable result, you must manually strip the baked-in shadow from the generated object and recreate the contact shadow from scratch.
Step-by-Step Masking
- Select the generated layer and use Select Subject to isolate the object itself, ignoring the AI-generated shadow.
- Apply a Layer Mask to hide the incorrect baked-in shadow completely.
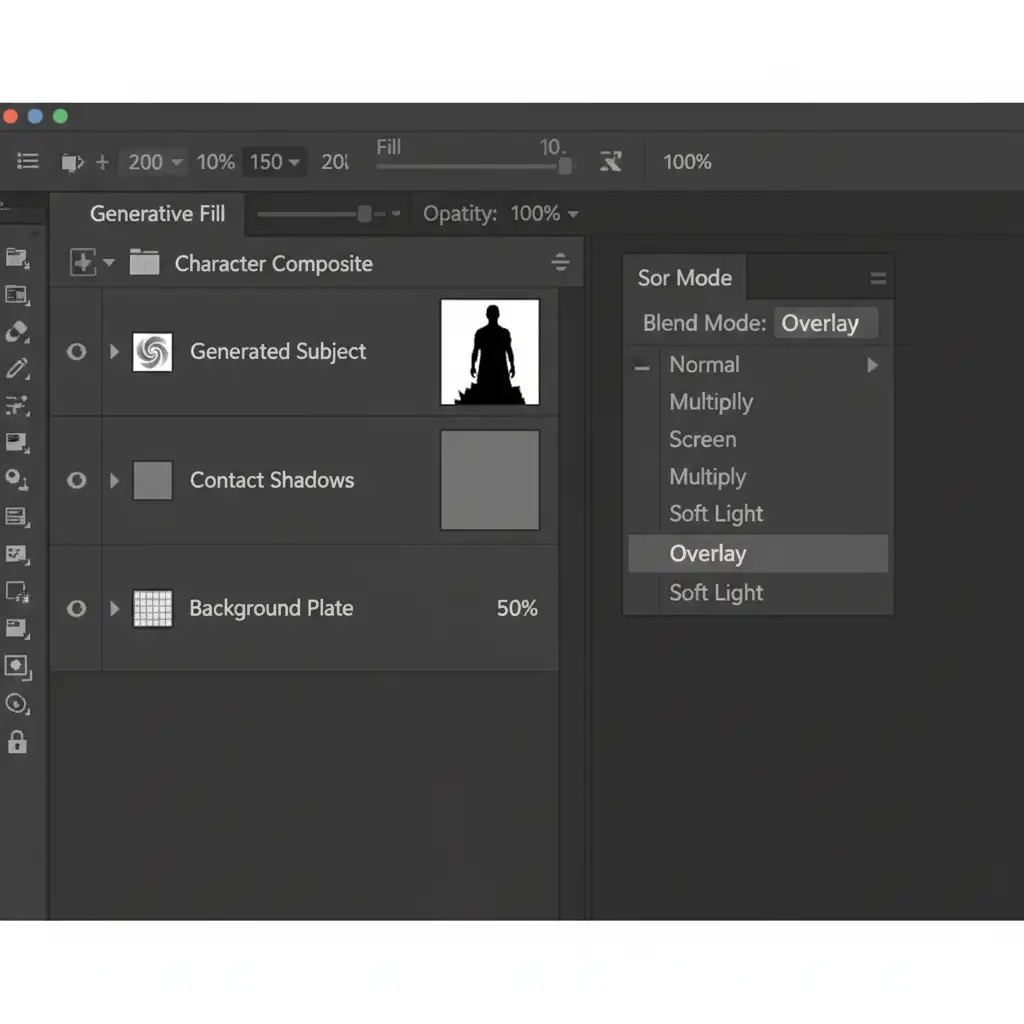
- Create a new blank layer beneath your isolated object.
- Go to Edit > Fill and select 50% Gray.
- Change the layer’s Blend Mode to Overlay.
- Select the Burn Tool (set to Midtones, 15% Exposure) and gently paint directly under the object to create a highly accurate, grounded contact shadow.
Method 3: The Technical Deep-Dive – Custom Shadow Casting
For complex composites, a simple contact shadow isn’t enough. You need a full drop shadow that matches the exact perspective and ambient lighting of the original plate.
Creating the Perspective Shadow
- Separate the Object: Ensure your generated object is completely masked and separated from its AI background.
- Duplicate and Darken: Duplicate the isolated object layer. Move the duplicate below the original object.
- Fill with Ambient Color: Load the duplicate layer’s selection. Instead of filling it with pure black, use the Eyedropper tool to select a dark, ambient shadow color from the original photograph. Fill the selection with this color.
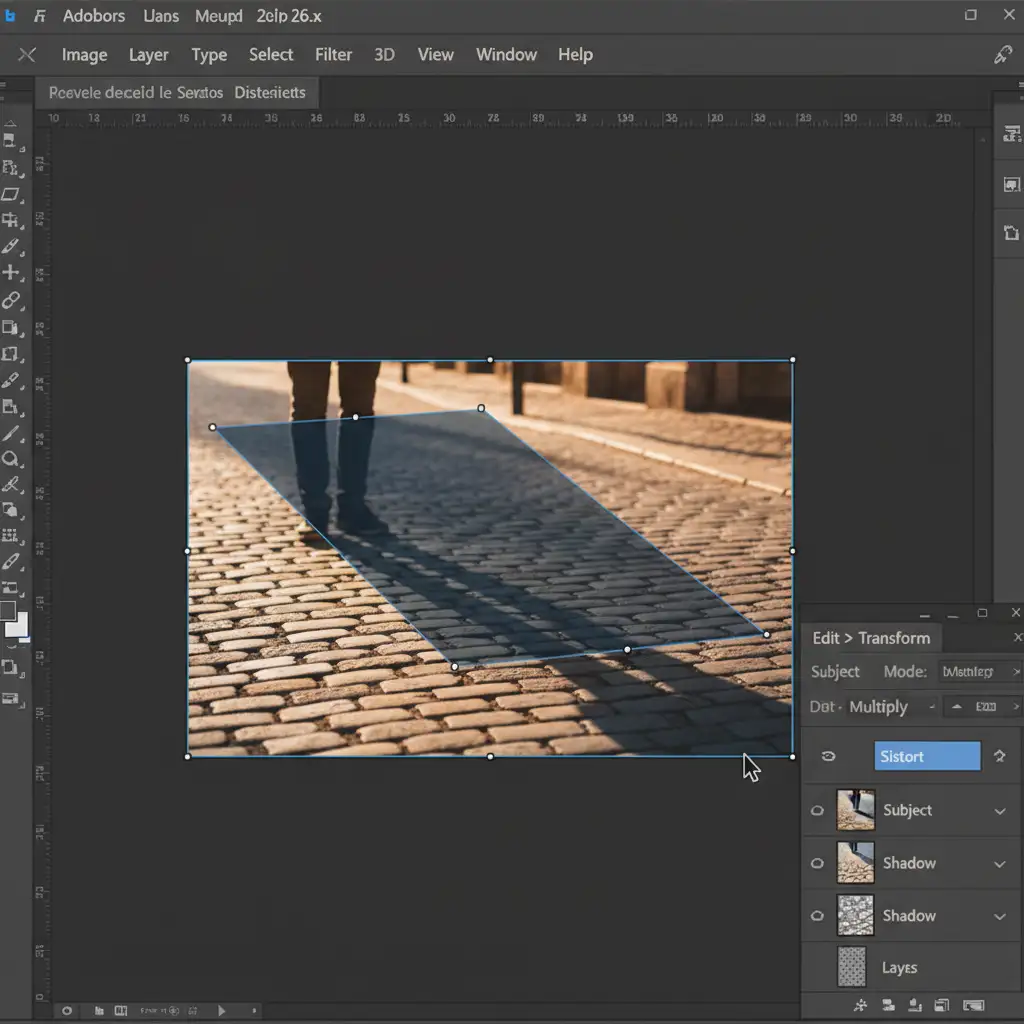
- Set Blend Mode: Change this shadow layer’s Blend Mode to Multiply.
- Perspective Transform: Go to Edit > Transform > Distort. Drag the top transform handles down and away to lay the shadow flat against the ground plane, matching the exact angle of the original shadows in the photo.
- Apply Gaussian Blur: Shadows get softer the further they are from the object. Go to Filter > Blur > Gaussian Blur and apply a slight blur. For advanced realism, use a Tilt-Shift blur to create a natural shadow falloff.
Skip the Hassle: Let the Retouching Experts Handle It
Fixing a Photoshop generative fill shadow mismatch requires a deep understanding of ambient lighting, layer masks, and perspective transforms. While Firefly Image 3 is a powerful starting point, achieving flawless, commercial-grade realism still demands the trained eye of a professional retoucher.
If you need flawless composites without the AI shadow headaches, outsource your advanced photo retouching and masking to Image Work India and Cloud Retouch. Our team of expert retouchers specializes in pixel-perfect realism, ensuring every generated element, contact shadow, and ambient light source blends seamlessly into your final image.
Focus on your creative vision, and let us handle the technical heavy lifting. Contact Image Work India today to elevate your photo composites.


