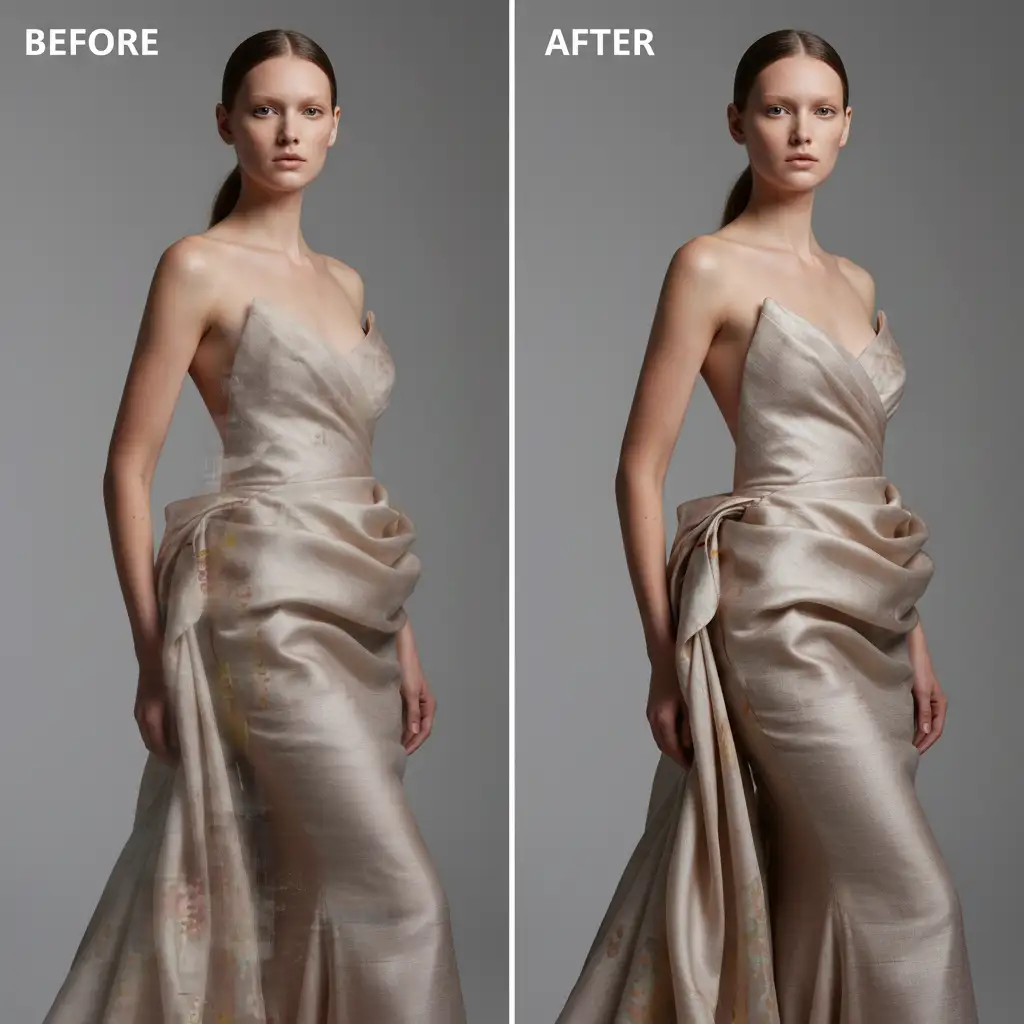
You finally nailed the perfect fashion shot, but the client needs it in a wider aspect ratio for a website banner. You hit “Generative Expand” in Photoshop, expecting instant magic. Instead? The AI gives your model a third hand, turns smooth silk into crumpled plastic, and completely ruins the directional flow of the fabric.
If you are desperately searching for a reliable generative expand clothing artifacts fix, you are not alone. In Adobe Photoshop v25.0 and above, Adobe Firefly Image models frequently prioritize overall background lighting over the micro-details of a subject’s clothing. This leads to frustrating prompt bleeding and contextual hallucinations.
Here is the professional workflow to stop AI from ruining your model’s wardrobe and achieve pixel-perfect canvas extensions.
Why Does Generative Expand Ruin Clothing and Anatomy?
When you expand a portrait or fashion shot, the AI attempts to guess what exists beyond the frame. However, complex patterns, fabric folds, and human anatomy at the boundary line confuse the algorithm. Because the AI’s contextual awareness looks at the entire image to generate the new background, it often mixes environmental textures with the subject.
This results in artifacting: illogical wrinkles, mismatched high-frequency textures, and extra limbs. To fix this, you must take control away from the automated algorithm and guide the Adobe Firefly Image Model manually.
Method A: The Quick Fix (Targeted Prompting)
The biggest mistake retouchers make with Generative Expand is leaving the prompt box blank. A blank prompt forces the AI to guess, which causes prompt bleeding between the background and the subject.
Instead of relying on automated expansion, use highly specific descriptive text.
Step-by-Step Prompting
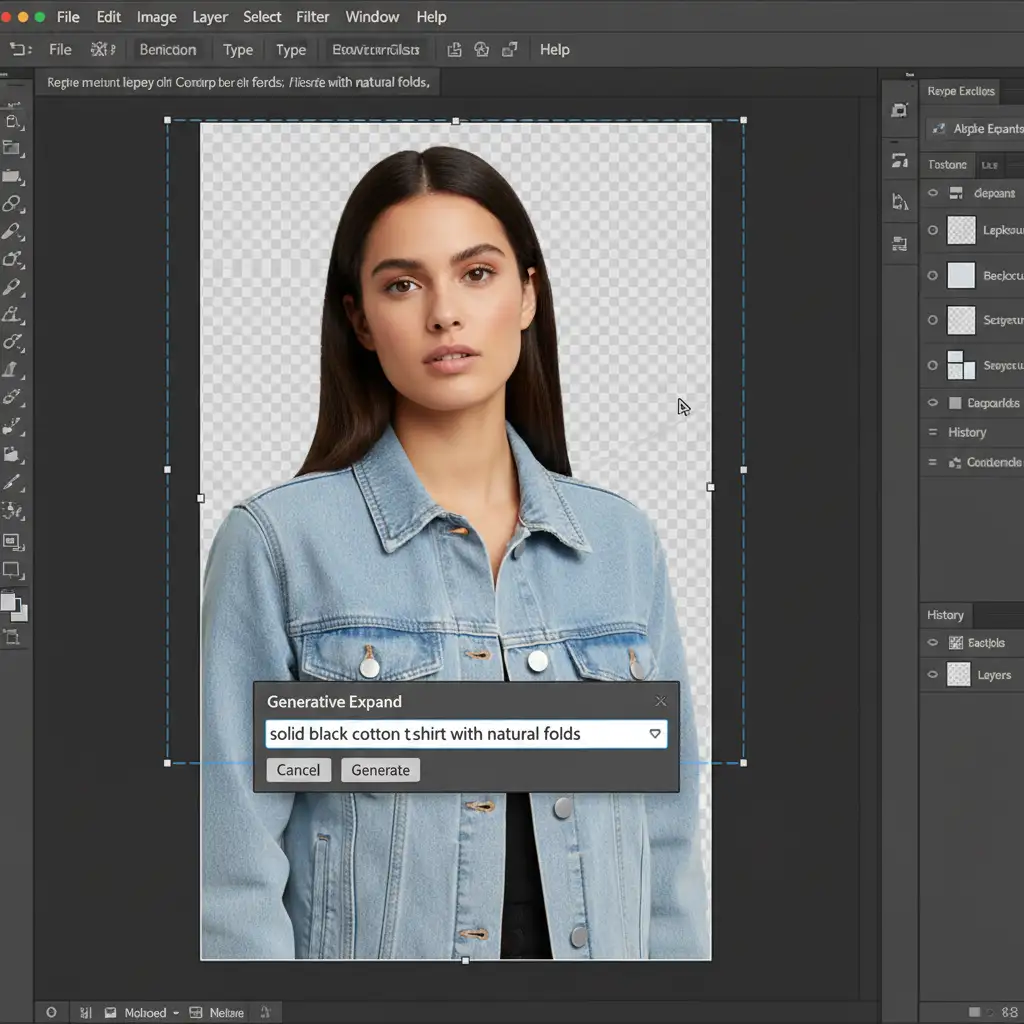
- Select the Crop Tool and extend your canvas.
- In the Contextual Task Bar, click on the text input field.
- Type an exact description of the clothing intersecting the crop boundary (e.g., “solid black cotton t-shirt with natural folds” or “smooth red silk dress flowing downward”).
- Generate and cycle through the Variations panel to find the closest anatomical and textural match.
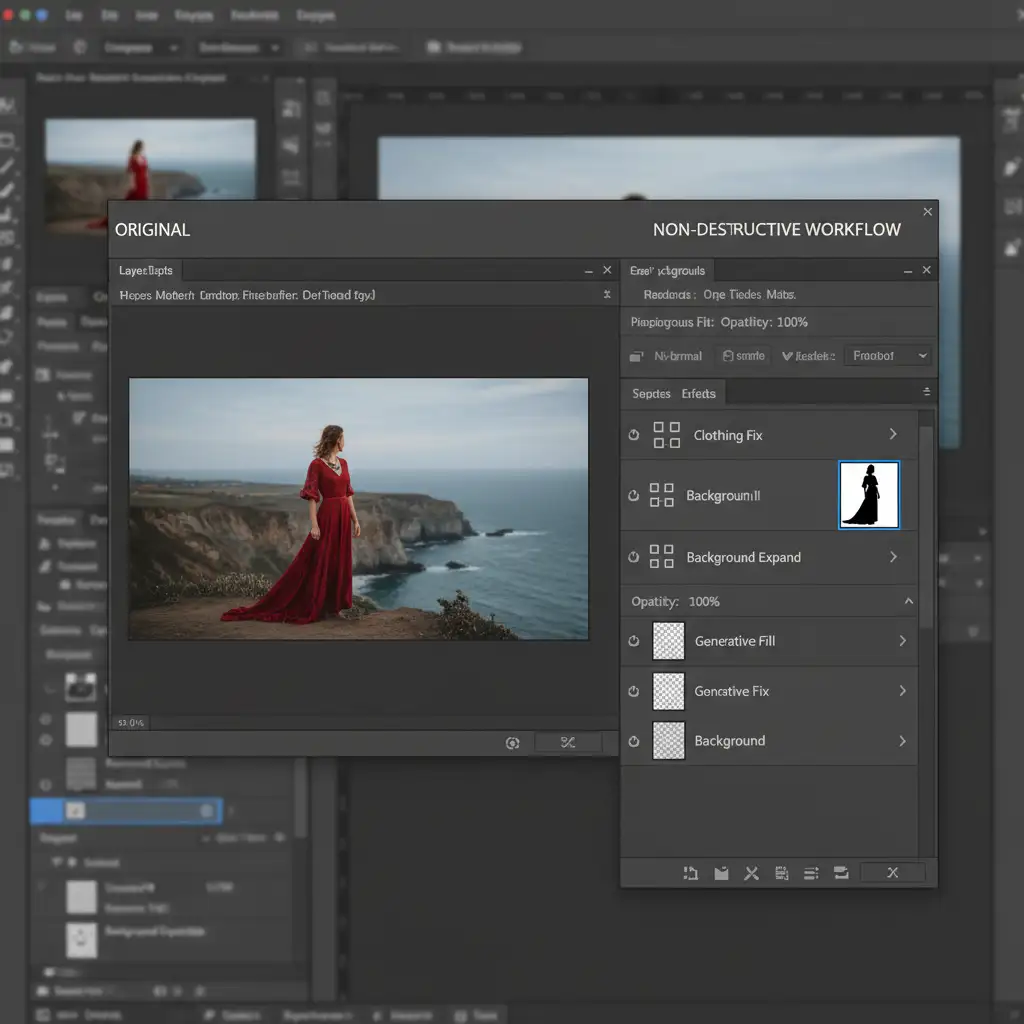
Method B: The Pro Workaround (Targeted Generative Fill & Layer Masking)
If targeted prompting still yields anatomical errors, you need to separate the background generation from the subject generation. Do not expand the clothing and the environment simultaneously.
Isolating the Subject
- Expand your canvas using the Crop Tool, but leave the Generative Expand prompt blank to focus purely on the background. Let the AI hallucinate the clothing for now.
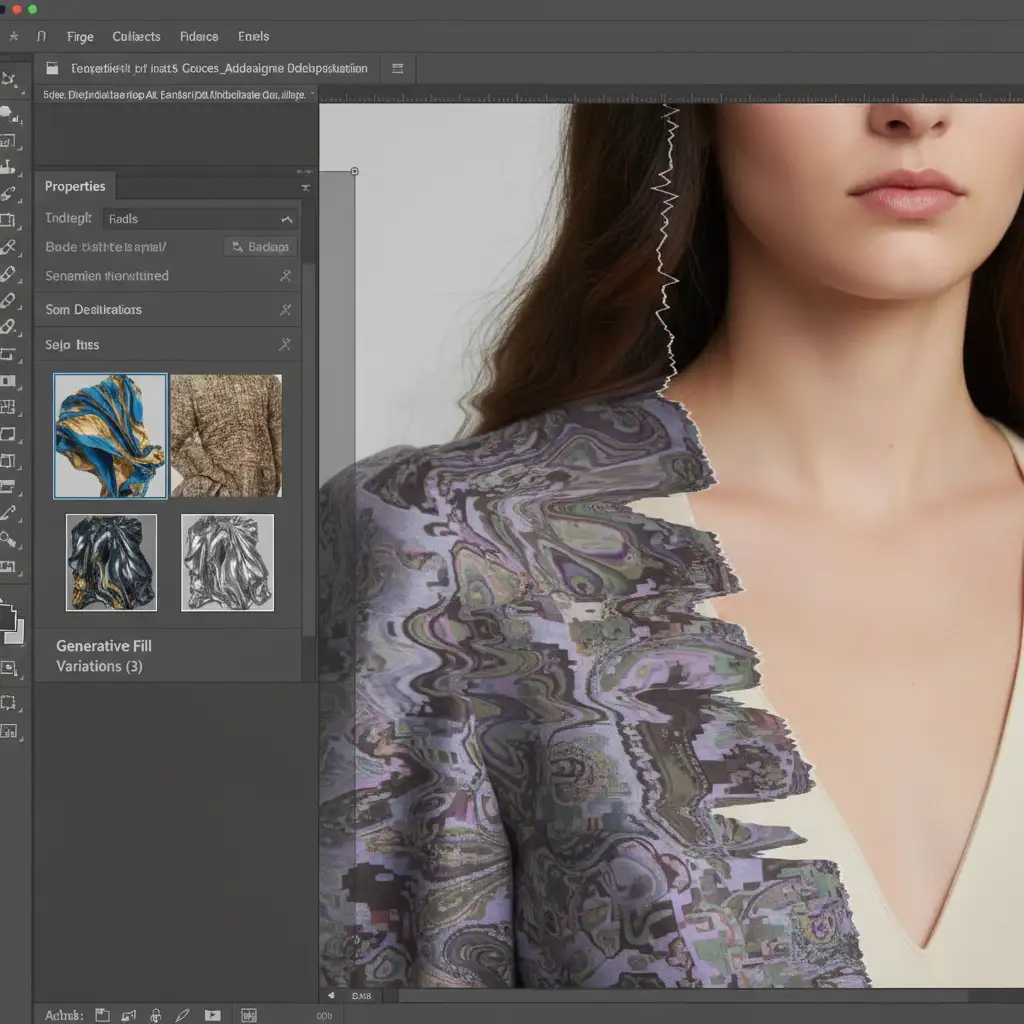
- Once the background is generated, use the Lasso Tool to select only the corrupted clothing area.
- Apply a new Generative Fill specifically for the missing clothing, using a targeted prompt.
- Use a soft Layer Mask to seamlessly blend the newly generated fabric with the extended background environment.
By isolating the subject via layer masking, you prevent the AI from confusing background textures with fabric grains.
Method C: The Technical Deep-Dive (Reference Images & Frequency Separation)
For high-end fashion and editorial retouching, even the best AI generation might leave slight texture mismatches. To achieve a flawless generative expand clothing artifacts fix, you must utilize Photoshop v25.x’s advanced features combined with traditional high-end retouching techniques.
Step 1: Utilize the Reference Image Feature
Update to the latest version of Photoshop to access the Reference Image tool in the Contextual Task Bar.
- Select the area of the clothing that needs expansion.
- Click the Reference Image icon and sample a clean, uncorrupted section of the original fabric.
- This forces the Adobe Firefly Image model to mimic the exact weave and lighting of the source material.

Step 2: Frequency Separation for Texture Blending
If the AI fabric grain still clashes with the original photograph’s noise profile, it is time for manual blending.
- Select your original image and your generative layers, right-click, and convert them into Smart Objects.
- Set up a standard Frequency Separation action (separating color/tone on the low layer, and texture on the high layer).
- Select the High-Frequency Texture layer.
- Use the Clone Stamp tool (Sample: Current Layer) to clone the original, authentic fabric grain over the AI-generated areas.
This completely masks any “smooth” or “plastic” AI artifacting, unifying the expanded canvas under a single, photorealistic texture profile.
Flawless Fashion Retouching at Scale
Fixing a single image using layer masking and frequency separation is manageable. But what happens when you have an entire fashion catalog of 500 images that all need aspect ratio expansions for a global e-commerce campaign? Relying purely on automated AI will result in hundreds of anatomical errors and ruined garments.
Image Work India and Cloud Retouch specialize in solving this exact problem.
Struggling to fix AI artifacts on high-volume fashion shoots? Hire our expert retouchers. We combine cutting-edge AI workflows with pixel-perfect manual quality assurance. Whether it is rebuilding complex fabric textures, fixing anatomical hallucinations, or executing bulk canvas expansions, we deliver flawless, natural-looking images at scale.
Contact Image Work India today to streamline your post-production and ensure your subjects look perfect in every frame.


