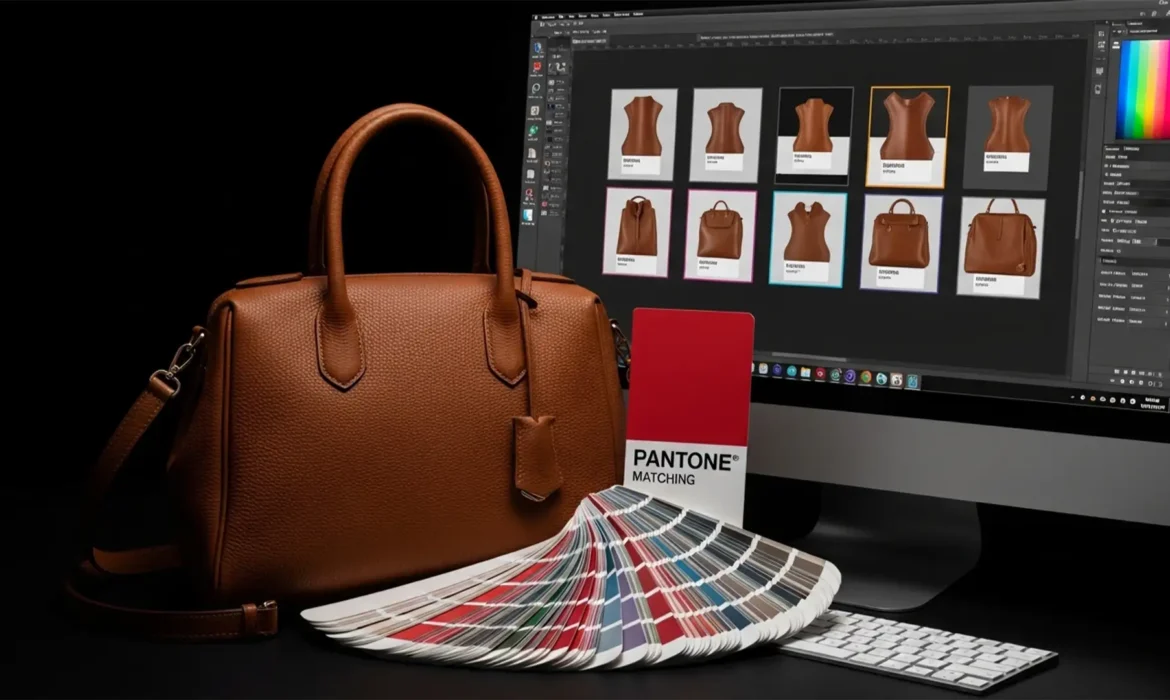
If you manage high-volume e-commerce workflows, you already know the nightmare of photographing leather. Varying strobe lighting, natural patina, and surface reflections create massive hue inconsistencies across your catalog. When you try to fix color matching it using standard Hue/Saturation sliders, you destroy the natural micro-contrast of the leather grain, leaving your premium products looking like flat, artificial plastic.
Customers expect the exact color they see on screen. When you need a precise Pantone matching workflow across hundreds of products, manual tweaking isn’t scalable.
In this guide, we will break down the exact Photoshop techniques for batch color matching for leather SKU sets—allowing you to maintain exact hex codes without sacrificing the luxurious texture of your products.
The Challenge: Why Leather Defies Standard Color Correction
Leather is a dynamic material. Depending on the specific cut and how your studio strobes hit the grain, the same bag can look cherry red in one shot and muddy brown in another.
When editors attempt to unify these colors in a standard RGB Color Space, they often flatten the image. The core issue is that color and texture are intertwined. To achieve true uniformity at scale, you must separate the color data from the Luminosity (brightness and texture) data.
Here are three professional methods to achieve flawless color matching, scaling from single-image fixes to fully automated batch processing.
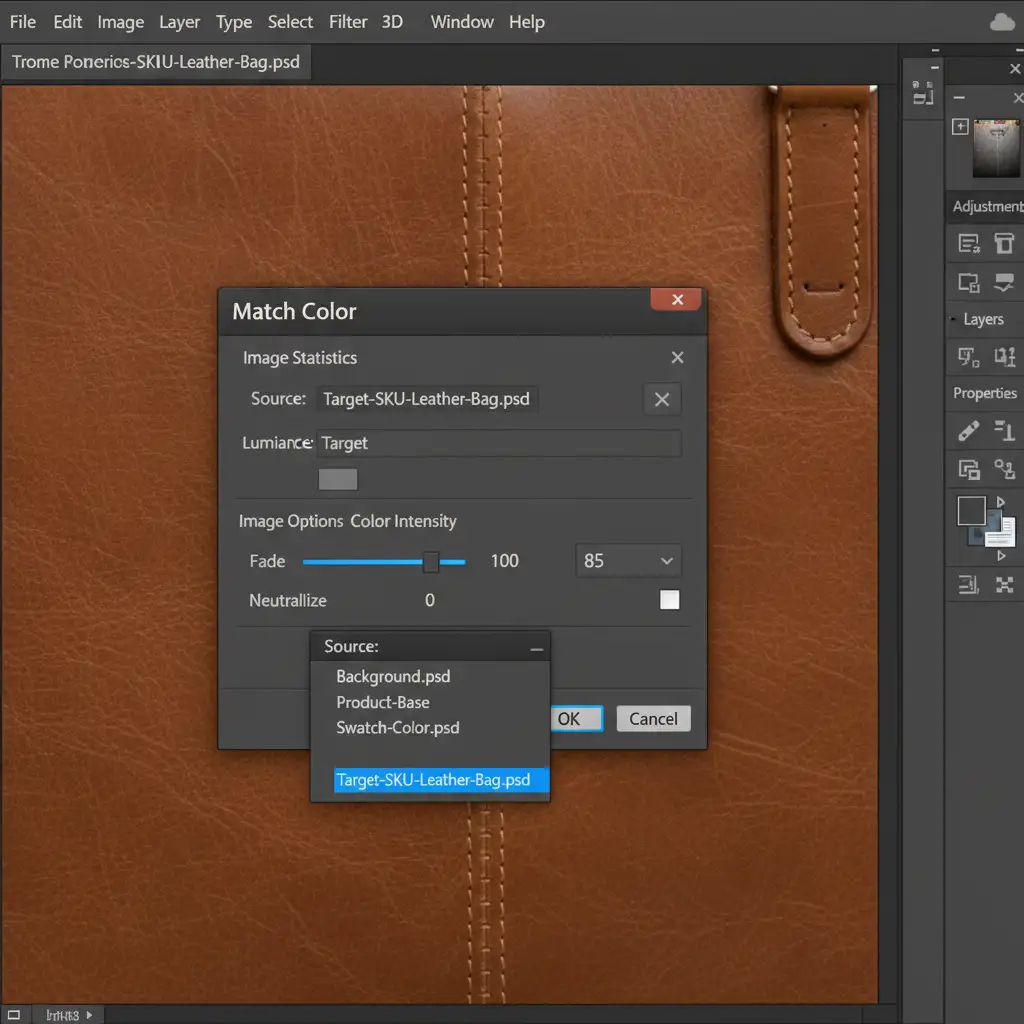
Method 1: The Quick Fix Using the Match Color Tool
For rapid adjustments across a small batch of images, Photoshop’s native Match Color tool is highly effective, provided you control the luminance values.
- Open your target SKU (the image with the perfect, approved color) and your uncorrected image in Photoshop (v24.x or newer).
- On the uncorrected image, navigate to Image > Adjustments > Match Color.
- In the dialog box, select your target SKU as the Source Image.
- Crucial Step: Set the Luminance slider to 100 to prevent the tool from altering your shadows and highlights. Adjust the Color Intensity slider until the hues align.
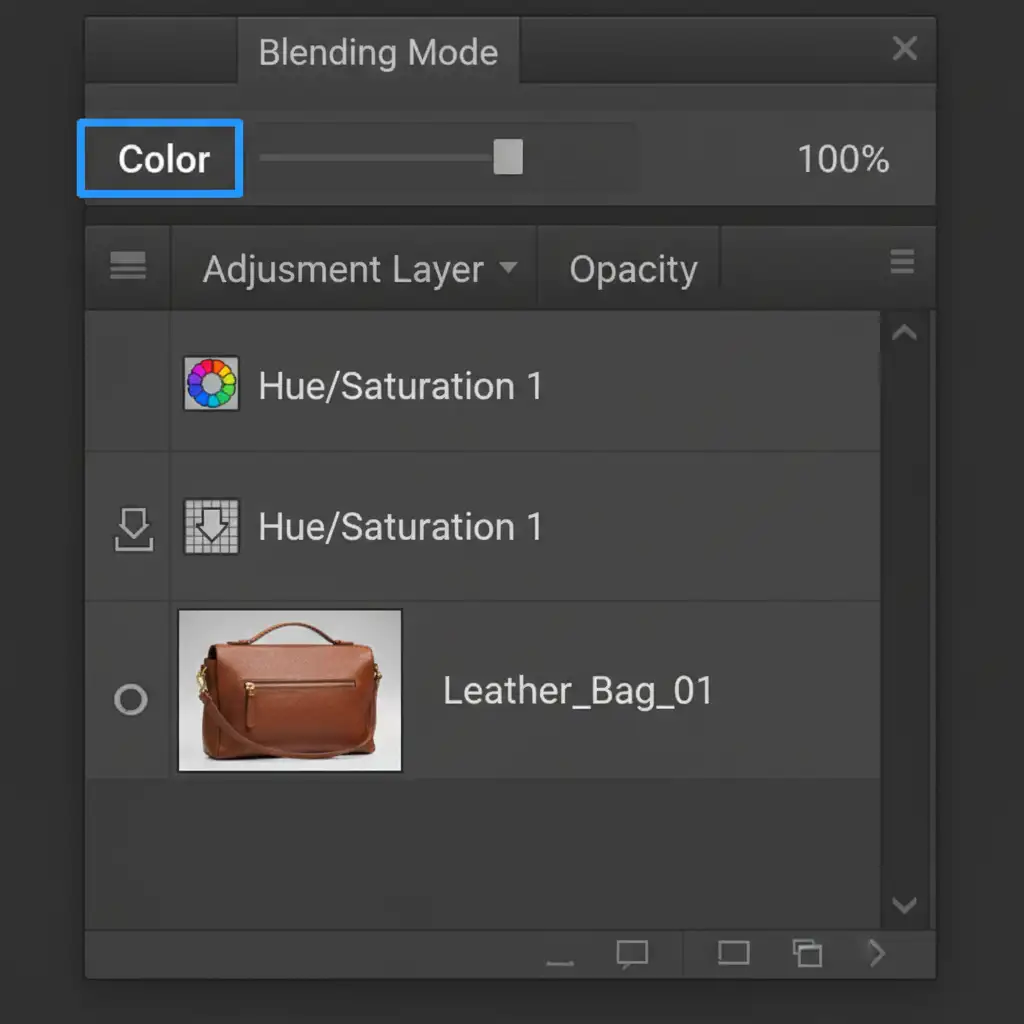
Method 2: The Pro Workaround (Preserving Micro-Contrast)
To completely avoid the “plastic leather” look, you must use a non-destructive workflow utilizing an Adjustment Layer and a Clipping Mask. This is the industry standard for high-end retouching.
- Make a precise selection of the leather product (using the Pen Tool or Object Selection).
- Create a Hue/Saturation Adjustment Layer. Apply your selection as a layer mask.
- Clip the adjustment layer to the product layer (Alt/Option + Click between the layers).
- Change the Blending Mode of the Adjustment Layer from ‘Normal’ to ‘Color’. This ensures that only the hue and saturation are affected, leaving the underlying Luminosity and Micro-contrast perfectly intact.
- Use the Targeted Adjustment Tool (the hand icon with arrows) within the Hue/Saturation properties. Click directly on the leather to isolate specific undertones—usually the Reds and Yellows—and tweak them to match your master SKU.
Method 3: The Technical Deep-Dive for Batch Processing
When dealing with hundreds of SKUs, manual adjustment layers are too slow. You need to leverage Batch Processing.
By combining Photoshop’s Neural Filters with conditional scripting, you can automate this entire workflow.
- Record a new Action.
- Within the Action, apply Filter > Neural Filters > Color Transfer, setting your master SKU as the reference image.
- Advanced Scripting: Integrate an IF/THEN conditional script to evaluate the average color depth of the image. If the image is too dark, the script automatically applies a Levels adjustment before the Color Transfer.
- Stop recording. Navigate to File > Automate > Batch.
- Select your newly created Action, choose your source folder of uncorrected SKUs, and set your destination folder. Let Photoshop do the heavy lifting.

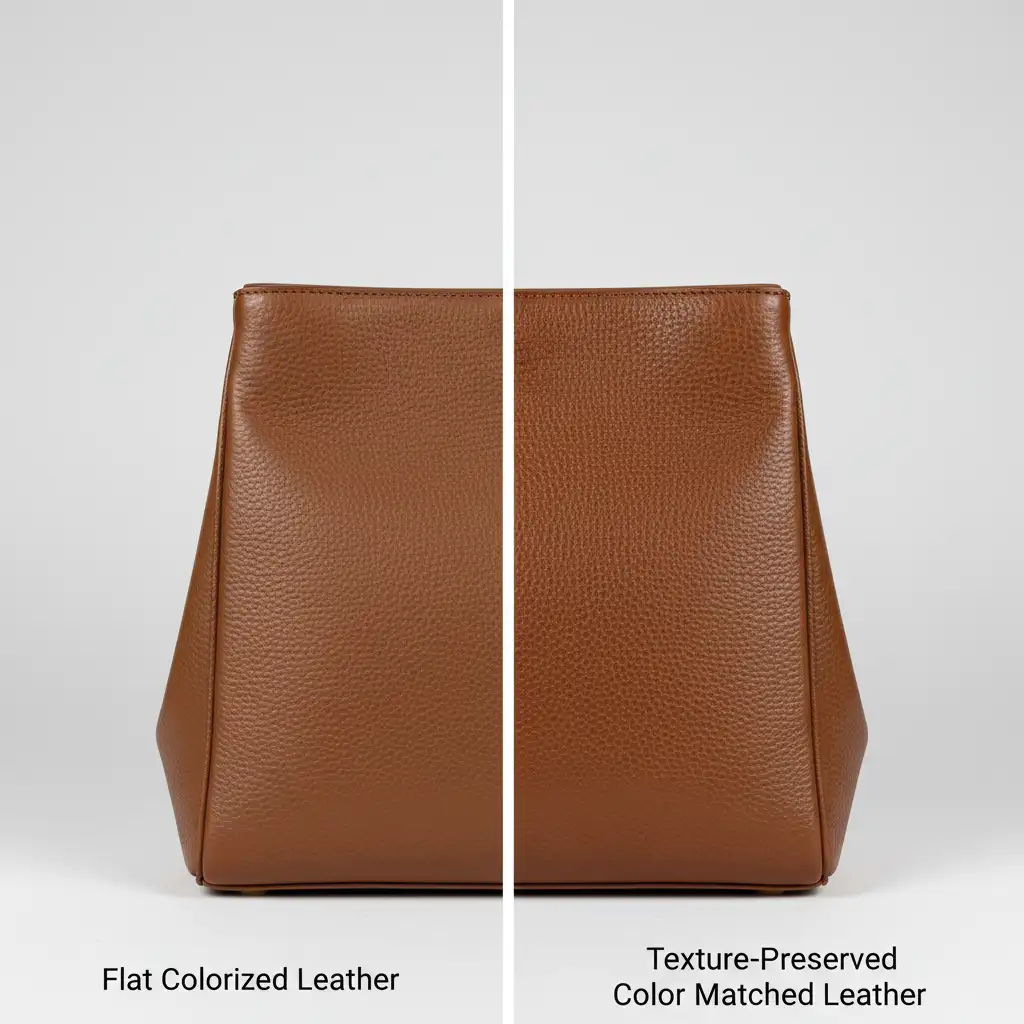
The Results: Flat vs. Texture-Preserved Leather
The difference between standard colorization and luminosity-preserved color matching is night and day.
Standard Hue/Saturation adjustments (left) destroy the highlights on the leather grain, resulting in a matte, synthetic appearance. The Blending Mode method (right) perfectly aligns the hue with your Pantone requirements while keeping the rich, natural specular highlights that sell premium leather goods.
Streamline Your E-Commerce Workflow with Image Work India
Mastering batch color matching for leather SKU sets requires a deep understanding of color theory, luminosity, and advanced Photoshop automation. While these techniques are highly effective, executing them across thousands of seasonal SKUs demands immense time and dedicated retouching resources.
You don’t have to do it alone.
At Image Work India and Cloud Retouch, we specialize in high-volume, premium e-commerce photo editing. Our expert retouchers utilize advanced batch processing and non-destructive color grading to ensure every single leather product in your catalog matches your brand’s exact specifications—without ever losing that premium, natural texture.
Struggling to keep your leather SKUs consistent? Let us handle the heavy lifting. Contact Image Work India today to scale your post-production workflow and deliver flawless, brand-accurate catalogs to your customers.


