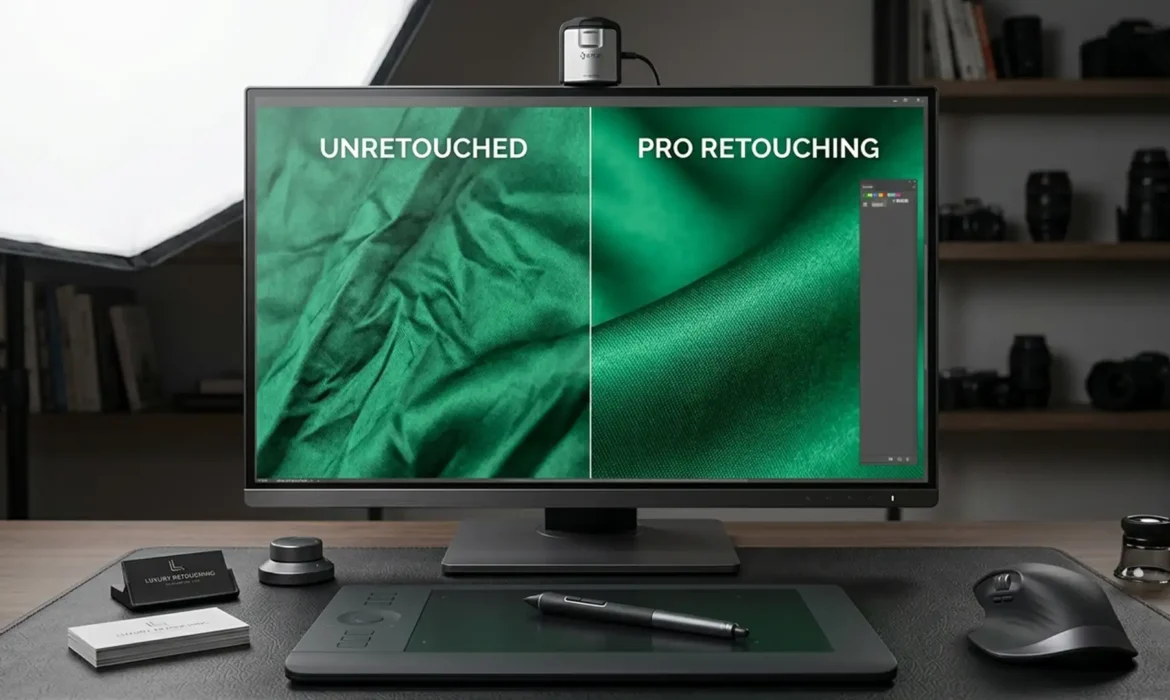
Have you ever tried to remove wrinkles from a luxury silk blouse, only to end up with a flat, plastic-looking garment? You’re not alone. Standard clone stamping or healing brushes destroy the fabric retouching natural drape, micro-contrast, and crucial material weight. In high-end e-commerce and fashion retouching, losing that realistic textile texture is a dealbreaker. The secret to flawless apparel editing lies in non-destructive fabric crease removal. In this guide, we’ll show you how to use Adobe Photoshop 2024 to eliminate distracting folds while preserving every thread of texture and luminosity.
Why Traditional Retouching Ruins Material Weight
When e-commerce retouchers aggressively attack clothing wrinkles with standard tools, they often overwrite the original pixel data. This flattens the garment, destroying the intricate interplay of highlights and shadows that give fabrics like satin, silk, and linen their authentic “material weight.”
To achieve professional results, your workflow must be rooted in non-destructive editing. By separating texture from luminosity and utilizing AI-assisted tools on blank layers—while keeping GPU acceleration enabled for smooth brush performance—you can ensure your rasterized fabric texture remains completely intact.
Here are the three definitive methods to achieve pixel-perfect fabric retouching in Adobe Photoshop 2024 (v25.x).
Method A: The Quick Fix Using the 2024 Remove Tool
For minor wrinkles and isolated fabric pulls, Photoshop 2024’s AI-assisted Remove Tool is incredibly efficient, provided you configure it for a non-destructive workflow.
- Create a new blank layer above your main garment image.
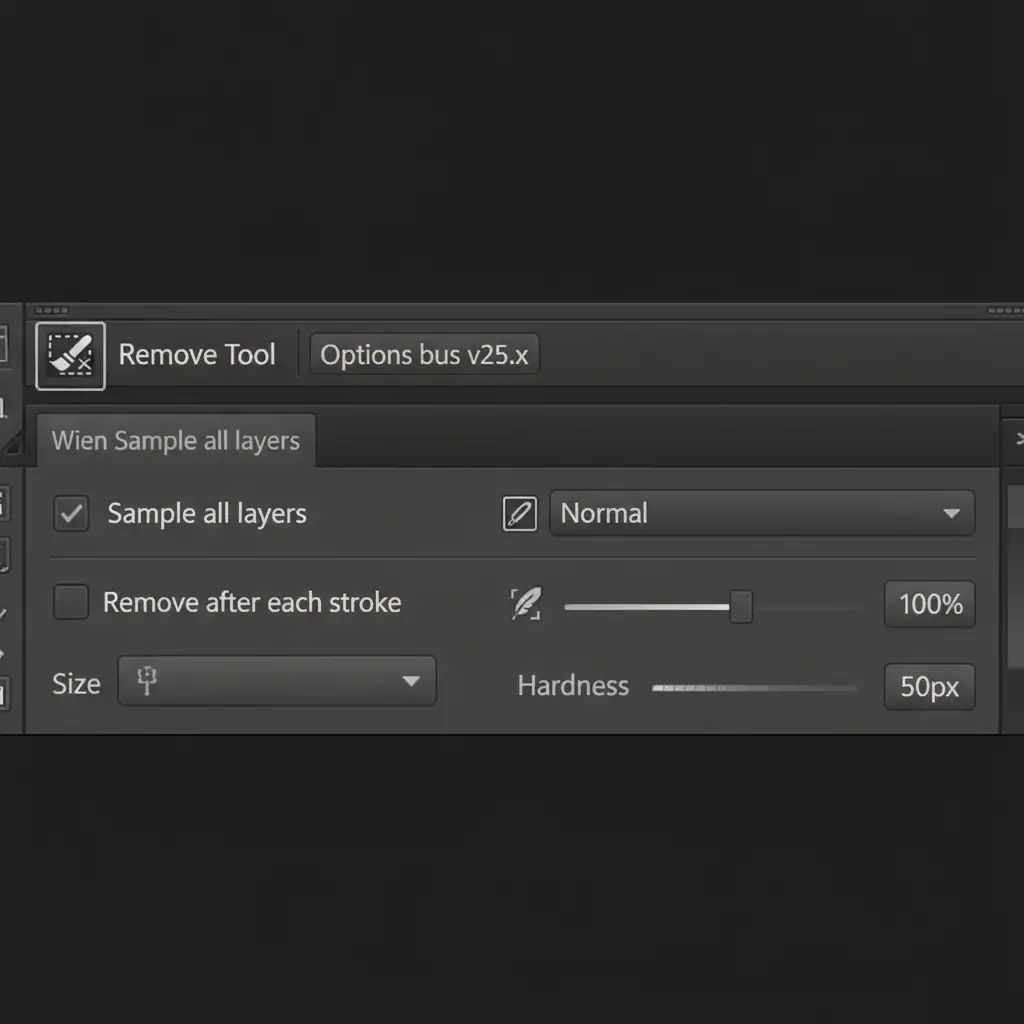
- Select the Remove Tool (nested with the Spot Healing Brush).
- Look at the top options bar. Check ‘Sample all layers’ and uncheck ‘Remove after each stroke’.
- Paint over the minor wrinkles. Because you unchecked the automatic removal, you can make multiple brush strokes to cover complex crease networks.
- Press Enter to apply.
This AI method analyzes the surrounding micro-contrast and patches the area while preserving the fabric’s natural lighting on a completely separate layer.
Method B: The Pro Workaround with Frequency Separation
When dealing with highly reflective textiles or complex folds, you need to separate the fabric’s weave from its lighting. Frequency Separation is the industry standard for this.
(Pro Tip: Convert your base layer into Smart Objects before duplicating to keep your entire document non-destructive and scalable.)
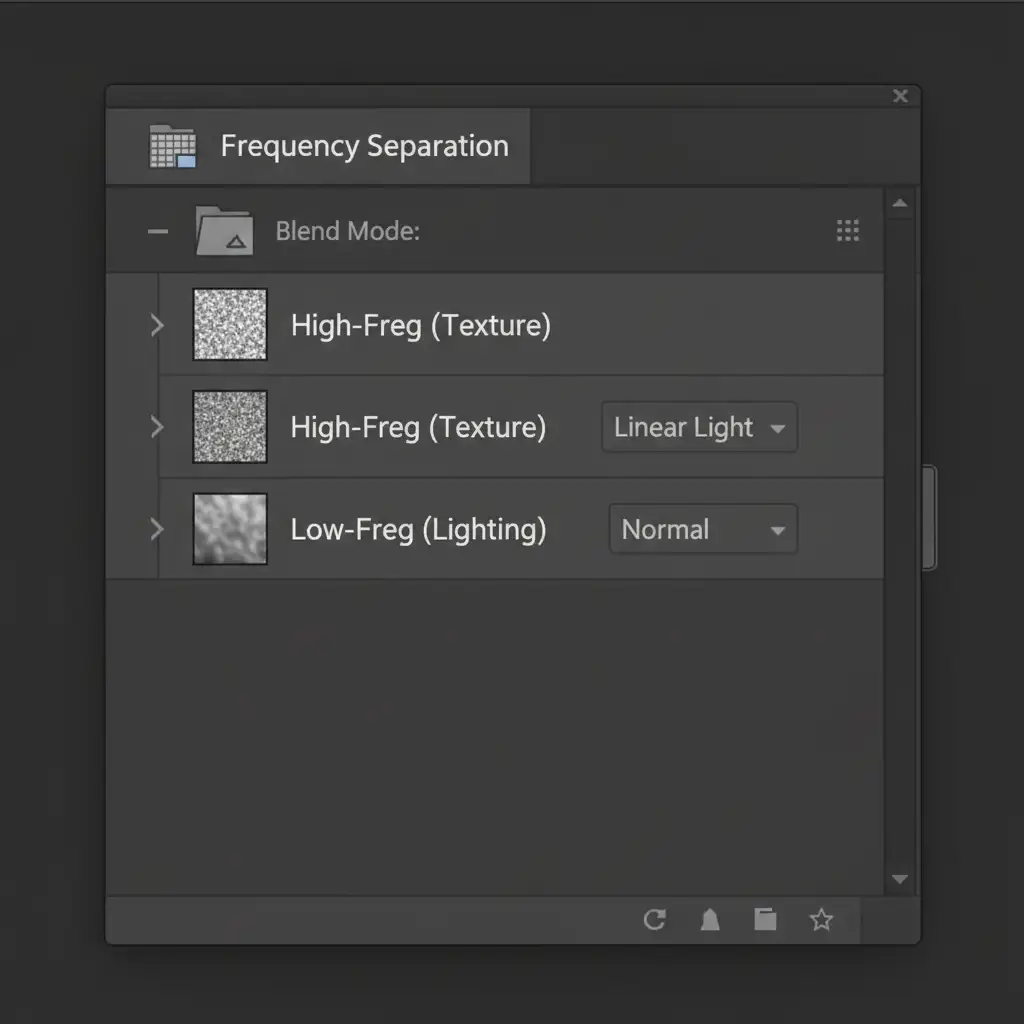
- Duplicate your base layer twice. Name the bottom duplicate Low-Freq (Lighting) and the top duplicate High-Freq (Texture). Group them into a folder.
- Hide the High-Freq layer. Select the Low-Freq layer and apply a Gaussian Blur of 4-6px (just enough to blur the crisp fabric weave, but retain the overall color and shadows).
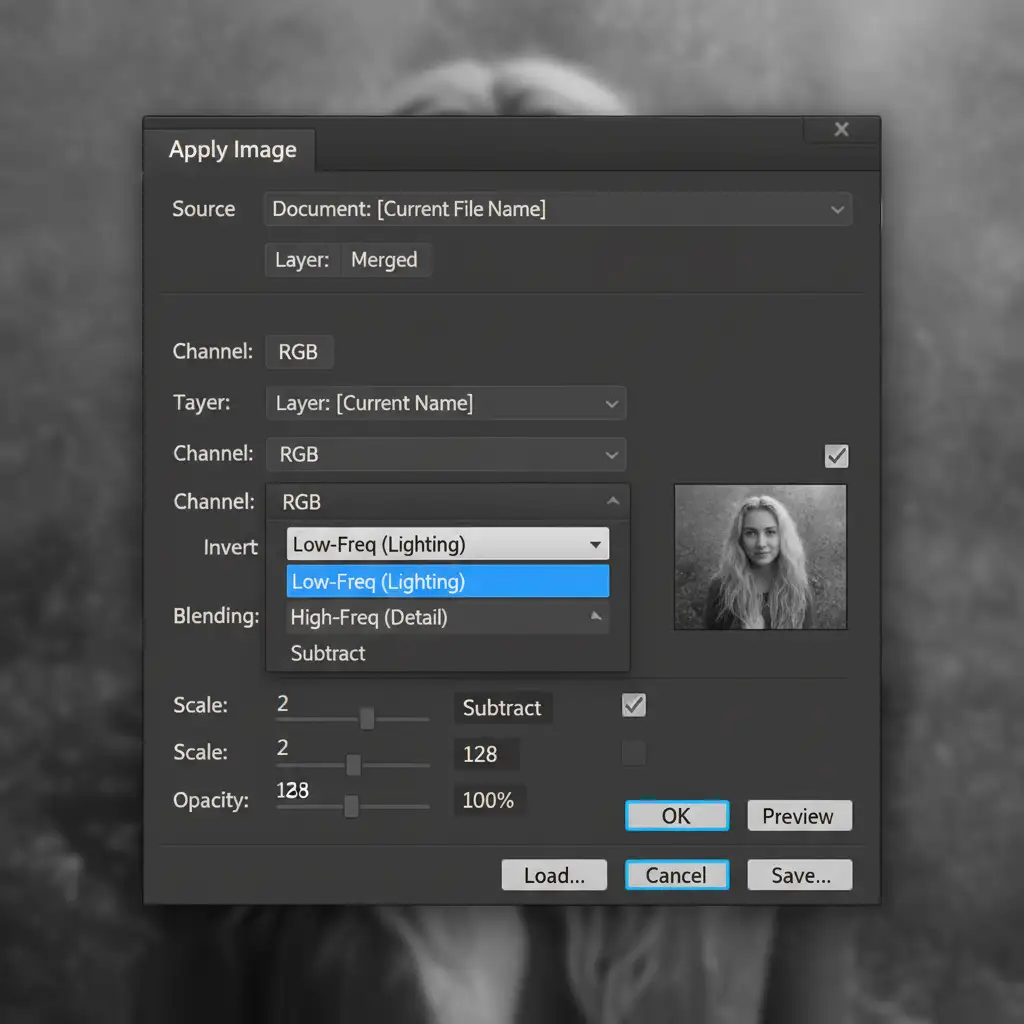
- Unhide and select the High-Freq layer. Go to Image > Apply Image.
- Set the Layer to your Low-Freq layer. Change the Blending mode to Subtract. Set Scale to 2 and Offset to 128 (the exact math required for 8-bit images). Hit OK.
- Change the High-Freq layer’s Blend Mode to Linear Light.
- Finally, select the Low-Freq layer. Use a soft Mixer Brush to gently blend away the dark shadows of the creases. The High-Freq texture layer remains completely untouched above it.
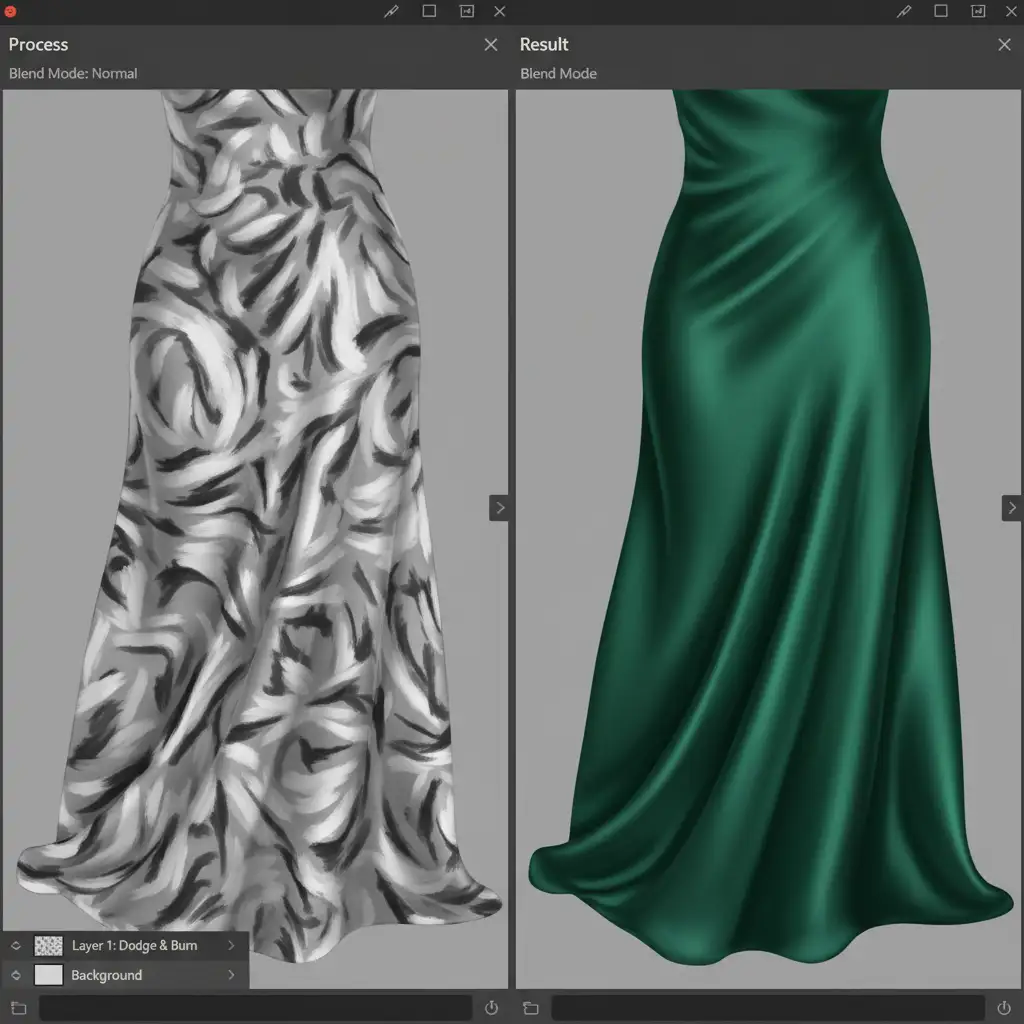
Method C: The Technical Deep-Dive into Dodge and Burn
For absolute perfection, especially on luxury campaigns, Dodge and Burn is the ultimate non-destructive fabric crease removal technique. Instead of moving or blurring pixels, this method mathematically alters luminosity to visually flatten the crease.
- Create a new layer above your image.
- Go to Edit > Fill and choose 50% Gray.
- Change the layer’s Blend Modes from Normal to Soft Light. (At this point, the gray layer becomes invisible).
- Select a soft round brush and lower your Flow to 3%.
- Zoom in on the fabric. A crease is simply a highlight (peak) next to a shadow (valley).
- Paint white (Dodge) into the dark valleys of the creases to lift the shadows. Paint black (Burn) onto the bright peaks to darken the highlights.
By equalizing the luminosity between the peak and the valley, the wrinkle visually disappears, but you haven’t damaged a single pixel of the original rasterized fabric texture.
Scale Your Apparel Retouching with the Experts
Mastering non-destructive fabric crease removal requires patience, a deep understanding of luminosity, and a flawless technical workflow. While these techniques guarantee stunning, realistic material weight, they are incredibly time-consuming to execute on hundreds of e-commerce product photos.
If you are struggling with bulk apparel retouching and need consistent, high-end results, let the experts handle it. At Image Work India and Cloud Retouch, our specialized teams utilize these exact non-destructive workflows to deliver pixel-perfect fashion and e-commerce imagery at scale.
Stop losing hours to tedious wrinkle removal. [Contact Image Work India today] to streamline your post-production and ensure your garments always look luxurious, natural, and ready to sell.


