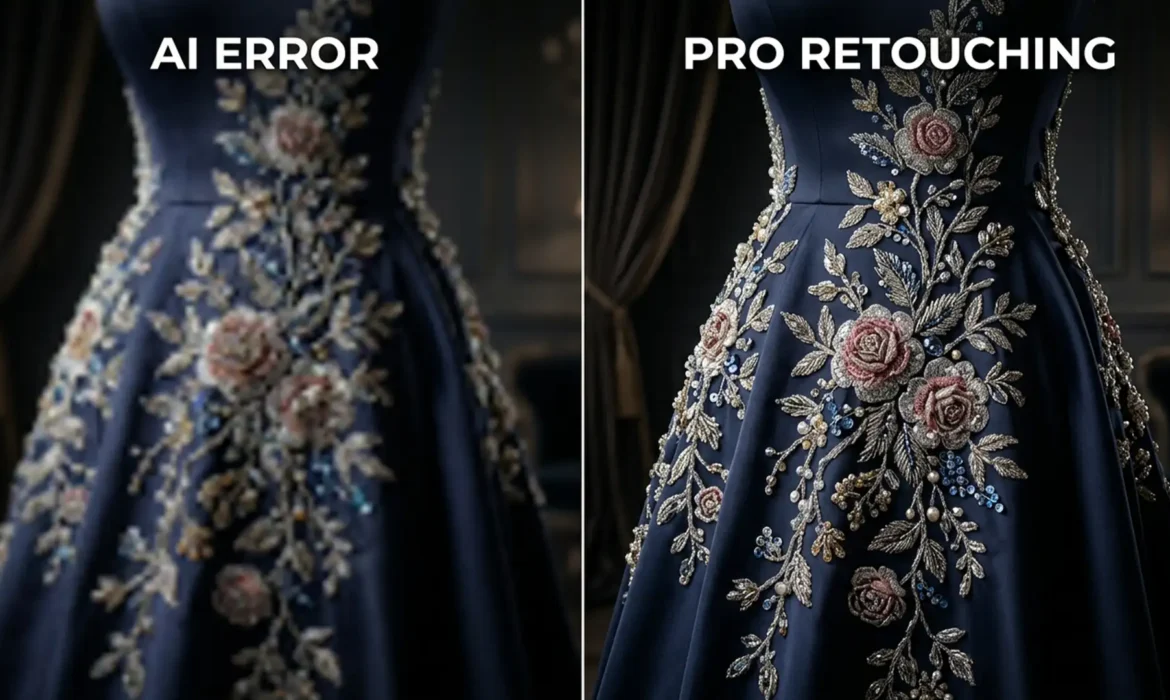
You’ve just shot a stunning extending couture, but the client needs the background and dress extended for a wide-format banner. You select the area, hit “Generative Fill” in Photoshop v25.0, and wait. The result? The base fabric looks fine, but the intricate floral beadwork and sequins have turned into a mushy, warped mess.
If you are struggling with retouching couture embroidery, Generative Fill alone isn’t enough. Because Adobe Firefly processes generations in 1024×1024 pixel chunks, scaling these patches up destroys high-frequency details, ruining the luxurious feel of the garment.
Here is exactly how professional fashion retouchers bypass interpolation blur, preserving flawless fabric depth while still utilizing AI to speed up their workflow.
Why Generative Fill Fails on High-End Couture
When you ask Photoshop to expand a highly detailed image, the AI analyzes the surrounding pixels to generate matching content. However, the current limitation of Adobe Firefly is its resolution cap. If your selection is larger than 1024×1024 pixels, the software generates a 1024px patch and stretches it to fit your selection.
This stretching causes interpolation blur. For smooth skies or basic backgrounds, this is barely noticeable. But for haute couture garments featuring sequins, beads, and complex stitch patterns, the AI destroys the high-frequency detail, leaving the embroidery looking warped, out of perspective, and distinctly “fake.”
To fix this, you need a hybrid workflow that combines AI expansion with traditional, high-end retouching techniques.
3 Professional Methods for Retouching Couture Embroidery
Depending on the complexity of the garment, you can choose from three distinct workflows to preserve your texture continuity.
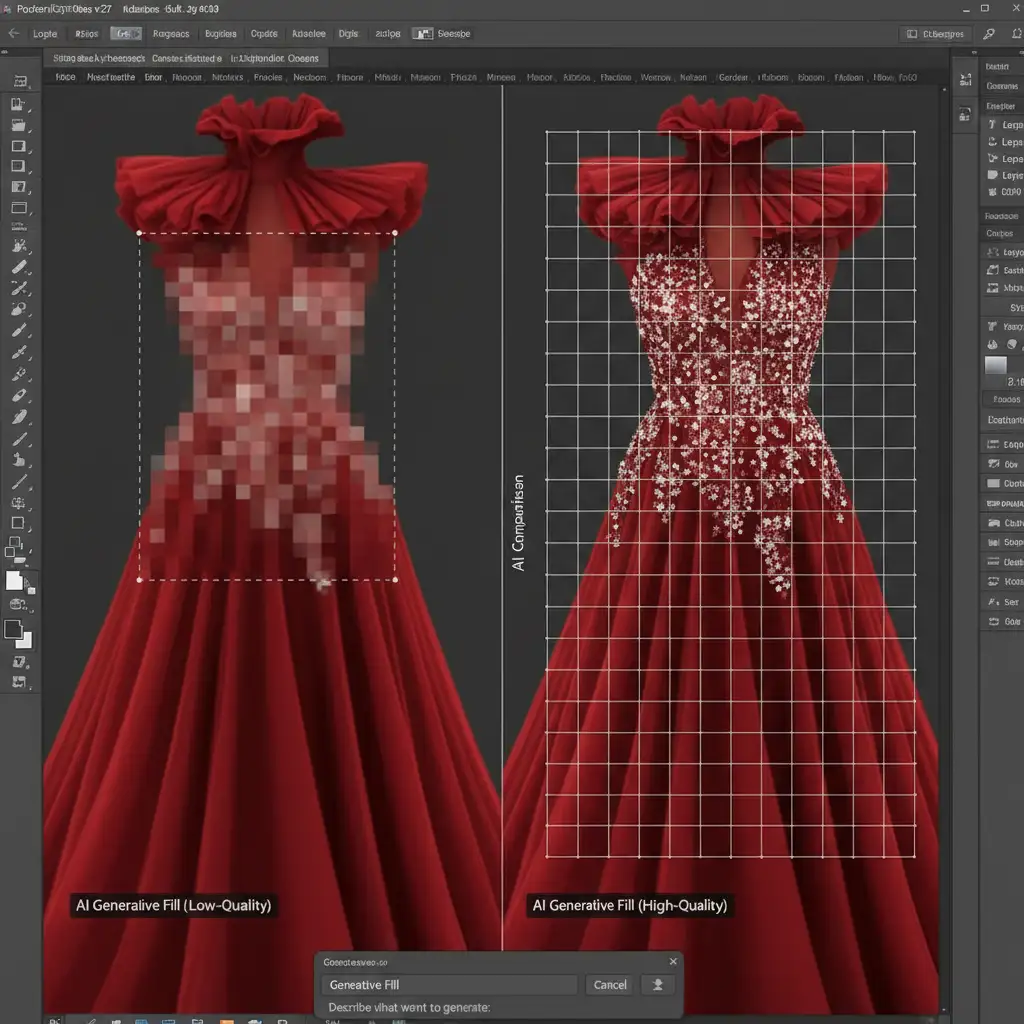
Method 1: The Quick Fix – Localized Generative Fill
If you only need to extend a small section of fabric, you can force the AI to generate high-resolution results by working within its limitations.
Instead of selecting the entire extension area at once, make multiple, small selections (strictly under 1024×1024 pixels). By keeping the generation area small, Photoshop doesn’t have to scale the output, preserving much more detail.
Pro Tip: Do not leave the prompt box blank. Use highly specific prompt engineering to guide the AI, such as: “intricate floral beadwork on silk fabric, high resolution texture.”
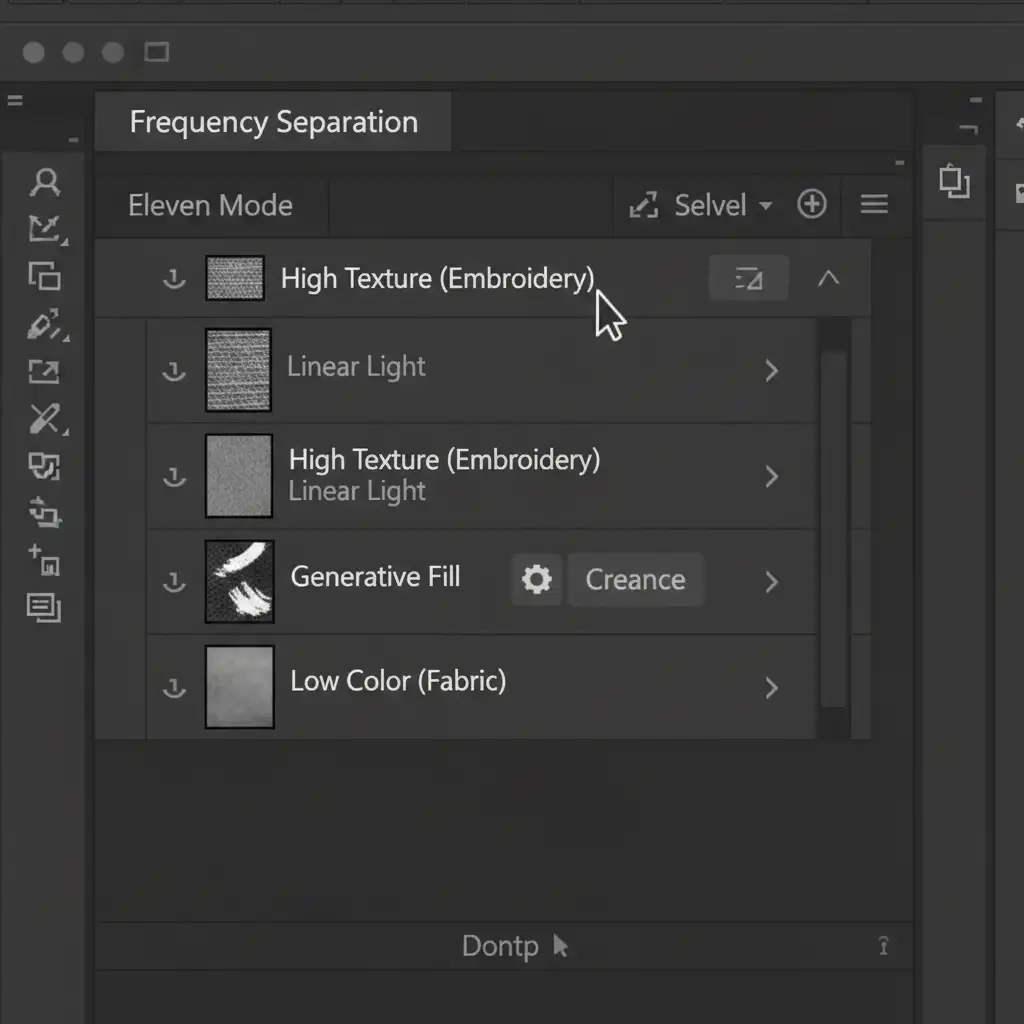
Method 2: The Pro Workaround – Frequency Separation Hybrid
For larger extensions where localized generation is too tedious, the best approach is to separate the fabric’s color from its physical texture using Frequency Separation.
- Run a standard Frequency Separation action to split your image into a Color layer (Low) and a Texture layer (High).
- Target the Low layer. Use Generative Fill here to extend the base fabric color, gradients, and folds. Because the texture is separated, the AI easily handles the smooth color transitions.
- Target the High layer. Use the traditional Clone Stamp tool to manually replicate the exact embroidery stitches over the newly generated fabric.
This method completely eliminates the risk of color banding while ensuring your high-frequency detail remains 100% authentic to the original garment.
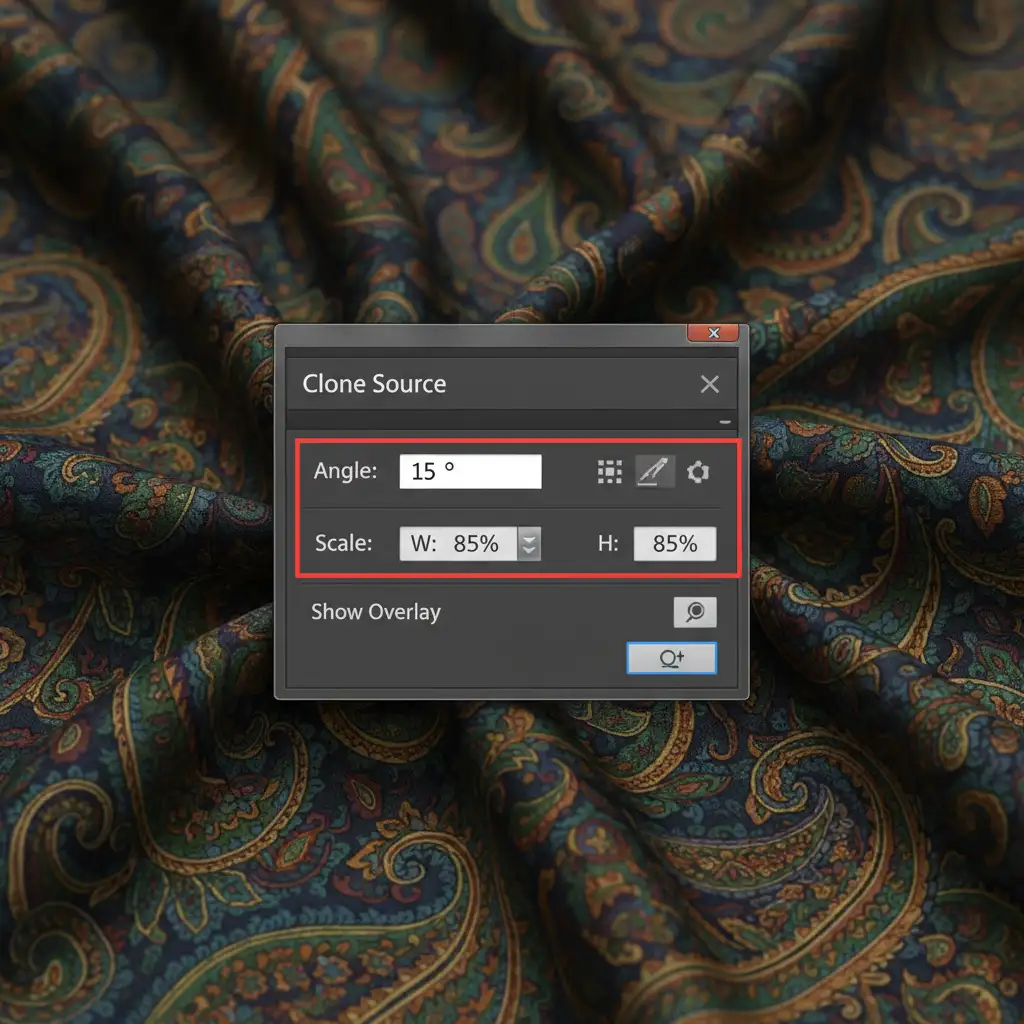
Method 3: The Technical Deep-Dive – Perspective Clone Source Mapping
When a couture dress features complex fabric flows, folds, and drapes, standard cloning will look flat. You must map out the original embroidery to match the new drape of the AI-generated fabric.
- Open the Clone Source panel (Window > Clone Source).
- Sample a pristine section of the original embroidery.
- Adjust the Angle, Scale, and Flip properties in the panel so the cloned pattern follows the new perspective of the fabric fold.
- Clone this pattern onto a new layer and convert it to a Smart Object.
- Apply Puppet Warp to bend and contour the embroidery perfectly along the AI-generated fabric wrinkles.
- Finally, double-click the layer and use the Blend If sliders to pull the underlying shadows through the embroidery, grounding it realistically into the fabric.
Why High-End Fashion Requires More Than Just AI
Generative AI is an incredible tool for speeding up base layer workflows, but when it comes to luxury fashion, pixel-perfect accuracy is non-negotiable. A warped sequin or a blurred stitch can ruin an entire editorial campaign.
Couture retouching requires a level of human precision, texture awareness, and technical skill that AI simply cannot replicate on its own.
Don’t risk your high-end campaigns on automated algorithms. Partner with Image Work India and Cloud Retouch for flawless, high-end fashion editing. Our expert retouchers master complex techniques like Frequency Separation and Perspective Mapping to ensure that every intricate stitch, bead, and fold is perfectly preserved.
Contact us today to elevate your fashion imagery with professional retouching that respects the artistry of couture.


