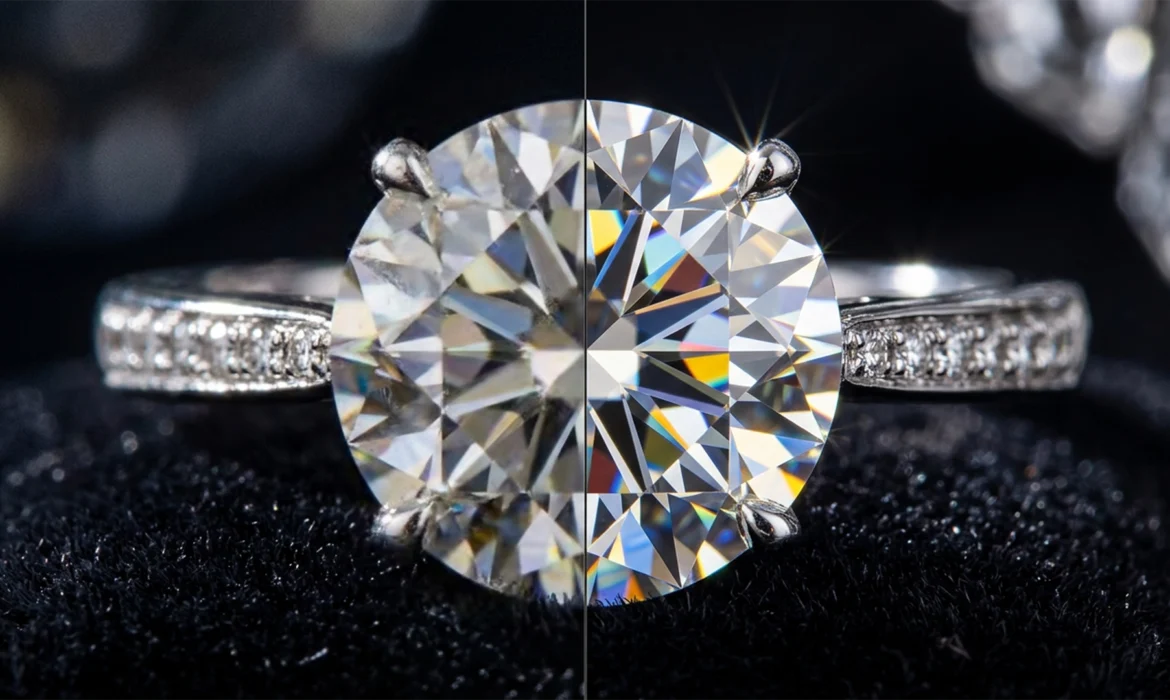
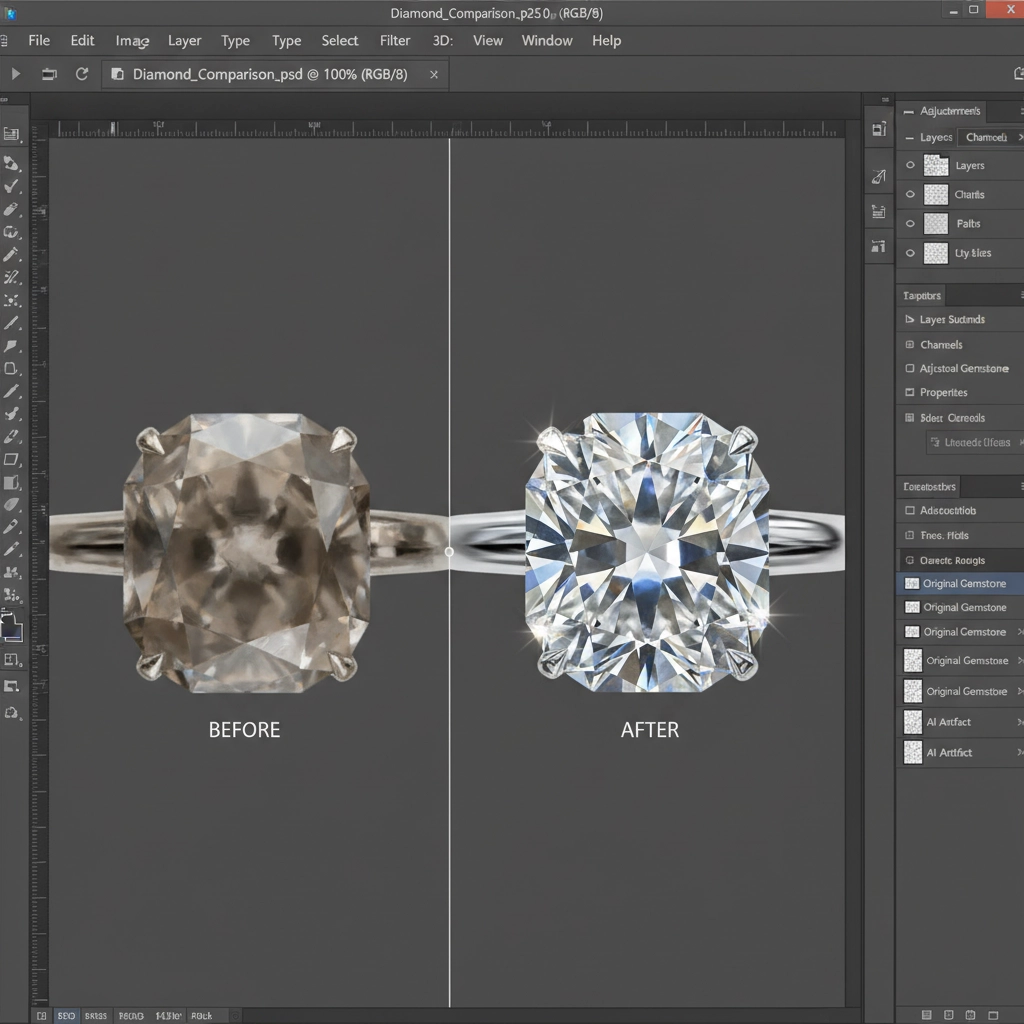
You just spent hours staging the perfect luxury jewelry shoot, but a stray reflection needs removing. You fire up Photoshop, lasso the area, and hit Generative Fill. The result? A muddy, plastic-looking smudge that completely destroys the brilliance of the gemstone.
If you are tired of AI ruining your high-end product shots, you are not alone. Fixing generative fill jewelry artifacts is currently one of the biggest bottlenecks for professional retouchers.
In Adobe Photoshop v25.0 and newer, the Firefly-powered Generative Fill algorithm works wonders on organic backgrounds, but it fails spectacularly on jewelry. Why? Because the AI model lacks context for the physical refraction index and multi-faceted light scattering of diamonds and precious metals. It attempts to blend pixels using a localized content-aware approach, which obliterates the micro-contrast essential for luxury retouching.
Here is exactly how to fix these AI hallucinations and restore the geometric precision your clients demand.
Why Photoshop Generative Fill Fails on Jewelry
When Generative Fill hallucinates blurry or plastic-like pixels on a metallic band or gemstone, it is because the algorithm is guessing how light behaves. High-end jewelry relies on strict geometric precision and high-contrast light reflections. AI tends to average out these harsh transitions, resulting in a loss of texture and brilliance.
To solve this, you need a hybrid workflow that combines AI speed with traditional, pixel-perfect retouching techniques.
Method A: The Quick Fix – Refined Selections and Prompts
The most common mistake retouchers make is creating loose, sloppy selections before generating. Generative Fill uses the pixels immediately outside your selection to dictate the result.
1. Tighten Your Marching Ants
Ditch the standard Lasso tool. Use the Pen Tool to create a precise path around the exact damaged area, then convert it to a selection. Keep your marching ants tightly hugged to the artifact.
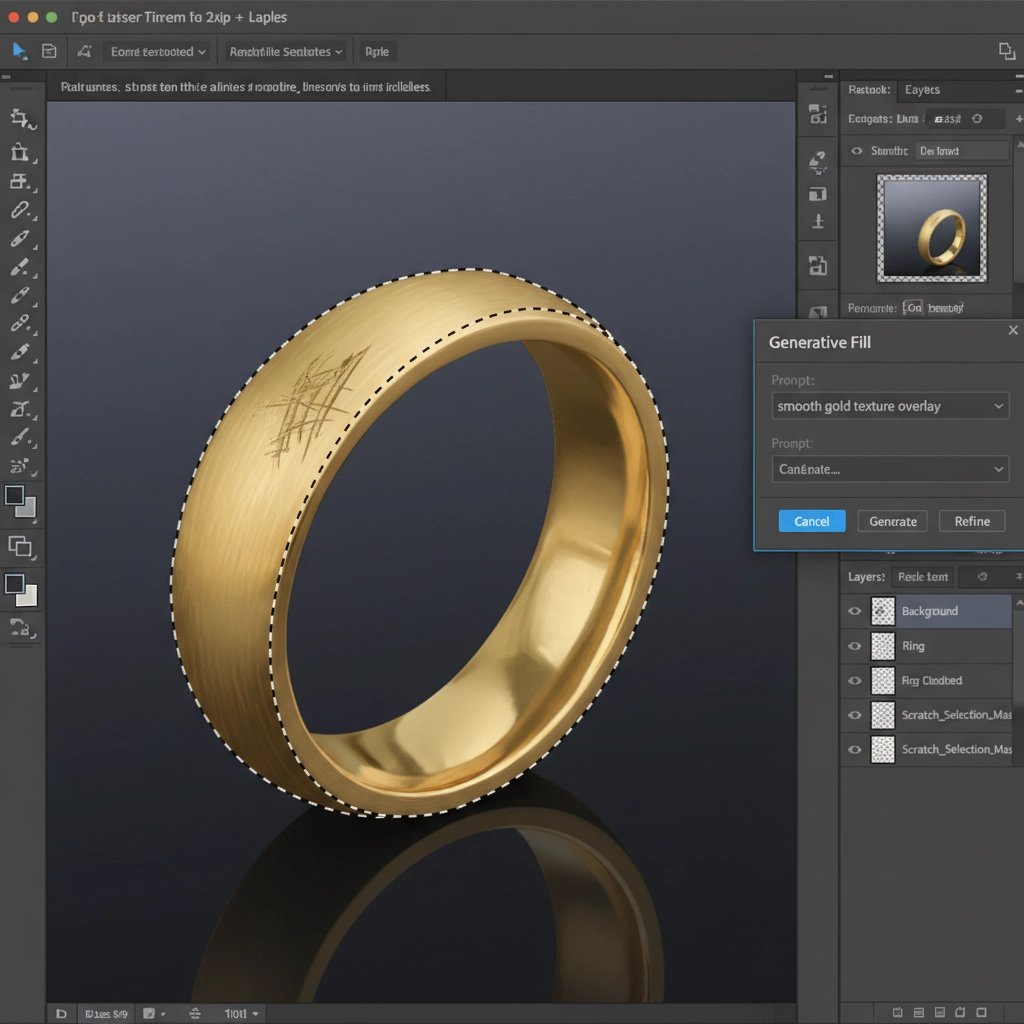
2. Use Material-Specific Prompts
Do not leave the prompt box blank. Command the AI with specific material descriptions. Instead of typing “fix metal,” use prompts like:
- Sharp metallic reflection
- Hard faceted diamond
- High-contrast gold specular highlight
Generate multiple variations. Once you find the closest match, lower the Generative Fill layer opacity to 80 percent to naturally blend the AI pixels with the underlying original micro-contrast.
Method B: The Pro Workaround – Frequency Separation
When Generative Fill completely ruins the texture of a brushed metal band or a complex pavé setting, you need to isolate the texture from the color. This is where Frequency Separation becomes your best tool.
Isolating the Damage
Run your standard Frequency Separation action to split your image into a Low-Frequency (color/tone) layer and a High-Frequency (texture) layer.
Apply Generative Fill only to the Low-Frequency layer to fix the underlying lighting, color casts, or background issues.

By utilizing precise layer masking, you can mask out the AI-generated texture on the High-Frequency layer. This ensures the original sharp facets, metallic grain, and physical refraction index remain 100% intact while the AI fixes the tonal gradients underneath.
Method C: The Technical Deep-Dive – Hybrid Compositing with Smart Objects
For the most demanding luxury campaigns, you need absolute control over specular highlights. If Generative Fill flattens a diamond’s sparkle, use this hybrid Smart Object workflow to punch the brilliance back through the AI layer.
1. Protect the Original Data
Convert your original background image into a Smart Object. Create a new layer above it and apply your Generative Fill to fix the primary structural issue.
2. Restore Sparkle with ‘Blend If’
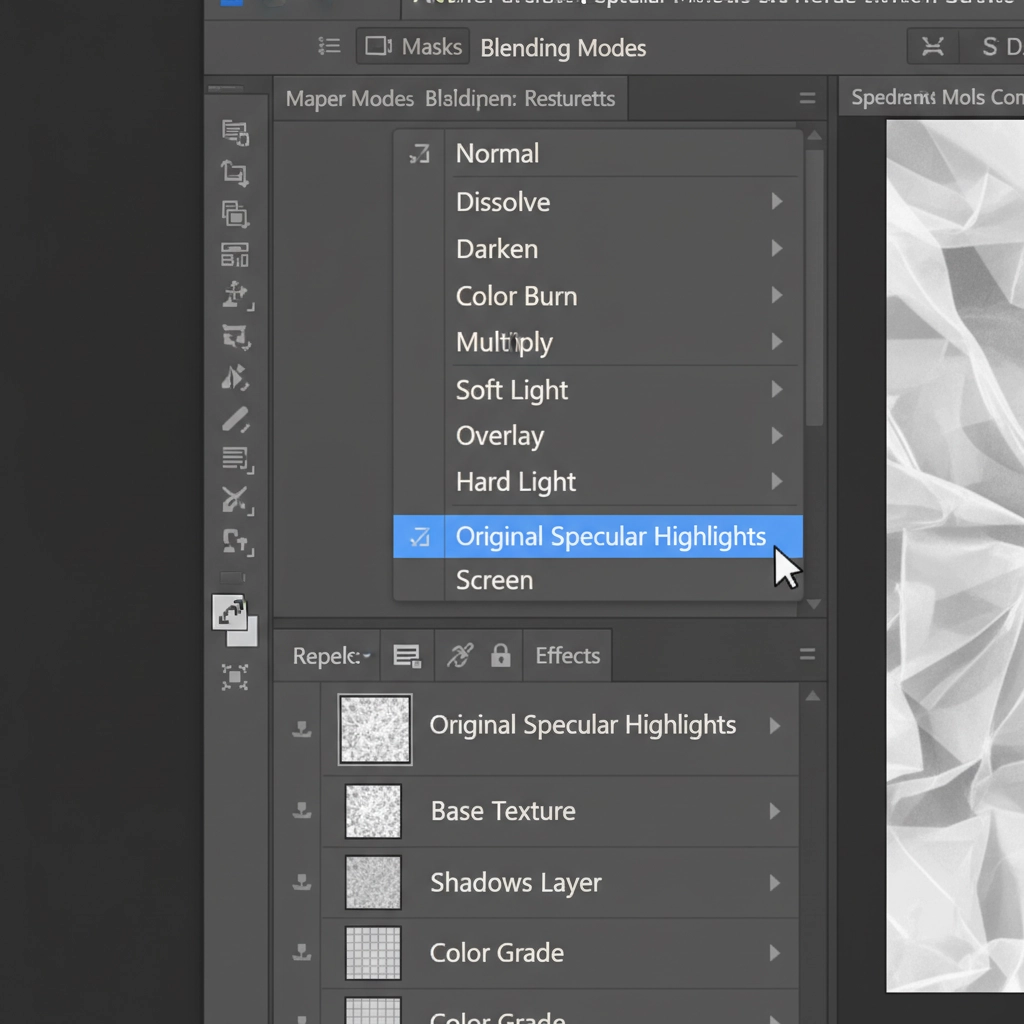
Duplicate your original Smart Object and drag it to the very top of your layer stack. Double-click the layer to open the Layer Style dialog box.
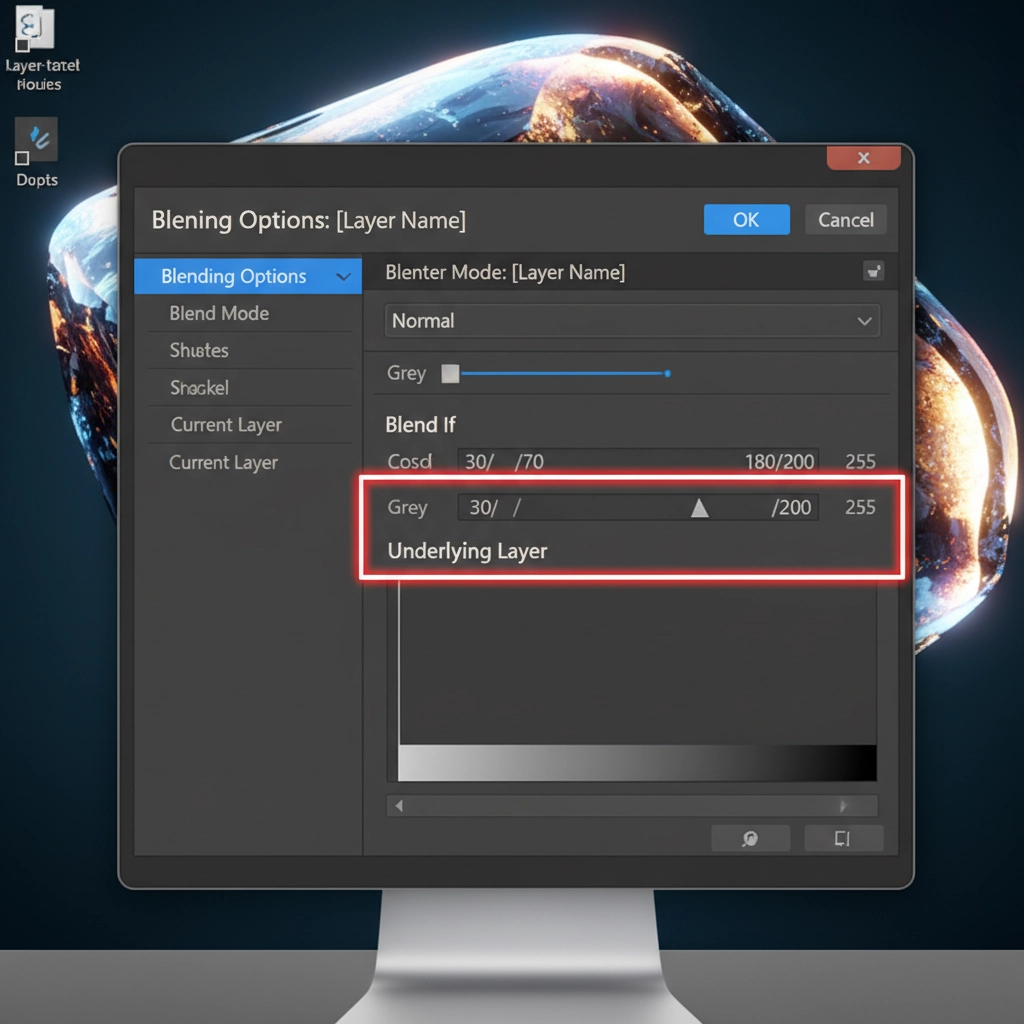
Adjust the ‘Blend If’ sliders on the Underlying Layer gradient. Hold Alt/Option to split the black slider and drag it to the right. This tells Photoshop to hide the dark and mid-tone pixels of the original image, allowing only the brightest refractive sparkles and specular highlights to punch through the AI-generated layer below.
3. Master Blending Modes
To seamlessly integrate these highlights, change the top layer’s Blending Mode to Screen or Linear Light.
This workflow guarantees that the AI handles the heavy lifting of structural repair, while the actual photographic light scattering remains authentic to the original capture.
Scale Your High-End Retouching with the Experts
Fixing generative fill jewelry artifacts requires a deep understanding of light, texture, and advanced compositing. While these hybrid workflows will save your images, they take significant time—time you could spend shooting your next campaign or growing your business.
Struggling to keep your jewelry looking flawless at scale? Outsource your complex retouching to the experts at Image Work India and Cloud Retouch. Our dedicated teams specialize in pixel-perfect, high-end jewelry retouching, ensuring your diamonds sparkle and your metals shine with 100% physical accuracy—no muddy AI artifacts included.
Contact us today to elevate your luxury product photography.


