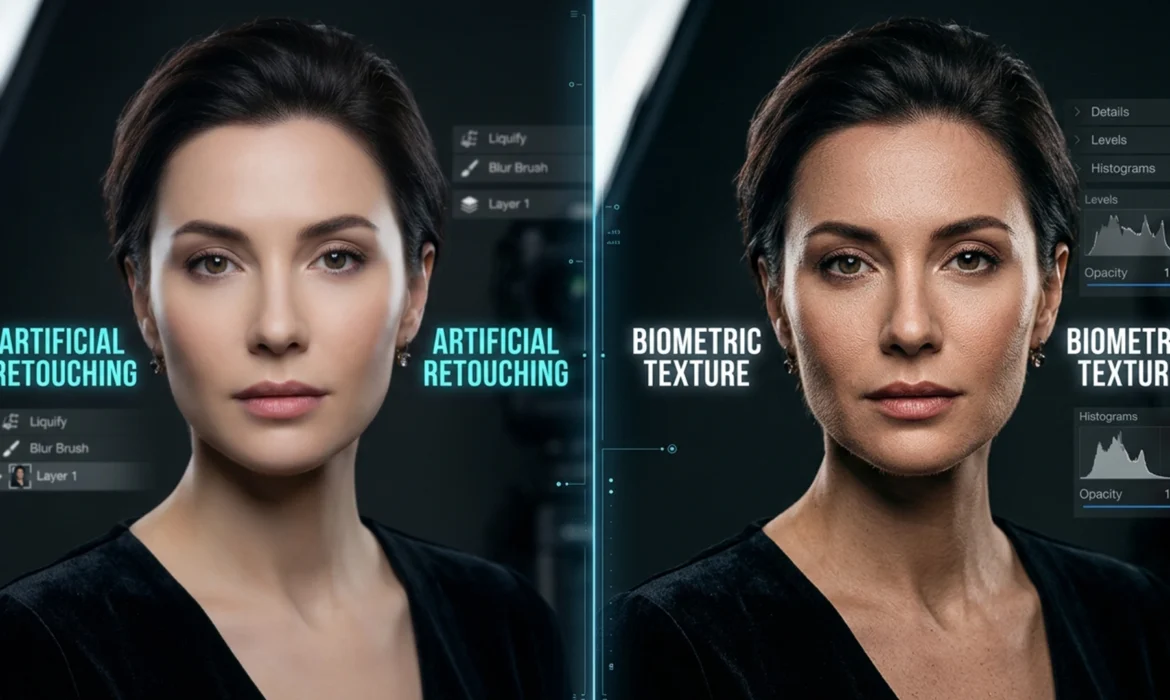
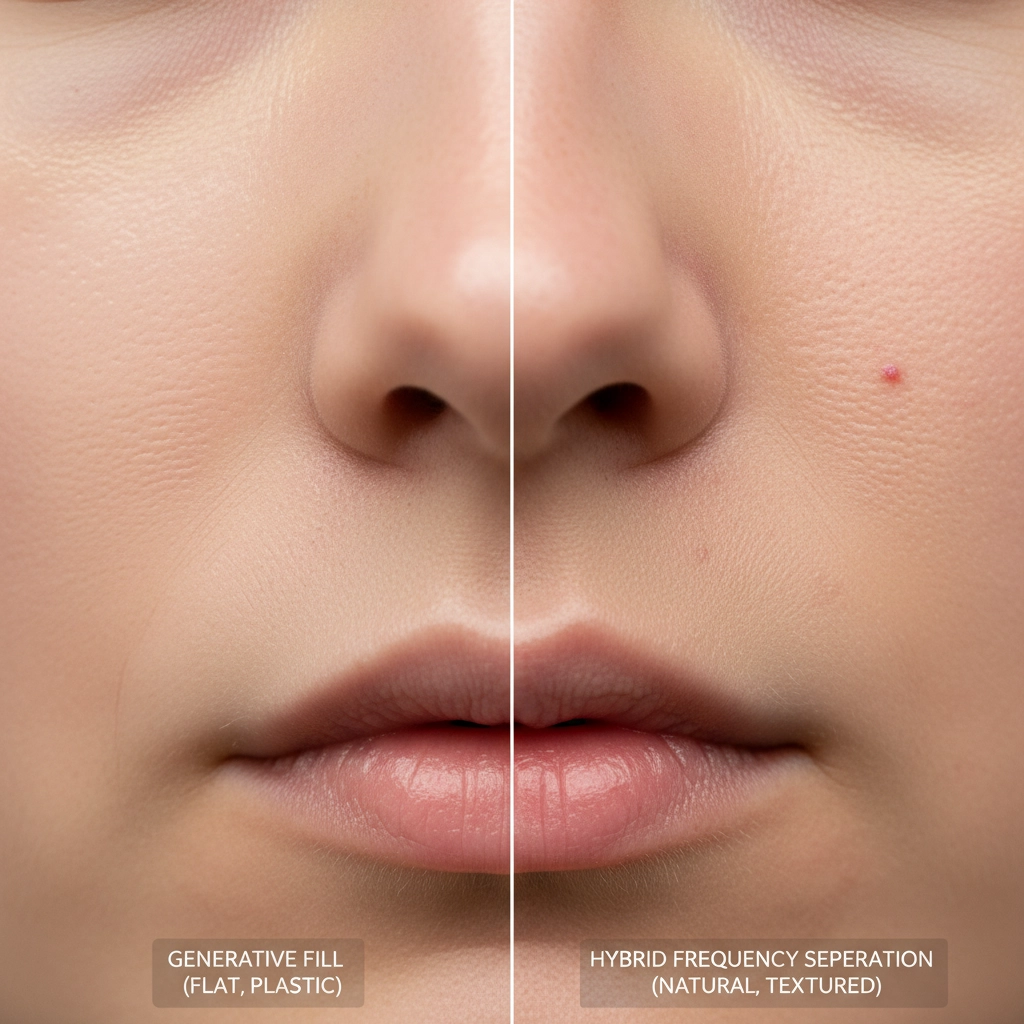
If you have upgraded to Adobe Photoshop v25.0 or later, you have likely encountered the dreaded “skin texture” effect. While tools like Generative Fill, the Remove Tool, and Neural Filters are incredibly fast at clearing blemishes and stray hairs, they ruthlessly destroy biometric texture. The algorithm replaces complex human pores with mathematically smooth, artificial gradients.
Professional retouchers are now caught in a tug-of-war between the speed of AI pixel-generation and the strict standards of high-end retouching that demand intact high-frequency details. Mastering AI skin texture preservation frequency separation is the ultimate solution. By combining AI-driven color correction with traditional texture isolation, you can achieve a flawless, non-destructive workflow that looks completely natural.
Here is exactly how to execute the hybrid retouching workflow.
The Core Technical Conflict: AI Speed vs. Biometric Texture
AI retouching algorithms analyze surrounding pixels to generate new content. When applied directly to a standard image layer, AI overwrites both the underlying color/tone and the microscopic skin details (pores, fine lines, peach fuzz).
To fix this, we must separate the image data. By isolating the biometric texture onto its own layer, we can safely unleash AI tools on the underlying color and shadow layers without degrading the skin’s physical characteristics.
3 Methods for Hybrid Skin Retouching
Depending on the severity of the retouching required, here are three progressive methods to integrate AI into a professional workflow.
Method 1: The Quick Fix (Remove Tool Opacity Hack)
For minor blemishes where setting up a full frequency separation group feels like overkill, you can leverage the Remove Tool non-destructively.
- Create a blank layer above your background image.
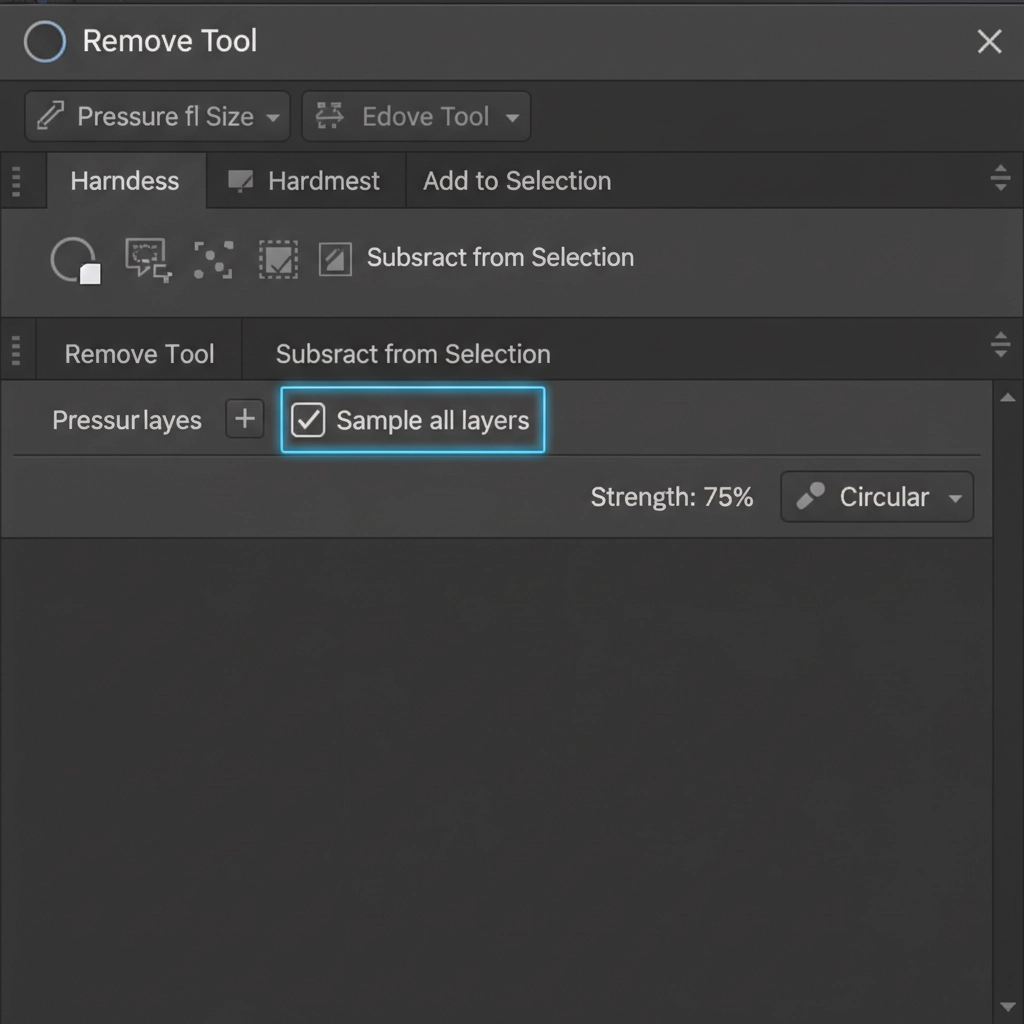
- Select the Remove Tool.
- In the top options bar, ensure Sample all layers is checked.
- Paint over the blemish.
- Once the AI removes the spot, drop the layer opacity to 80%. This allows a tiny fraction of the original, unedited biometric texture to bleed through the AI-generated patch, instantly breaking up the artificial smoothness.
Method 2: The Pro Workaround (Hybrid Frequency Separation)
This is the industry-standard method for high-end editorial work. By utilizing a traditional Frequency Separation setup, you can use the Mixer brush and Generative Fill purely for tonal correction.
Step-by-Step Hybrid Setup
- Duplicate your base image layer twice. Name the top layer High Frequency (Texture) and the middle layer Low Frequency (Tone/Color).
- Select the Low Frequency layer. Apply a Gaussian Blur just until the fine skin pores disappear (usually between 4px and 7px depending on resolution).
- Select the High Frequency layer. Go to Image > Apply Image.
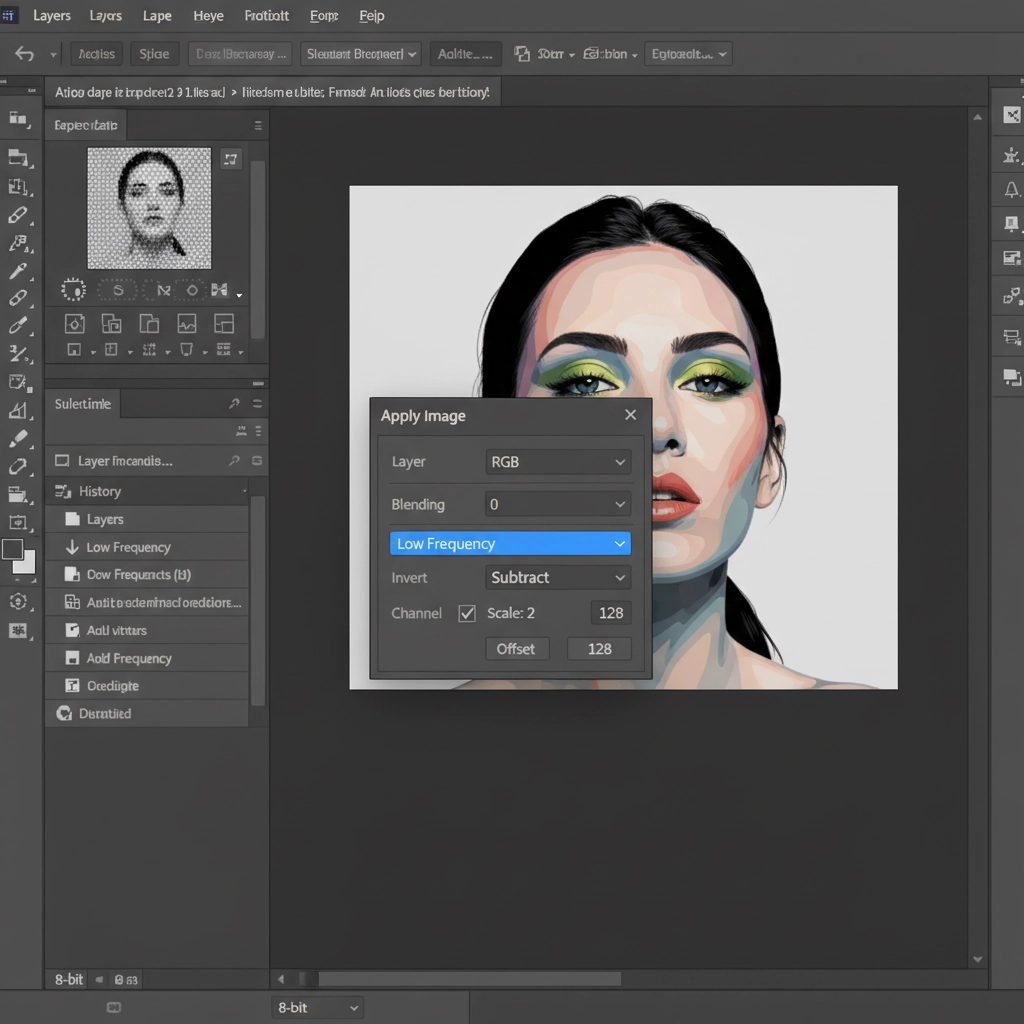
- Change the blending mode of the High Frequency layer to Linear Light. Group the two layers into a folder.

The AI Hybrid Workflow: Now, select your Low Frequency layer. You can use the Lasso tool to select blotchy areas or deep shadows and apply Generative Fill (leaving the prompt blank). Because the High Frequency layer sits untouched above it, the AI will perfectly smooth the underlying color transitions while your original biometric texture remains 100% intact.
Method 3: The Technical Deep-Dive (Texture Grafting Over AI)
Sometimes, a client requires massive alterations—like removing a large tattoo, a complex clothing strap, or a heavy glare—where you have no choice but to use Generative Fill on the entire merged image. The AI will inevitably destroy the texture in that large area.
To fix this, you must graft clean texture back over the AI generation:
- Create a new layer above your AI-edited layer.
- Press Ctrl+Alt+Shift+E (Windows) or Cmd+Opt+Shift+E (Mac) to Stamp Visible.
- Apply a High Pass filter with a radius of roughly 2.0px over a clean, well-textured patch of skin elsewhere on the subject’s face or body.
- Set this grafted texture layer to Linear Light and clip it directly to your AI-generated layer.
- Apply a black layer mask. Use a soft white brush (or utilize Luminosity masking for precision) to paint the extracted pores specifically over the plastic-looking AI areas, perfectly matching the surrounding biometric texture.
Elevate Your High-End Portrait Workflow
Integrating AI into a non-destructive workflow allows you to slash your retouching time in half without sacrificing the magazine-quality finish your clients expect. By protecting the high-frequency details, you eliminate the amateur “plastic” look permanently.
Struggling to balance retouching speed with high-end magazine quality? Scaling a photography business means you cannot spend hours manually cloning out every single blemish. If you want to guarantee flawless, natural results without the bottleneck of doing it all yourself, let the expert teams at Image Work India and Cloud Retouch handle your bulk portrait editing. Our professional retouchers specialize in advanced frequency separation and high-end texture preservation, ensuring your subjects always look their absolute best. Contact us today to streamline your post-production workflow.


