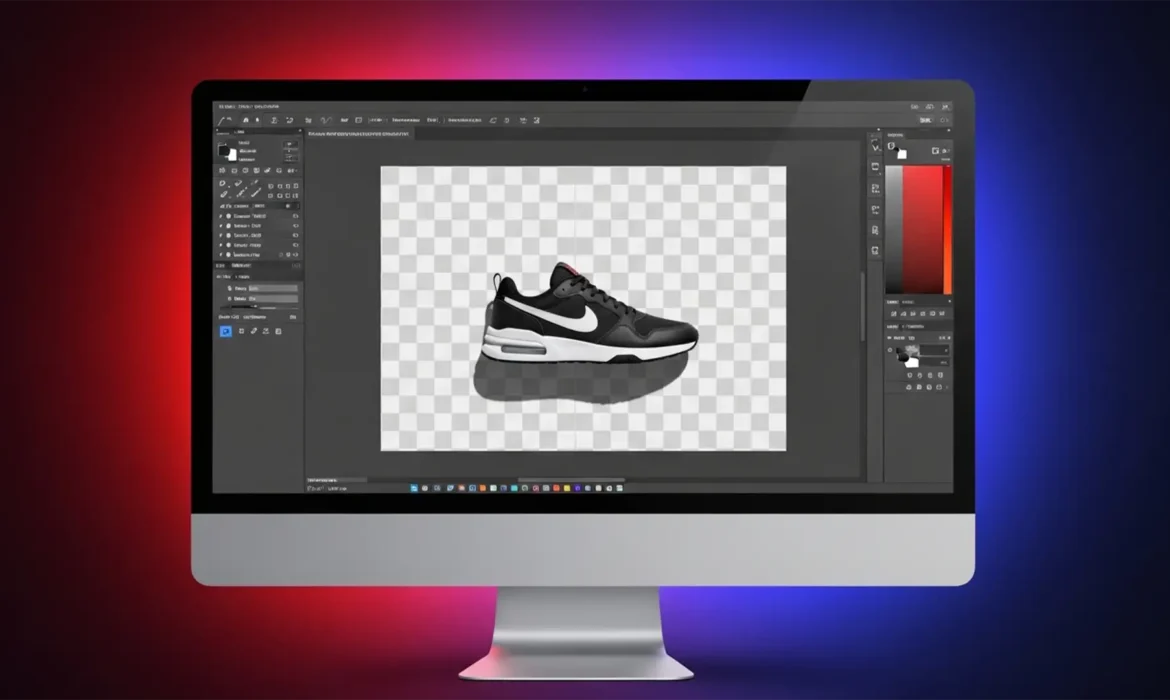
You’ve just used Photoshop’s latest background removal tool. It perfectly extracted your e-commerce product, but there’s a massive problem: the natural, environmental shadow is completely gone. Now your product looks like it’s floating in mid-air. To fix it, you try painting a digital shadow, but it ends up looking like a cheap, fake drop shadow. Sound familiar?
If you want your product photography to look high-end and trustworthy, you need to preserve the original shadow on a transparent background. In this technical guide, we’ll show you exactly how to extract organic shadow data using Adobe Photoshop (v24.x–v25.x) so you never have to fake it again.
Why Automated Tools Fail at Shadow Preservation
Automated masking tools are designed to look for hard contrast edges to isolate the subject. However, real-world shadows consist of semi-transparent gradients of gray and black cast over a studio backdrop. They contain complex physical light dispersion, including the umbra (the darkest part) and the penumbra (the softer outer edge).
When you simply erase the white pixels around a shadow, you are left with jagged edges or terrible white halos. To retain the exact physical light dispersion, editors must separate the subject’s luminosity values from its color values.
Here are the three best methods to achieve this.
Method 1: The Quick Fix (Multiply Blend Mode)
This is the fastest method for clean studio shots where the product was photographed on a pure white or light gray background. It maps the shadow’s darkness directly to the background beneath it.
- Duplicate and Isolate: Duplicate your original image layer. On the top layer, mask out the background to isolate the subject.
- Position the Shadow Layer: Place the duplicated original layer beneath your isolated product layer.
- Desaturate: Select the bottom layer and desaturate it by pressing Cmd/Ctrl + Shift + U. This removes any color casts from the shadow.
- Change Blend Mode: Set this bottom layer’s blend mode to the Multiply blend mode. This turns all pure white pixels invisible while keeping the dark shadow pixels.
- Clean the Background: Apply a Levels adjustment (Cmd/Ctrl + L) directly to the shadow layer. Drag the white slider on the right inwards to perform white point clipping. Keep dragging until the surrounding studio background disappears completely, leaving only the rich, natural shadow.
Method 2: The Pro Workaround (Color Range Masking)
If you need true transparency (for example, if you are placing the product on a colored website background rather than white), the Multiply method won’t always work perfectly. Instead, use a Color Range selection.
- Target the Midtones: Go to Select > Color Range. Use the eyedropper to click on the darkest part of the shadow. Adjust the Fuzziness slider to target the shadow’s midtones and gradients accurately.
- Create a Solid Fill: Without deselecting, create a new Solid Color adjustment layer and choose pure Black. Photoshop will automatically apply your selection as a layer mask.
- Refine: Because this is a form of non-destructive editing, you can click on the layer mask and adjust the mask feathering in the Properties panel.
- Tweak Opacity: Use opacity adjustments on the Solid Color layer to perfectly mimic the density of the real shadow.
Method 3: The Technical Deep-Dive (Channel Pulling)
For complex extractions with highly detailed penumbras, building a custom alpha channel is the industry standard for pixel-perfect, artifact-free shadow retention.
- Find the Contrast: Open the Channels panel and click through the Red, Green, and Blue channels. Find the channel with the highest contrast between the shadow and the background (often Blue or Green).
- Duplicate the Channel: Drag that channel to the “New Channel” icon to duplicate it.
- Crush the Levels: Apply a Levels adjustment (Cmd/Ctrl + L) directly to this duplicated channel. Crush the blacks and blow out the whites to isolate the shadow silhouette.
- Invert and Load: Invert the channel (Cmd/Ctrl + I) so the shadow becomes white (which represents full opacity in masking). Load it as a selection by Cmd/Ctrl + Clicking the channel thumbnail.
- Apply the Mask: Go back to your Layers panel, create a Solid Color layer (Black), and your active selection will automatically become the mask.
Stop Wasting Time on Fake Drop Shadows
Learning how to preserve the original shadow on a transparent background is essential for high-end product photography, but executing these channel pulls and Multiply blends takes time. When you have a catalog of hundreds or thousands of SKUs to process, manually editing every single shadow will bottleneck your entire production pipeline.
Let Image Work India and Cloud Retouch handle the heavy lifting.
Our expert retouching teams specialize in high-volume e-commerce photo editing. We deliver pixel-perfect cutouts with flawless, natural shadow preservation that guarantees higher conversion rates for your store. Stop settling for fake drop shadows—contact Image Work India and Cloud Retouch today for professional, scalable image editing solutions.


