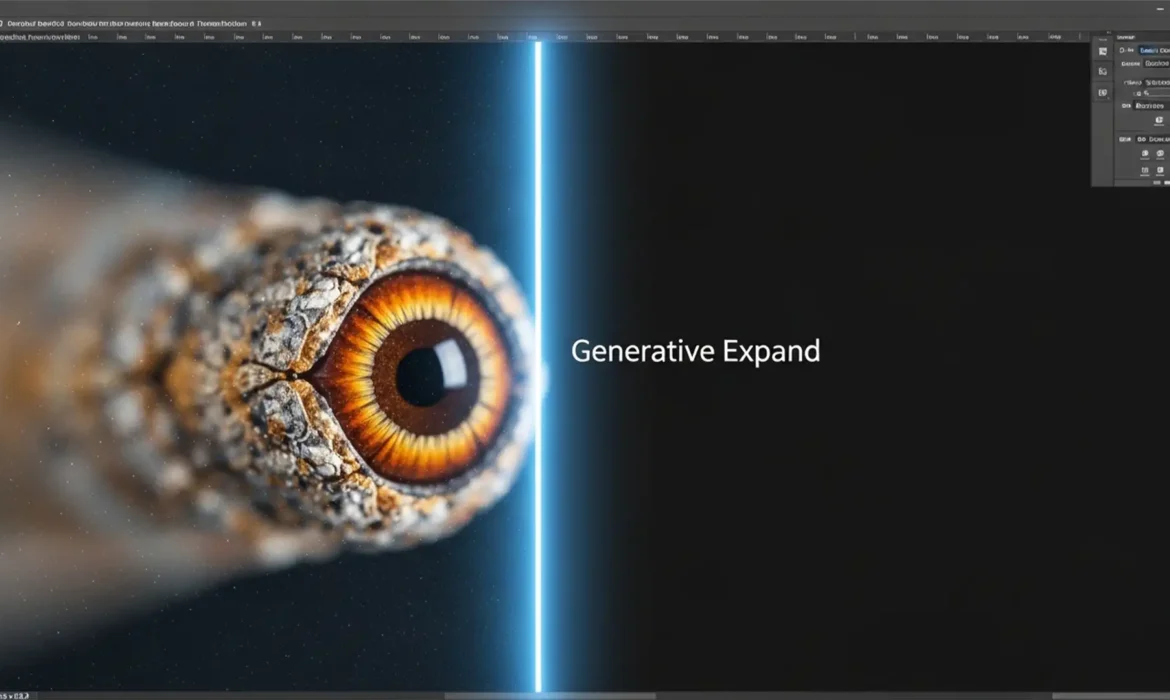
You’ve just used Adobe Photoshop’s Generative Expand to perfectly resize a tight crop. The composition looks great from afar, but zoom in to 100%, and disaster strikes. There is a glaring, artificial seam where your photograph ends and the AI begins.
Why? Because Adobe Firefly generates perfectly smooth pixels that completely lack the natural ISO noise, sensor artifacts, or film grain of your original shot. If you want a truly seamless transition, you need to match grain Generative Expand transition areas mathematically. Here is exactly how to fix that fake, plastic look and restore photographic authenticity to your expanded canvases.
The Technical Problem: Why Adobe Firefly Looks “Fake”
In Adobe Photoshop v25.0 and later, the Generative Expand tool utilizes the Adobe Firefly Image Model to add artificial pixels and resize canvases. While the AI is excellent at matching color, lighting, and subject matter, it fails at replicating texture.
Real cameras produce ISO noise. Real film produces film grain. AI-generated pixels produce mathematical smoothness. When placed side-by-side, this creates a highly visible transition line that instantly ruins the illusion of an authentic photograph.
3 Methods to Match Grain Generative Expand Transition Areas
Depending on your timeline and the required fidelity of your commercial image, there are three distinct ways to solve this problem while maintaining a non-destructive workflow.
Method A: The Quick Fix (Global Camera Raw Grain)
If you are on a tight deadline and need a unified look quickly, the easiest method is to apply a global grain structure over the entire flattened image. This masks the smooth AI pixels by forcing a new layer of texture over both the original photo and the Generative Fill areas.
- Finalize your Generative Expand variations.
- Select all layers and press Shift + Ctrl + Alt + E (Windows) or Shift + Cmd + Option + E (Mac) to merge them into a new layer.
- Right-click the new layer and select Convert to Smart Object.
- Navigate to Filter > Camera Raw Filter.
- Open the Effects panel and increase the Grain slider until the entire image texture is unified.
Method B: The Pro Workaround (Targeted 50% Gray Overlay)
For professional retouchers who want to keep the original image untouched, you must isolate the noise generation only to the expanded areas.
- Create a new blank layer directly above your Generative Expand layer.
- Go to Edit > Fill and choose 50% Gray.
- Change the layer’s blending mode from Normal to Overlay. (This makes the gray invisible, but allows texture to show through).
- Right-click this gray layer and select Create Clipping Mask. This ensures your noise will only appear over the AI-generated pixels.
- With the gray layer selected, go to Filter > Noise > Add Noise.
- Check the boxes for Gaussian and Monochromatic.
- Adjust the amount until the artificial noise matches the original ISO noise. You can lower the layer opacity later for fine-tuning.
Method C: The Technical Deep-Dive (High Pass Grain Cloning)
If you are working on high-end commercial retouching, artificially generated noise might not be enough. You need to perfectly clone the exact mathematical grain structure of the original camera sensor.
- Duplicate your original, unedited image layer and drag it to the very top of your layer stack, above the Generative Expand layer.
- Go to Filter > Other > High Pass. Set the radius to roughly 1.5 to 2.5 pixels. This removes all color and tone, leaving only the original sensor noise and fine edge details.
- Change this High Pass layer’s blending mode to Linear Light.
- Press Ctrl + Shift + U (Windows) or Cmd + Shift + U (Mac) to desaturate the layer, ensuring no stray color artifacting occurs.
- Hold Alt (Windows) or Option (Mac) and click the Add Layer Mask icon to create an inverted (black) mask, hiding the grain.
- Select a soft brush, paint with pure white, and carefully brush over the Generative Expand areas. You are now pasting the exact, authentic camera grain over the smooth AI pixels, creating a flawless, seamless transition.
Stop Struggling with Pixel-Perfect Edits
Matching grain and fixing the Generative Expand transition is a critical step in professional image editing, but it can be incredibly time-consuming when you are processing hundreds of e-commerce or editorial photos. You shouldn’t have to choose between the speed of AI and the quality of traditional retouching.
Struggling to get pixel-perfect commercial images? Let the high-end retouching experts at Image Work India and Cloud Retouch handle the heavy lifting. We specialize in non-destructive workflows, seamlessly extending your photos with flawless precision, perfectly matched grain, and zero artificial seams. Focus on growing your business, and let our dedicated team deliver flawless imagery that converts. Contact us today to elevate your visual content.


