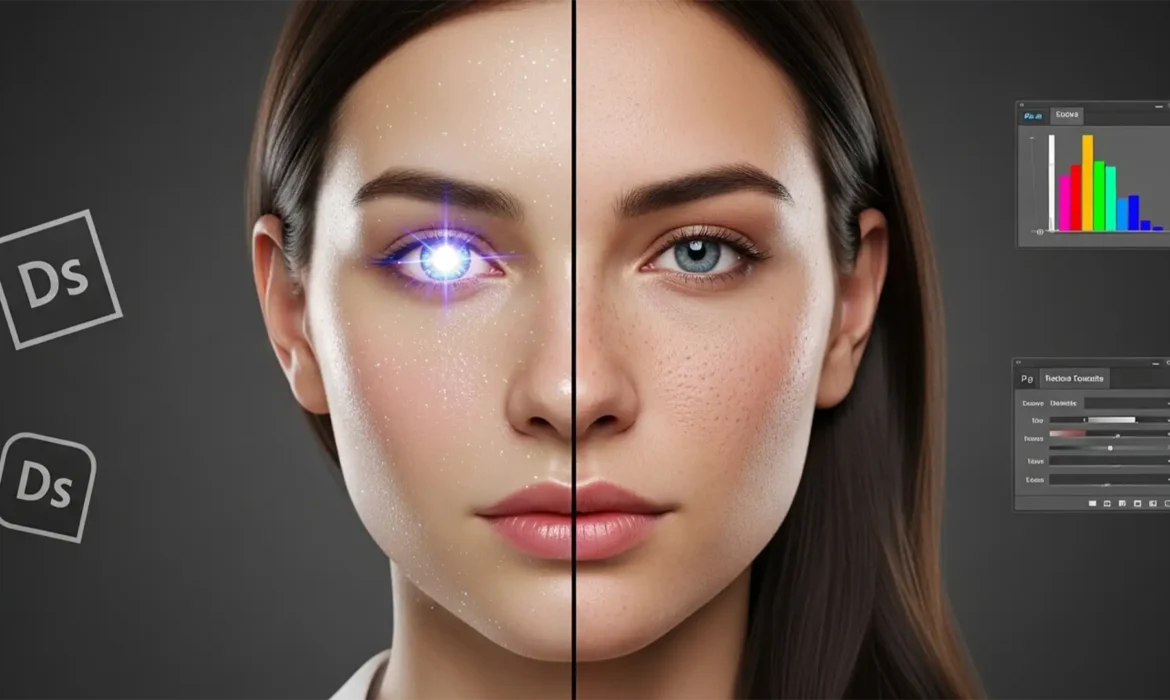
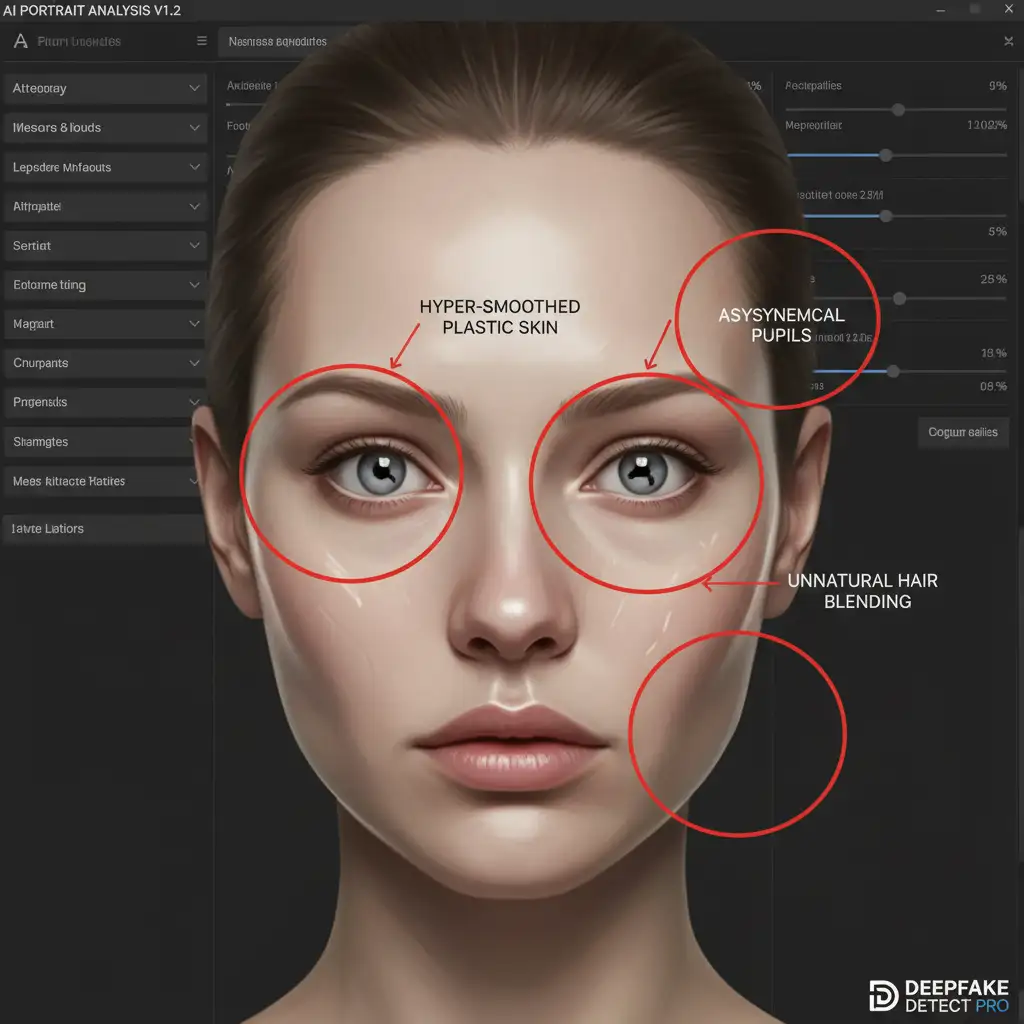
You generated a batch of corporate ai generated headshots using Midjourney v6 or Dall-E 3, and they look almost perfect. But when you zoom in, something feels off. The skin is hyper-smoothed and plastic. The pupils are asymmetrical. The specular highlights look like they belong on a mannequin, plunging the portrait straight into the “uncanny valley.”
If your AI headshot looks fake, you’re not alone. AI generators average pixel data, stripping away the natural human micro-textures that make a face look real. In this guide, we will walk you through the professional Photoshop techniques for humanizing AI generated headshots so they look 100% authentic.
Why Do AI Headshots Look So Fake?
Generative AI models like Midjourney and Stable Diffusion are incredible at creating compositions, but they struggle with human biology. When an AI generates a face, it blends millions of reference images together. This pixel-averaging process results in a loss of natural micro-texture—the tiny pores, fine hairs, and subtle skin variations that our brains subconsciously look for to verify if a face is real.
When these details are missing, the image triggers the uncanny valley effect. To fix this, you need Adobe Photoshop v24.x or newer to manually rebuild what the AI smoothed over.
You generated a batch of corporate headshots using Midjourney v6 or Dall-E 3, and they look almost perfect. But when you zoom in, something feels off. The skin is hyper-smoothed and plastic. The pupils are asymmetrical. The specular highlights look like they belong on a mannequin, plunging the portrait straight into the “uncanny valley.”
If your AI headshot looks fake, you’re not alone. AI generators average pixel data, stripping away the natural human micro-textures that make a face look real. In this guide, we will walk you through the professional Photoshop techniques for humanizing AI generated headshots so they look 100% authentic.
How to Fix and Humanize AI Generated Headshots
Depending on the severity of the AI artifacts, you can use three different methods to restore realism to your portraits.
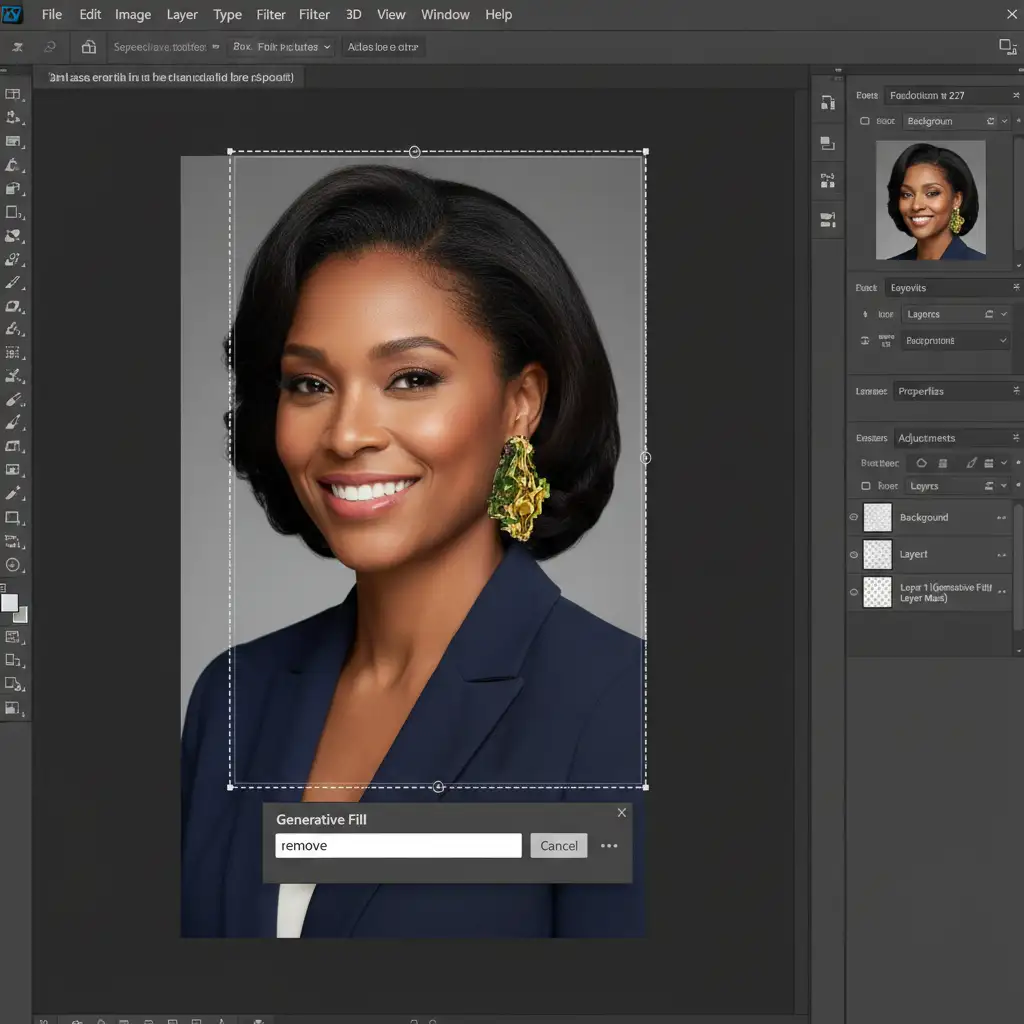
Method 1: The Quick Fix (Generative Fill and Patch Tool)
The most glaring issues in AI headshots are structural anomalies—extra fingers, fused jewelry, or bizarre background shapes.
- Open your image in Photoshop v24.x or newer.
- Select the Lasso Tool (L) and draw a loose selection around the obvious AI artifacts (e.g., a fused earring or an asymmetrical collar).
- Click on the Contextual Task Bar and open the Generative Fill dialogue box.
- Type remove and hit generate. Photoshop will replace the glitch with context-aware pixels.
- Next, select the Patch Tool (J) to circle and blend any harsh, unnatural AI-generated shadows on the face, dragging the selection to a smoother area of the skin.
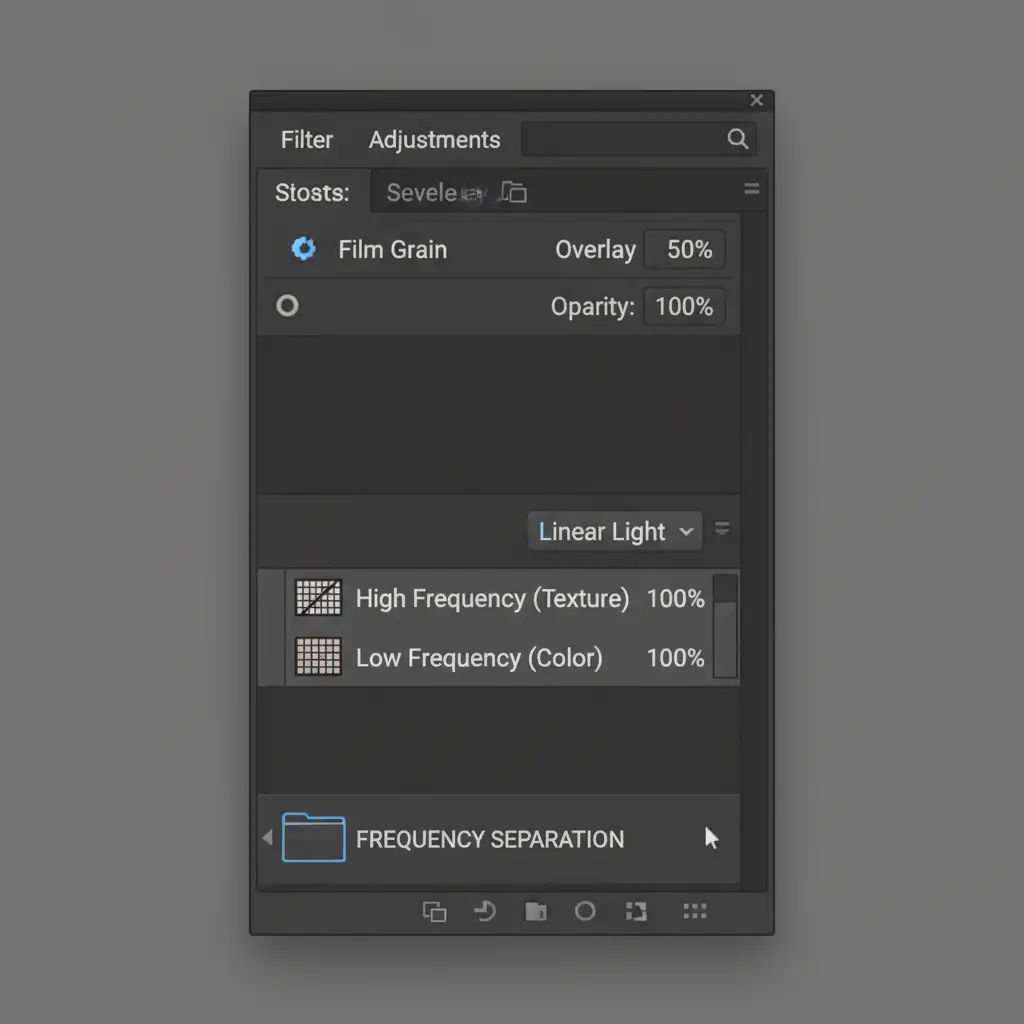
Method 2: The Pro Workaround (Frequency Separation and Film Grain)
To fix the hyper-smoothed, plastic skin, we need to reintroduce texture without destroying the underlying color and lighting. This is where frequency separation comes in.
Setting Up Frequency Separation
- Duplicate your background layer twice. Name the bottom duplicate “Low Frequency” (Color) and the top duplicate “High Frequency” (Texture).
- Hide the High layer. Select the Low layer and apply a Gaussian blur (Filter > Blur > Gaussian Blur) just until the skin texture disappears (usually around 4-6 pixels).
- Turn the High layer back on and select it. Go to Image > Apply Image.
- Set the Layer to “Low Frequency”, Blending to “Subtract”, Scale to 2, and Offset to 128. Change the High layer’s blend mode to Linear Light.
Breaking the Plastic Look
Now that texture is isolated, we need to fake human skin pores.
- Create a new blank layer at the very top of your layer stack.
- Fill it with 50% gray (Edit > Fill > 50% Gray) and set the blend mode to Overlay.
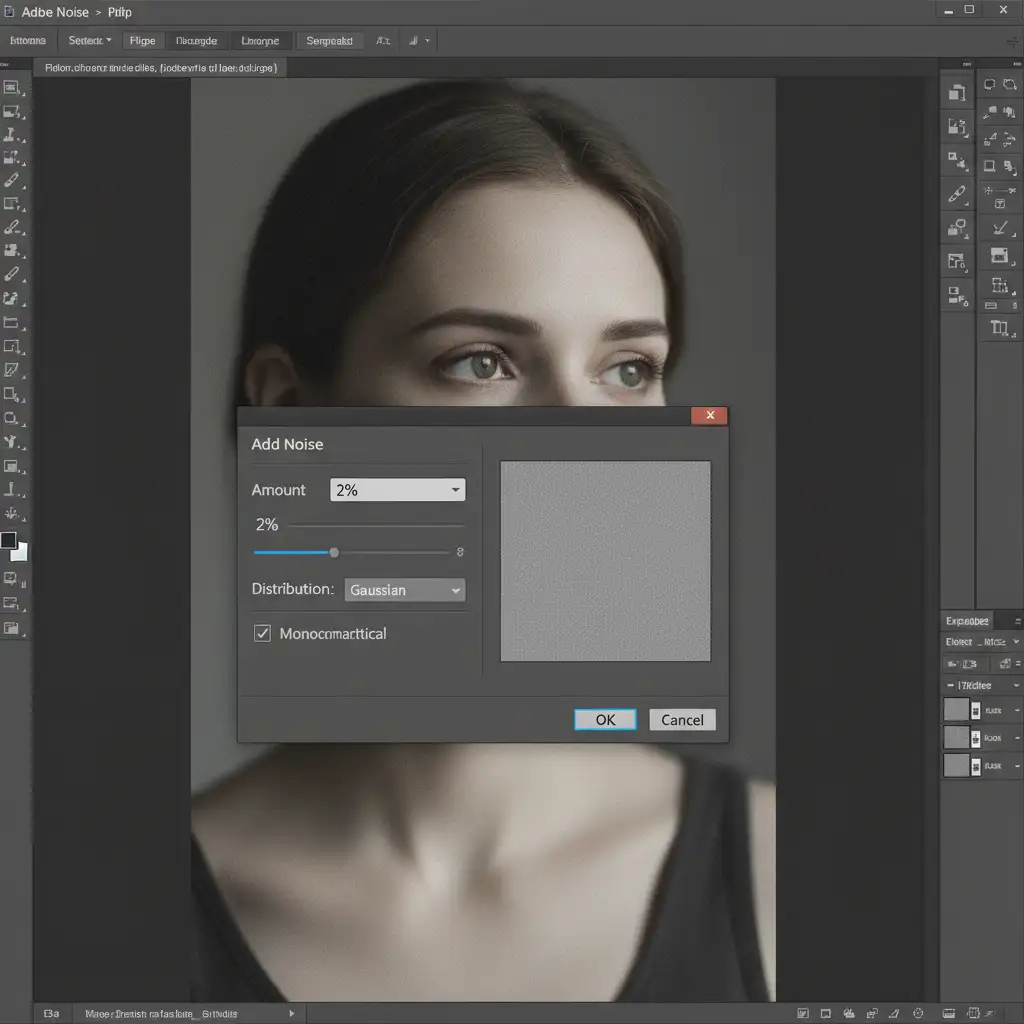
- Go to Filter > Noise > Add Noise.
- Apply a uniform 1 to 2 percent monochromatic grain. This microscopic noise acts as a substitute for skin pores, instantly breaking up the plastic AI look and adding photographic realism.
Method 3: The Technical Deep-Dive (Neural Filters and Dodge/Burn)
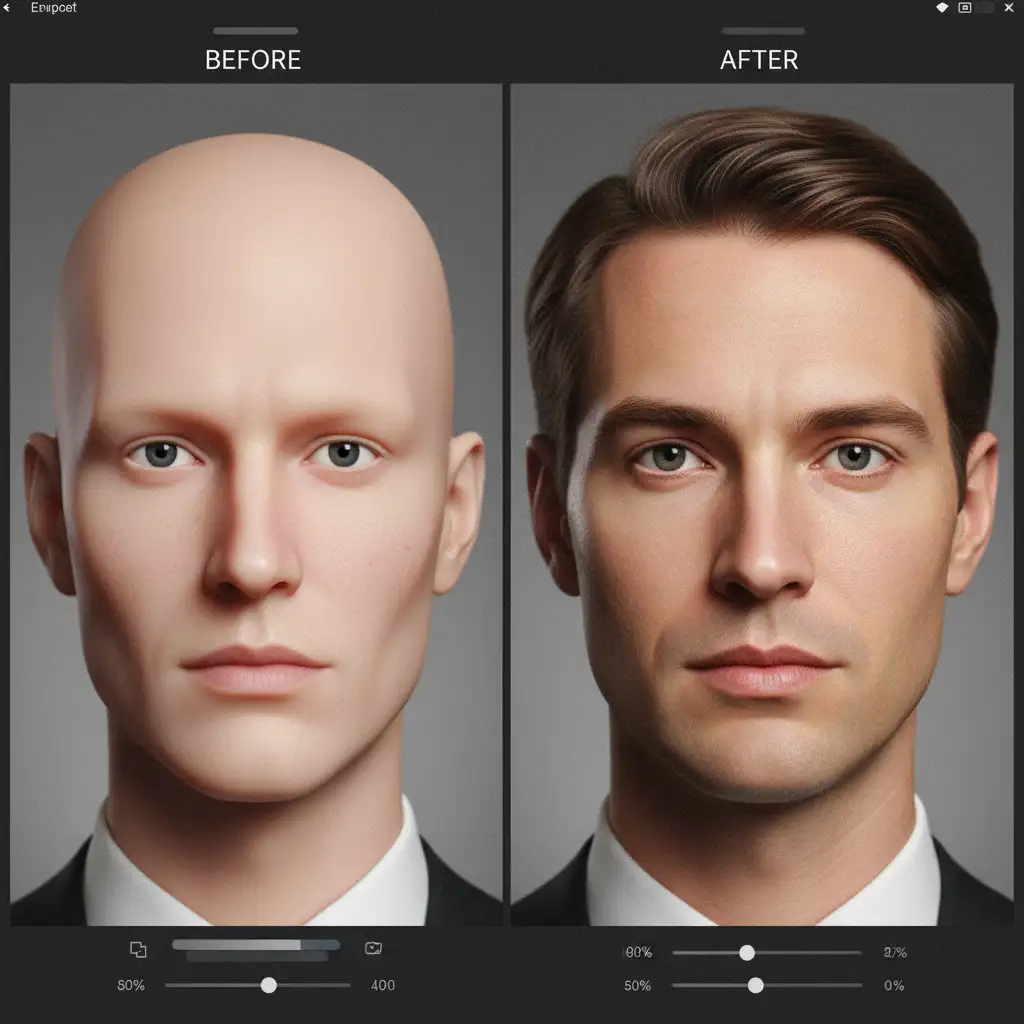
For the highest level of realism, you must manually sculpt the face to fix the AI’s poor understanding of volume and lighting.
- Restore Pores: Go to Filters > Neural Filters > Skin Smoothing. While normally used to smooth skin, you can use the custom texture overlay slider to re-map natural pores back onto the hyper-smoothed AI face.
- Fix Specular Highlights: AI often places bright, oily-looking specular highlights in the wrong places. Create a new layer, fill it with 50% gray, and set it to Overlay blend mode.
- Sculpt the Face: Use the Dodge and Burn tools on this gray layer. Use Burn (midtones, 5% exposure) to deepen natural shadows under the cheekbones and jawline. Use Dodge to correctly place highlights on the bridge of the nose and the top of the cheekbones. This manual contouring restores natural facial volume that AI pixel-averaging flattens out.
Professional Help for Flawless Corporate Portraits
Humanizing AI generated headshots requires a deep understanding of retouching, lighting, and anatomy. While Generative Fill and Frequency Separation are powerful tools, manually editing dozens of team headshots to remove the uncanny valley effect is incredibly time-consuming.
Struggling to make your AI team headshots look natural? Let the expert retouchers at Image Work India and Cloud Retouch manually perfect your portraits for a flawless, human look. Our team specializes in high-end portrait retouching, color correction, and AI artifact removal.
Whether you need to fix a single executive portrait or humanize hundreds of AI-generated team photos, we deliver pixel-perfect, realistic results. Contact Image Work India and Cloud Retouch today for professional bulk editing and elevate your brand’s visual identity.


