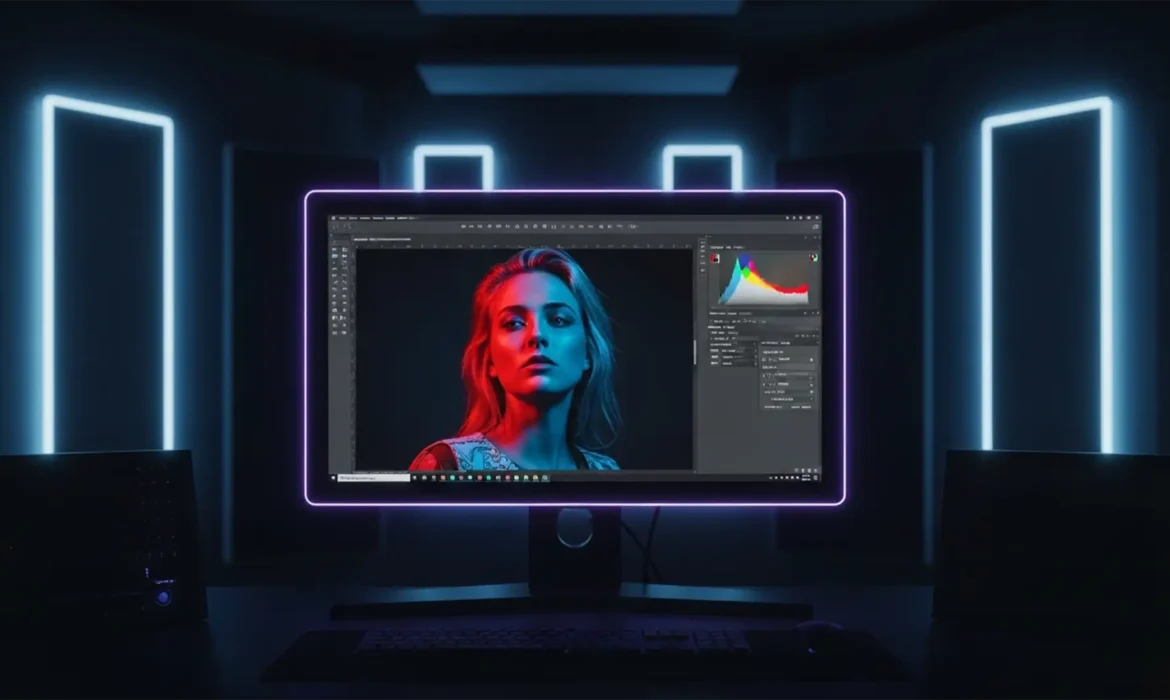
Are you tired of your high-end portraits looking spectacular on your editing monitor, only to appear flat, banded, or blown out on modern OLED screens? As display technology evolves, traditional 8-bit and 16-bit editing pipelines are no longer sufficient. If you are transitioning to a 32-bit HDR portrait retouching workflow in Photoshop v25.x or later, you have likely encountered clipping, incorrect luminance mapping, and frustrating UI color shifts.
You are not alone. Mastering the 32-bit floating-point workspace is the definitive next step for professional retouchers. In this comprehensive guide, we will show you exactly how to configure your system for Advanced Color, manage extreme dynamic range, and future-proof your portfolio for next-generation displays.
Why You Need a True 32-Bit HDR Portrait Retouching Workflow
Modern devices—from flagship smartphones to premium OLED TVs—are capable of displaying peak brightness levels well over 1000 nits. When you edit standard dynamic range (SDR) portraits using legacy 8-bit or 16-bit color spaces, the hardware is forced to artificially map the colors. This often results in compressed shadows and severely clipped highlights.
By adopting a 32-bit floating-point environment, you unlock the ability to store luminance values that exceed standard white. This means specular highlights (like the catchlight in a model’s eye or the gleam of jewelry) can shine with true, uncompressed brilliance, while the midtones of the skin remain perfectly exposed.
Before diving into Photoshop, ensure your operating system is ready. You must activate Windows HD Color (Windows) or an XDR reference preset (macOS) to allow Photoshop to communicate correctly with your HDR display.
3 Proven Methods for Flawless HDR Retouching in Photoshop
Adobe Photoshop v25.x fully supports Advanced Color for HDR displays, but it requires specific configurations to work correctly. Here are the three essential methods to perfect your workflow.
Method 1: The Quick Fix – Enabling Precise Color Management
The most common issue users face when opening a 32-bit file is UI clipping, where the image looks vastly different in Photoshop than it does in other HDR viewers. The fix is hidden within Photoshop’s Technology Previews.
- Navigate to Edit > Preferences > Technology Previews (Windows) or Photoshop > Settings > Technology Previews (Mac).
- Locate and check the box labeled Precise color management for HDR display.
- Click OK and restart Photoshop to apply the changes.
This hardware-accelerated feature ensures that Photoshop correctly maps the extended dynamic range to your specific monitor’s capabilities, eliminating flat contrast and inaccurate color mapping.

Method 2: The Pro Workaround – 32-Bit Smart Objects and Frequency Separation
For high-end portrait retouching, destructive edits are a liability. To maintain the integrity of your extended dynamic range, you must utilize 32-bit Smart Objects right from the raw conversion stage.
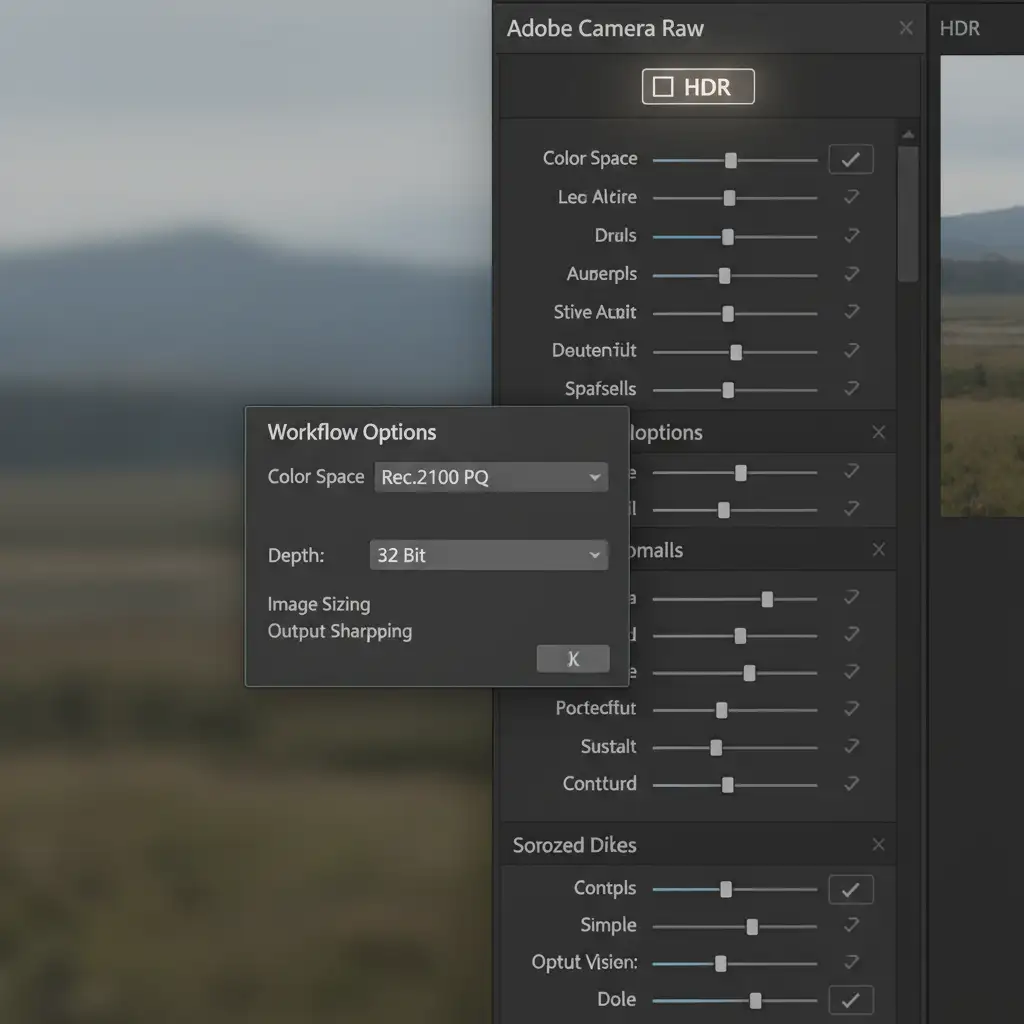
- Open your raw file in Adobe Camera Raw (ACR).
- Click the HDR button in the Edit panel to enable High Dynamic Range output.
- Scroll down to the Workflow Options (or click the hyperlinked text at the bottom).
- Set the Color Space to Rec.2100 PQ or HLG (Hybrid Log-Gamma), and ensure the Depth is set to 32-bit.
- Check “Open in Photoshop as Smart Object” and click OK.
Once in Photoshop, you can perform advanced techniques like Frequency Separation and dodge/burn directly within a 32-bit PSD. Because you are working non-destructively in a 32-bit floating-point space, your adjustments will preserve the delicate roll-off of highlights without introducing banding into the skin tones.
Method 3: The Technical Deep-Dive – Luminance Masking and Tone Mapping
When grading for displays that output 1000+ nits, managing your Luminance levels is critical. You cannot rely on your eyes alone; you must use the data.
Standard percentage-based adjustments fail in HDR. Instead, you need to use Exposure Values (EV).
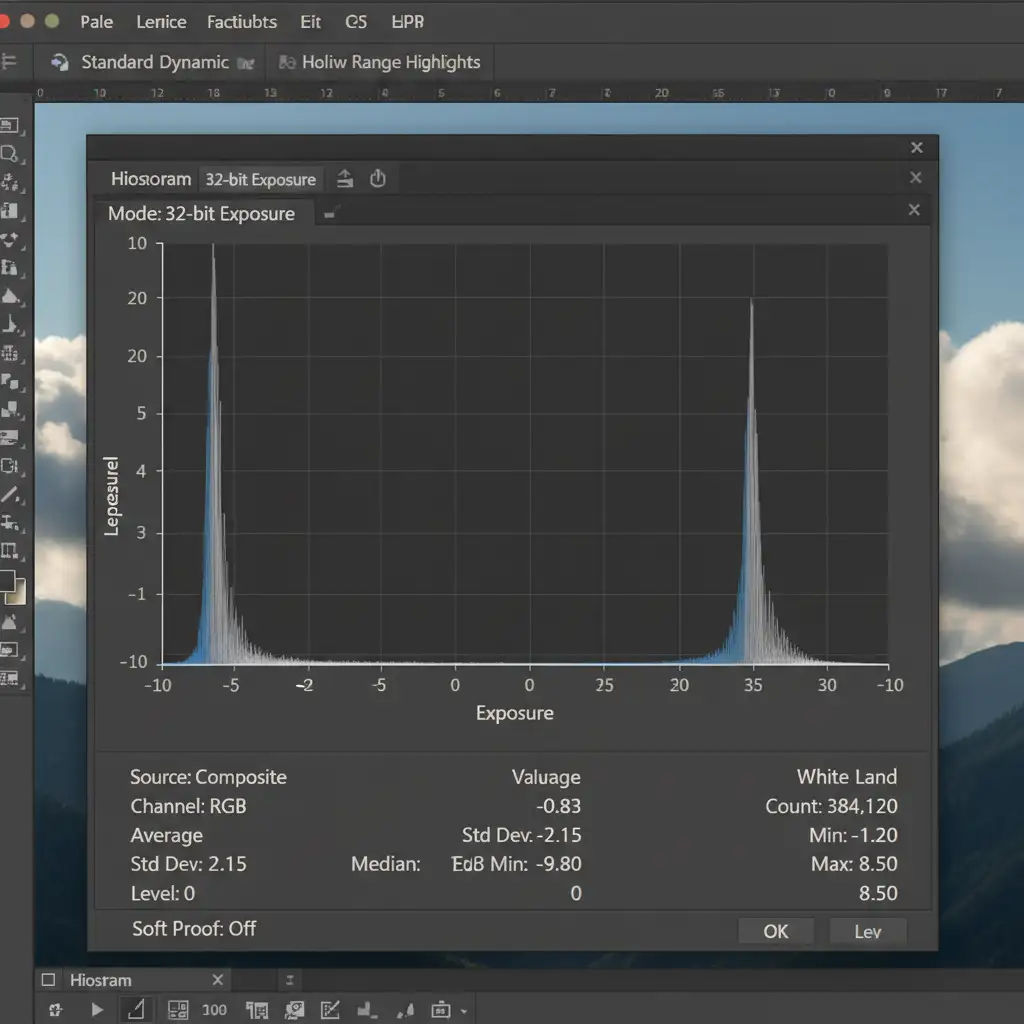
- Open the Histogram panel and set it to 32-bit Exposure mode. This expanded view shows the standard SDR range on the left and the extended HDR highlights on the right.
- Utilize HDR Toning (Image > Adjustments > HDR Toning) or Exposure adjustment layers configured to EV values.
- Use Luminance Masking to isolate specular highlights. This allows you to boost the brightness of a necklace or a lip gloss reflection into the HDR range (above 0 EV) without blowing out the midtones of the subject’s face.
Monitoring the HDR histogram ensures your peaks hit the exact nits required for OLED displays while keeping the core portrait beautifully balanced.
Let the Experts Handle Your HDR Retouching
Mastering a 32-bit HDR portrait retouching workflow requires a deep understanding of color science, hardware calibration, and advanced Photoshop techniques. Transitioning from SDR to Rec.2100 PQ color spaces can be a steep learning curve, and a single mistake in tone mapping can ruin a high-end campaign.
You don’t have to navigate this technical transition alone.
Need pixel-perfect HDR portrait retouching for your next commercial campaign? Contact Image Work India and Cloud Retouch. Our team of expert retouchers leverages state-of-the-art 32-bit editing pipelines and professional HDR displays to deliver flawless, future-proof imagery. Let us handle the technical complexities so your portraits shine brilliantly on every screen. Reach out to us today to elevate your visual content.


