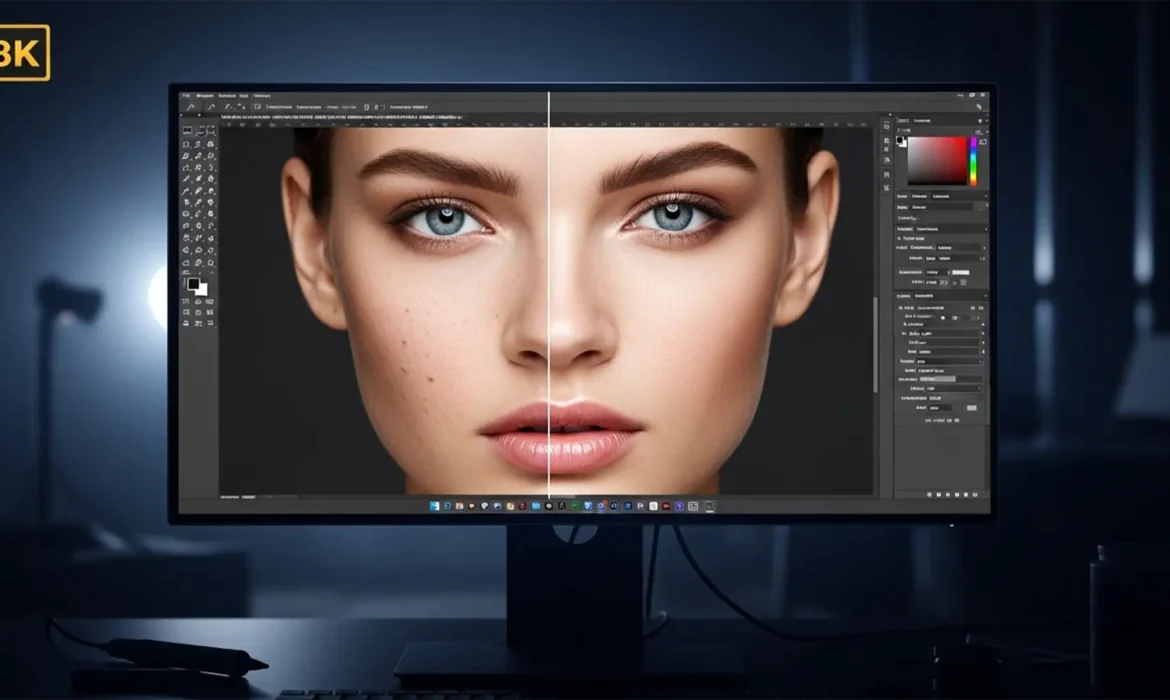
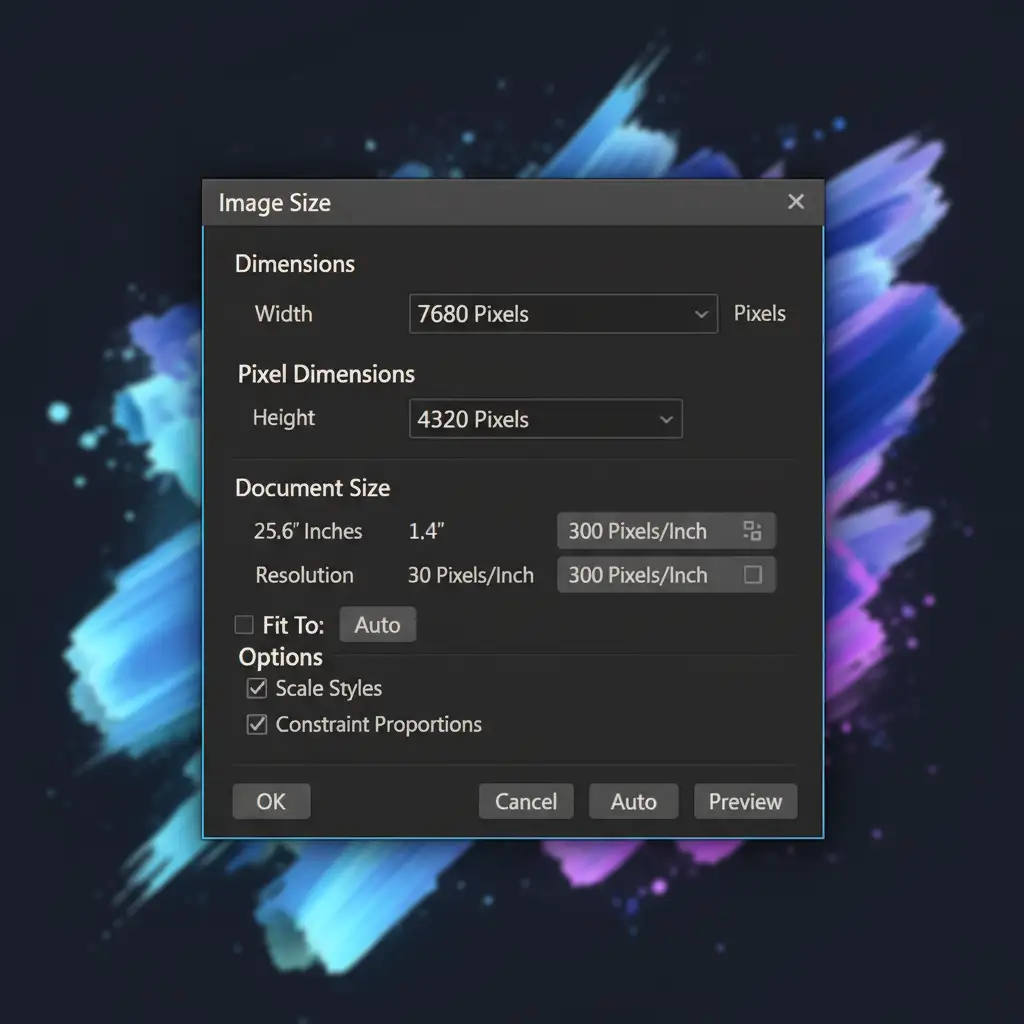
Ultra-high-definition displays are ruthless. At 7680×4320 pixels—roughly 33.1 megapixels—modern 8K monitors expose every micro-flaw and heavy-handed 8K glamour retouching stroke in your glamour photography. If you are still using standard blurring techniques or quick blemish removal tools in Adobe Photoshop, you are actively destroying essential skin micro-texture. The result is a glaringly obvious, plastic skin effect that ruins high-end editorial work.
Mastering glamour retouching for 8K resolution requires a fundamental shift to a strictly non-destructive editing workflow. In this guide, we will break down the precise, 16-bit techniques required to maintain microscopic pore-level detail while achieving flawless, magazine-ready skin.
Why 8K Resolution Changes the Rules of Glamour Retouching
When editing for standard web delivery, editors can often get away with destructive workflows. 8K resolution eliminates that margin of error. Working at this scale means that the viewer can see individual pores, fine facial hair, and the exact pixel boundaries of your edits.
To succeed at this resolution, your workspace must be optimized for maximum data retention. This means utilizing a 16-bit color depth to prevent banding in smooth gradients and relying heavily on smart objects to ensure every adjustment remains reversible.
The 8K Glamour Retouching Workflow in Adobe Photoshop
To preserve the integrity of the original image while addressing macro blemishes and uneven skin tones, editors must utilize a tiered approach. Here are the three primary methods for handling ultra-high-definition skin retouching in Photoshop v24.x and v25.x.
Method 1: The Quick Fix – Calibrated Neural Filters
For editors on a strict deadline, Photoshop’s AI-driven tools can provide a solid foundation, provided they are heavily mitigated.
- Duplicate your background layer and convert it into a Smart Object.
- Navigate to Filter > Neural Filters and activate Skin Smoothing.
- Apply the filter to address broad tonal inconsistencies.
- The 8K Critical Step: Because Neural Filters will inherently soften micro-texture, drop the opacity of this Smart Object layer to 30-40%. This allows the native 8K pore texture from the background layer to show through, preventing the dreaded plastic effect.
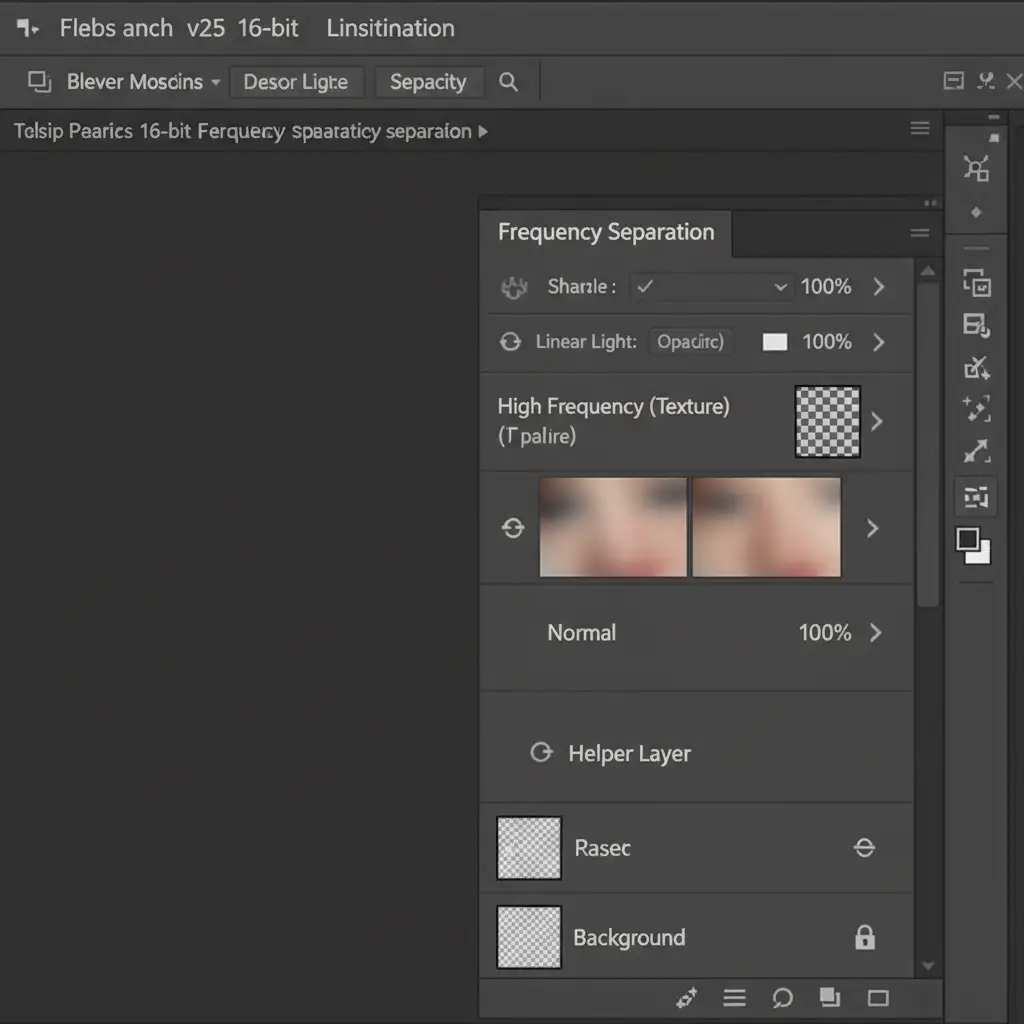
Method 2: The Pro Workaround – 16-Bit Frequency Separation
Frequency separation is the industry standard for high-end beauty work, but it must be calibrated specifically for 8K. This technique separates the image data into a high-frequency texture layer and a low-frequency color layer.
- Duplicate your base layer twice. Name the top layer “Texture” and the middle layer “Color”.
- On the Color layer, apply a Gaussian Blur. For 8K resolution, a radius of 8.0 to 12.0 pixels is strictly required to properly separate the micro-texture from the underlying skin tones.
- On the Texture layer, use Image > Apply Image (or a High-Pass filter setup) configured for 16-bit color depth (Add blending, Scale 2, Offset 0, Invert checked).
- Change the Texture layer’s blending mode to Linear Light.
You can now use the Clone Stamp tool on the Texture layer to remove macro blemishes without affecting the skin tone, and use a soft mixer brush on the Color layer to even out pigmentation.
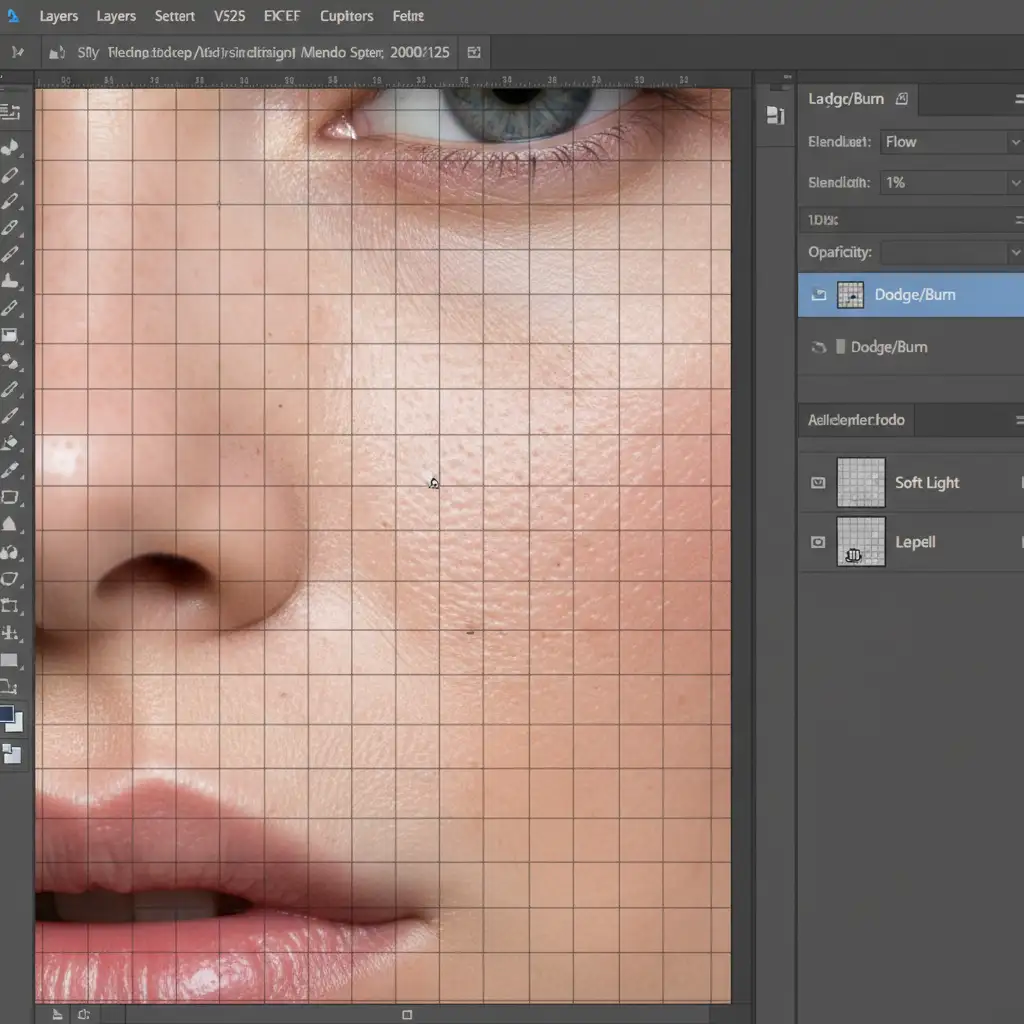
Method 3: The Technical Deep-Dive – Micro Dodge & Burn
For absolute perfection in glamour retouching for 8K resolution, Micro Dodge and Burn is the ultimate non-destructive editing technique. Instead of blurring pixels, you are manually adjusting the luminosity of individual pores to visually flatten the skin.
- Create a new layer and fill it with 50% gray (Edit > Fill > 50% Gray).
- Set the layer blending mode to Soft Light.
- Select a highly targeted, soft-edged Brush tool.
- Set your Brush Flow to exactly 1%.
- Zoom into the image at 200%.
By painting with white, you lift the dark shadows of deep pores and wrinkles. By painting with black, you darken overly bright specular highlights. Advanced editors often pair this with luminosity masking to perfectly target specific tonal ranges without ever altering the original pixel data.
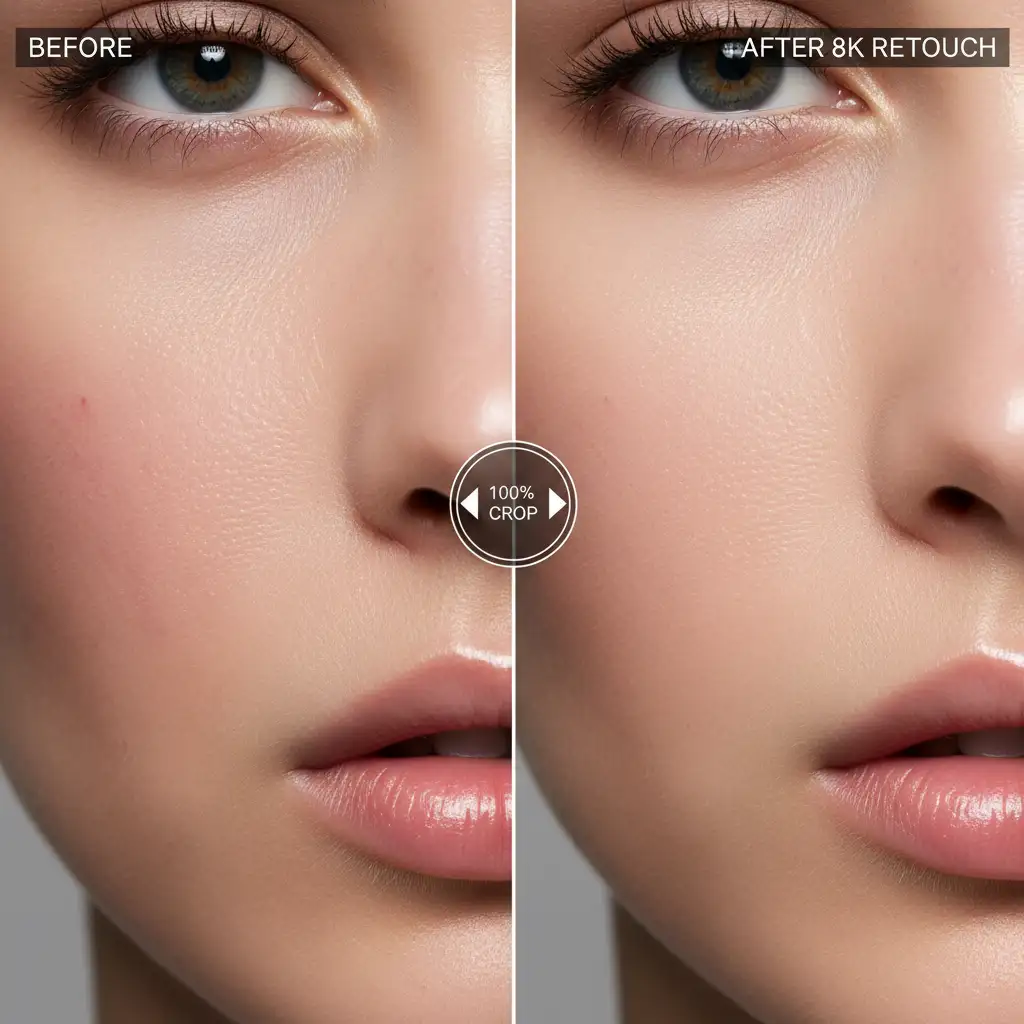
Before and After: The Importance of Pore Retention
The true test of 8K retouching is the 100% crop. When viewing an image at its actual pixel size, the transition between edited and unedited areas must be invisible. Standard editing destroys the “fuzz” and microscopic variations that make skin look human. By utilizing 16-bit frequency separation and micro dodge and burn, you guarantee that large-scale prints and ultra-HD digital displays showcase hyper-realistic beauty.
Elevate Your 8K Glamour Photography with Image Work India
Executing flawless glamour retouching for 8K resolution requires an immense amount of patience, technical software knowledge, and an expert eye for micro-detail. A single image can take hours of meticulous dodging and burning to perfect.
Don’t let ultra-high-definition displays expose poor retouching and compromise your brand’s reputation. If you need flawless, pixel-perfect results without the grueling hours at the monitor, hire the high-end editorial experts at Image Work India and Cloud Retouch. Our dedicated team specializes in non-destructive, 16-bit retouching workflows guaranteed to deliver hyper-realistic glamour shots ready for massive prints and 8K screens.
Contact us today to streamline your post-production workflow and deliver uncompromising quality to your clients.


