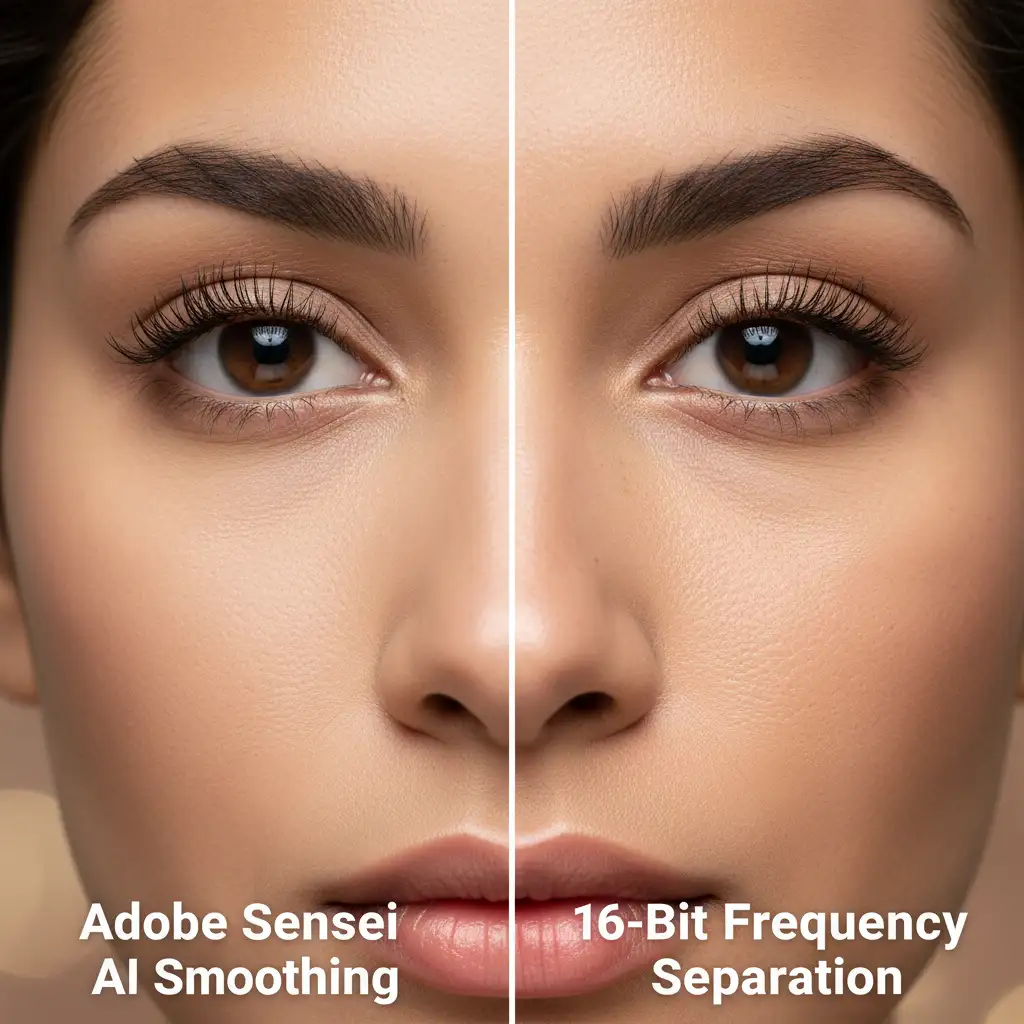
Ever spent hours retouching a beauty portrait only to have the client reject it for looking “too plastic”? You are not alone. In high-end retouching, Adobe Sensei Neural Filters might seem like a magic bullet, but they indiscriminately merge tone and detail. This destroys the micro-contrast and natural pores that luxury brands demand. The ongoing debate of high-end frequency separation vs ai smoothing ultimately comes down to one critical factor: skin texture preservation. Let’s dive into why top-tier campaigns still rely on 16-bit manual processing, the exact math behind it, and how you can achieve flawless, non-destructive results.
The Core Problem: Why AI Fails the Luxury Test
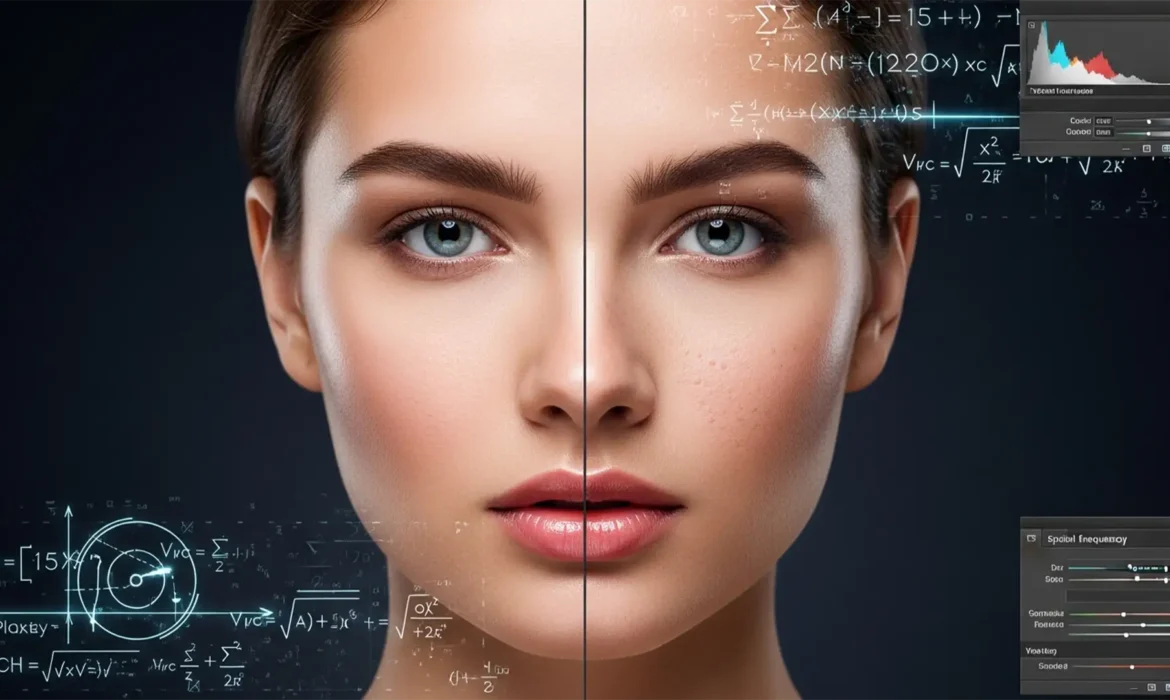
Luxury fashion and beauty brands require pristine 16-bit image processing. In this environment, every pixel counts. The fundamental flaw with automated AI skin smoothing algorithms in Photoshop v25.x+ is their inability to accurately differentiate between spatial frequencies.
When you run an automated Neural Filter, the machine learning model blurs skin imperfections but inevitably flattens the micro-texture. It attempts to fix shadows and color blotches by blurring the surface, resulting in the dreaded ‘plastic skin’ effect. Manual frequency separation, however, mathematically splits the image into two distinct workspaces: high-frequency texture (pores, fine lines, hair) and low-frequency color (shadows, highlights, skin tones).
3 Professional Workarounds for Flawless Skin Retouching
If you are navigating the complexities of high-end frequency separation vs ai smoothing, you need a non-destructive workflow. Here are three methods ranging from a quick fix to the industry-standard 16-bit technical setup.
Method 1: The Quick Fix (Taming the AI)
If you are on a strict deadline and must use Adobe Sensei Neural Filters, never apply them directly to your base layer.
- Convert your background layer to a Smart Object.
- Run Photoshop’s Skin Smoothing Neural Filter and output it as a Smart Filter.
- Drop the layer opacity to about 40% to bring back some natural texture.
- Add an inverted (black) layer mask. Use a soft white brush to paint the AI smoothing effect only on problem areas. Avoid the tip of the nose, the edges of the lips, and specular highlights to prevent flattening the face’s natural geometry.
Method 2: The Pro Workaround (Hybrid AI)
This method bridges the gap between automated speed and manual control by isolating where the AI operates.
- Separate your image into Low and High-frequency layers (see Method 3 for the exact math).
- Select your Low-Frequency (color/tone) layer.
- Apply the AI Neural Filter strictly to this layer.
- Because the High-Frequency layer remains mathematically untouched above it, the AI smooths the underlying color blotches while your original pores and micro-contrast remain perfectly intact.
Method 3: The Technical Deep-Dive (True 16-Bit Manual Frequency Separation)
For luxury beauty campaigns, this is the only acceptable method. It relies on the precise math of the Apply Image blending mode equations.
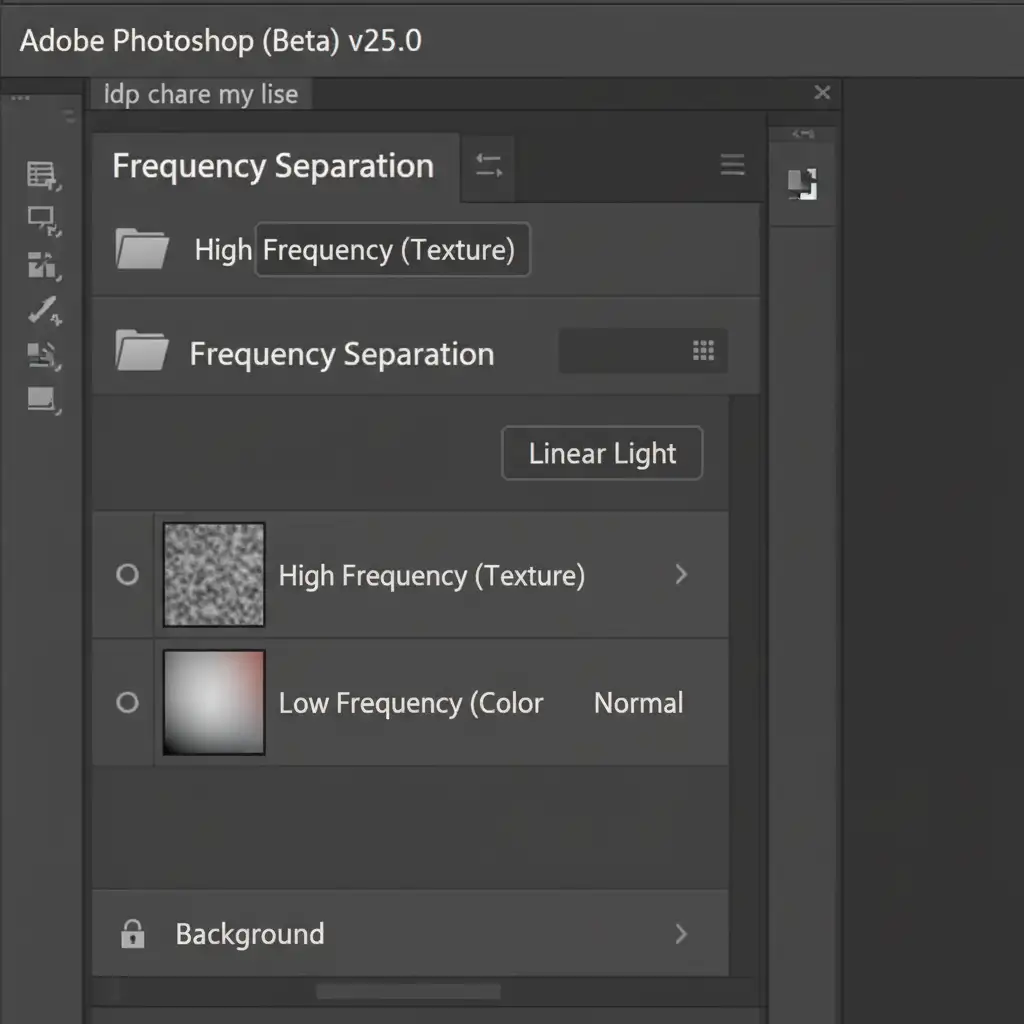
- Duplicate your background layer twice. Name the bottom one “Low” and the top one “High”. Group them.
- Select the “Low” layer. Apply a Gaussian Blur radius just until the pores and fine blemishes vanish (usually between 5px to 8px depending on image resolution).
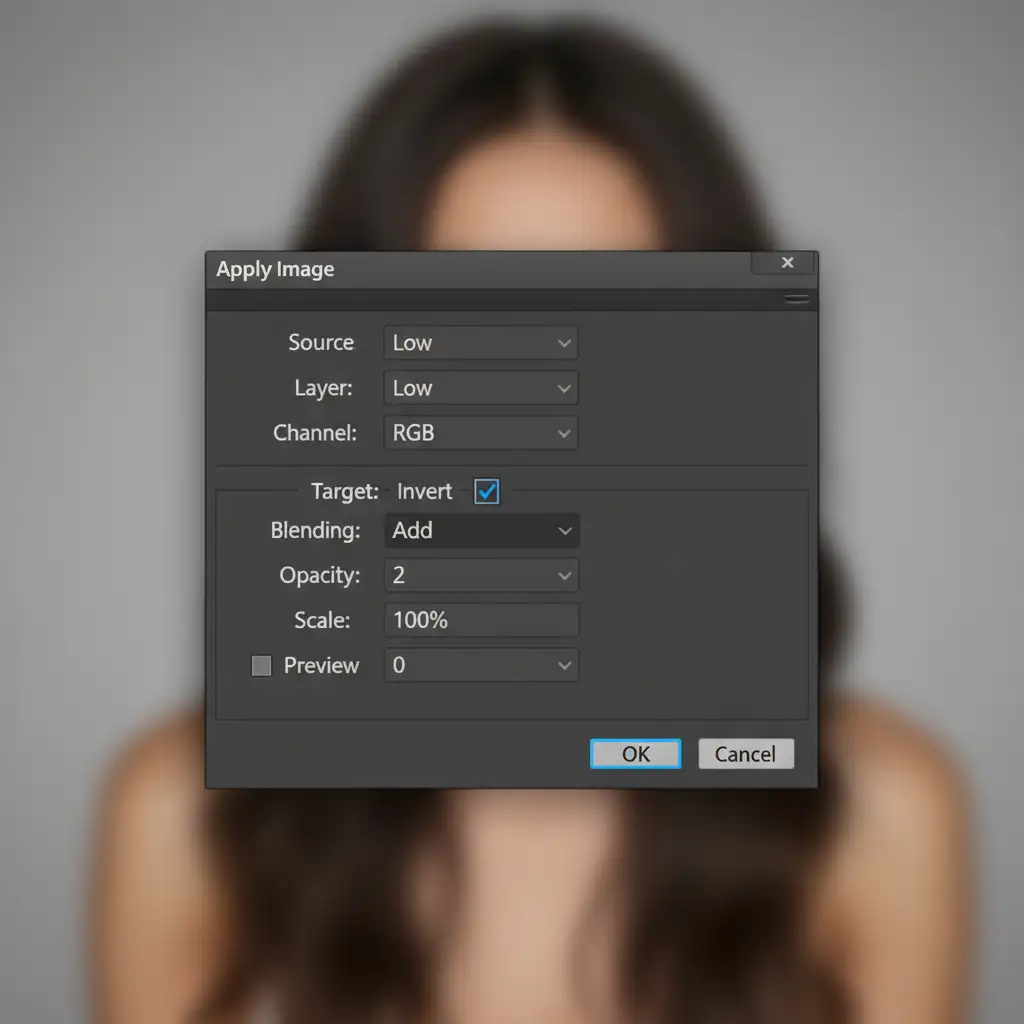
- Select the “High” layer. Go to Image > Apply Image.
- The 16-Bit Math: In the Apply Image dialog box, configure the following exact settings:
- Layer: Low
- Blend: Add
- Scale: 2
- Offset: 0
- Invert: Checked
- Change the “High” layer’s blend mode to Linear Light. Your image should now look exactly like the original, but the frequencies are mathematically split.
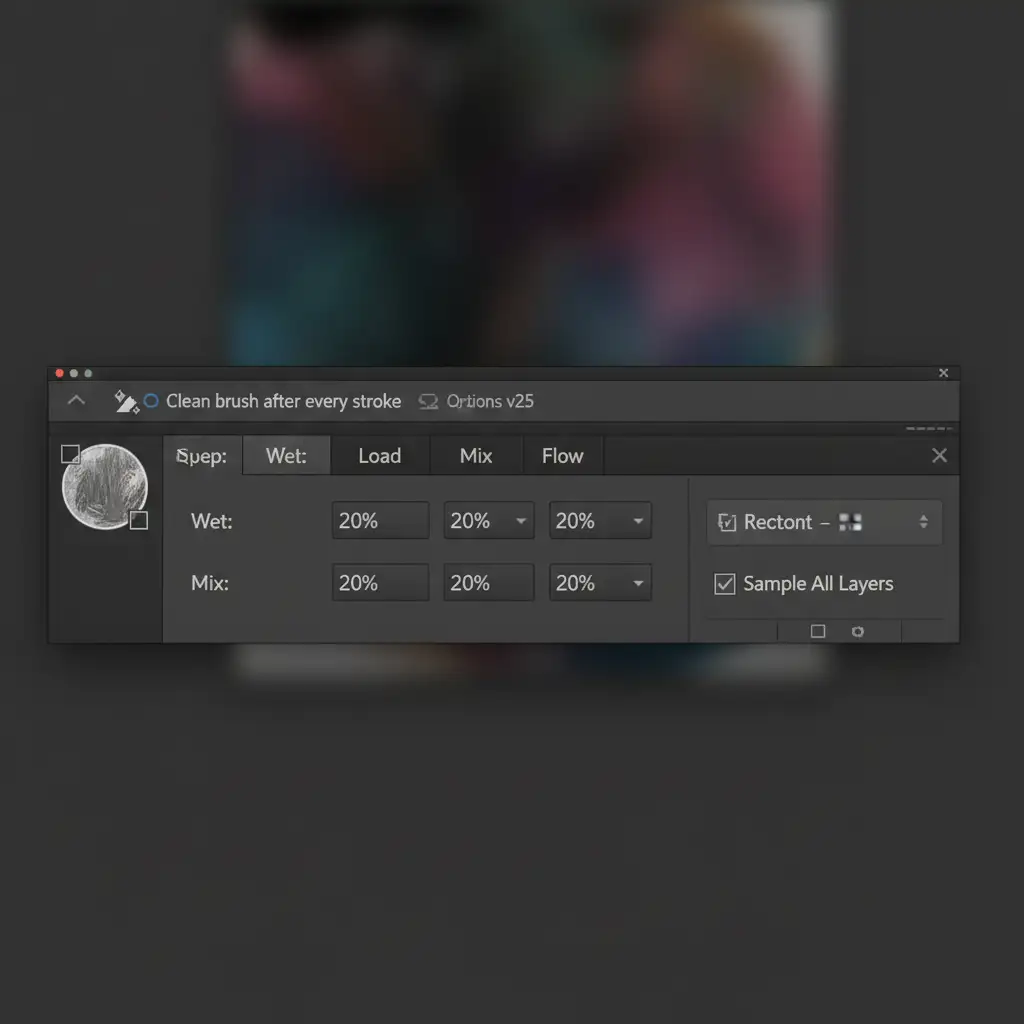
Mastering the Mixer Brush Mechanics
With your frequencies separated, select the Low layer. To fix uneven tones without destroying texture, you must master the mixer brush mechanics.
Set your Mixer Brush to a clean, empty brush. Use the following settings in the top toolbar to ensure smooth low-frequency color blending:
- Wet: 20%
- Load: 20%
- Mix: 20%
- Flow: 20%
Gently brush over the transitions between highlights and shadows on the Low layer. Switch to the Clone Stamp tool on the High layer to remove harsh blemishes or stray hairs.
Elevate Your Campaigns to Luxury Standards
The difference between a good image and a luxury-standard campaign lies in the details. While AI smoothing offers a quick fix for casual editing, it simply cannot compete with the mathematical precision of manual 16-bit frequency separation when skin texture preservation is paramount.
Don’t let automated algorithms flatten your high-end photography. Ensure your beauty and fashion campaigns meet global luxury standards by outsourcing your image editing to the experts. Image Work India and Cloud Retouch specialize in professional, non-destructive high-end retouching that AI simply cannot replicate. Our dedicated team of retouching artists meticulously processes every image, guaranteeing flawless tones and perfect micro-contrast.
Ready to see the difference true professional retouching makes? Contact Image Work India and Cloud Retouch today to elevate your visual content.


