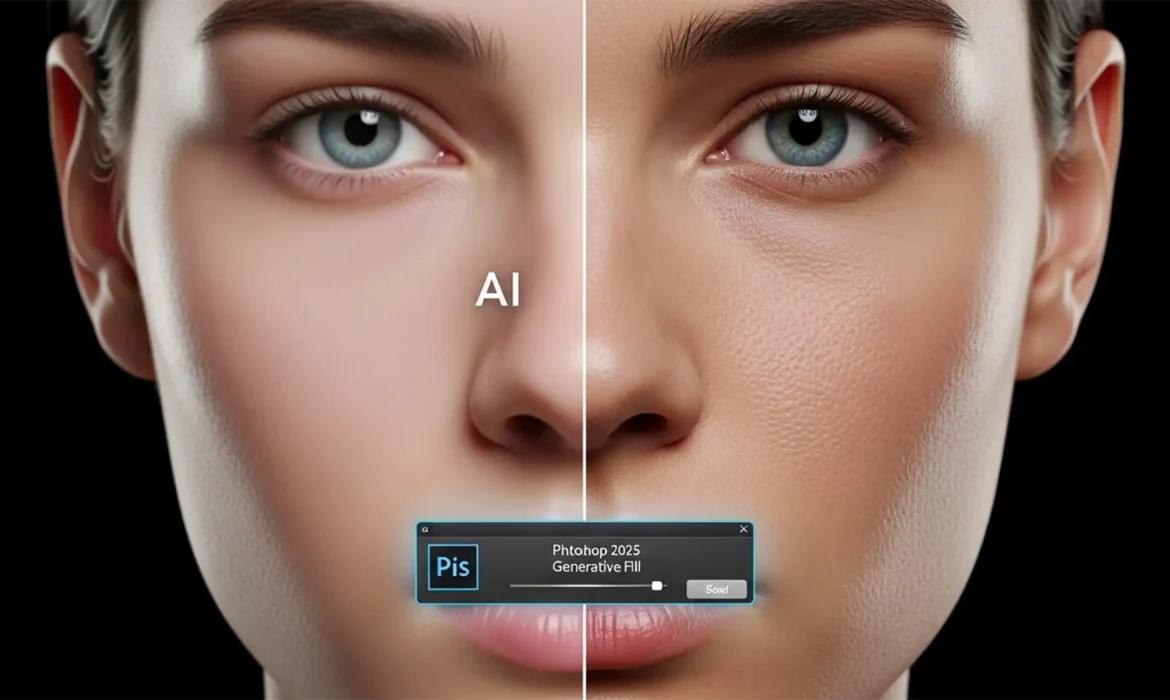
You’ve just used Photoshop 2025’s Generative Fill to extend a beauty portrait or remove a complex blemish. The composition looks phenomenal from a distance, but when you zoom in to 100%—disaster. The AI has replaced your subject’s crisp, high-end raw details with a blurry, plastic-looking patch.
If you are struggling with fixing muddy skin in Photoshop Generative Fill, you aren’t alone. Because the Adobe Firefly Image Model caps cloud rendering resolution to optimize processing speed, generated pixels stretch heavily when filling large areas. This aggressive AI noise reduction destroys high-frequency micro-contrast, leaving you with skin that looks entirely fake.
In this guide, we’ll show you exactly how to bypass this limitation and graft realistic skin pores back onto your generated pixels using three professional workflows.
Why Does Photoshop 2025 Generative Fill Create “Plastic” Skin?
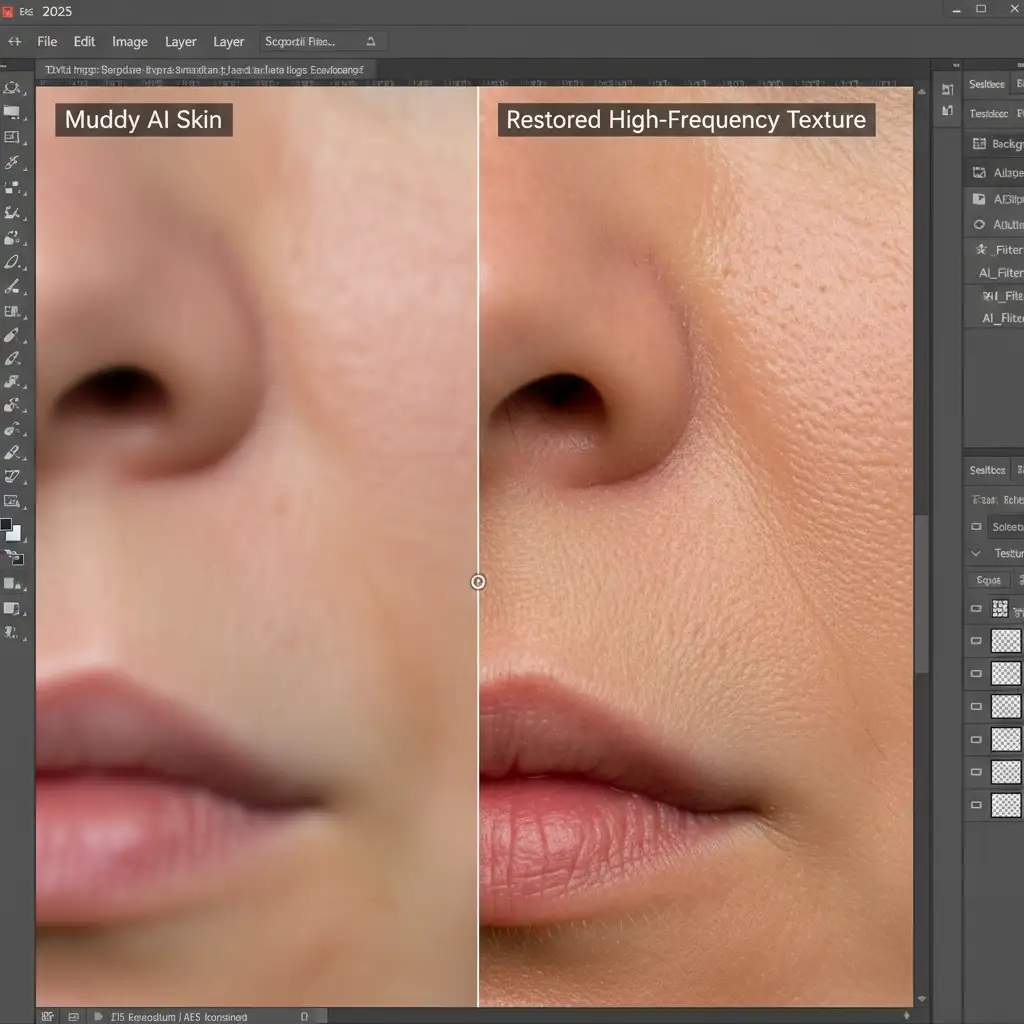
While the Adobe Firefly Image Model is highly advanced, it still struggles with the intricate micro-details of human skin pores. When you run a Generative Fill operation over a large area, the cloud server generates the image at a capped resolution (traditionally 1024×1024 pixels) and then stretches it to fit your high-resolution raw file.
This upscaling process results in a severe loss of micro-contrast. The generated area looks completely smooth and “muddy,” heavily contrasting with the sharp, native details of your original photography. Fixing this requires hybrid editing techniques that combine modern AI with traditional skin retouching methods.
3 Proven Methods for Fixing Muddy Skin in Photoshop Generative Fill
Method 1: The Quick Fix (Prompt Engineering & Blending Modes)
Sometimes, the AI just needs a little push in the right direction. By combining targeted prompt engineering with basic layer adjustments, you can often recover enough detail for medium-distance shots.
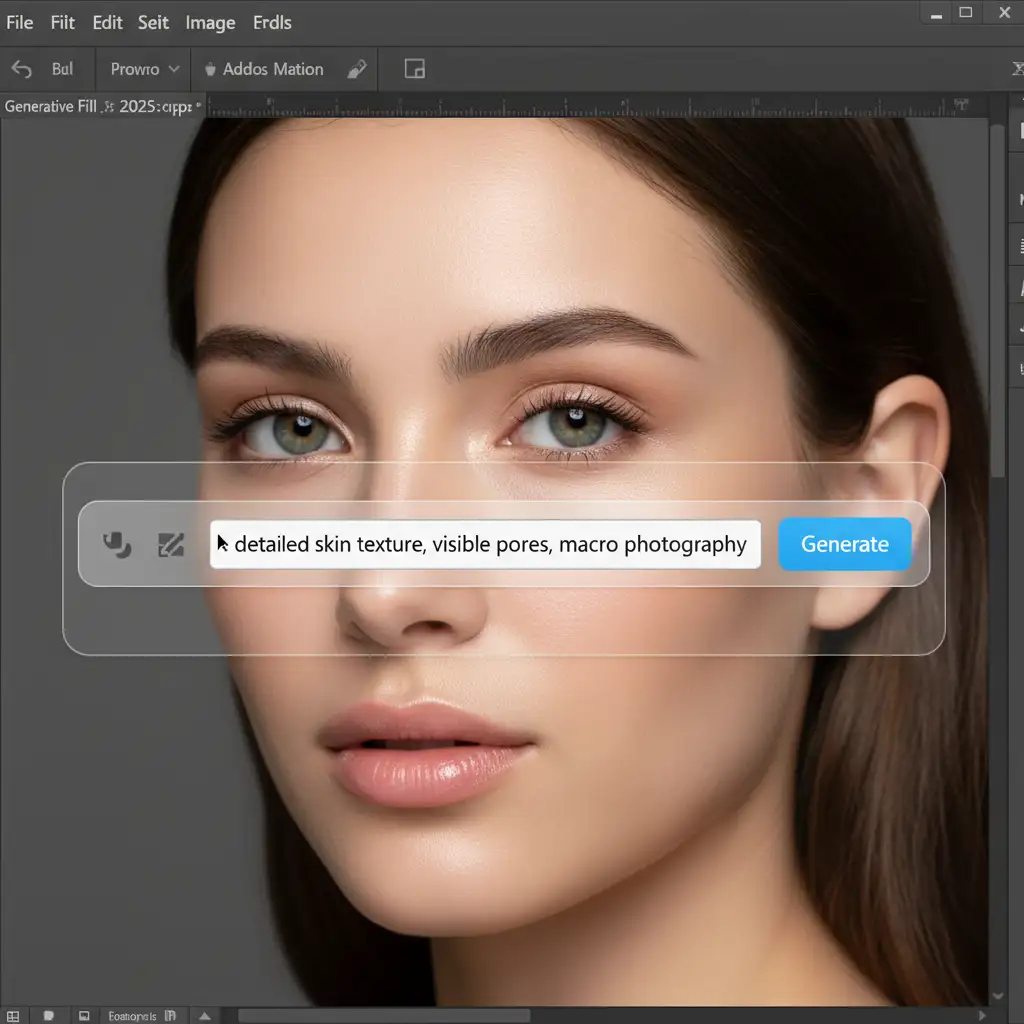
- Make your selection and open the Generative Fill text box.
- Instead of leaving it blank, type specific texture-focused keywords: “detailed skin texture, visible pores, macro photography.”
- Generate the fill.
- Once generated, go to your Layers panel and drop the AI layer’s opacity to 85%. This allows a fraction of the original native skin noise to bleed through, instantly reducing the plastic look.
Method 2: The Pro Workaround (Frequency Separation Texture Stealing)
When the quick fix isn’t enough, it’s time to rely on Frequency Separation. This technique separates your image’s color/tone (low frequency) from its texture (high frequency), allowing you to “steal” real pores from an unedited part of the photo and graft them over the AI mistake.
- Rasterize your Generative Fill layer or merge it onto a new blank layer (Ctrl/Cmd + Alt/Opt + Shift + E).
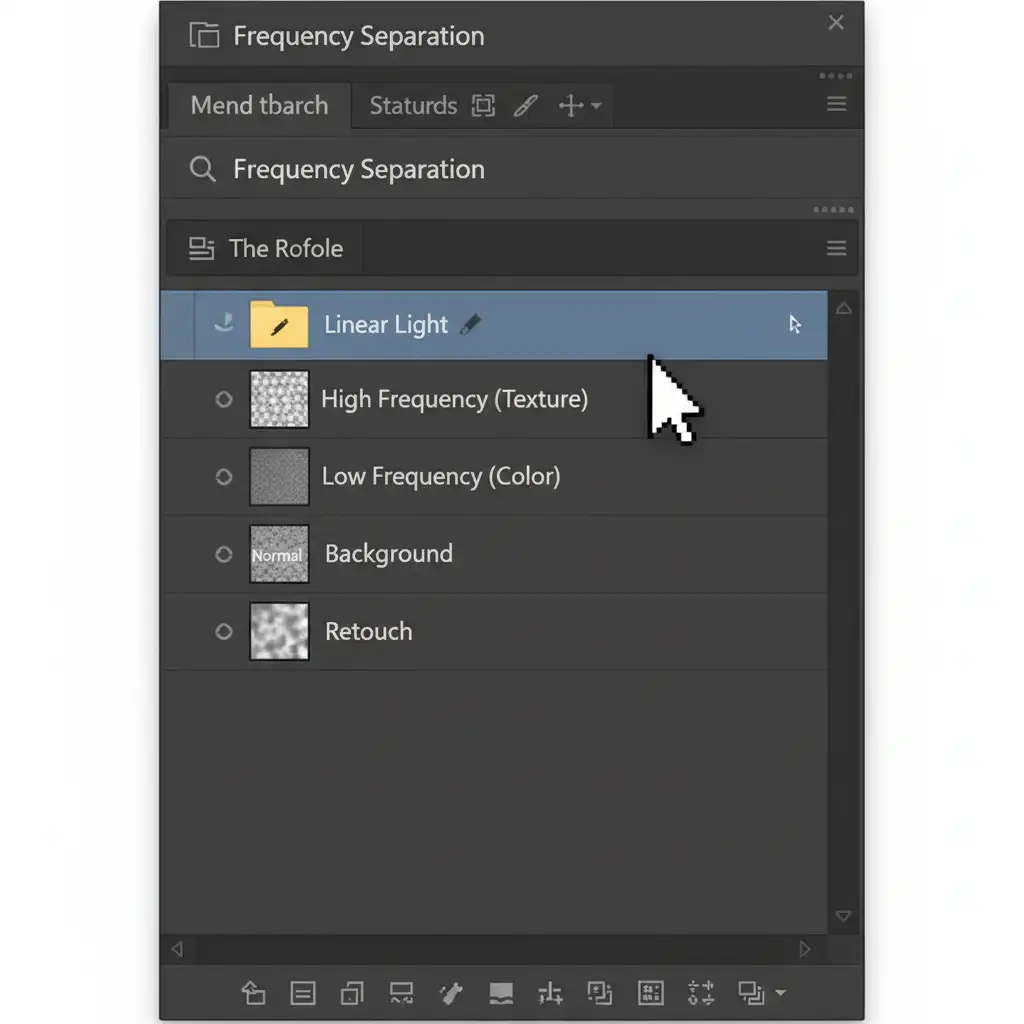
- Set up your standard Frequency Separation action (creating a Low/Color layer and a High/Texture layer).
- Select your High-Frequency (Texture) layer.
- Select the Clone Stamp Tool (S). Ensure your sample setting is strictly set to Current Layer.
- Alt/Opt + Click on a clean, sharp patch of original skin to sample the texture.
- Carefully paint over the muddy AI-generated area. You are now pasting real, high-resolution pores directly over the blurry Generative Fill colors.
Method 3: The Technical Deep-Dive (High Pass Filter Overlay)
If you want the most seamless integration possible without manual cloning, the High Pass Filter method forces native micro-contrast back over the AI generation. This is the ultimate hybrid workflow for high-end beauty retouching.
- Select your original background layer (the raw photo) and duplicate it (Ctrl/Cmd + J).
- Drag this duplicated layer to the very top of your layer stack, above your Generative Fill layer.
- Convert this layer to a Smart Object so you can adjust the filter non-destructively.
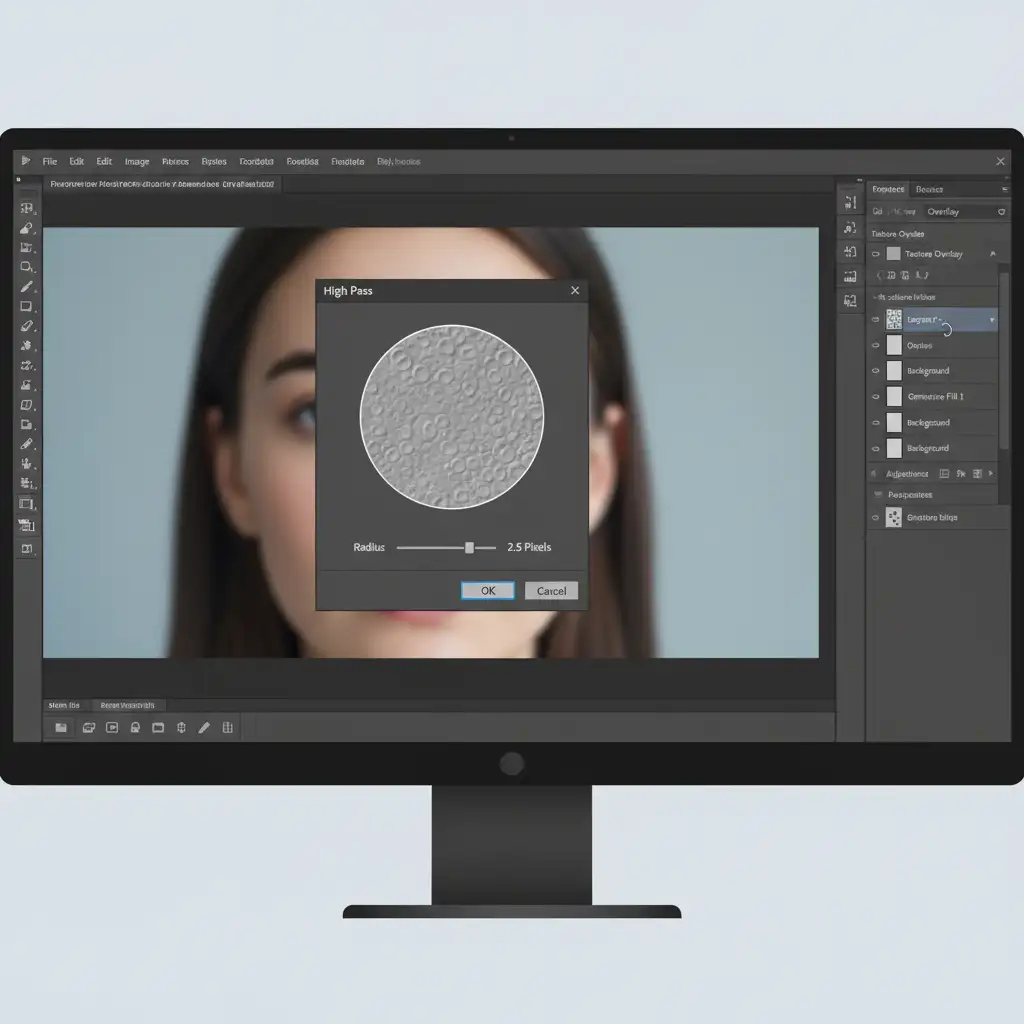
- Navigate to Filter > Other > High Pass.
- Set the radius between 2.0px and 3.0px (just enough to see the outlines of the skin pores), and click OK.
- Change the layer’s Blending Mode to Overlay or Linear Light.
- Optional: Clip this High Pass layer directly to your Generative Fill layer so the texture only affects the AI-generated patches.
When to Outsource Your High-End Skin Retouching
Fixing muddy skin in Photoshop Generative Fill is entirely possible with the techniques above, but it requires patience, technical skill, and time. If you are processing a massive batch of wedding photos, fashion editorials, or e-commerce product shots, manually grafting high-frequency textures onto hundreds of AI-generated patches will destroy your profit margins.
That’s where we come in.
At Image Work India and Cloud Retouch, we specialize in flawless, high-end professional retouching that AI simply cannot match. Our expert retouchers understand the delicate balance of micro-contrast, frequency separation, and natural skin textures. We don’t rely on automated shortcuts that leave your subjects looking plastic; we deliver pristine, magazine-quality results every single time.
Struggling to maintain perfect skin textures in your batch edits? Stop fighting with Generative Fill bugs. [Contact Image Work India and Cloud Retouch today] and let our dedicated professionals handle your high-end retouching workflows.


