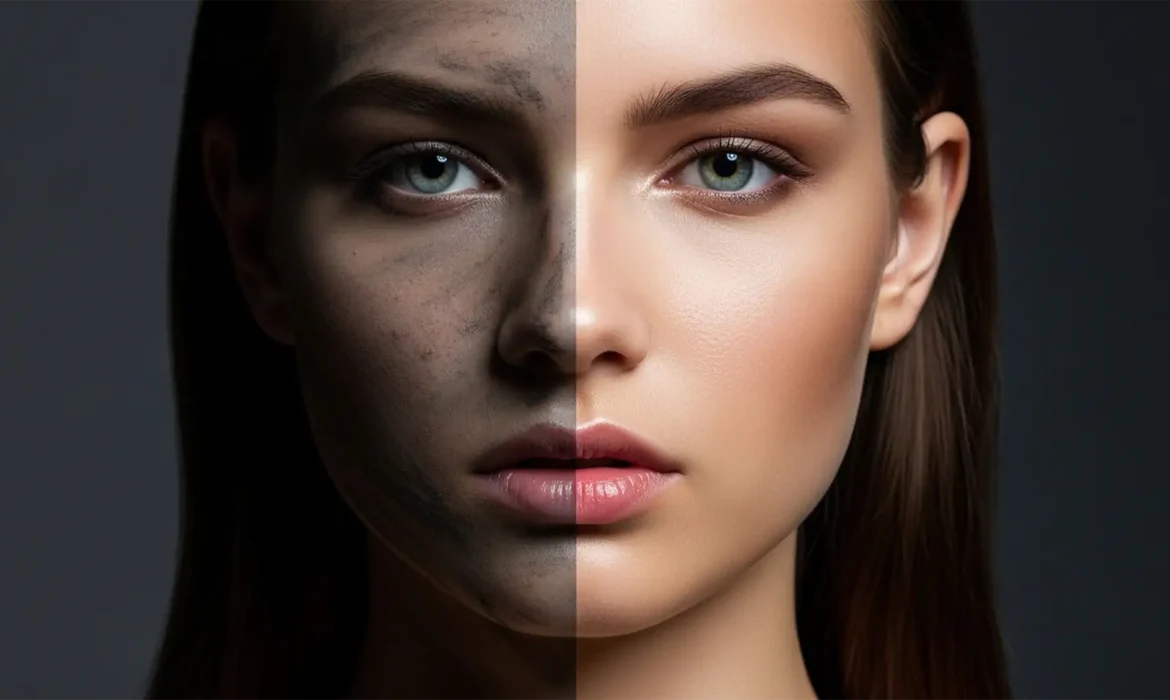
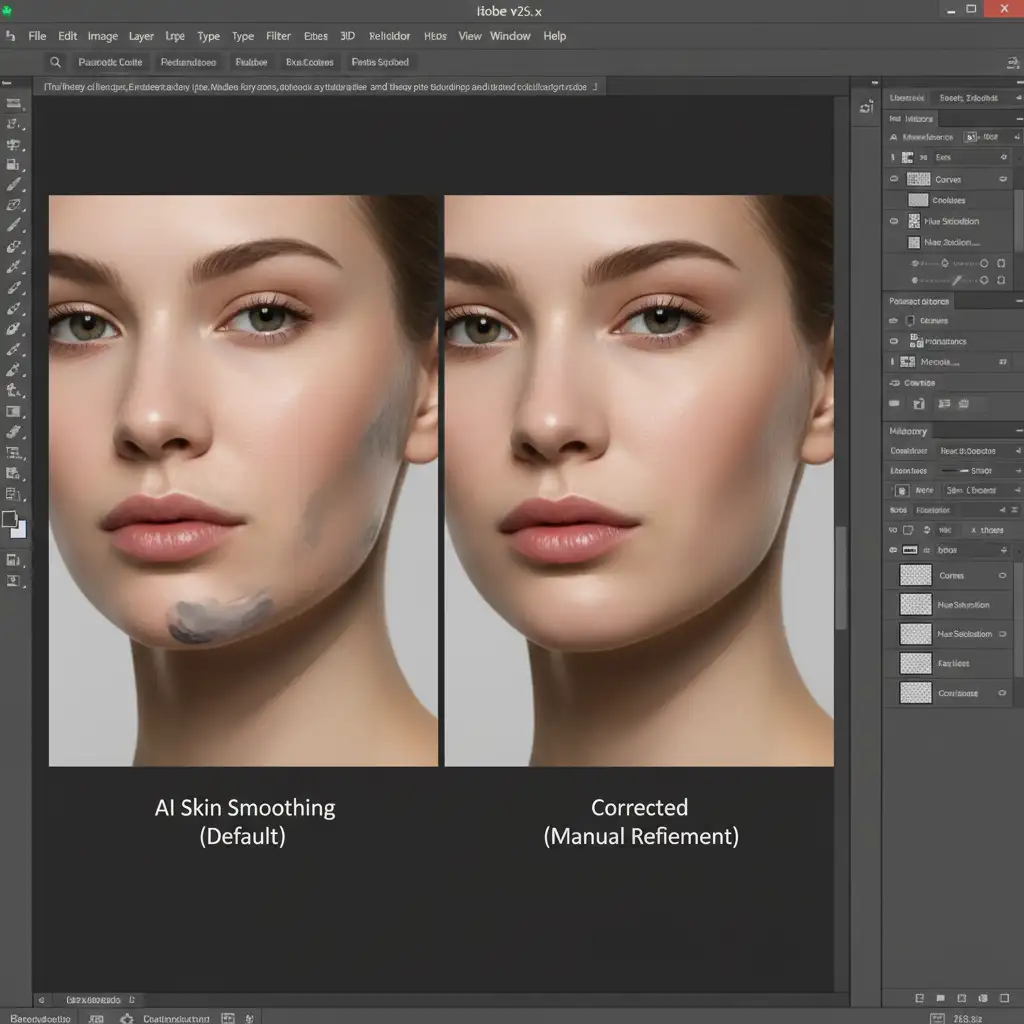
You just applied Photoshop’s Neural Filter Skin Smoothing to save time on a portrait, but instead of flawless skin, you are left with muddy, gray artifacts along the jawline. Sound familiar? While Adobe Sensei AI is incredible for quick blemish removal, it frequently misinterprets deep shadows and high-frequency facial hair boundaries. The algorithm aggressively flattens tonal values, stripping away rich, natural skin tones and leaving behind a posterized mess. If you are tired of AI ruining your shadows, this guide will show you exactly how to execute a Photoshop Neural Filter skin smoothing artifacts fix for professional, high-end results.
Why Does the Skin Smoothing Neural Filter Cause Muddy Shadows?
In Photoshop v24.x through v25.x, the Skin Smoothing Neural Filter relies heavily on Adobe Sensei AI. The algorithm is highly effective at reducing blemishes on flat planes of the face, such as the cheeks and forehead. However, it struggles with complex transitional areas.
The root technical issue is that the AI aggressively averages out skin pixels to blur the surface. In doing so, it strips away localized red and orange chromaticity in darker regions, causing shadow clipping and color posterization. The result is a grayish, plastic look that destroys local contrast and facial contouring. Fixing this requires isolating the AI’s operational scope using advanced masking and non-destructive editing, rather than relying on the filter’s default global application.
How to Fix Photoshop Neural Filter Skin Smoothing Artifacts
To restore natural skin tones and protect your shadows, you must restrict where the AI applies its smoothing effects. Here are three professional methods, ranging from a quick adjustment to a high-end retouching workflow.
Method 1: The Quick Fix (Opacity and Blending Modes)
If you need a rapid solution for a high-volume batch of images, manipulating layer blending modes is your best first step.
- Open your image and navigate to Filter > Neural Filters.
- Turn on Skin Smoothing and adjust the Blur and Smoothness sliders to your preference.
- Crucially, set the Output dropdown at the bottom of the panel to New Layer and click OK.
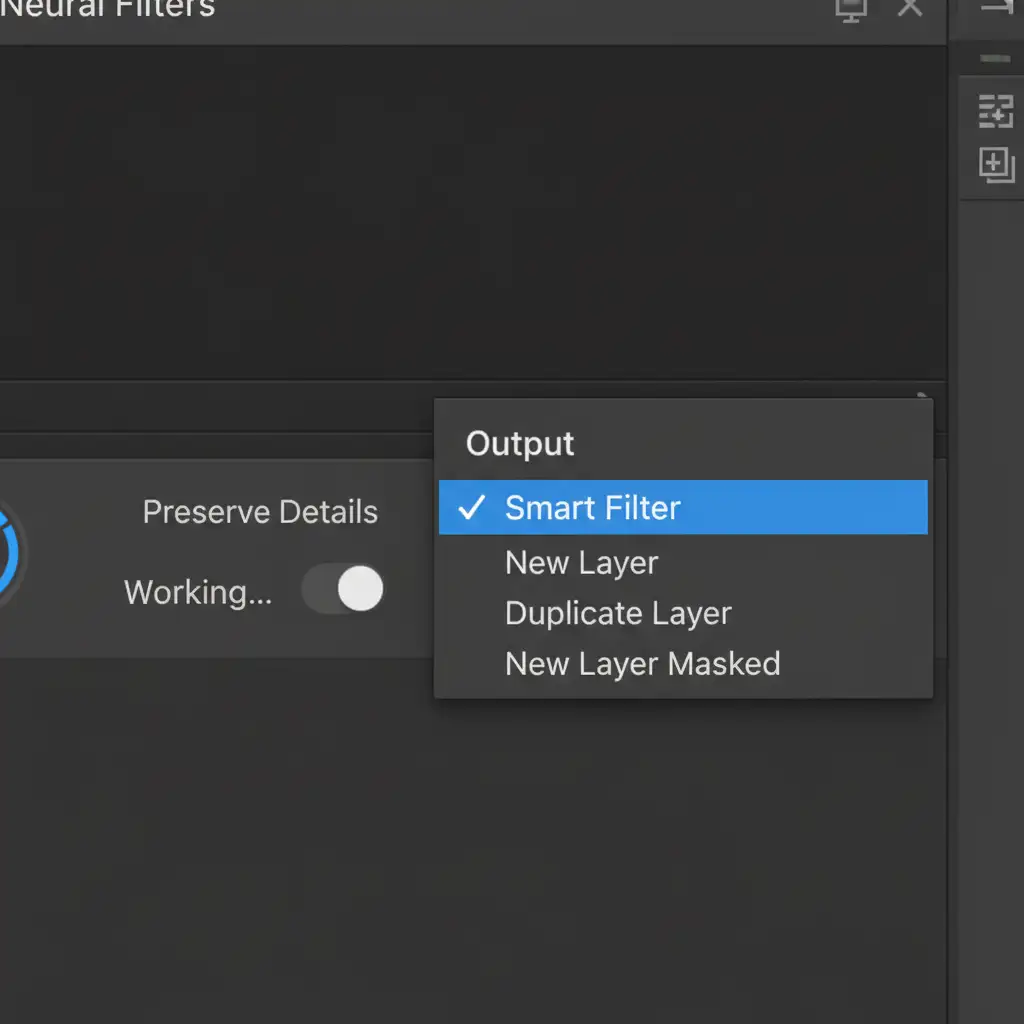
- In the Layers panel, select your new AI-smoothed layer. Change the blending mode from Normal to Luminosity. This forces the layer to only affect the lightness and darkness of the pixels, preventing the AI from shifting the color of your shadows to gray.
- Drop the layer opacity to 50-60 percent to bring back the natural high-frequency texture of the underlying skin.
Method 2: The Pro Workaround (Advanced Blend If Masking)
For a more precise, non-destructive editing approach, you can use Photoshop’s Blend If feature to mathematically hide the AI smoothing from your shadows.
- Before opening the Neural Filters, right-click your background layer and select Convert to Smart Object.
- Apply the Skin Smoothing Neural Filter. Because you are using a Smart Object, ensure your output is set to Smart Filter.
- In the Layers panel, look under your Smart Object and double-click the Blending Options icon (the two overlapping sliders) next to the Neural Filters listing.
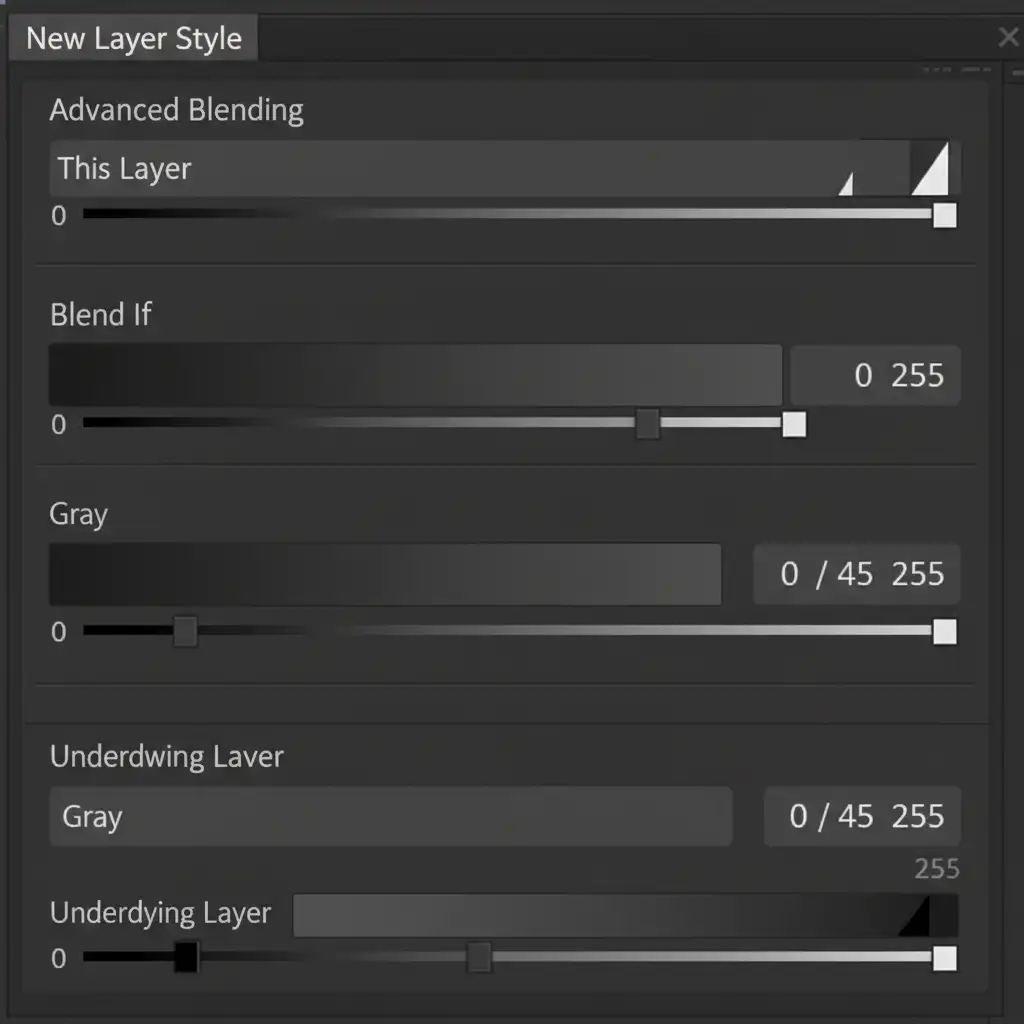
- The Layer Style dialog box will appear. Look at the bottom section labeled Blend If: Underlying Layer.
- Hold Alt (Windows) or Option (Mac) and click the black slider on the left. Drag the right half of the split slider towards the midtones (around a value of 40-50).
By splitting the slider, you create a smooth transition that forces the AI smoothing to instantly hide itself from the deep shadows and dark contouring, completely eliminating the muddy gray artifacts.
Method 3: The Technical Deep-Dive (Hybrid Frequency Separation)
High-end commercial retouching requires absolute control over both tonal values and skin pores. The ultimate Photoshop Neural Filter skin smoothing artifacts fix involves combining AI with a traditional Frequency Separation workflow.
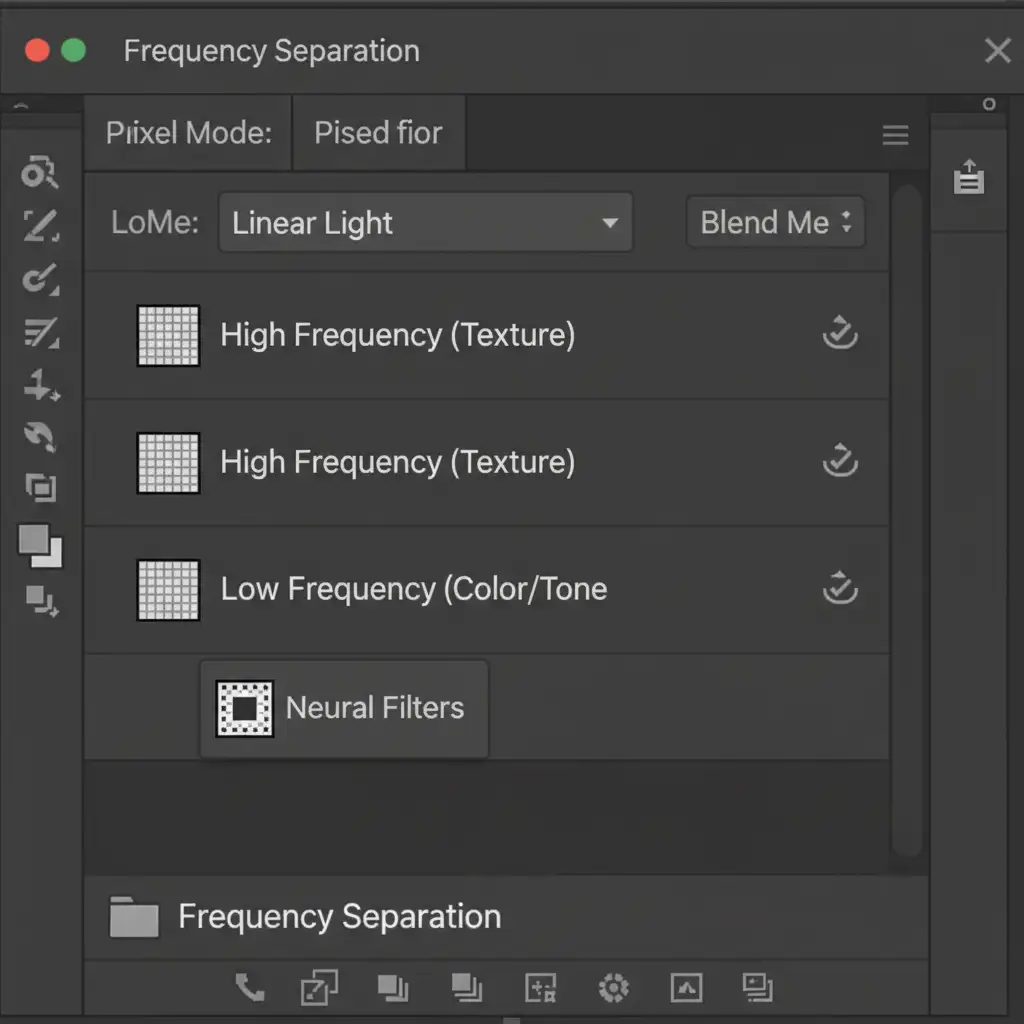
- Run your standard Frequency Separation action to split your image into two layers: Low Frequency (color and tone) and High Frequency (texture).
- Select the Low Frequency layer, right-click, and choose Convert to Smart Object.
- Go to Filter > Neural Filters and apply the Skin Smoothing filter only to this Low Frequency Smart Object.
- Because the High Frequency texture layer remains untouched on top of the layer stack, the AI cannot destroy the actual skin pores.
- To fix any remaining gray artifacts in the jawline or neck, add a layer mask to the Low Frequency Smart Filters. Use a soft black brush with low flow to manually paint away the AI effect in the deepest shadows, utilizing luminosity masking techniques if necessary.
Stop Fighting AI Artifacts—Let the Pros Handle It
While mastering layer blending modes, Smart Filters, and hybrid Frequency Separation will certainly fix Photoshop Neural Filter skin smoothing artifacts, these technical workarounds add significant time to your post-production workflow. When you are processing hundreds of images for a major campaign, fighting with AI to preserve tonal values is not a profitable use of your time.
Struggling to get flawless skin without the AI artifacts? Outsource your high-volume retouching to the professionals at Image Work India and Cloud Retouch. Our expert retouchers specialize in non-destructive, high-end skin retouching that preserves high-frequency texture and natural shadow transitions perfectly. Contact us today to streamline your workflow and guarantee flawless, natural results for every single image.


