
You just used Photoshop’s AI to remove a stray hair or a distracting blemish from your subject’s face, but now you are left with a glaring problem: a flat, plastic-looking patch of skin.
While AI tools are incredible for structural edits, they notoriously destroy high-frequency details, leaving behind an airbrushed mess that ruins high-end portraits. If you want your retouching to pass professional quality control, you need to know how to restore skin pores after generative fill.
In this technical guide, we will break down exactly why this texture mismatch happens and provide three professional workflows to seamlessly graft natural skin texture back into your images.
Why Generative Fill Destroys High-Frequency Details
In Photoshop v25.x and v26.x (including the 2025 releases), the AI-powered Generative Fill feature excels at matching color and luminance. However, it fails at replicating exact micro-contrast and grain structure.
This happens because the AI model generates new pixels based on generalized training datasets rather than sampling the unique, organic texture of your specific source image. The result is a severe texture mismatch between the AI-generated patch and the surrounding natural skin. To fix this, editors must manually extract high-frequency texture data from unaffected areas of the original image and overlay it onto the flat Generative Fill layer.
3 Professional Methods to Restore Skin Pores After Generative Fill
Depending on the severity of the AI patch and the resolution of your image, you can use one of these three advanced blending techniques to bring the skin back to life.
Method 1: The Quick Fix (High Pass Filter)
This is the fastest and most common method for restoring texture over small to medium-sized AI patches. It relies on extracting edge details from your original image.
- Duplicate the Original Image: Select your original background layer, duplicate it (Ctrl/Cmd + J), and drag this new layer directly above your Generative Fill layer.
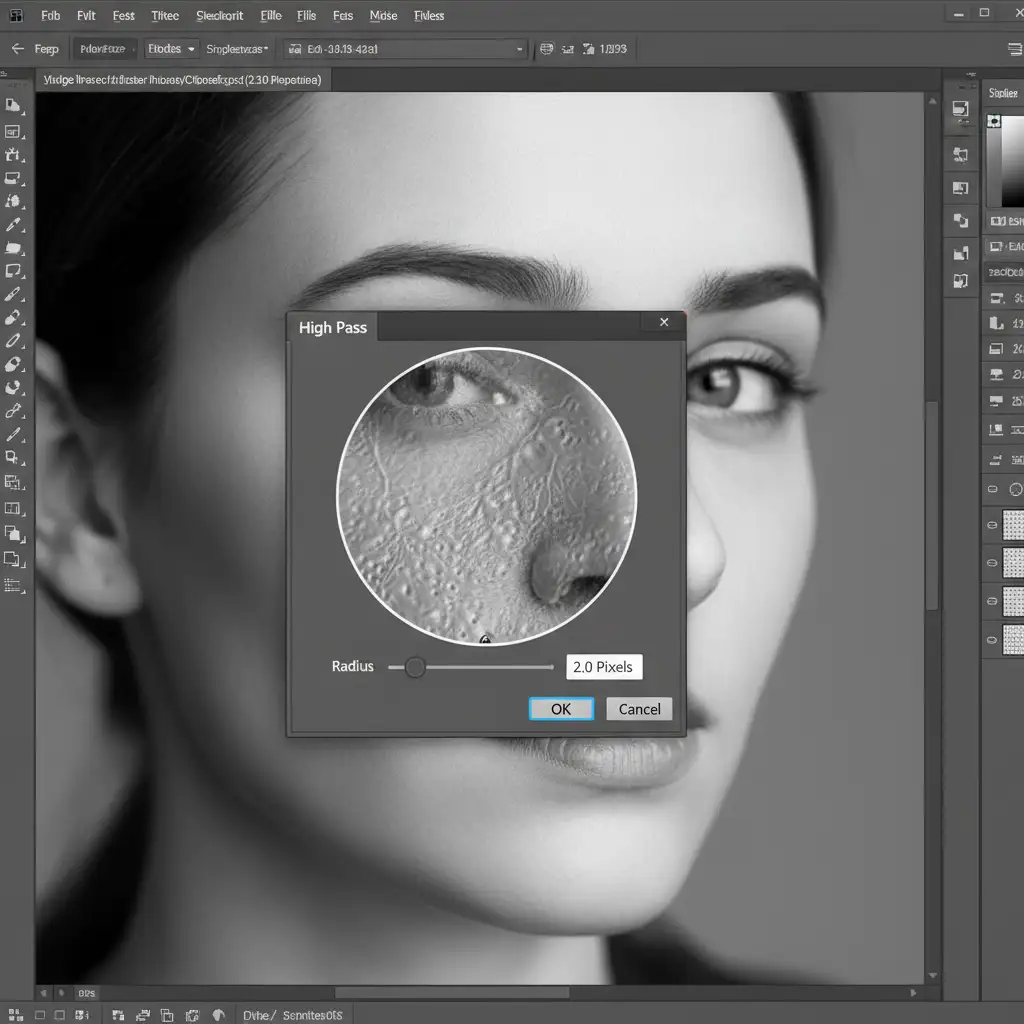
- Apply the High Pass Filter: With the duplicated layer selected, navigate to Filter > Other > High Pass. Set the radius to between 1.5 and 3.0px (just enough to see the pores without seeing color shifts).
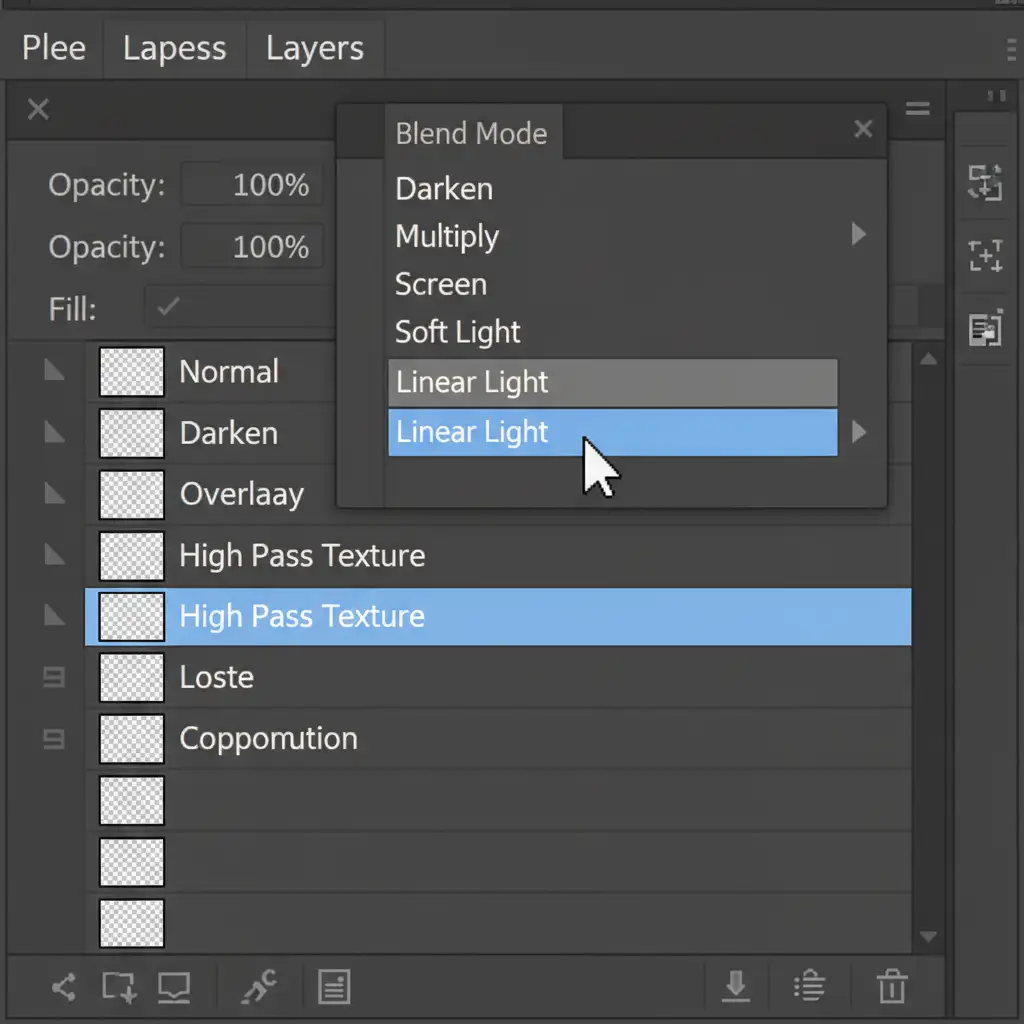
- Change the Blend Mode: Go to your Layers panel and change the blend mode of this High Pass layer to Linear Light. This hides the 50% gray and perfectly overlays the micro-contrast onto the layers beneath it.
- Apply Layer Masking: Hold Alt/Option and click the Layer Mask icon to add an inverted (black) mask. Select a soft brush with white paint, and carefully brush exclusively over the AI-generated area to reveal the natural pores.
Method 2: Frequency Separation Texture Grafting (The Pro Workaround)
If the Generative Fill patch is large or covers an area where the original texture was completely unusable, you need to graft pores from a different part of the face. Frequency Separation is the industry standard for this.
- Run a Frequency Separation Action: Apply your standard Frequency Separation action to the original, unedited image to separate the color (low frequency) from the texture (high-frequency details).
- Copy the Texture Layer: Duplicate the High Frequency texture layer.
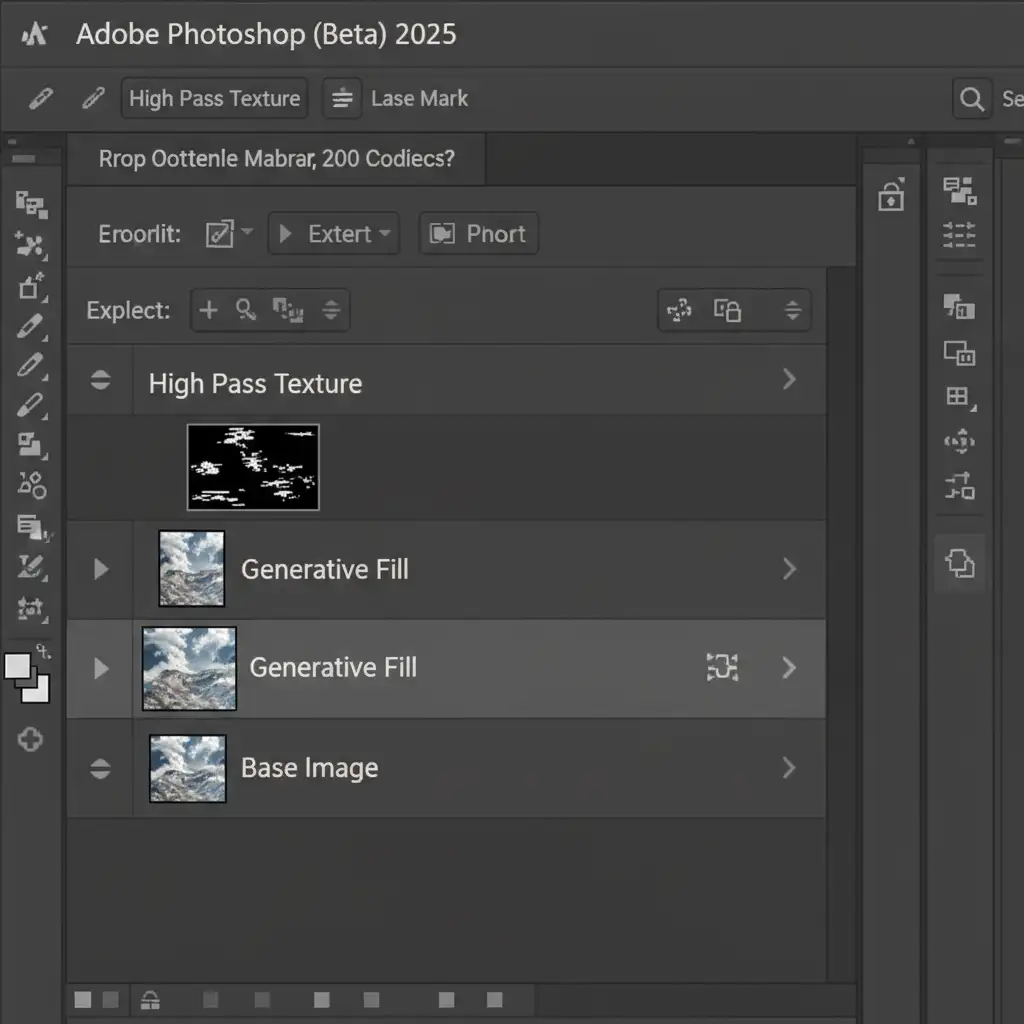
- Reposition the Layer: Move this copied texture layer above your Generative Fill layer in the layer stack.
- Clone the Pores: Select the Clone Stamp tool. Crucially, set your sampling mode to Current Layer in the top options bar. Sample a patch of healthy, well-textured pores from the high-frequency layer, and stamp them directly over the smoothed, plastic-looking AI sections.
Method 3: Pattern Overlay & Noise Integration (The Technical Deep-Dive)
When you are dealing with ultra-high-resolution beauty campaigns, sometimes you need absolute precision to rebuild skin from scratch.
Step A: Targeted Noise Generation
- Create a new layer above your Generative Fill layer. Fill it with 50% Gray (Edit > Fill > 50% Gray).
- Set the layer’s Blend Mode to Overlay.
- Go to Filter > Noise > Add Noise. Choose Uniform, Monochromatic, and set the amount between 2-5%.
- To prevent the noise from looking like digital artifacting, add a 0.5px Gaussian Blur. This softens the sharp noise pixels into organic-looking pores. Mask it in exactly as you did in Method 1.
Step B: The Pattern Stamp Tool
For absolute perfection, you can define a custom skin pattern.
- Find a pristine area of skin on your subject. Use the Marquee tool to select it.
- Go to Edit > Define Pattern and name it “Skin Pores”.
- Select the Pattern Stamp Tool, choose your newly created skin pattern, and gently brush actual, photographically accurate pores back into the image over the AI patch.
Before and After: The Impact of Texture Restoration
Failing to restore skin pores after generative fill immediately flags an image as “AI-manipulated” or poorly retouched. By utilizing High Pass filters, Frequency Separation, or noise integration, you maintain the integrity of the photograph.

Scale Your Retouching with Image Work India & Cloud Retouch
Mastering these techniques takes time, and applying them meticulously across hundreds of campaign images is a massive drain on your studio’s resources.
Struggling to maintain natural skin textures in high-volume batches? Don’t let AI artifacts ruin your final deliverables. Hire Image Work India and Cloud Retouch for expert, pixel-perfect high-end retouching. Our specialized team understands the nuances of micro-contrast, Frequency Separation, and advanced blending, ensuring your models always look beautifully authentic.
Contact us today to streamline your post-production workflow and deliver flawless, magazine-ready images every time.


