
Have you ever clicked “Remove Background” in Photoshop 2025, only to find your perfectly lit product now looks like it’s floating in mid-air? You aren’t alone. While the new AI selection tools are incredible for speed, they inherently destroy natural ground shadows. For e-commerce retouching, a floating product is a conversion killer.
If you need a strict, compliant white background but must retain that grounded look, you need a reliable workflow. In this guide, we will show you exactly how to execute a Photoshop 2025 recover original shadow workflow using three different professional methods, ensuring your products look realistic every single time.
Why AI Background Removal Destroys Shadows
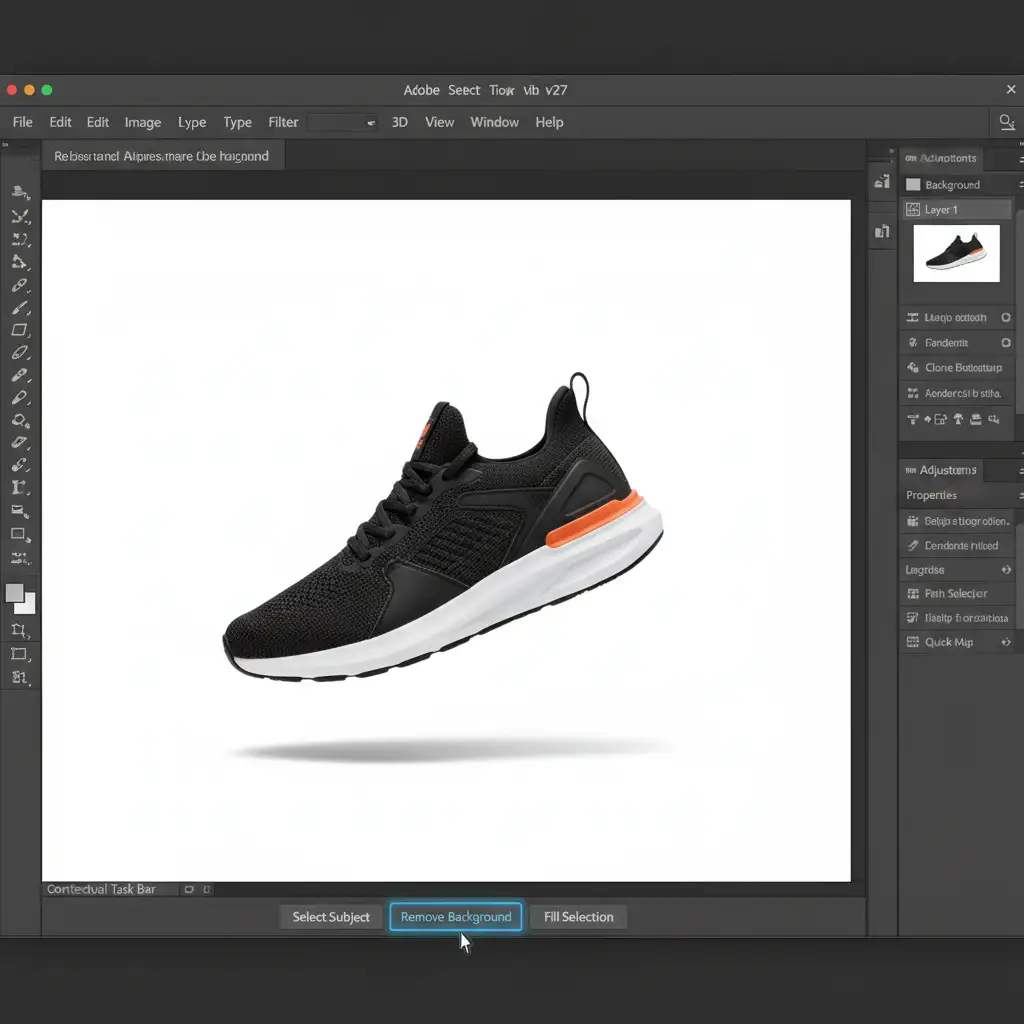
Photoshop 2025 (v26.x/v27.x) introduced highly advanced AI masking via the Contextual Task Bar. However, algorithms like Select Subject and Remove Background are trained to isolate hard edges. They cannot differentiate between the subtle luminance of a cast shadow and a dirty background floor.
The result? The shadow is deleted along with the background.
To fix this, we must isolate the shadow data from the original background without keeping the background itself. Here are the three best ways to do it.
Method A: The Quick Fix (Multiply Blend Mode)
This is the industry-standard 3-layer technique. It works perfectly when your original product was shot on a relatively clean, light-colored surface.
Step 1: Prepare Your Layers
Duplicate your original image layer so you have two identical copies. Use the Contextual Task Bar to apply AI Remove Background on the top layer. This gives you your clean product cutout.
Step 2: Set the Blend Mode
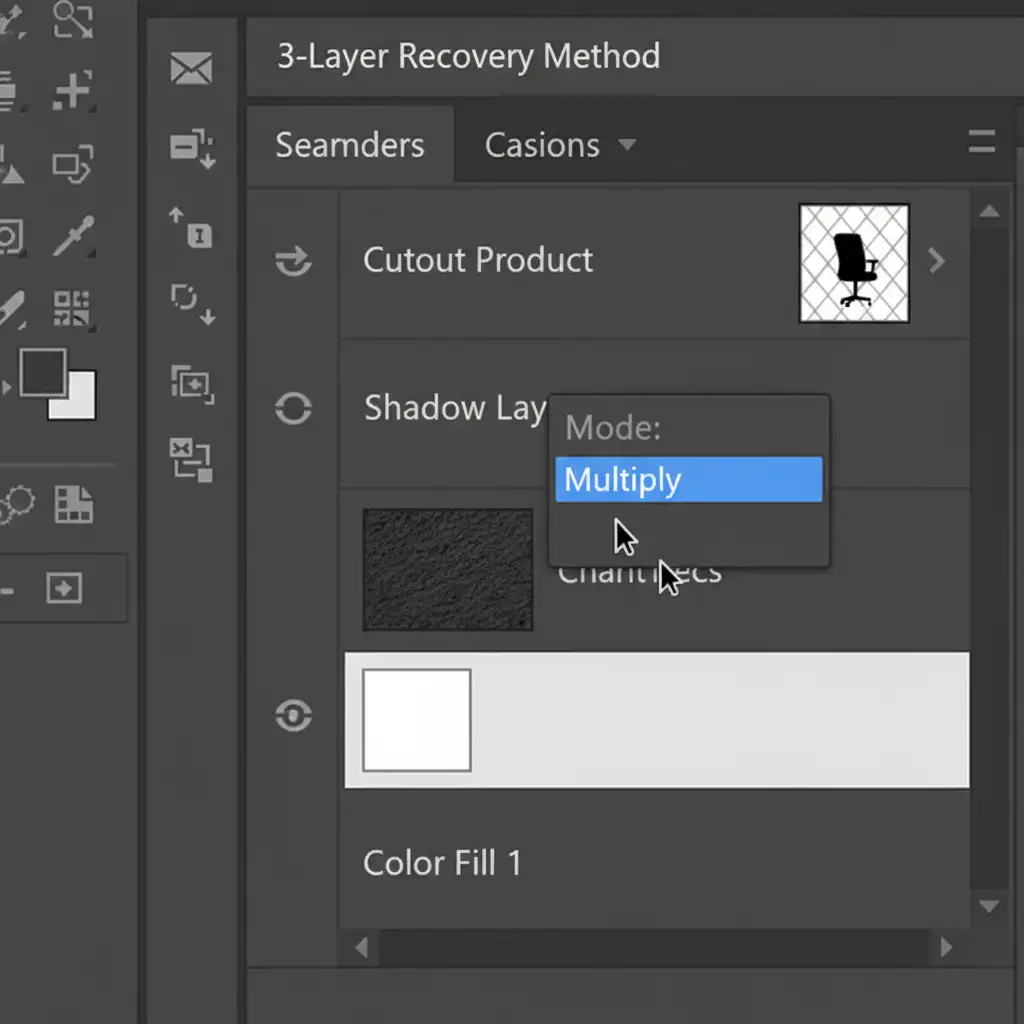
Select the bottom original layer and change its blending mode to the Multiply blend mode. Multiply hides white pixels and only reveals dark pixels, which is exactly what a shadow is.
Step 3: Add a Solid Background
Create a new Solid Color fill layer directly below the Multiply layer and set it to pure white (#FFFFFF).
Step 4: Blow Out the Original Background
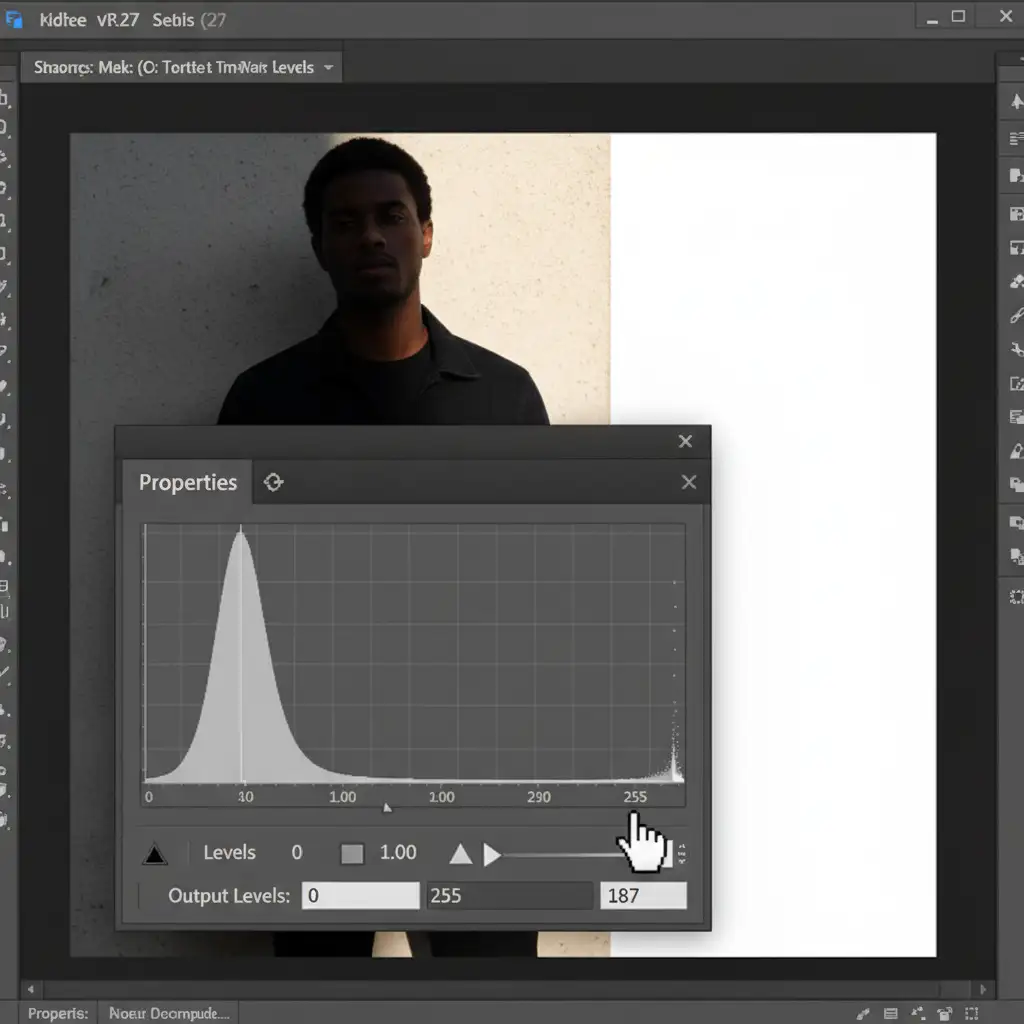
Right now, your Multiply layer is likely making the white background look muddy. To fix this, add a Levels adjustment layer.
- Place it directly above your Multiply layer.
- Right-click and choose “Create Clipping Mask” so it only affects the shadow layer.
- Drag the white slider on the right side of the histogram to the left until the muddy background turns pure white, leaving only the dark shadow behind.
Method B: The Pro Workaround (Layer Masking Tricks)
If your background is textured or uneven, the Multiply method might leave unwanted artifacts. This manual layer mask method offers more control.
Step 1: Isolate the Product
Duplicate your original layer. Extract the product using the Pen Tool or Select Subject on the top layer to create a clean cutout.
Step 2: Desaturate the Shadow
Select the bottom (original) layer and press Ctrl+Shift+U (Windows) or Cmd+Shift+U (Mac) to desaturate it. Removing the color prevents any weird color casts from the floor bouncing into your final white background.
Step 3: Brush in the Shadow
Add a Layer Mask to the bottom layer. Invert it to black (Ctrl/Cmd+I) to hide everything. Grab a soft brush with white paint, lower your opacity to 30%, and gently brush exactly where the shadow should fall. This paints the original shadow back in seamlessly.
Method C: The Technical Deep-Dive (Calculations and Alpha Channels)
For complex shadows—like glassware or intricate jewelry—you need precision. This method uses Photoshop’s calculation engine to build a mathematically perfect shadow mask.
Step 1: Find the Contrast
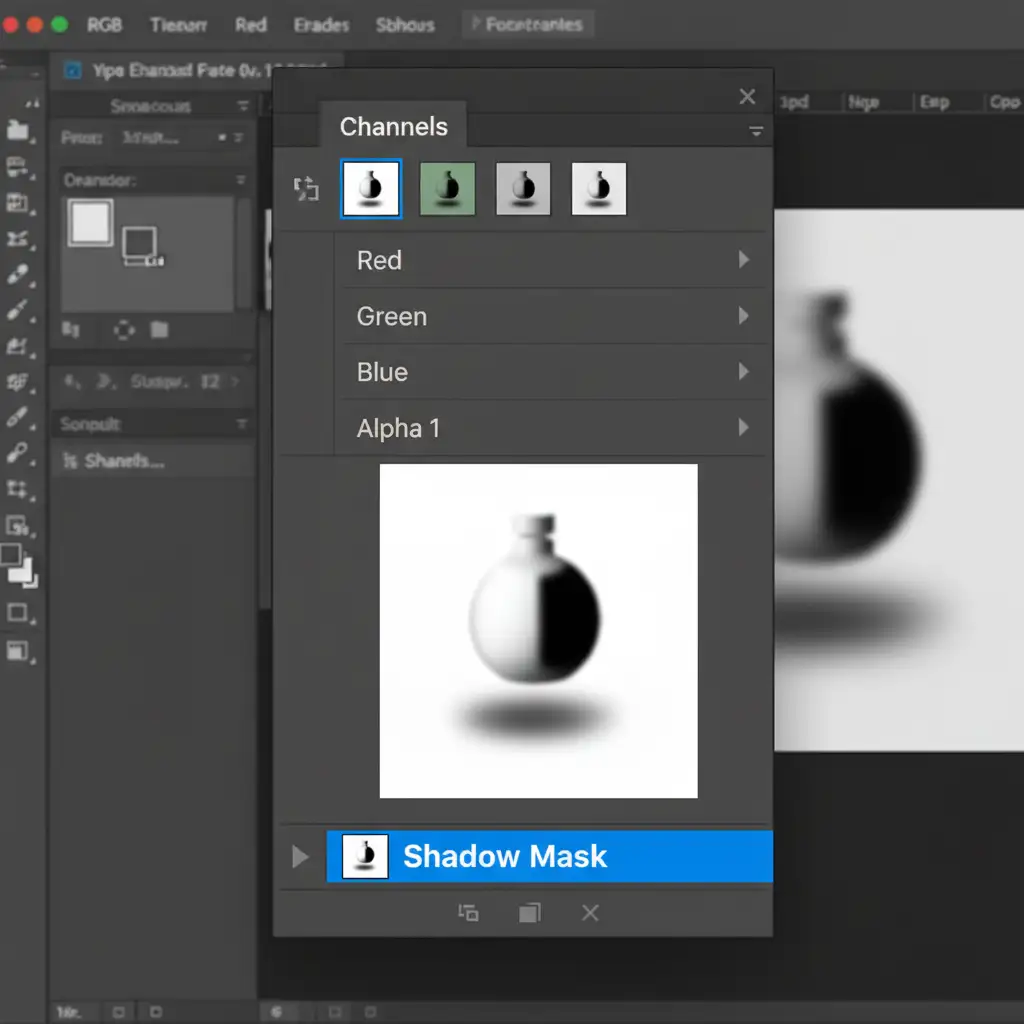
Go to Image > Calculations. You want to blend the channel with the highest contrast. For shadows, this is almost always the Blue channel. Set both Source 1 and Source 2 to the Blue channel, and set the Blending to Multiply.
Step 2: Create the Alpha Channel
In the Calculations dialog box, set the “Result” dropdown to New Channel. This generates a custom Alpha channel based purely on the luminance of your shadow.
Step 3: Load and Fill
- Ctrl-click (or Cmd-click) the new Alpha Channel thumbnail to load it as a selection.
- Go back to your Layers panel, create a new blank layer, and fill the selection with solid black or dark gray.
- Apply a slight Gaussian Blur (1-2 pixels) to soften the edges, mimicking how light naturally diffuses.
Scale Your E-Commerce Retouching with Cloud Retouch
Mastering the Photoshop 2025 recover original shadow workflow is essential for high-end product photography. However, processing hundreds or thousands of SKUs using these multi-layer techniques takes an enormous amount of time.
If you are struggling to keep your product shadows looking natural at scale, you don’t have to do it alone.
Image Work India and Cloud Retouch specialize in expert, high-volume e-commerce shadow creation, background removal, and complex clipping paths. Our team of professional retouchers guarantees pixel-perfect, natural-looking shadows that meet the strict requirements of Amazon, Shopify, and global e-commerce platforms.
Stop wasting hours fixing floating products. Let us handle the heavy lifting so you can focus on growing your business. Contact Cloud Retouch today for a free trial and see the difference professional retouching makes.


