If you manage an online store, you know the frustration of an inconsistent product grid. When products are shot at different distances, cropped haphazardly, or saved with varying pixel dimensions, your storefront looks unprofessional. Manually opening, cropping, and resizing hundreds of photos to fix this “jumping” effect takes hours you don’t have.
Fortunately, you don’t have to do it by hand. By leveraging automated batch scaling and alignment for e-commerce, you can standardize your entire catalog in minutes. In this guide, we will walk you through the exact Photoshop workflows—from basic constraints to advanced scripting—required to achieve perfect uniformity across your storefront.
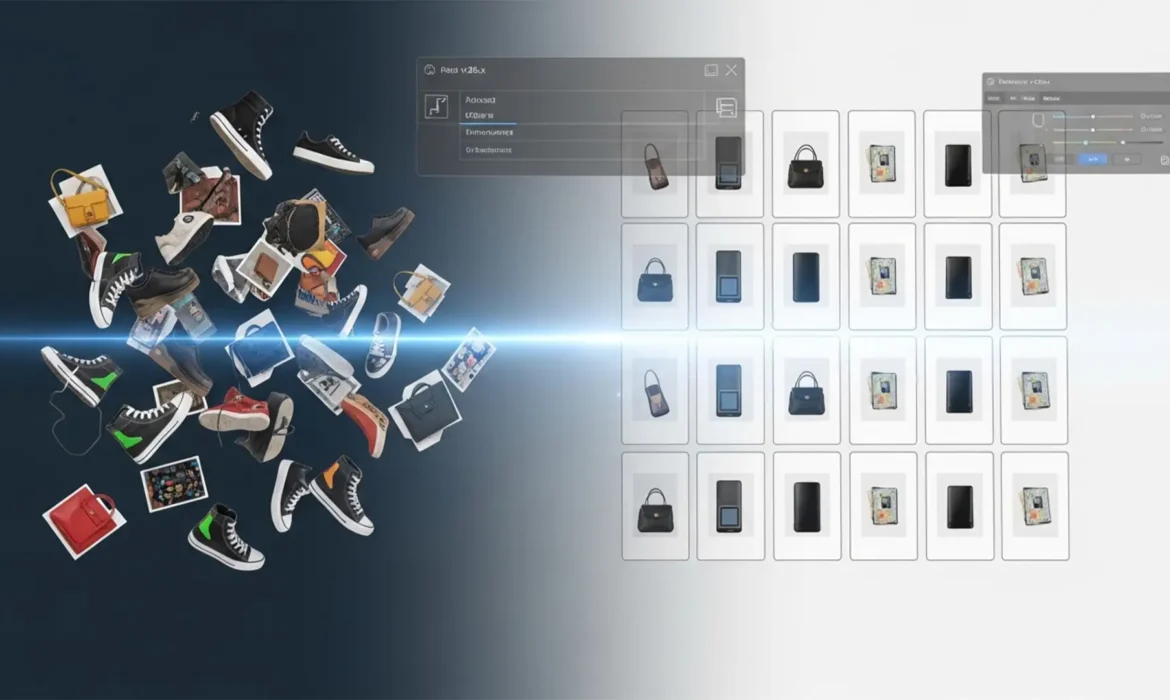
The E-Commerce Nightmare: Inconsistent Product Catalogs
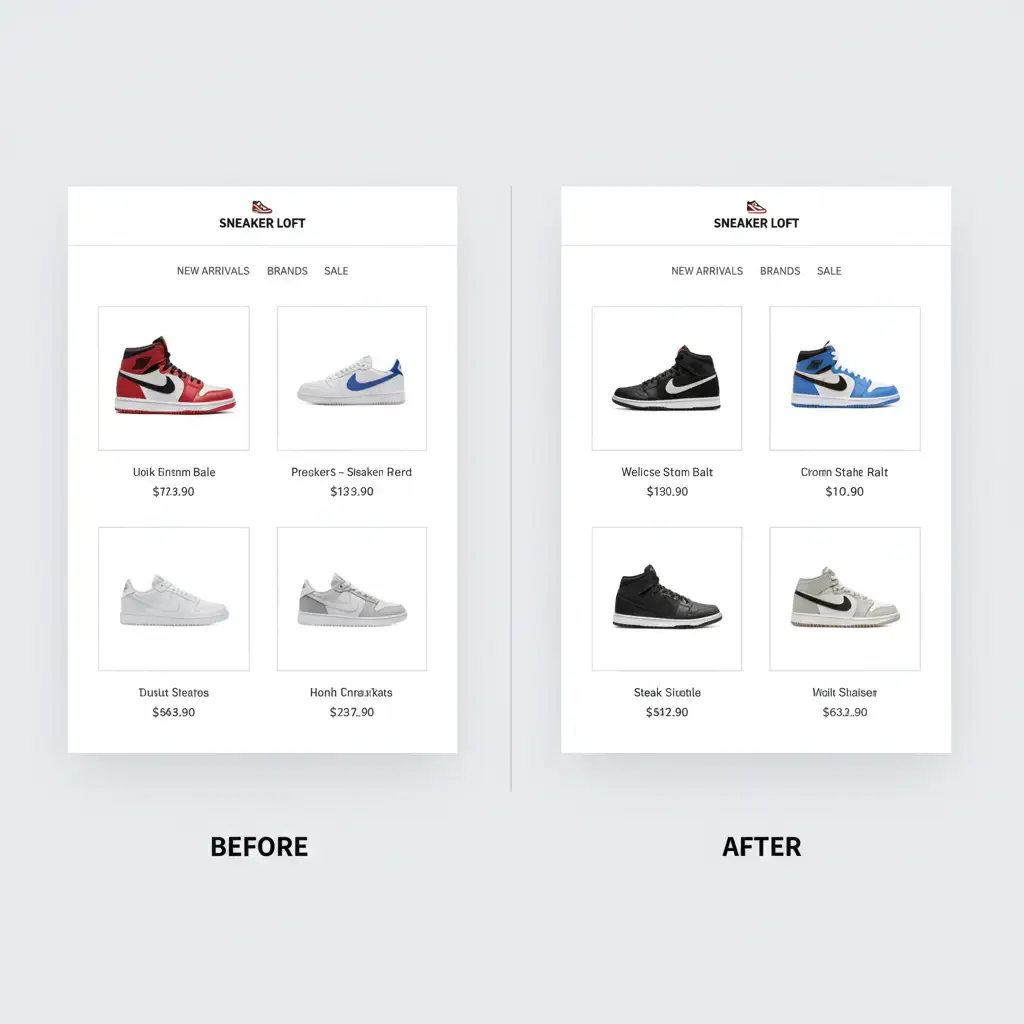
In modern Photoshop versions (v25.x and v26.x), e-commerce managers frequently battle the “inconsistent catalog” issue. This occurs when varying aspect ratios and subject-to-canvas bounds make products appear disproportionate when displayed side-by-side. One shoe looks massive, while the next looks tiny, destroying the user experience.
To solve this, you need a system that handles bounding box detection and standardizes scale, margins, and alignment without manual intervention. Here are the three best methods to fix this in Photoshop.
Method A: The Quick Fix Using ‘Fit Image’
If your primary issue is varying image sizes rather than subject placement, Photoshop’s built-in Fit Image feature is your fastest route to consistency.
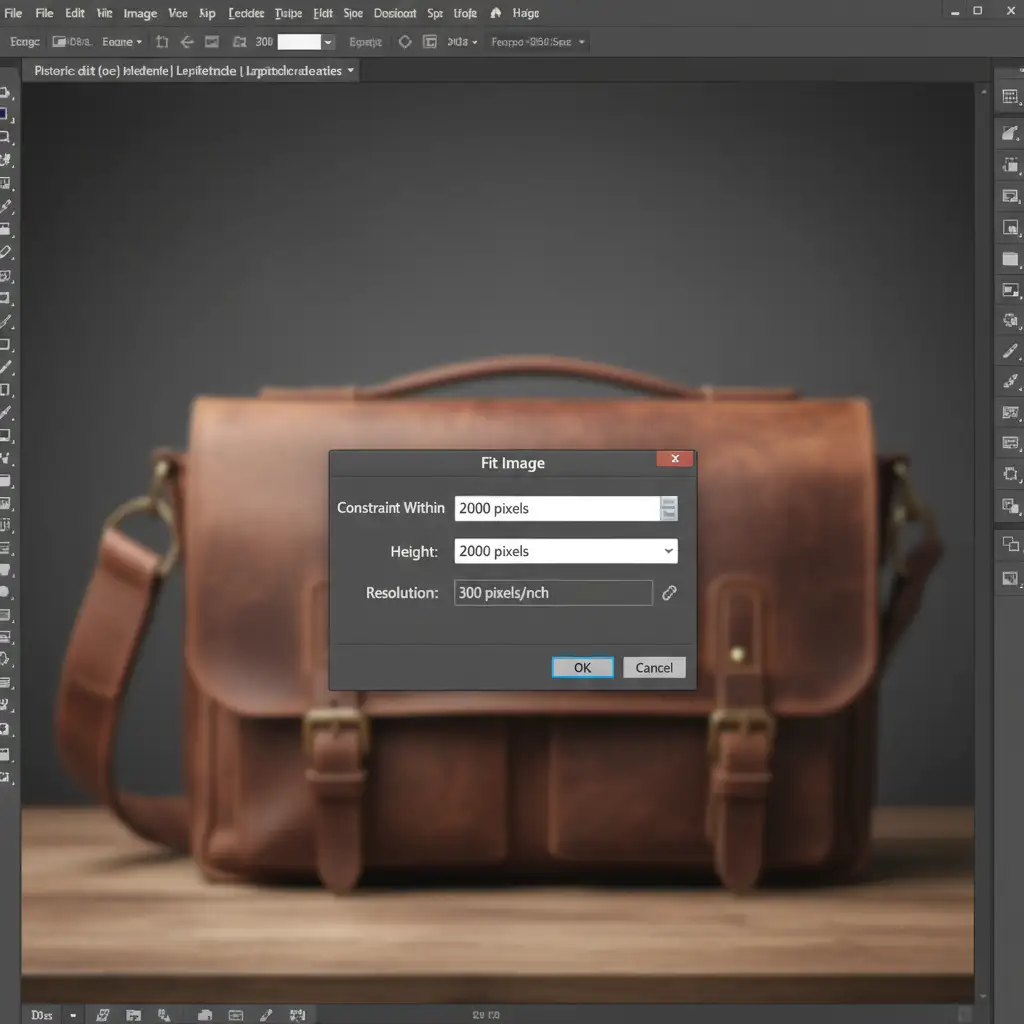
This method forces images of different sizes into a specific bounding box (e.g., 2000x2000px) while ensuring proper aspect ratio preservation.
Step-by-Step Workflow:
- Open a sample product image in Photoshop.
- Open your Actions panel (Window > Actions) and create a new Action named “Standardize Size”.
- Navigate to File > Automate > Fit Image.
- Enter your desired maximum dimensions (e.g., 2000px for both Width and Height).
- Click OK, then stop recording your Action.
By applying a strict Fit Image constraint, Photoshop calculates the correct image interpolation automatically, ensuring no image exceeds your defined parameters.
Method B: The Pro Workaround with Photoshop Actions
Method A resizes the canvas, but what if the product itself is too small or off-center within that canvas? To fix the subject-to-canvas ratio, we need to isolate the product and apply consistent canvas padding.
Step-by-Step Workflow:
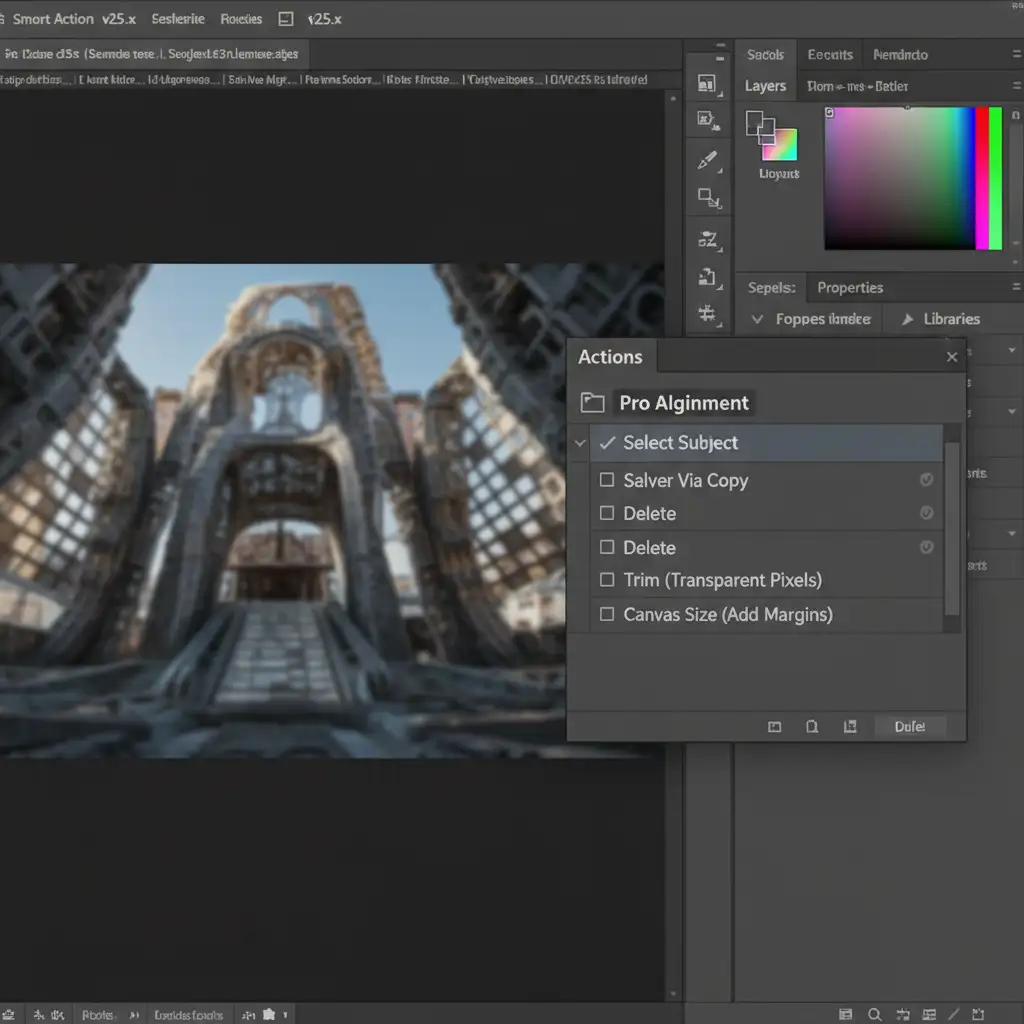
- Create a new Action in the Actions panel.
- Run the Select Subject algorithm (Select > Subject) to automatically mask the product.
- Press Ctrl+J (Windows) or Cmd+J (Mac) to extract the product to its own layer. Delete the original background layer.
- Go to Image > Trim, select “Transparent Pixels,” and click OK. This snaps the document bounds exactly to the edges of your product.
- Go to Image > Canvas Size. Check the “Relative” box and add your desired padding (e.g., 200px width and height) to create a uniform margin around the item.
- Add a new Solid Color fill layer (White) and move it below your product layer. Flatten the image and stop recording.
This method guarantees that every product, regardless of how it was originally shot, occupies the exact same percentage of the frame.
Method C: The Technical Deep-Dive with ExtendScript (.jsx)
For enterprise-level catalogs, standard Actions might fall short when dealing with complex Smart Objects or extreme variations in product shapes. The ultimate solution is using ExtendScript (.jsx) scripting.
A custom script can mathematically analyze the non-transparent pixels of an image to achieve perfect visual weight alignment.
How the Script Works:
- The script detects the exact pixel bounds of the product.
- It scales the layer proportionally so the longest edge fills exactly 80% of your predetermined canvas size.
- It aligns the center of the product’s bounding box directly to the center of the document.
To run a script, you simply navigate to File > Scripts > Browse and select your .jsx file. When combined with a batch process, this creates an unbreakable, highly accurate automation loop.
Automating the Process: Batch Processing Your Folders
Once you have your Action or Script ready, you need to apply it to your entire folder of product photos using Batch automation.
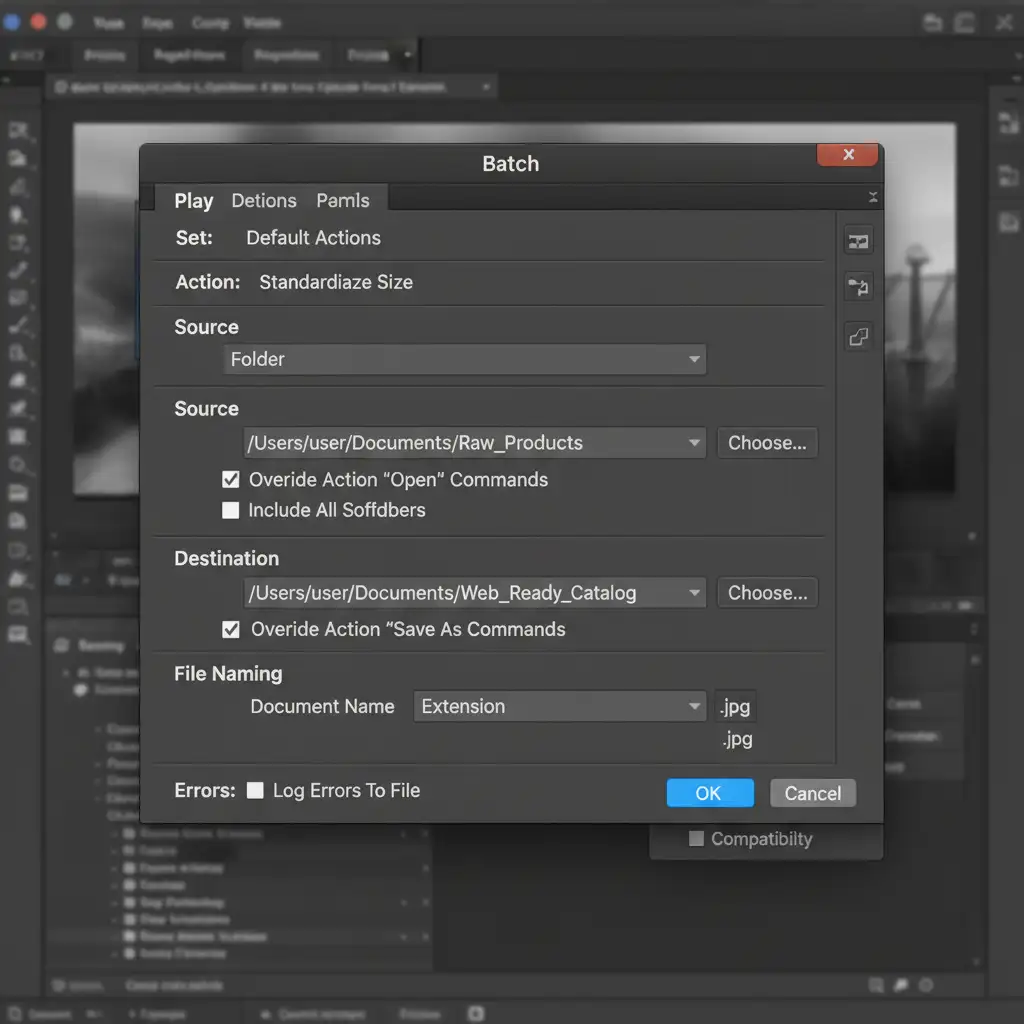
- Go to File > Automate > Batch.
- Under “Play,” select the Action you created in Method A or B.
- Under “Source,” select the folder containing your unedited product images.
- Under “Destination,” choose a new folder for the finalized images.
- Click OK and watch Photoshop process hundreds of images automatically.
Let Image Work India & Cloud Retouch Scale Your Catalog
Implementing automated batch scaling and alignment for e-commerce can drastically improve your store’s visual appeal and conversion rates. However, setting up precise ExtendScripts, managing edge-cases where the Select Subject algorithm fails, and QA-testing thousands of images requires deep technical expertise.
Don’t let inconsistent product images ruin your conversion rates, and don’t waste your team’s valuable time troubleshooting Photoshop scripts.
Hire the experts at Image Work India and Cloud Retouch. We specialize in enterprise-grade batch scaling, advanced bounding box detection, and automated retouching workflows for massive catalogs. Let us handle the technical heavy lifting so you can focus on growing your brand. Contact us today to get your catalog perfectly aligned.


