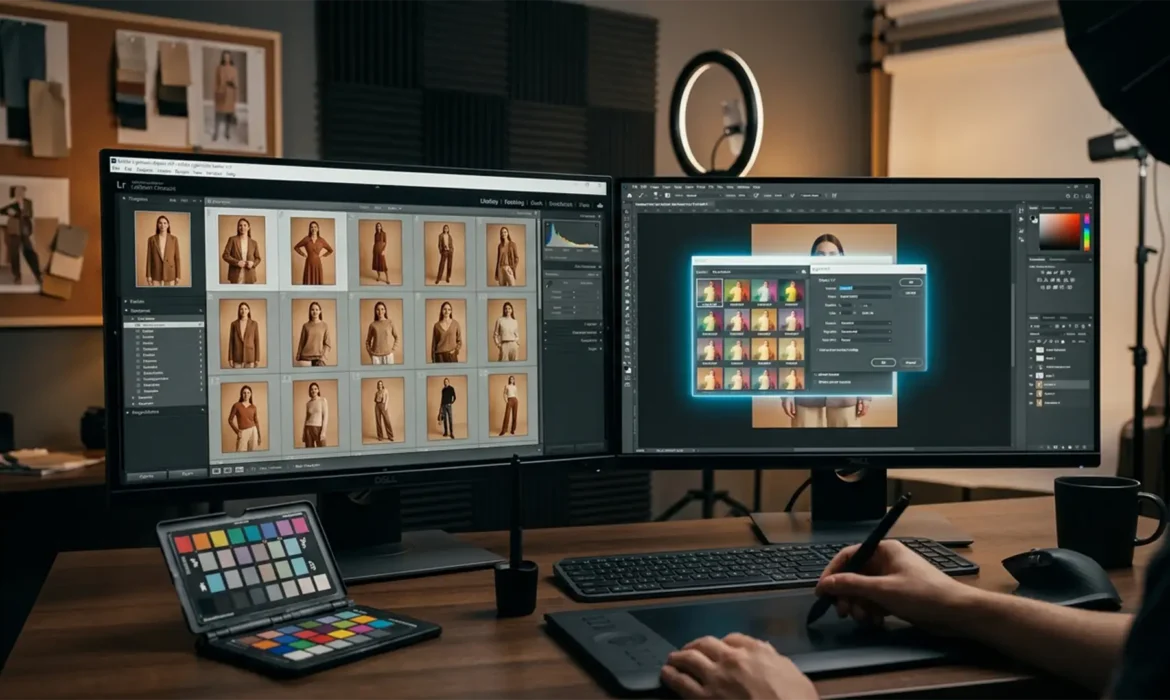
You just wrapped a grueling 50-shot fashion lookbook. The model was fantastic, the styling was sharp, but as you pull the RAW files into your editor, you spot a massive problem: color drift. Due to strobe output variations, modifier shifts, and subtle ambient color temperature changes throughout the day, the exact hex code of your hero garment fluctuates from frame to frame.
In e-commerce, inaccurate garment representation is the leading cause of high return rates. Customers expect the item they receive to match the screen exactly. To protect a brand’s aesthetic and bottom line, you need a bulletproof lookbook color consistency workflow 2024.
Here is the ultimate guide to achieving pixel-perfect color harmonization across high-volume fashion campaigns using Adobe Lightroom Classic v13.x and Photoshop v25.x.
The E-Commerce Threat: Why Color Drift Happens
Before jumping into the software, it is crucial to understand why a garment looks crimson in shot 1 and magenta in shot 50.
Even top-tier studio equipment experiences fatigue. As flashes fire repeatedly, the strobe output can vary, causing micro-shifts in exposure. Simultaneously, the ambient lighting in the studio might change, introducing an unwanted White Balance Shift. When these factors combine, the camera captures varying data for the exact same physical item, resulting in a disjointed catalog presentation.
To combat this, professional retouchers rely on a tiered approach to color correction, moving from broad RAW adjustments to granular pixel-level grading.
The 2024 Lookbook Color Consistency Workflow
Depending on the severity of the color drift and your turnaround time, you can tackle consistency using three distinct methods.
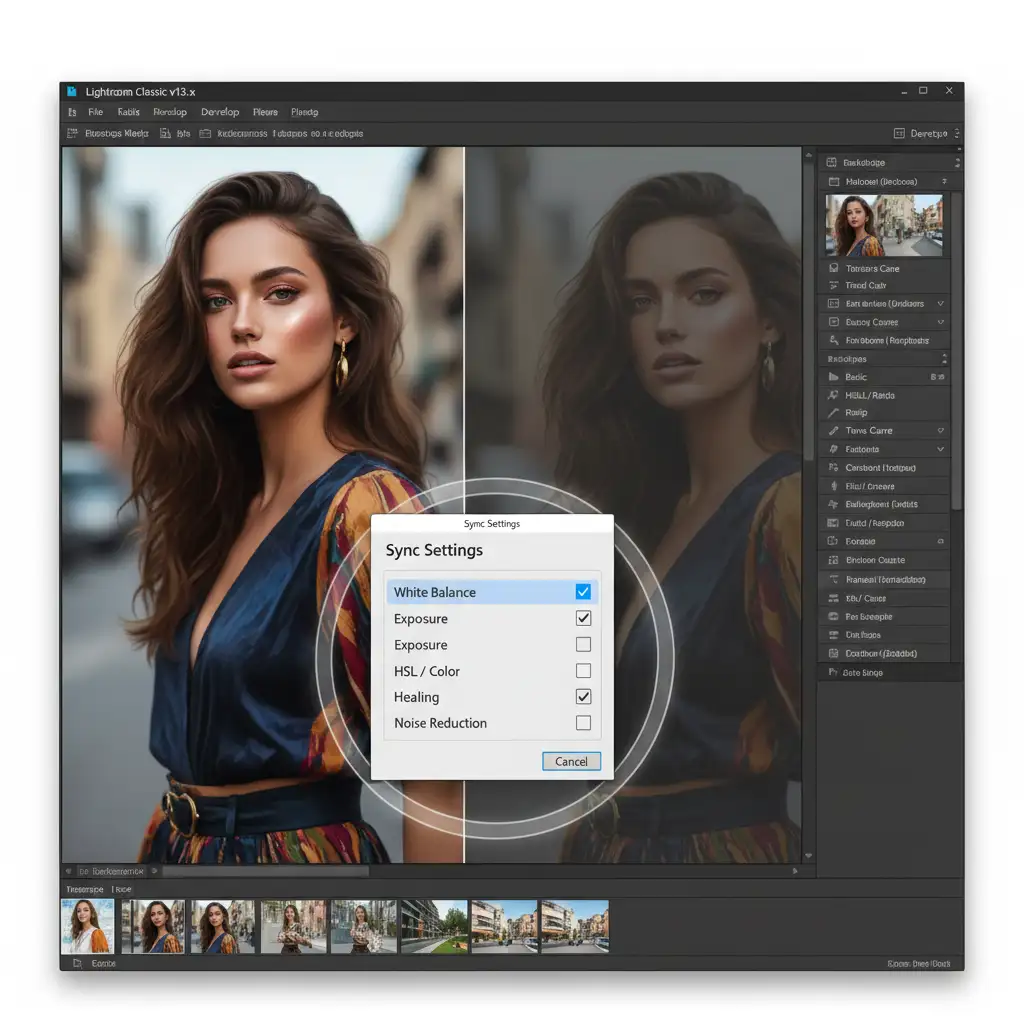
Method A: The Quick Fix in Lightroom Classic
When dealing with minor exposure and white balance variations, Lightroom Classic’s built-in synchronization tools are your first line of defense.
- Establish a Baseline: Select the image with the most accurate color and lighting. Grade this perfectly to serve as your anchor.
- Activate Reference View: Press Shift+V to open the Reference View. This locks your perfectly graded anchor image on the left side of your screen while you work on the unedited files on the right.
- Automate the Match: Highlight your reference image, then select the remaining batch of unedited photos. Go to Settings > Match Total Exposures. Lightroom will automatically calculate the exposure differences and adjust the sliders of the target images to match the reference.
- Synchronize Panels: Click the Sync Settings button. Ensure you check White Balance, Exposure, and specific HSL targeting boxes to push your exact color grades across the entire sequence.
Method B: The Pro Workaround in Photoshop
If Lightroom’s automated tools aren’t quite nailing the midtones, you need the precision of Photoshop v25.x. This method uses the Match Color algorithm hidden within the Curves adjustment.
- Set the Reference: Open your perfectly graded image and your target image in Photoshop.
- Apply Curves: On the target image, create a new Curves Adjustment Layer.
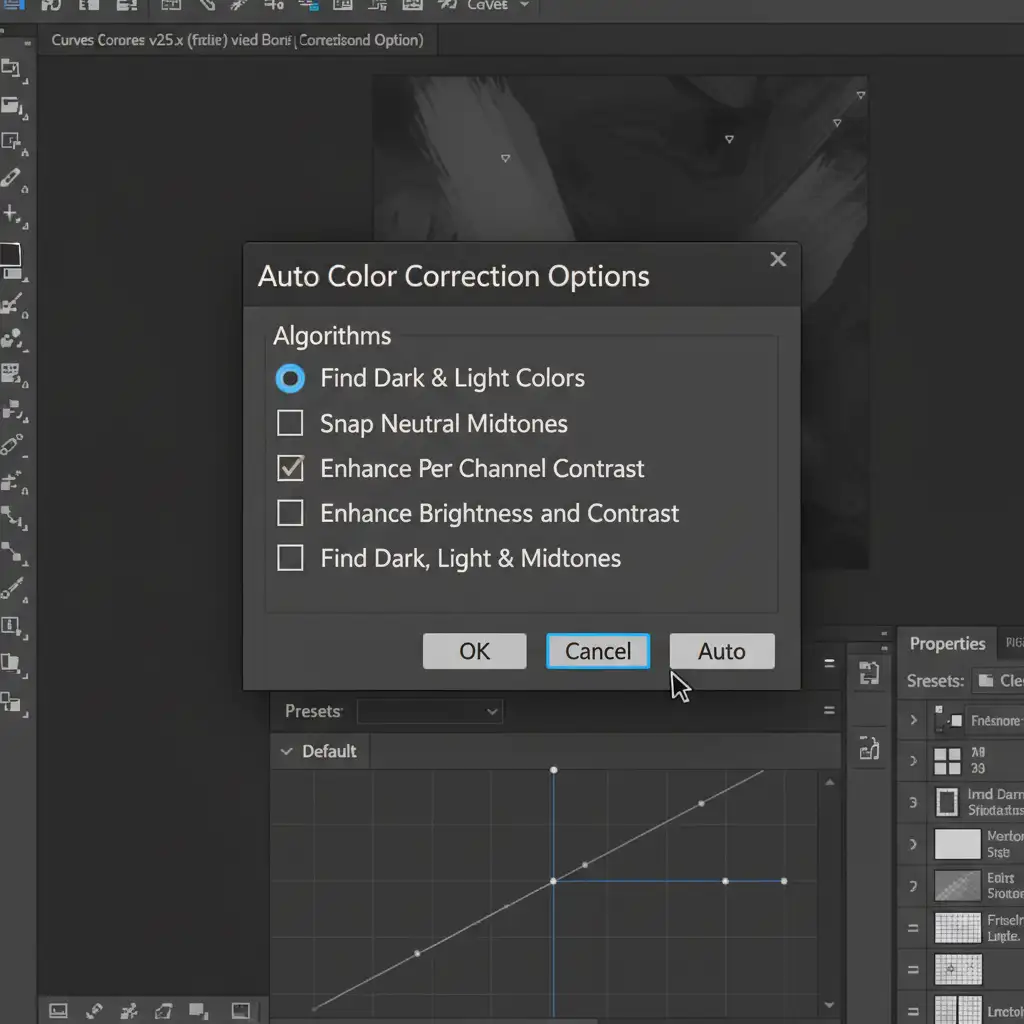
- Open Auto Options: Hold Alt (Windows) or Option (Mac) and click the “Auto” button in the Curves properties panel. This opens the Auto Color Correction Options dialog box.
- Target the Midtones: Select the Find Dark & Light Colors algorithm. Check the “Snap Neutral Midtones” box. This forces Photoshop to bypass standard Gamma Correction and strictly align the shadows, highlights, and midtones of your target image to match your reference layer perfectly.
Method C: The Technical Deep-Dive (Custom 3D LUTs)
For high-end e-commerce clients demanding zero tolerance for color deviation, you must build a custom profile. This is the industry-standard workflow for absolute precision.
- Shoot a Target: Always shoot a frame with a ColorChecker Passport under the exact lighting conditions of your lookbook. Use this to create a baseline camera profile.
- Stack Adjustments: In Photoshop, open your hero image. Stack your precise adjustment layers—Selective Color, Hue/Saturation, and Color Balance—until the garment matches the physical SKU exactly.
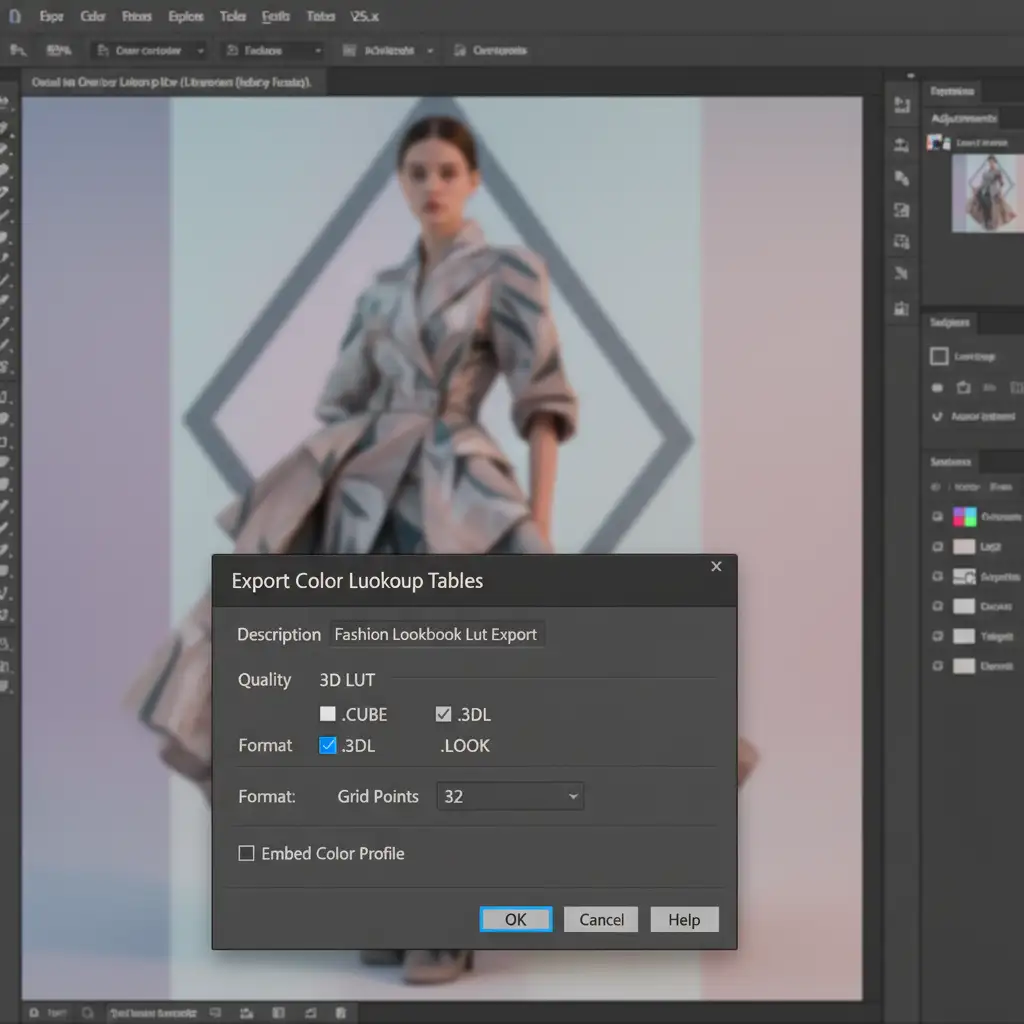
- Export the Look: Navigate to File > Export > Color Lookup Tables.
- Configure the CUBE: Save the file as a .CUBE format. Ensure your grid points are set to at least 32 (or 64 for extreme precision) to capture complex color transitions.
- Deploy at Scale: You now have a custom 3D LUT. You can apply this globally to your remaining 49 images via an automated Photoshop Action or by setting up Droplet Automation for seamless Batch Processing.
Advanced Tools to Watch in 2024
While the methods above form the backbone of a reliable workflow, Adobe’s AI integrations are rapidly evolving. If you are compositing lookbook images (e.g., placing a studio-shot model onto a different background), experiment with the Harmonization Neural Filter in Photoshop. This tool uses machine learning to automatically match the color temperature and luminosity of a subject to a new background, saving hours of manual masking and curve adjustments.
Outsource Your High-Volume Lookbook Processing
Building a custom color consistency workflow takes time, deep technical knowledge, and relentless attention to detail. When you are managing high-volume lookbook shoots, spending hours tweaking HSL sliders and exporting 3D LUTs eats into your profit margins and delays your delivery to the client.
Struggling with color drift in your fashion campaigns? Let the experts handle it.
Image Work India and Cloud Retouch specialize in high-volume, premium e-commerce photo editing. Our dedicated teams utilize advanced batch processing, custom LUT generation, and meticulous quality control to ensure pixel-perfect color consistency across every single SKU in your catalog.
Stop worrying about return rates caused by inaccurate colors. Focus on shooting your next campaign, and let us handle the heavy lifting. Contact Image Work India and Cloud Retouch today for rapid turnarounds and flawless lookbook harmonization.


