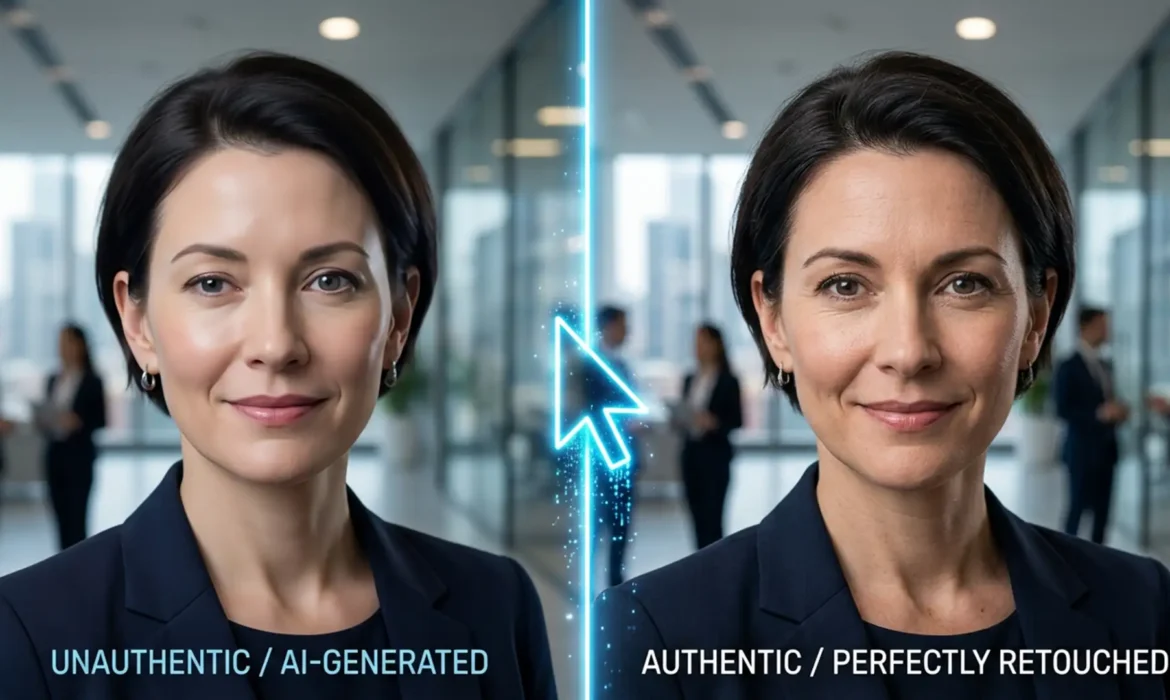
You just paid for an AI headshot for your LinkedIn profile. At a glance, it looks great. But zoom in, and the illusion shatters. Maybe one iris is larger than the other, stray hairs are floating in mid-air, or your skin has that unmistakable, poreless “plastic AI” glow.
These AI hallucinations plunge your professional image straight into the uncanny valley. Instead of building trust, a fake-looking headshot damages your credibility. Fortunately, you don’t need to generate a hundred more variations to get one usable photo. In this guide, we’ll show you exactly how fixing AI headshot artifacts in Adobe Photoshop can rescue your digital identity and restore your authentic professional brand.
Why Do AI Headshot Generators Create “Plastic” Artifacts?
AI headshot generators-whether you are using Midjourney v6, Lensa, or Remini-often struggle with high-frequency details. The core issue stems from the AI’s diffusion process interpolating noise poorly at the micro-level.
While the AI understands the macro structure of a face, it struggles with spatial anomalies. This results in mismatched irises, floating hair strands, merged clothing layers, and overly smoothed skin. Fixing these requires a mix of destructive texture replacement and AI-on-AI localized generative corrections to address specific issues without degrading the overall composition.
How to Fix AI Headshot Artifacts in Photoshop (Step-by-Step)
If you are using Adobe Photoshop v25.x or newer, you have an arsenal of tools designed to humanize AI-generated images. Here is the professional workflow to clean up your headshot.
Method 1: The Quick Cleanup with the Remove Tool
The fastest way to eliminate structural glitches is by utilizing the Photoshop Remove Tool (shortcut: J), introduced in v25.0. It is vastly superior to the traditional Spot Healing Brush for AI cleanup because it understands the surrounding context.
- Create a new blank layer above your AI headshot.
- Select the Remove Tool from the toolbar.
- Ensure ‘Remove after each stroke’ is checked in the top options bar.
- Brush over stray AI-generated hairs, weird background blobs, or extra accessories that the AI hallucinated.

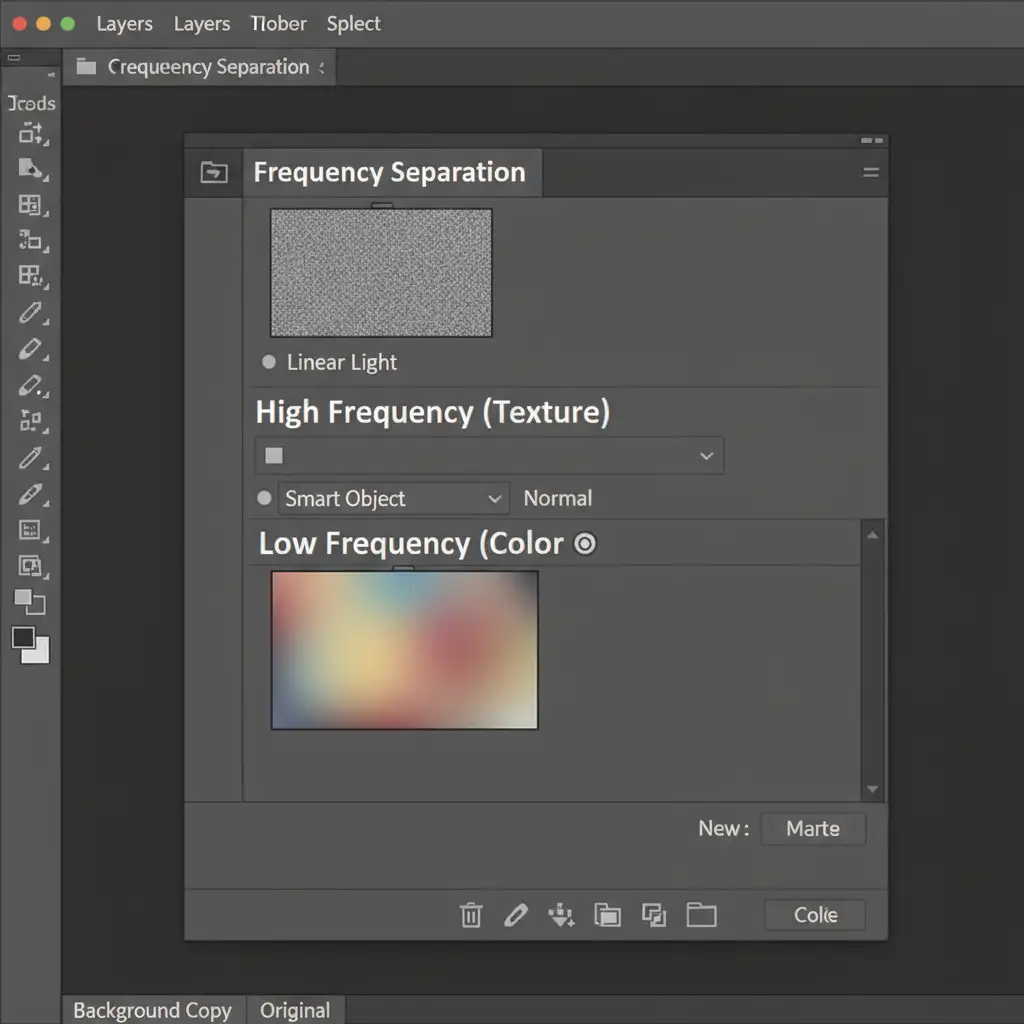
Method 2: Curing Plastic Skin via Frequency Separation
The most common giveaway of an AI image is the “plastic AI skin” look. To fix this, you must use Frequency Separation, a high-end retouching technique that separates texture from color.
- Duplicate your main AI headshot layer twice. Group them and name the group “Frequency Separation”.
- Name the bottom duplicate “Low Frequency (Color)” and the top duplicate “High Frequency (Texture)”.
- Apply a Gaussian Blur to the Low layer until the skin texture disappears.
- Apply a High Pass filter to the High layer, then set its blending mode to Linear Light.
- Using Layer Masking, blend real skin texture from a source photo (a real photo of yourself) over the High Frequency layer to restore human pores to the AI skin.
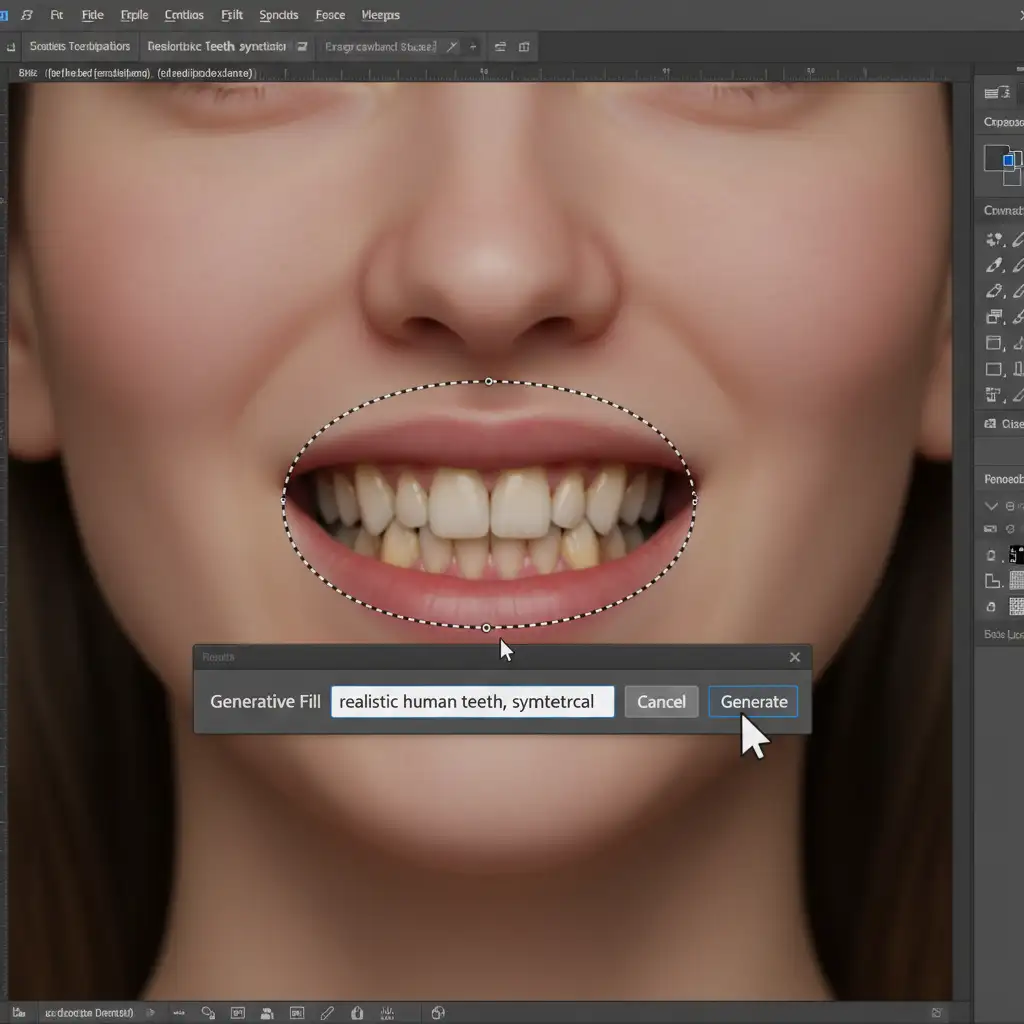
Method 3: Redrawing Corrupted Elements with Generative Fill
Sometimes, the diffusion model completely mangles complex structural elements. You might see merged lapels, asymmetrical teeth, or distorted jewelry. For these, you can use AI to fight AI via Photoshop’s Generative Fill.
- Select the Lasso Tool and loosely draw around the corrupted area (e.g., an asymmetrical collar).
- Click the Generative Fill button on the contextual taskbar.
- Type a precise, descriptive prompt. For example: ‘realistic human teeth, symmetrical’ or ‘crisp suit jacket lapel’.
- Generate and cycle through the three variations until the spatial anomaly is fixed.
Method 4: Unifying the Image with Photographic Grain
Once you’ve corrected the structural issues, your image is made up of different generated parts. To trick the human eye and unify the composition, you need to add realistic photographic grain.
Convert your entire project into Smart Objects, then open the Camera Raw Filter. Navigate to the Effects panel and add a uniform layer of Film Grain. This micro-texture hides pixel inconsistencies and makes the image look like it was taken with a real DSLR camera, completely erasing the uncanny valley effect.
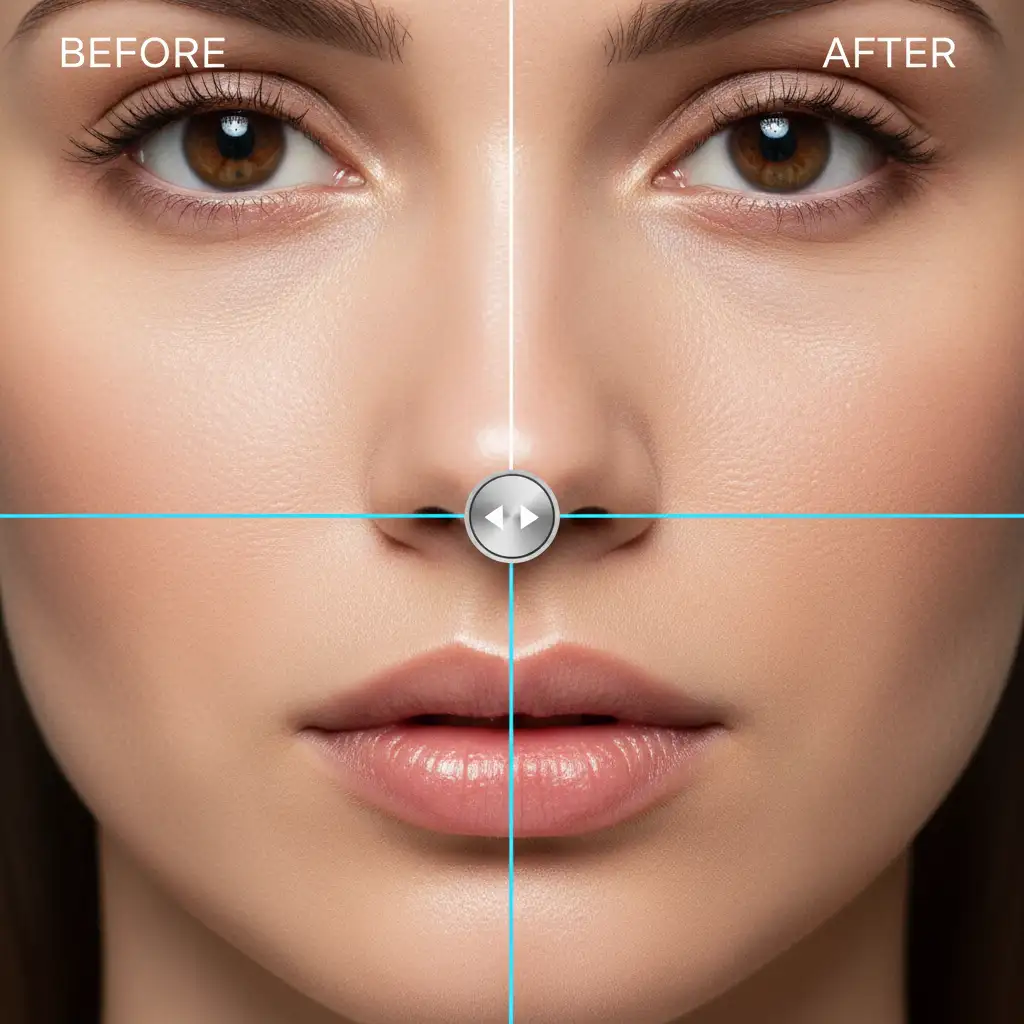
The Foolproof Solution for Flawless Professional Branding
Fixing AI headshot artifacts requires a deep understanding of advanced Photoshop techniques, from Frequency Separation to complex masking. If you miss a single floating hair or over-smooth the texture, your LinkedIn profile picture will still look like an AI hallucination.
Skip the technical hassle and ensure your personal brand looks flawless. Let the experts at Image Work India and Cloud Retouch manually refine your AI headshots to perfection. Our professional retouchers know exactly how to eliminate the uncanny valley effect, restore realistic skin textures, and deliver a corporate headshot that builds immediate trust.
Ready to look your best? Contact Image Work India and Cloud Retouch today to get your AI headshots professionally polished!


