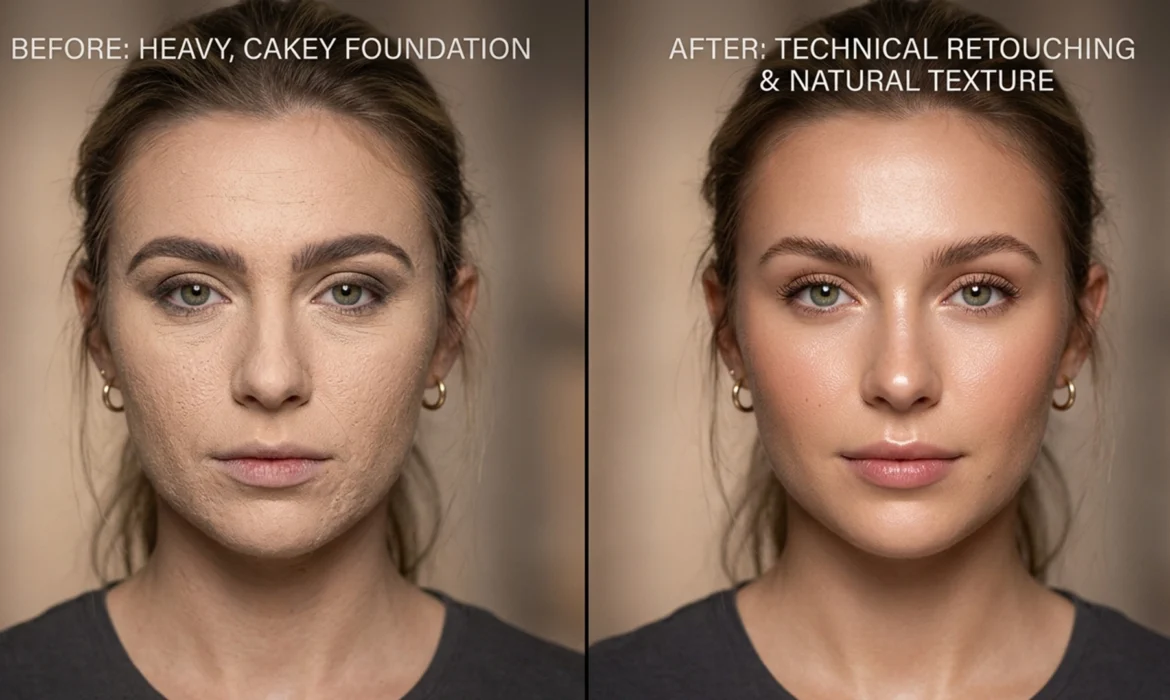
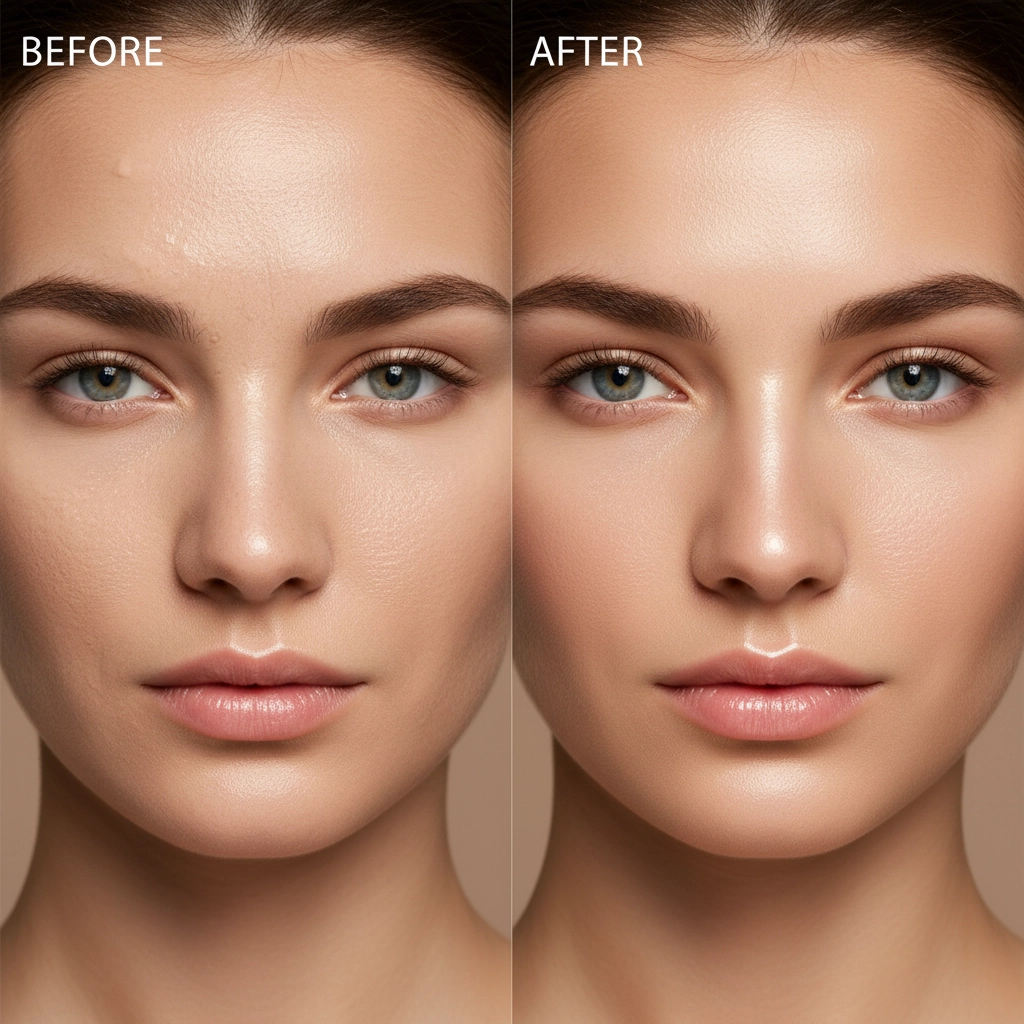
You just wrapped a high-end editorial shoot, but zooming in reveals a retouching nightmare: the makeup artist went too heavy. Instead of glowing, breathable skin, you’re staring at a chalky, uneven, excessively matte surface where natural specular highlights and pores used to be.
Learning how to fix cakey makeup texture in Photoshop is a critical skill for beauty retouchers. When heavy foundation destroys the micro-contrast of the skin, simply blurring the area makes it look like plastic. The real secret to professional, non-destructive editing lies in decoupling the patchy underlying color from the actual skin texture, allowing you to rebuild a flawless, magazine-quality finish.
Here is the definitive guide to rescuing over-applied makeup in Photoshop v24.x and v25.x.
Understanding the Technical Challenge of Heavy Foundation
Cakey makeup manifests in high-resolution images as extreme micro-contrast in unwanted areas (like dry patches or foundation settling into fine lines) while entirely lacking true skin texture. The fundamental problem is twofold:
- Luminosity and Color Patchiness: The foundation creates an uneven spread of pigment.
- Texture Loss: The matte finish absorbs light, killing the specular highlights that give skin its lifelike, three-dimensional appearance.
To fix this, we must address the color and the texture independently. While traditional techniques like micro dodge and burn are excellent for localized blemish removal, fixing widespread cakey makeup requires a more systemic approach.
Method 1: The Quick Fix – Utilizing Neural Filters
If you are on a tight deadline and need to soften the chalky appearance quickly, Photoshop’s AI-driven tools provide a solid starting point.
- Open your image and duplicate your background layer to ensure non-destructive editing.
- Navigate to Filter > Neural Filters > Skin Smoothing.
- Set the Smoothness to 50 and Blur to 20.
- Select Output to a New Layer.
- Add a black layer mask (Hold Alt/Option and click the Layer Mask icon) to hide the effect.
- Using a soft brush, paint with white only over the specific areas suffering from cakey makeup.
While fast, this method can sometimes look slightly too soft for high-end editorial work, which brings us to the industry standard.
Method 2: The Pro Workaround – Frequency Separation
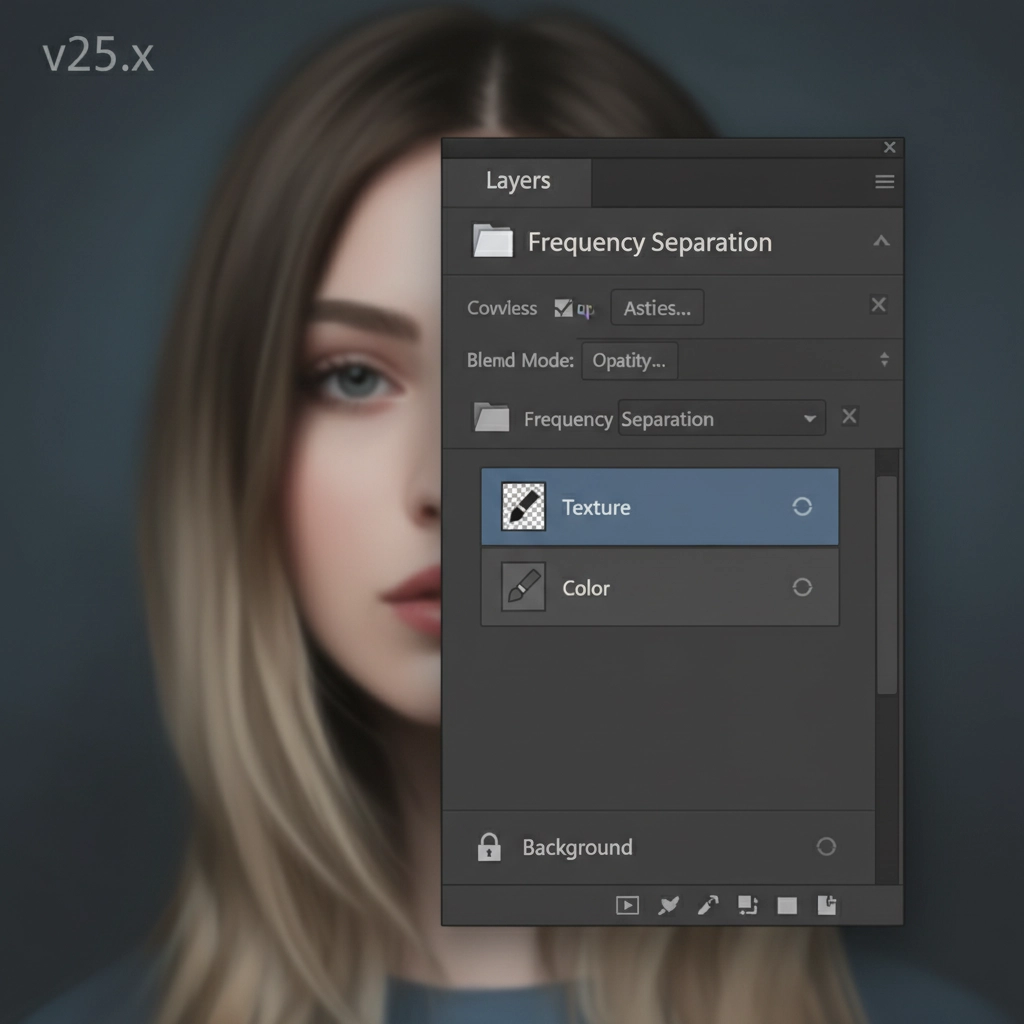
Frequency Separation is the holy grail of beauty retouching. It allows you to separate the image into two distinct layers: one containing the color and tone (Low Frequency), and the other containing the fine details and texture (High Frequency).
Setting Up the Layers
- Duplicate your background layer twice.
- Name the bottom duplicate “Color” (Low Frequency) and the top duplicate “Texture” (High Frequency).
- Turn off the visibility of the Texture layer and select the Color layer.
- Go to Filter > Blur > Gaussian Blur. Increase the radius just until the cakey patchiness and uneven foundation blends together smoothly.
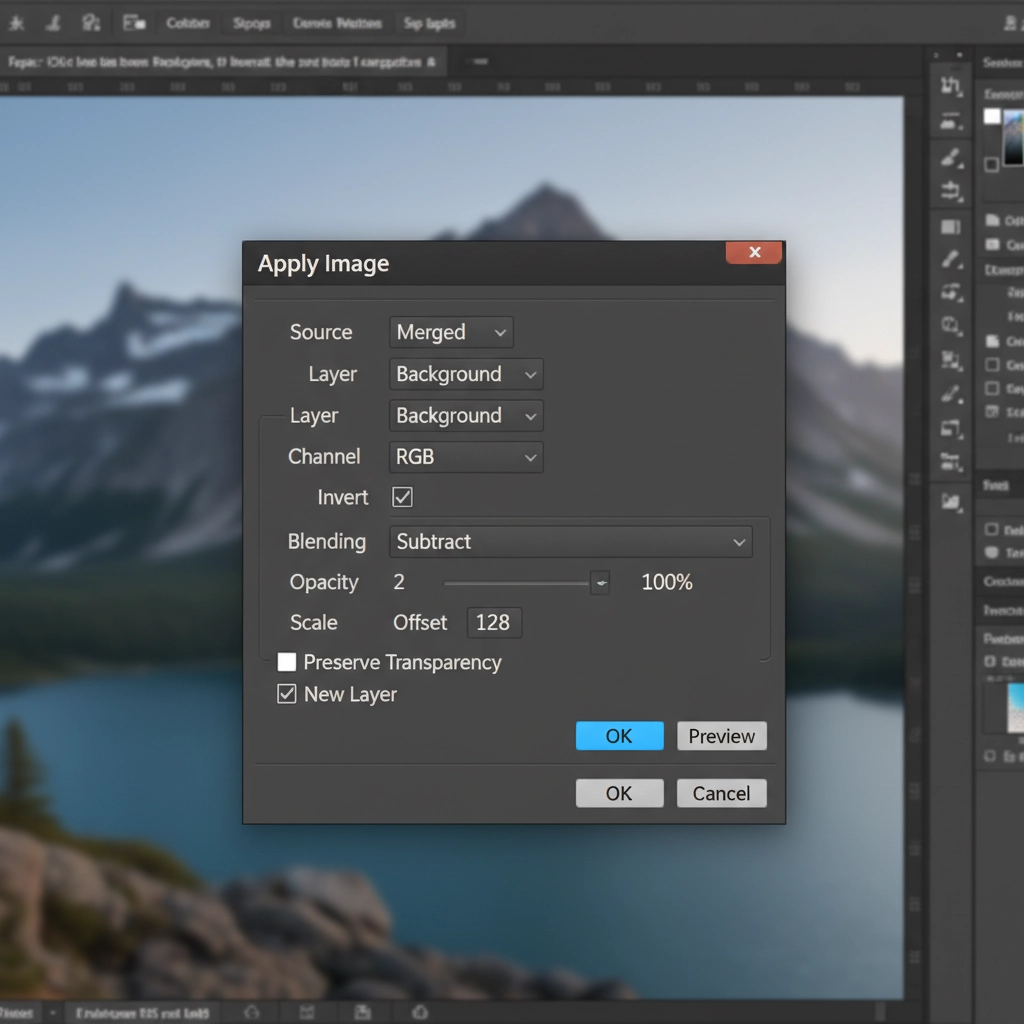
Extracting the Texture
- Turn the Texture layer’s visibility back on and select it.
- Go to Image > Apply Image.
- In the dialog box, set the Layer to “Color” and the Blending mode to Subtract.
- Set Scale to 2 and Offset to 128. Click OK.
- Change the Blend Mode of the Texture layer to Linear Light.
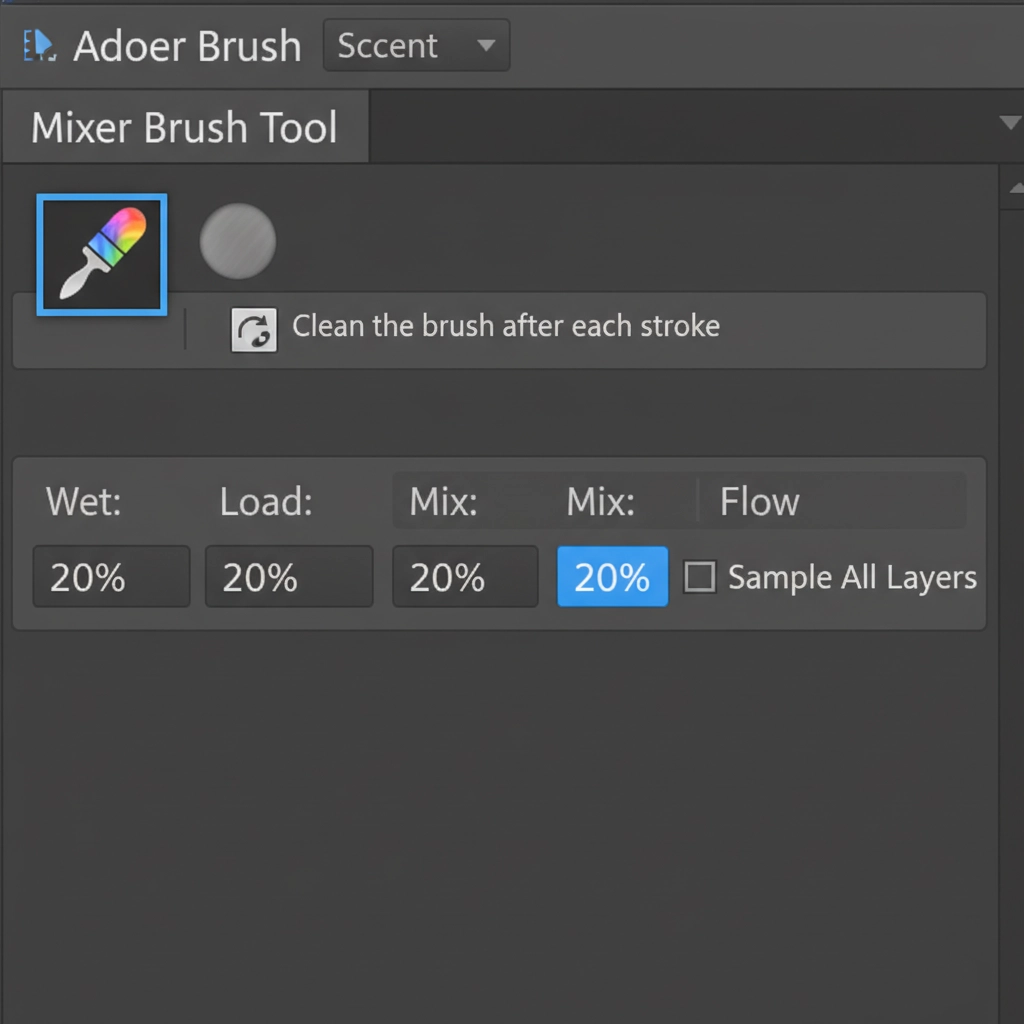
Smoothing the Foundation
Now, select the Mixer Brush Tool. Target the “Color” layer. Use a soft brush with low wetness and flow to gently mix the underlying patchy colors of the heavy makeup. Because you are only painting on the color layer, the original skin texture remains perfectly intact on the layer above.
Method 3: The Technical Deep-Dive – Texture Replacement
Sometimes, the foundation is so thick that there is no underlying texture to save. In these cases, even a high-pass filter won’t help because the natural pores are completely filled in with makeup. You must engage in artificial skin pores simulation.
Generating Artificial Skin Pores
- Create a New Layer at the top of your layer stack.
- Go to Edit > Fill and choose 50% Gray.
- Change the layer’s Blend Mode to Overlay (this makes the gray invisible, leaving only the contrast).
- Go to Filter > Noise > Add Noise. Set the Amount to 3% and check Monochromatic.
- Go to Filter > Stylize > Emboss. Adjust the angle to match your image’s lighting, set the Height to 1 or 2 pixels, and the Amount to around 50-80%.
Blending the New Texture
Add a black layer mask to your new texture layer. Using a soft white brush, paint this generated texture specifically over the areas where the cakey makeup looks flat and chalky. You can further refine this by using luminosity masking to ensure the artificial pores only appear in the mid-tones and highlights, avoiding unnatural texture in deep shadows.
Flawless Skin Without the Frustration
Fixing cakey makeup texture in Photoshop requires a delicate balance of frequency separation, custom texture generation, and precise masking. It is a time-consuming process that demands a highly trained eye to ensure the final result looks like natural skin, not a digital painting.
Struggling with inconsistent makeup across a massive editorial campaign? You don’t have to spend hours rebuilding skin texture pixel by pixel. Hire Image Work India and Cloud Retouch for flawless, high-end beauty retouching. Our team of expert retouchers specializes in preserving natural skin texture while seamlessly eliminating heavy foundation and makeup flaws. Contact us today to elevate your beauty campaigns to magazine-quality perfection.


