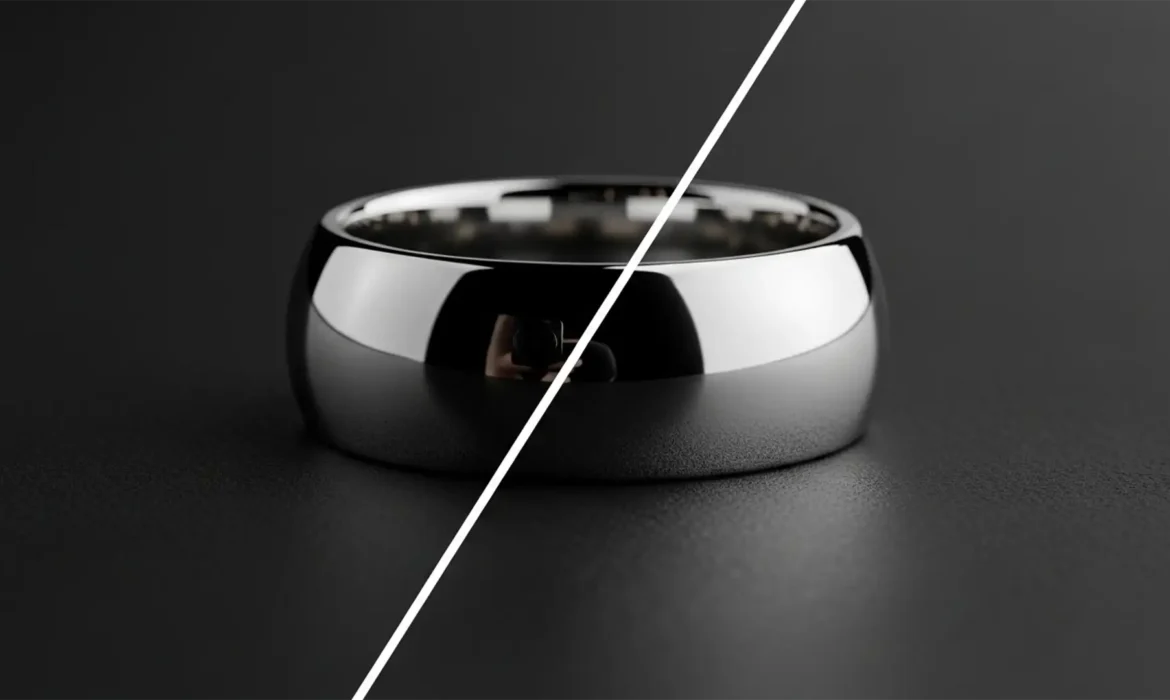
You’ve just wrapped a high-end jewelry shoot. The lighting was perfect, the styling was flawless, but when you open the RAW files, your heart sinks. Right in the middle of that beautifully polished silver ring is a harsh, black camera reflections.
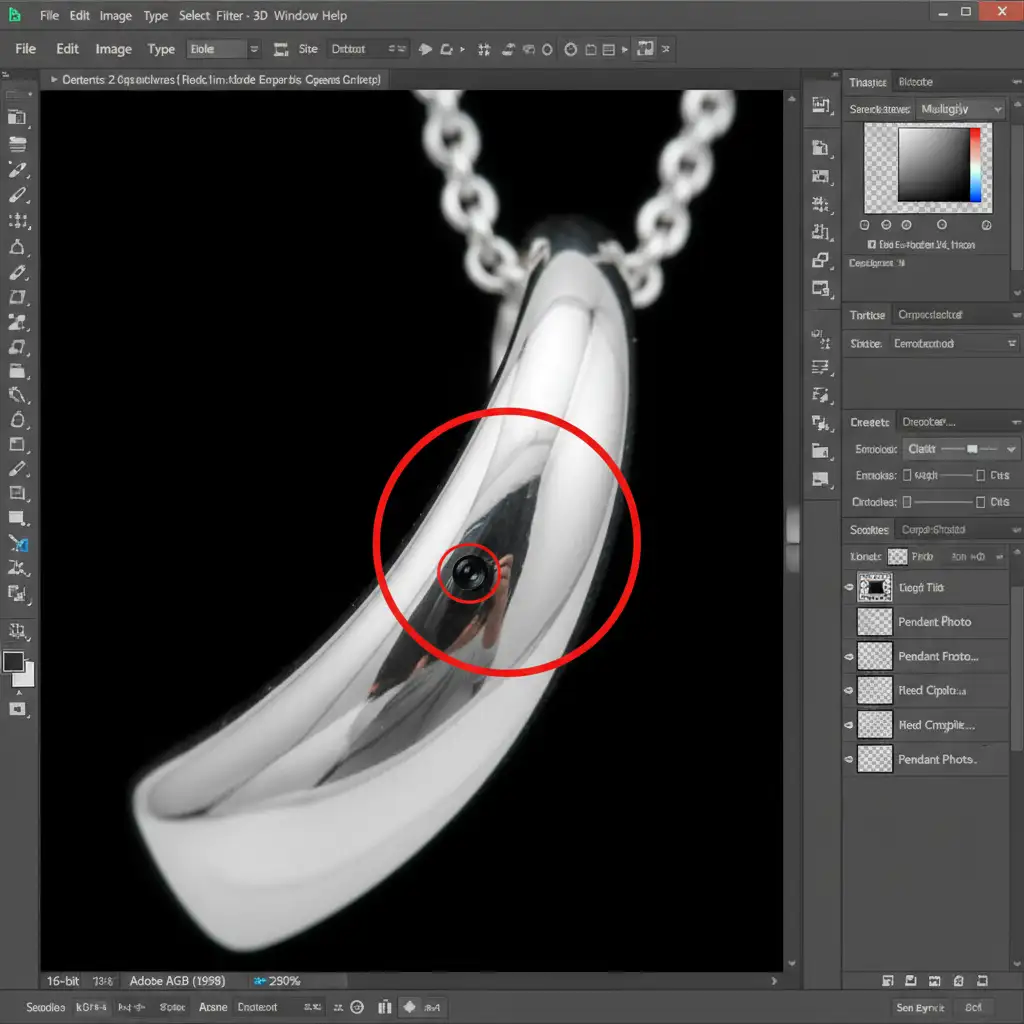
Because polished silver acts as a curved mirror, capturing dark studio gaps, tripods, and lenses is almost inevitable. If you try using standard spot healing tools to fix it, you are usually left with smudged, plastic-looking artifacts that completely ruin the metallic texture.
In this guide, we will show you exactly how to go about removing black camera reflections from polished silver in Adobe Photoshop CC (v24.x and v25.x) without destroying the crucial specular highlights and luminosity gradients that make metal look real.
Why Standard Black Camera Reflections Retouching Fails on Silver
When retouching skin or fabric, the Spot Healing Brush is your best friend. On highly reflective metals, it is your worst enemy.
Metallic surfaces are defined by their strict visual rules: sharp specular highlights (the bright white reflections of your light sources) and smooth, sweeping transitions of luminosity. When a dark reflection interrupts this gradient, the healing brush tries to blend the black pixels with the white pixels, resulting in a muddy, gray smudge.
To properly fix this, you must reconstruct the lightfall. Here are three professional methods to achieve a flawless finish.
Method 1: The Quick Fix (Clone Stamp Tool)
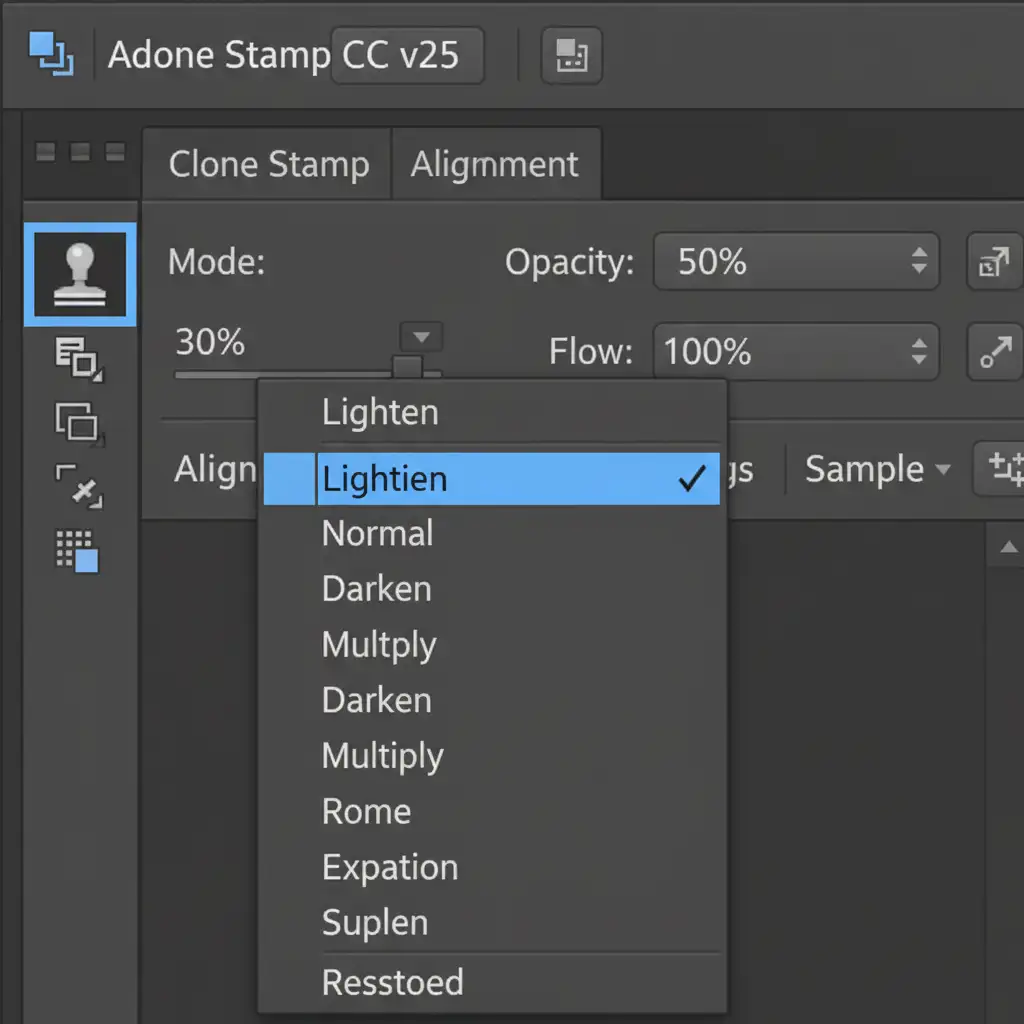
If the dark reflection is relatively small and surrounded by clean, bright silver, you can use blending modes to your advantage. This method relies on the Lighten Blend Mode, which tells Photoshop to only replace pixels that are darker than your sampled area.
Step-by-Step:
- Create a new blank layer for non-destructive editing.
- Select the Clone Stamp Tool (S).
- In the top settings bar, change the Blend Mode from Normal to Lighten.
- Drop your brush Opacity to 30 percent.
- Alt/Option-click a clean, bright area of silver right next to the dark reflection.
- Gently brush over the black spot. The dark pixels will be replaced by the bright silver, while the existing bright highlights remain untouched.
Method 2: The Pro Workaround (Frequency Separation)
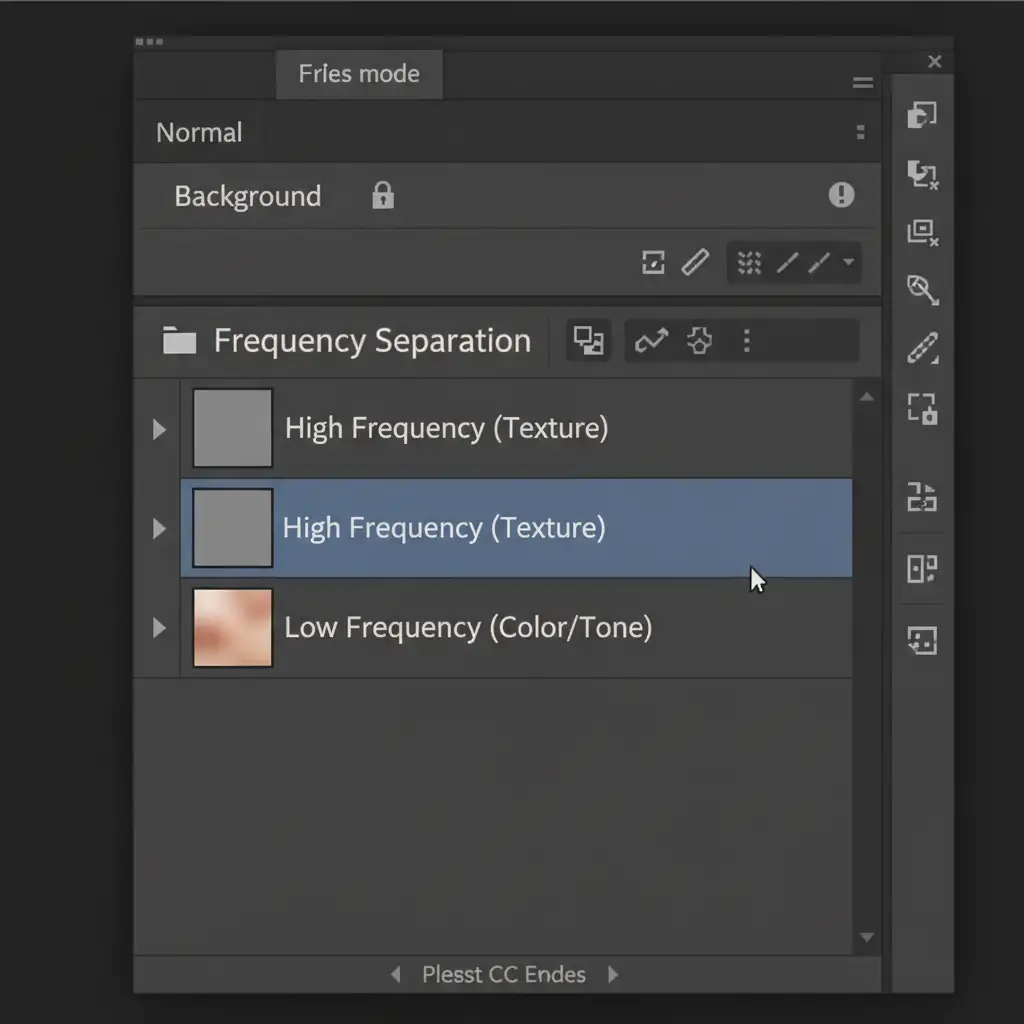
For larger reflections where the metal has a distinct grain or brushed texture, the Clone Stamp tool might flatten the details. This is where Frequency Separation saves the day. This technique isolates the texture of the metal from its underlying colors and shadows.
Step-by-Step:
- Duplicate your background layer twice. Name the top layer “High Frequency” and the middle layer “Low Frequency”.
- Apply a Gaussian Blur to the Low Frequency layer until the metal texture disappears (usually 4-6 pixels).
- Select the High Frequency layer, go to Image > Apply Image. (Subtract the Low Frequency layer, Scale 2, Offset 128). Change its blend mode to Linear Light.
- Now, group these two layers.
- Select the Low Frequency layer. Using a soft standard brush or the Mixer Brush, sample the bright silver tones and paint directly over the black camera reflection.
Because you are only painting on the Low Frequency layer, the metallic grain on the High Frequency layer remains perfectly intact, resulting in a seamless repair.
Method 3: The Technical Deep-Dive (Gradient Reconstruction)
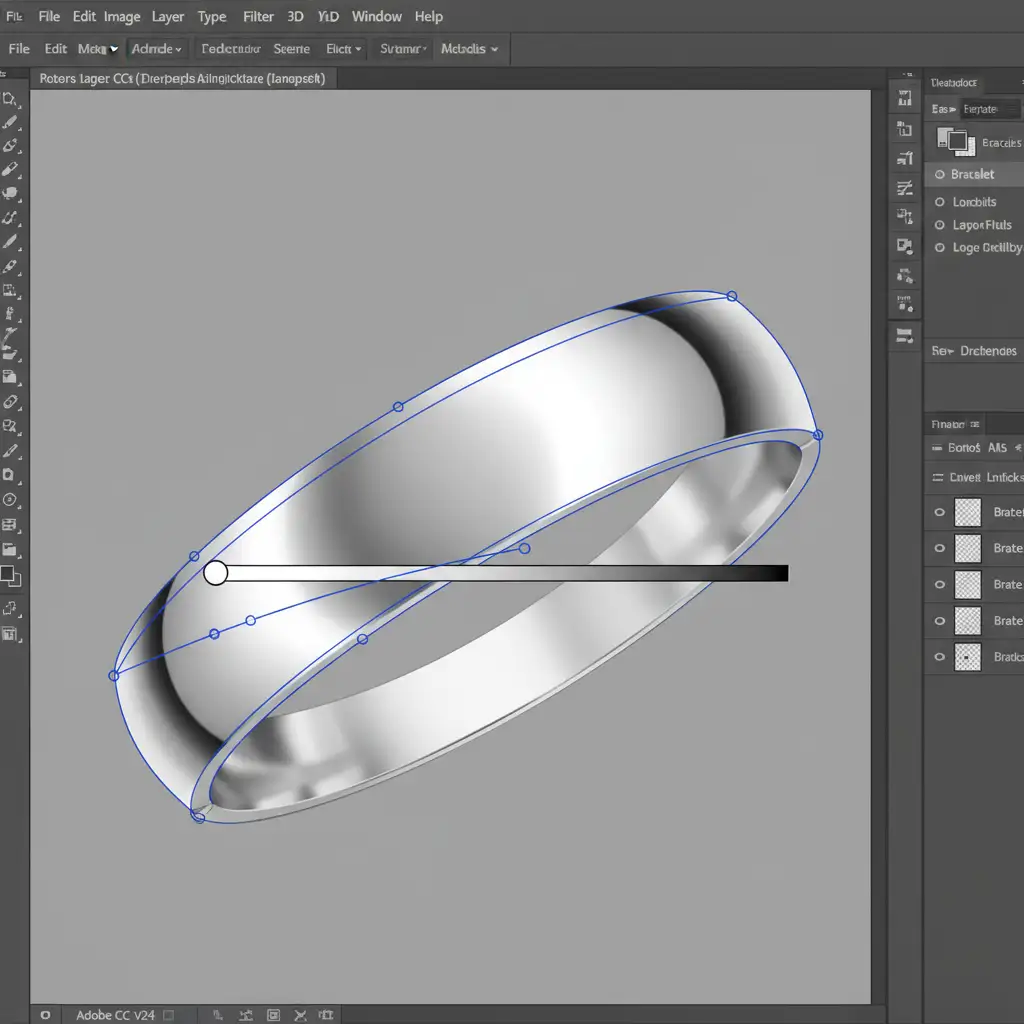
Sometimes, a studio reflection is so massive that it wipes out an entire section of the jewelry. You can’t clone or paint what isn’t there. In these severe cases, you must entirely reconstruct the surface using the Pen Tool and custom gradients.
Step-by-Step:
- Select the Pen Tool (P) and carefully trace the exact shape of the metal panel containing the reflection.
- Turn the path into a selection, and create a new layer with a Clipping Mask.
- Select the Gradient Tool (G). Create a custom Silver Gradient that mimics the natural lightfall of the jewelry (alternating bands of bright white, light gray, and medium gray). Alternatively, you can use a Gradient Map adjustment layer.
- Drag the gradient across your Pen Tool selection, matching the angle of the surrounding light.
- Crucial Step: Digital gradients are too perfect and will cause color banding. Go to Filter > Noise > Add Noise. Add 1-2% of Monochromatic noise to match the photographic grain of the original image.
The Final Result: A Flawless, Luxurious Shine
By mastering these three techniques, you can confidently shoot highly reflective products without fearing the post-production process. Whether you use the Lighten blend mode for quick touch-ups, Frequency Separation to preserve texture, or gradient reconstruction for total overhauls, your silver jewelry will retain its luxurious, mirror-like quality.

Stop Wasting Hours on Jewelry Retouching
Let’s be honest: removing black camera reflections from polished silver is tedious. When you have a catalog of 500 rings, necklaces, and watches to process, spending 20 minutes reconstructing gradients on a single image simply isn’t profitable for your business.
Image Work India and Cloud Retouch specialize in high-end jewelry retouching. Our team of expert retouchers understands the complex physics of light, specular highlights, and metallic textures. We don’t just “smudge” out reflections—we meticulously reconstruct your jewelry to look flawless, luxurious, and ready for e-commerce or print.
Save hours of tedious editing, hit your deadlines faster, and guarantee a premium finish for your clients. Contact Image Work India today or upload a test image to Cloud Retouch and let us handle the heavy lifting for your next jewelry campaign.


