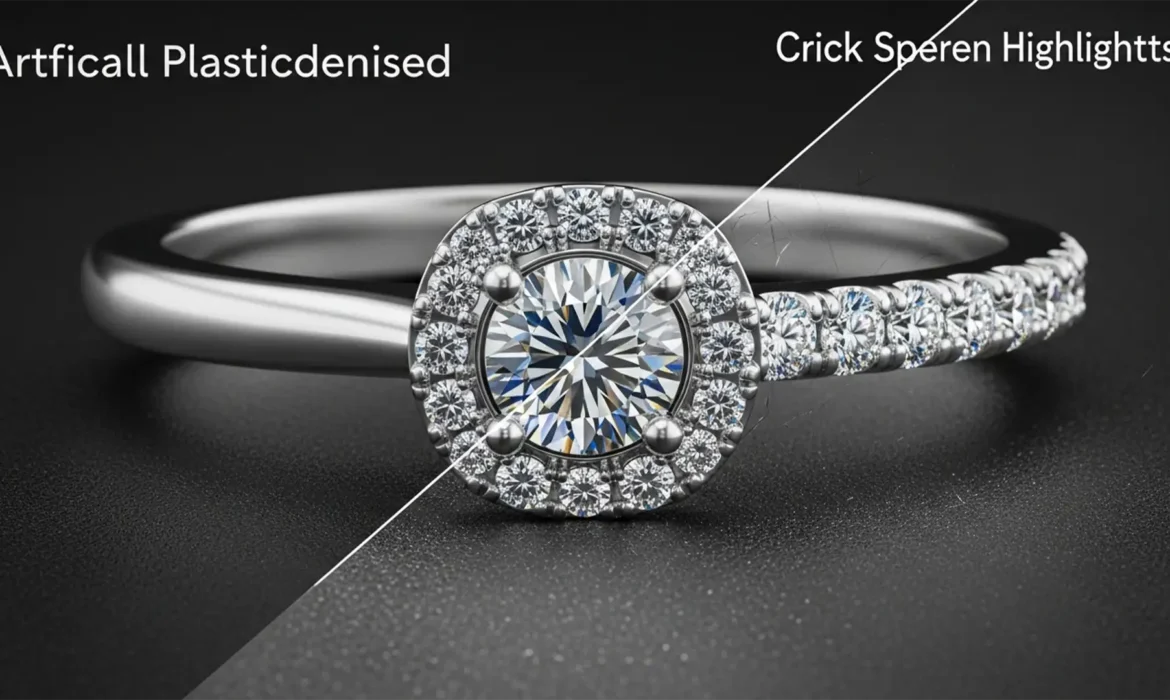
Are you tired of running complex jewelry retouching texture through Photoshop’s Generative Fill, only to have your gold and silver pieces come out looking like cheap plastic? You are not alone. In Photoshop v24.x and v25.x, diffusion models are notorious for over-denoising macro product photography. While AI is incredible at cleaning up distracting structural reflections, it simultaneously destroys localized high-frequency data—specifically the fine metallic grain and subtle specular highlights that give precious metals their tactile realism.
If your high-end e-commerce clients are rejecting images because of this artificial “plastic metal” effect, mastering AI jewelry retouching texture recovery is your next mandatory skill. Here is how to reclaim that luxurious, realistic finish.
Why AI Turns High-End Jewelry into “Plastic Metal”
Jewelry photography relies heavily on micro-contrast. The brain recognizes a surface as “polished metal” not just by its overall color or gradient, but by the microscopic imperfections—the tiny directional scratches and grain structure that interact with light.
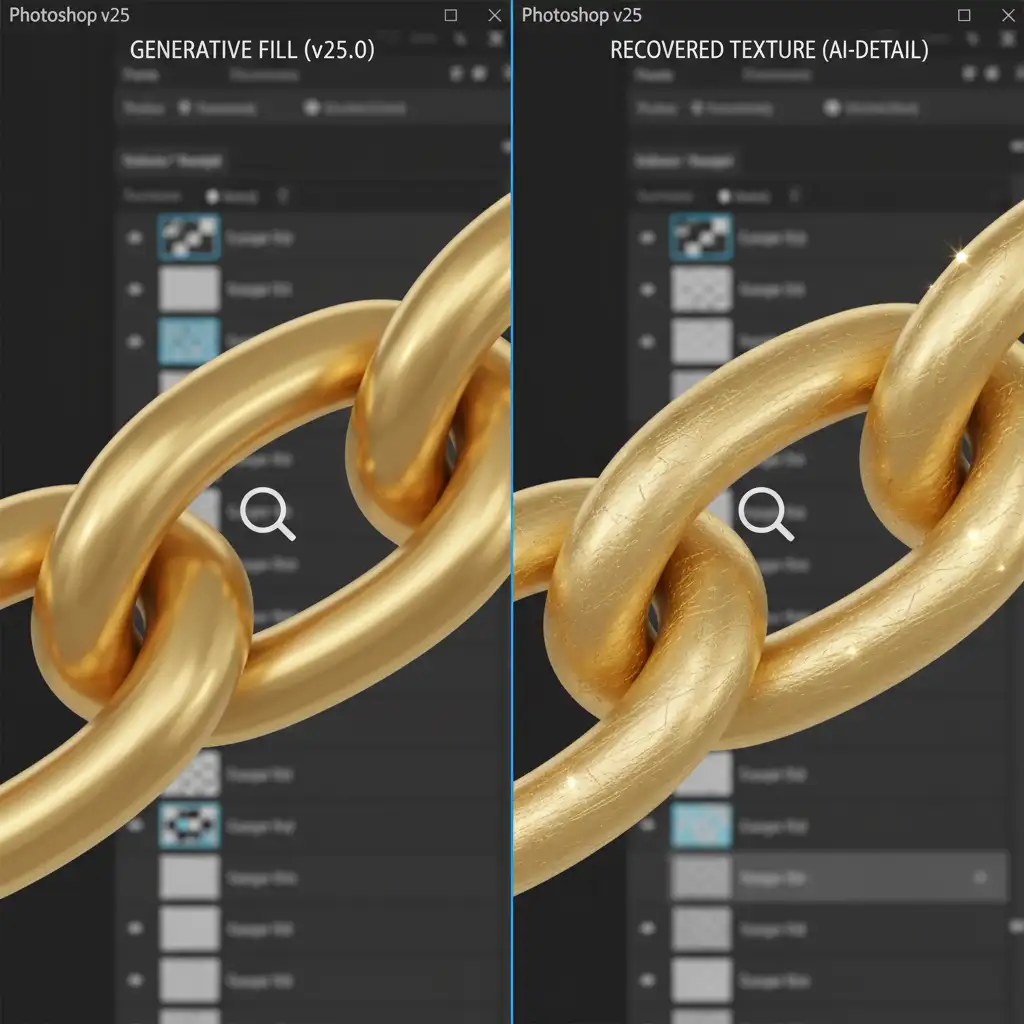
When you use AI tools like Generative Fill or Neural Filters to remove a harsh reflection or scratch, the algorithm calculates the average surrounding pixels to fill the gap. Because diffusion models prioritize structural coherence over micro-texture, they mathematically smooth the target area. The result is a total loss of the high-frequency layer, leaving you with an artificially generated, mathematically perfect, yet completely unrealistic surface.
To fix this, we must separate the tonal cleanup from the textural details using non-destructive editing techniques.
3 Professional Methods for AI Jewelry Retouching Texture Recovery
Depending on the severity of the AI smoothing and the demands of your workflow, you can use one of these three targeted techniques to restore realism to your macro product photography.
Method 1: The Quick Fix (Luminosity Blending)
If you have used Generative Fill to fix a minor blemish but lost the surrounding grain, you can often pull the original texture through the AI layer using blending modes. This is the fastest way to recover micro-contrast.
- Finalize your AI edits using Generative Fill.
- Duplicate your original, untouched background layer.
- Drag this duplicated layer to the very top of your layer stack.
- Change the blending mode of this top layer to Luminosity.
- Lower the layer opacity to roughly 20%.
This instantly maps the original metallic grain and micro-scratches back over the AI-generated structural fix, blending the best of both worlds.
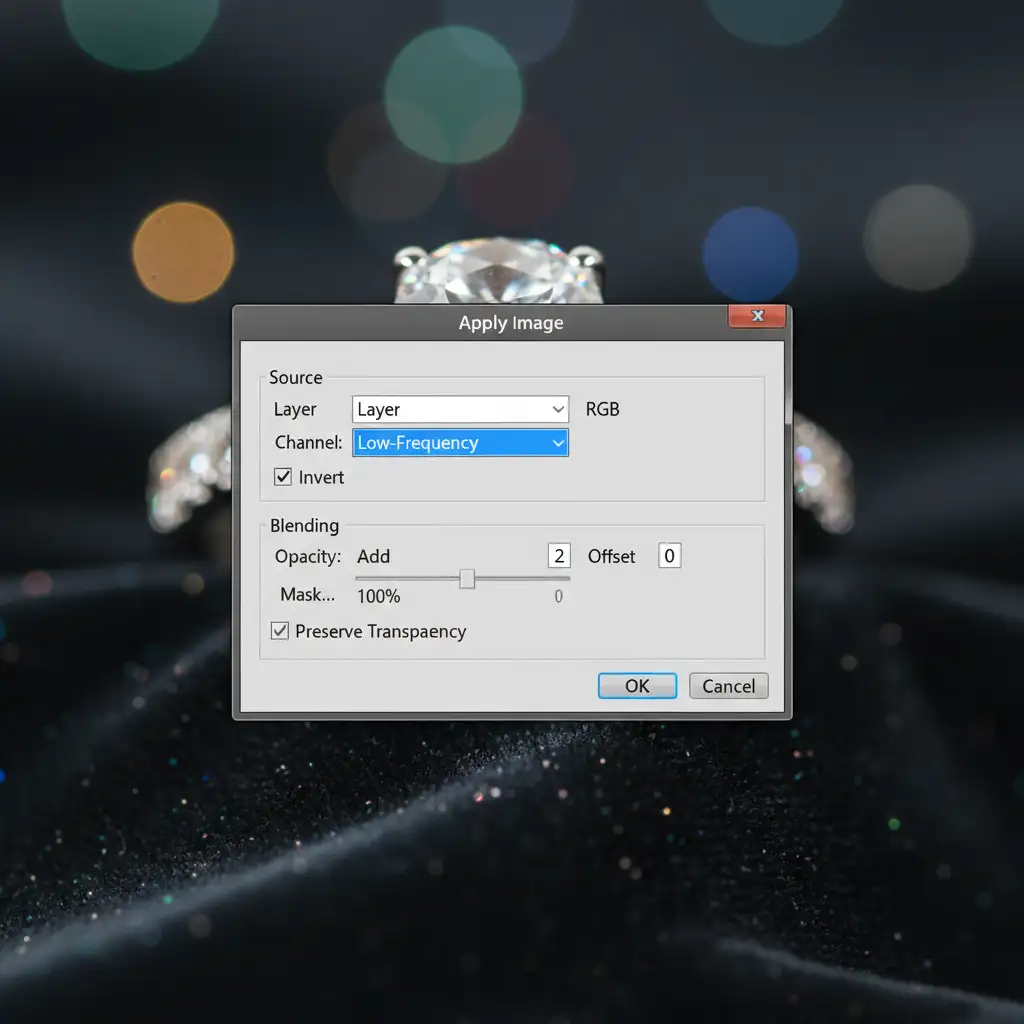
Method 2: The Pro Workaround (Frequency Separation)
For high-end e-commerce retouching, you need absolute control. By utilizing frequency separation before applying AI, you can isolate the metallic texture from the underlying color and tone.
- Duplicate your base image twice. Name the bottom duplicate “Low-Frequency” (color/tone) and the top duplicate “High-Frequency” (texture).
- Apply a Gaussian Blur to the Low-Frequency layer until the fine scratches disappear (usually a radius of 3-6px for macro jewelry).
- Select the High-Frequency layer, go to Image > Apply Image, and subtract the Low-Frequency layer (see specific 16-bit settings below). Change the High layer’s blend mode to Linear Light.
- The crucial step: Group these layers. Now, run your AI cleanup tools strictly on the Low-Frequency layer to fix messy reflections.
Because the AI is only affecting the low-frequency data, the original metallic grain sits untouched on the High layer above it, completely avoiding the plastic metal effect.

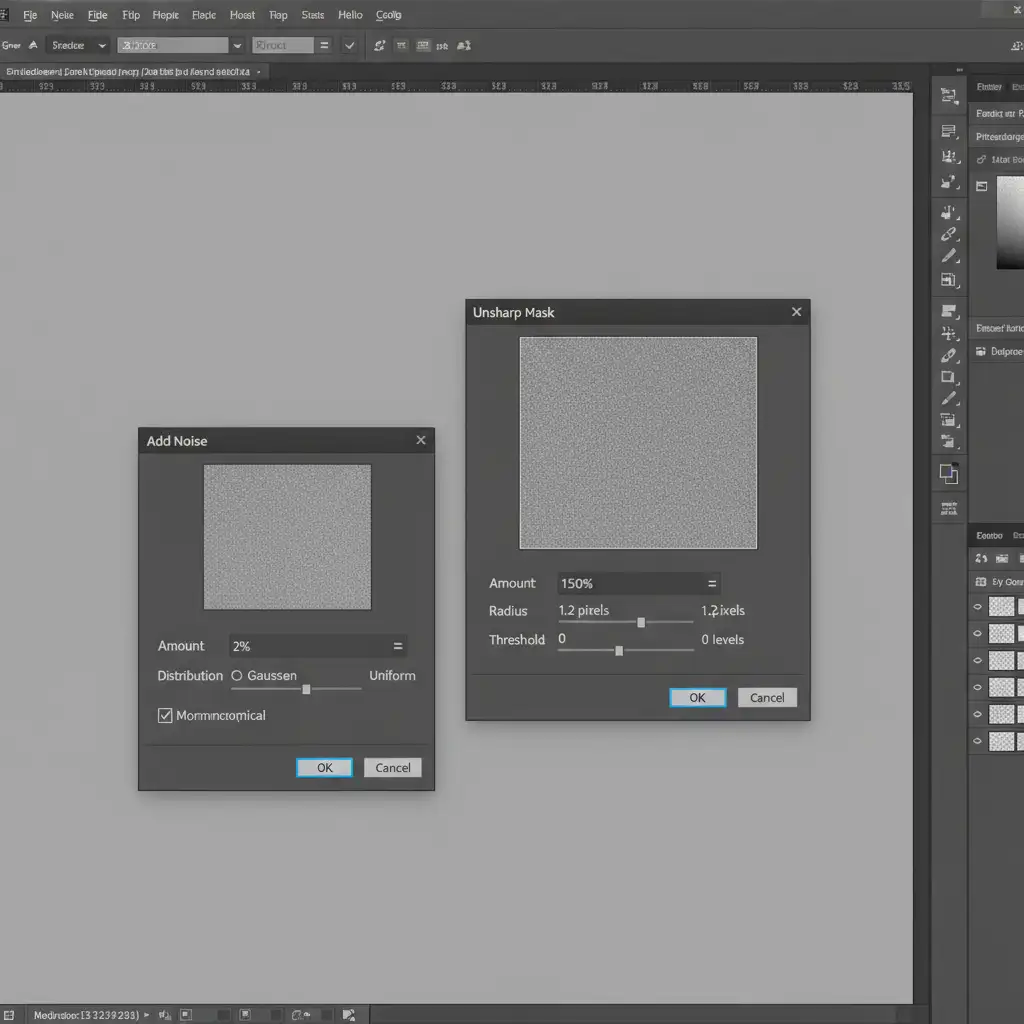
Method 3: The Technical Deep-Dive (Artificial Texture Reconstruction)
Sometimes the original texture is unusable, or the AI has generated a completely new section of metal. In this case, you must artificially reconstruct the metallic grain to match the rest of the piece.
- Create a new layer above your AI edits.
- Fill it with 50% Gray (Shift + F5 > 50% Gray).
- Change the blending mode to Overlay.
- Navigate to Filter > Noise > Add Noise. Set the amount to 1-3%, select Gaussian, and check Monochromatic.
- To make the noise look like polished metal rather than digital static, navigate to Filter > Sharpen > Unsharp Mask.
- Apply the Unsharp Mask to cluster the noise. This mimics the directional micro-scratches of polished gold or silver.
- Add a black layer mask and paint with white exclusively over the AI-generated areas to blend the artificial texture seamlessly.
Stop Struggling with AI: Let the Experts Handle Your Jewelry Retouching
Mastering AI jewelry retouching texture recovery requires a deep understanding of diffusion models, frequency separation, and non-destructive editing. While these techniques are highly effective, they are also incredibly time-consuming—especially when you are processing hundreds of macro product photography images for a seasonal catalog.
Struggling to maintain the luxury feel in your jewelry catalogs? Hire Image Work India or Cloud Retouch for meticulous, high-end jewelry retouching. Our team of expert retouchers perfectly balances the efficiency of AI tonal corrections with artisanal texture recovery. We ensure every piece of gold, silver, and platinum retains its natural micro-contrast and specular highlights, delivering flawless, conversion-ready images that elevate your brand.
Contact Image Work India today to learn how our dedicated retouching services can streamline your post-production workflow.


