
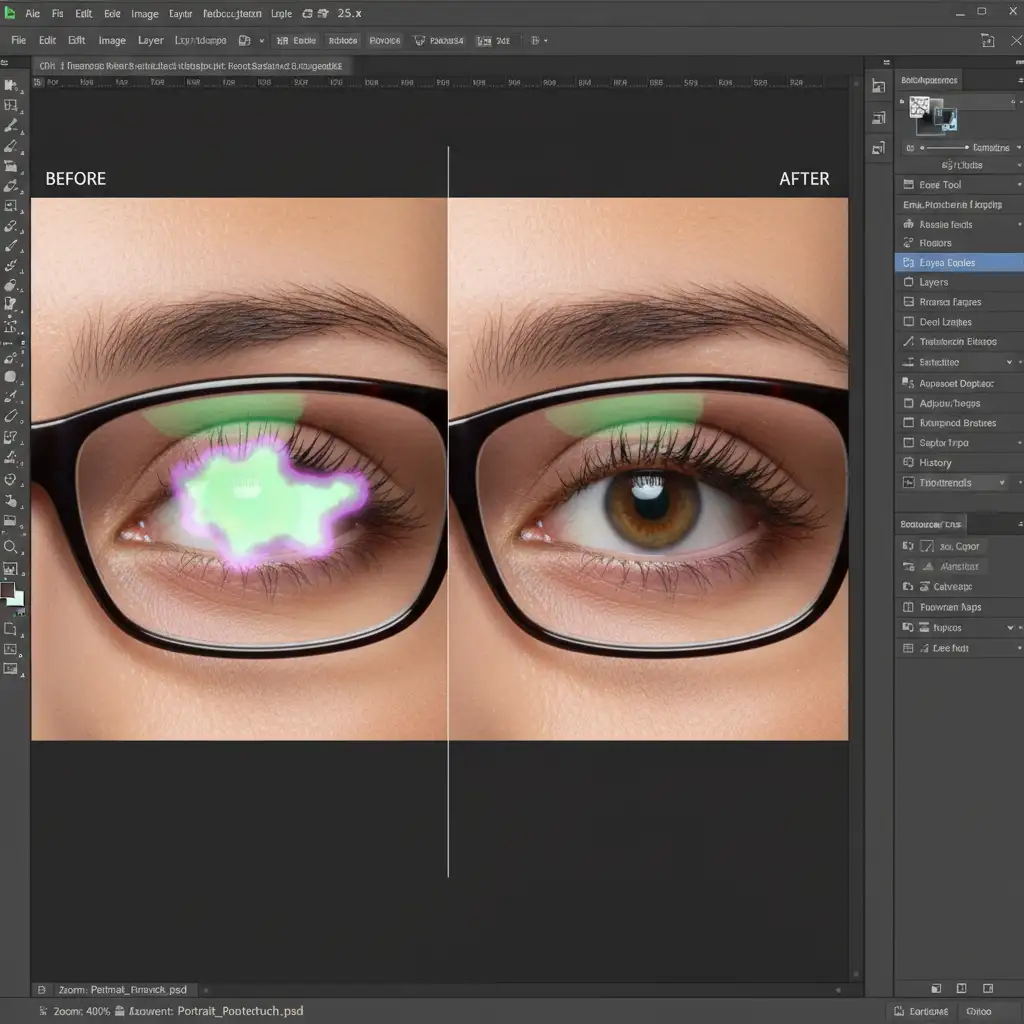
You’ve just wrapped a beautiful portrait session under perfect glasses glare in overcast skies. But when you load the RAW files, you see it: harsh green and purple glare streaking across your subject’s eyeglasses. Modern anti-reflective lens coatings are notorious for creating this complex chromatic aberration under softbox or cloudy lighting. You might try Adobe Photoshop v25.x’s Generative Fill to remove it, only to watch the AI completely distort the subject’s pupil and eye shape. Don’t panic. In this guide, we will show you how to remove glasses glare in overcast while preserving the natural texture of the eye and surrounding skin.
Here are the top three non-destructive editing techniques to salvage your overcast portraits.
Why One-Click AI Fails at Complex Glare
While Generative Fill in recent Photoshop builds is incredibly powerful, it lacks contextual understanding of human micro-expressions. When tasked with removing bright white reflections and color casts over a transparent surface, the AI frequently hallucinates. It replaces the glare with a generic eyeball, destroying the subject’s unique likeness.
To achieve high-end results, you need manual control over color, texture, and masking.
Method 1: The Quick Fix (Color Blending Modes)
If the glare isn’t completely blowing out the highlights and is mostly just a distracting green or purple tint, you can neutralize it using blending modes.
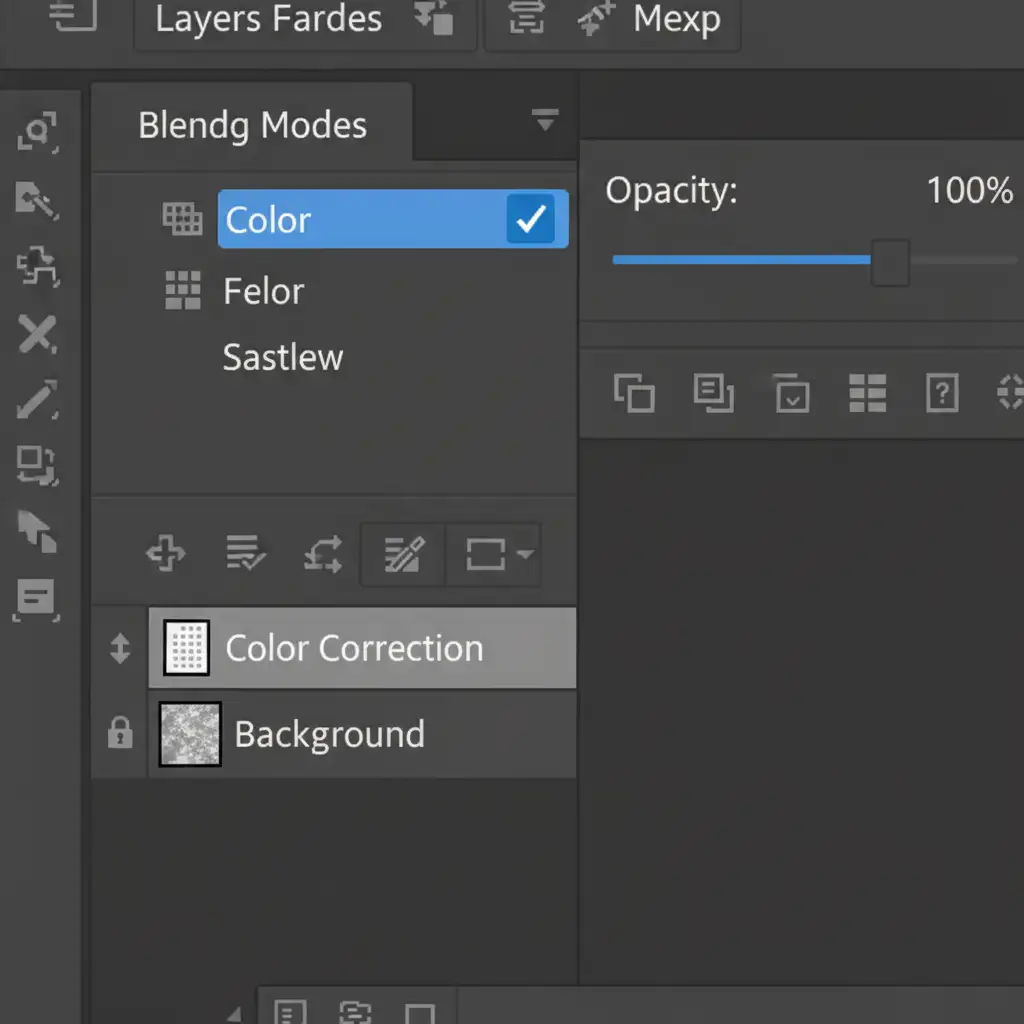
- Create a New Layer: Add a blank layer above your portrait image.
- Change the Blending Mode: Set the new layer’s blending mode to Color. This ensures you only affect the hue and saturation, leaving the underlying luminosity (brightness and texture) intact.
- Sample and Paint: Select the Brush Tool (B). Hold Alt (Windows) or Option (Mac) to sample a natural skin tone or eye color directly adjacent to the glare.
- Neutralize: Using a soft brush with low opacity (around 20-30%), gently paint over the chromatic aberration. The unnatural tint will vanish, blending seamlessly with the surrounding tones.
Method 2: The Pro Workaround (Frequency Separation)
When the glare consists of bright, blown-out white blobs that obscure the eyelashes, color correction isn’t enough. You need Frequency Separation to separate the color data from the texture data.
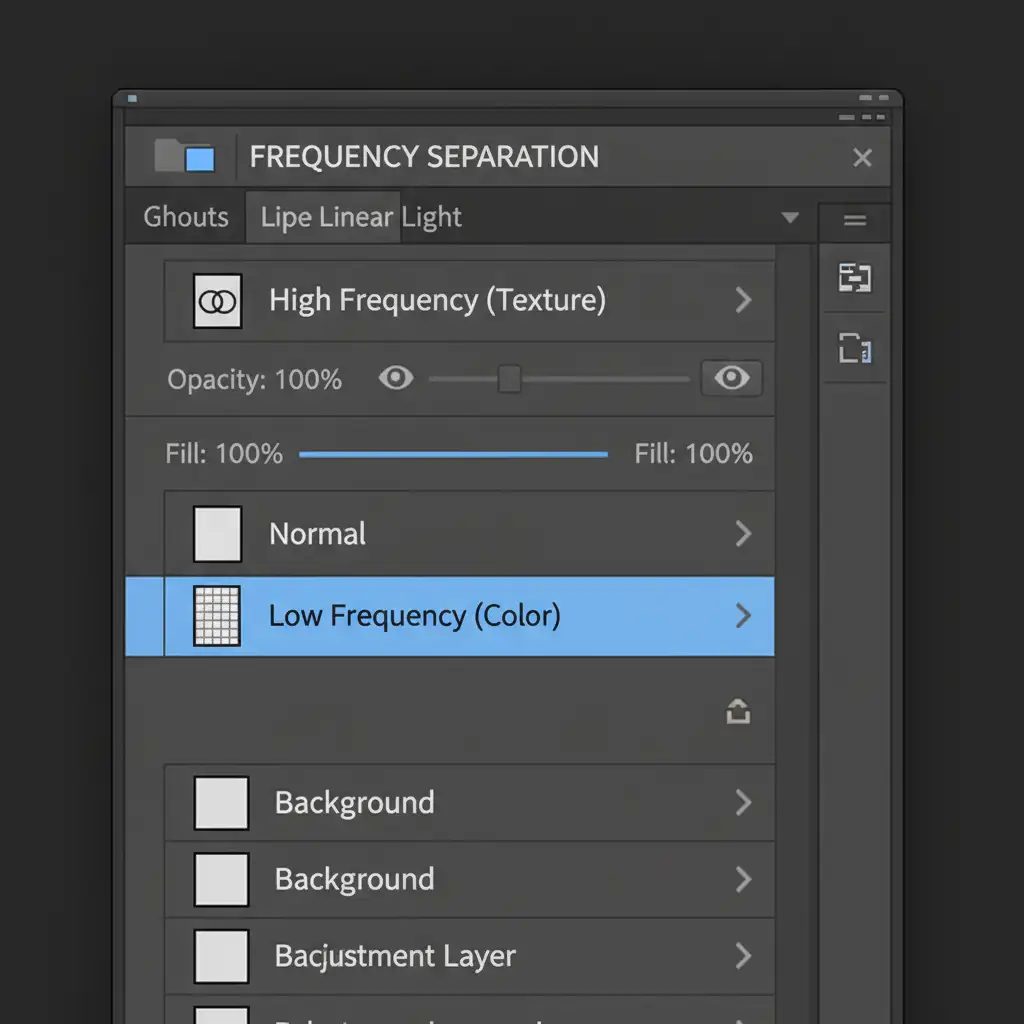
- Setup the Layers: Duplicate your background layer twice. Name the bottom duplicate “Low Frequency” (for color and tone) and the top duplicate “High Frequency” (for texture).
- Apply the Separation: Blur the Low Frequency layer just enough to hide the skin and eyelash texture. Then, apply the image (Image > Apply Image) to the High Frequency layer to extract the texture, setting its blending mode to Linear Light.
- Fix the Glare: Select the Low Frequency layer. Use the Mixer Brush or the Healing Brush Tool to gently blend the bright glare blobs into the surrounding skin and shadow tones.
- Preserve Texture: Because you are only painting on the color layer, the crisp reflections of the eye, eyelashes, and skin pores remain perfectly untouched on the High Frequency layer above it.
Method 3: The Technical Deep-Dive (Generative Fill + Precision Masking)
If the glare is incredibly dense, you can leverage Generative Fill—but you must constrain it with precise layer masking to protect the subject’s likeness.
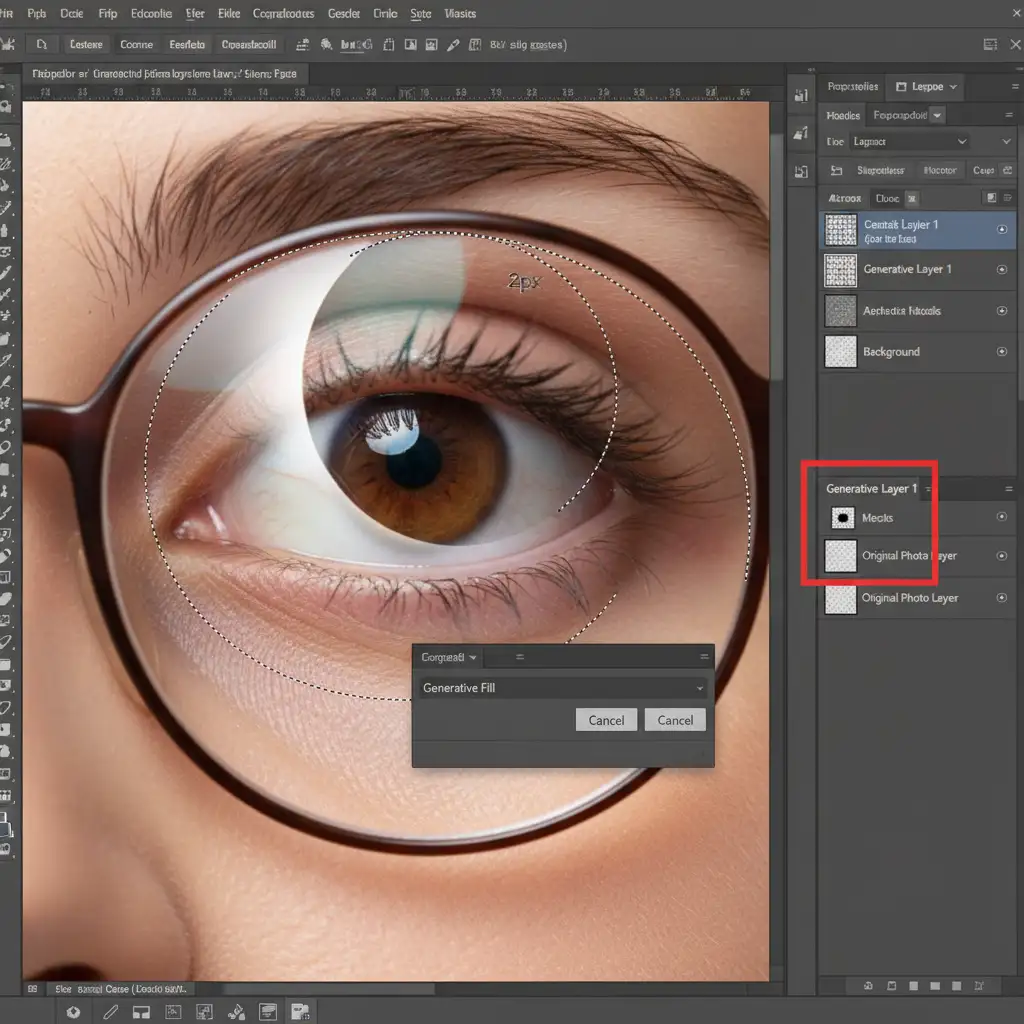
- Make a Precise Selection: Select the Polygonal Lasso Tool and set the feather to 2px for soft edges. Carefully outline the exact shape of the glare.
- Generate: Click the Generative Fill button on the contextual taskbar. You can leave the prompt blank or simply type “remove glare.” Hit generate.
- Restore the Eye: As expected, the AI might slightly alter the iris or pupil. To fix this, select the Layer Mask attached to your new Generative Fill layer.
- Paint to Reveal: Select a soft-edged brush, set your foreground color to black, and paint carefully over the pupil and iris on the mask. This hides the AI-generated eye and reveals the subject’s true, original eye underneath, giving you the best of both worlds.
Outsource Your Portrait Retouching to the Experts
Fixing a single image with complex glasses glare takes time and patience. But what happens when you have a wedding gallery or a corporate headshot batch with hundreds of overcast portraits suffering from the exact same chromatic aberration?
Don’t let tedious pixel-pushing eat into your profitable shooting time.
Image Work India and Cloud Retouch specialize in high-end, non-destructive portrait retouching. Our team of expert retouchers knows exactly how to handle complex lens flares, frequency separation, and advanced masking to ensure your subjects look flawless and completely natural.
Struggling to fix glasses glare across hundreds of gallery images? Let us handle the heavy lifting. Contact Image Work India and Cloud Retouch today for flawless, high-end portrait retouching that saves your studio hours of editing.


