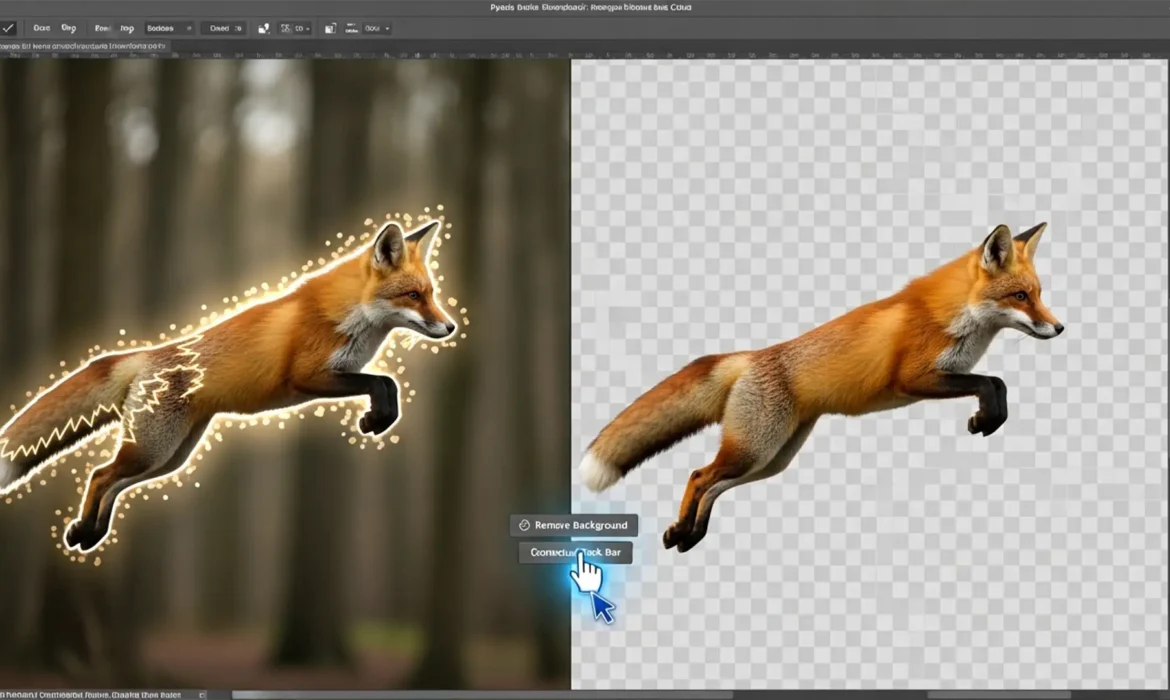
You clicked the magical “Remove Background” button in Photoshop, expecting a flawless cutout. Instead, you are staring at a jagged, pixelated mess. If you are dealing with ugly edge halos, color ghosting, or weird lighting glitches around your subject, you are not alone.
While the Generative AI updates in Photoshop v24.x and v25.x have revolutionized photo editing, the AI masking models still struggle heavily with anti-aliasing and sub-pixel transparency. This leaves professional editors spending hours cleaning up the AI’s mistakes.
In this guide, we will walk you through exactly how to execute a Photoshop Remove Background artifacts fix, turning amateur, glitchy cutouts into studio-quality masking.
Why Does Photoshop’s AI Leave Edge Halos?
Tools like the Contextual Task Bar’s Remove Background and Generative Fill rely on machine learning to detect subject boundaries. However, when dealing with complex edges—like hair, fur, or out-of-focus clothing—the AI often fails to properly calculate anti-aliasing (the smooth blending of edge pixels).
This results in three common issues:
- Edge Halos: A glowing ring of the original background color left around the subject.
- Pixelation: Hard, jagged steps instead of a smooth curve.
- Color Contamination: Environmental color cast from the removed background bleeding onto the subject’s edges.
Here are the three best methods to clean up these masking artifacts.
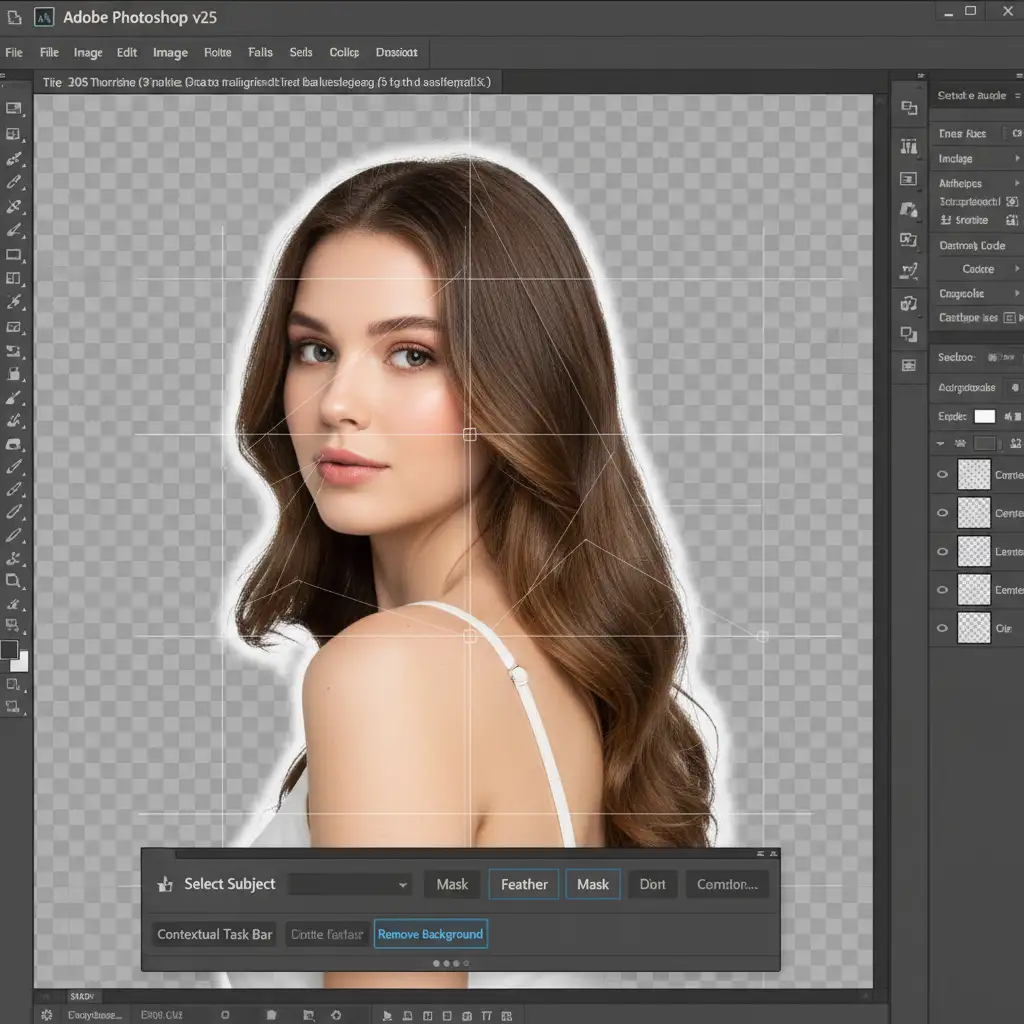
Method A: The Quick Fix (Select and Mask)
If your cutout suffers from minor color contamination and rough edges, the fastest Photoshop Remove Background artifacts fix relies on Photoshop’s dedicated masking workspace.
Step-by-Step Fix:
- Open Select and Mask: Double-click the black-and-white layer mask generated by the AI tool. This opens the Select and Mask workspace.
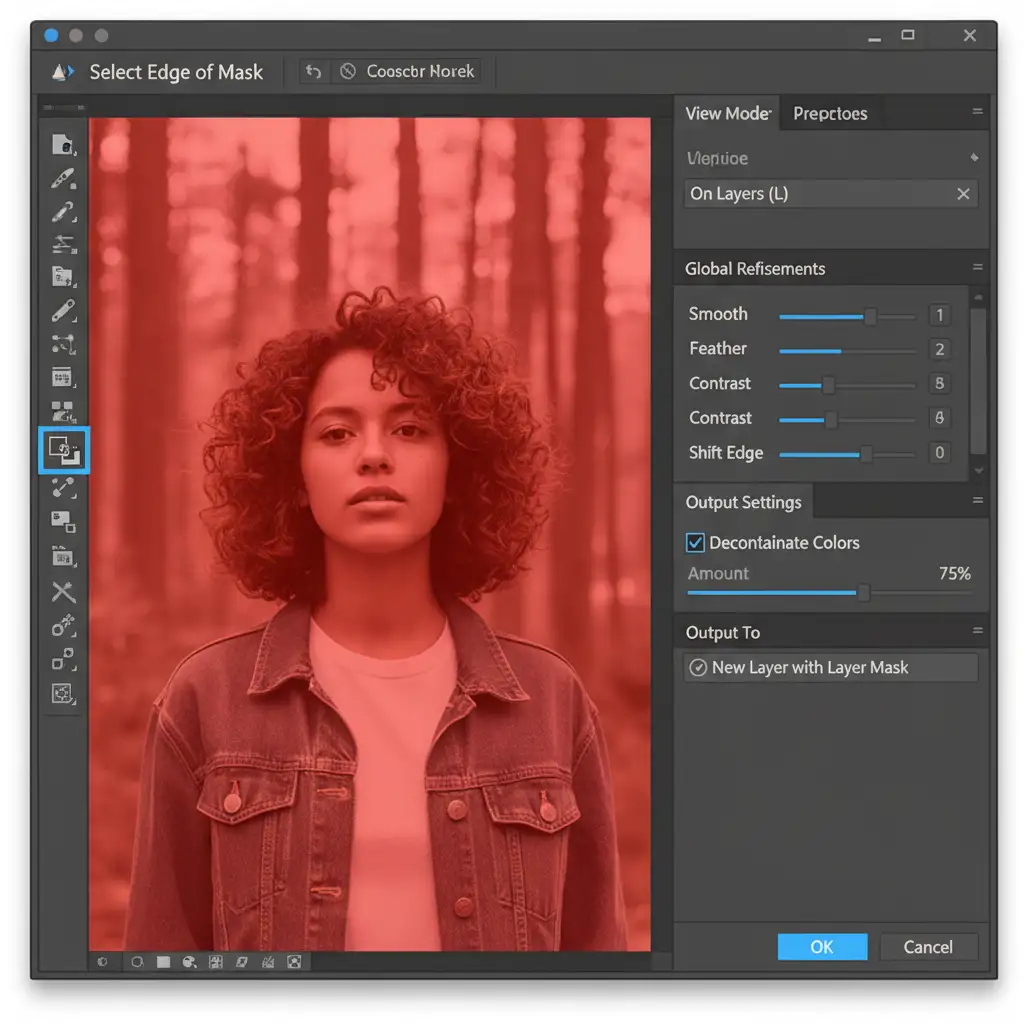
- Refine the Edges: Select the Refine Edge Brush Tool from the left toolbar. Carefully brush over the artifact boundaries, focusing on complex areas like hair or fur. This forces Photoshop to recalculate the sub-pixel transparency.
- Remove Color Casts: Scroll down to the Output Settings on the right panel and check the Decontaminate Colors box. This will automatically strip away the environmental ghosting left by the old background.
- Output: Set your output to New Layer with Layer Mask to preserve your original AI mask non-destructively.
Method B: The Pro Workaround (Contract and Defringe)
Sometimes, the AI mask is generally accurate but sits exactly 1 or 2 pixels too far outside the subject, creating a persistent halo. Instead of manually painting the mask, you can contract it mathematically.
1. Contract the Mask Edge
Select the layer mask in your Layers panel. Navigate to Filter > Other > Minimum.
- Set the Radius to 1px.
- Change the Preserve dropdown to Roundness (this prevents the filter from creating sharp, unnatural corners). This will uniformly shrink the mask inward, hiding the edge halos instantly.
2. Remove Ghosting with Defringe
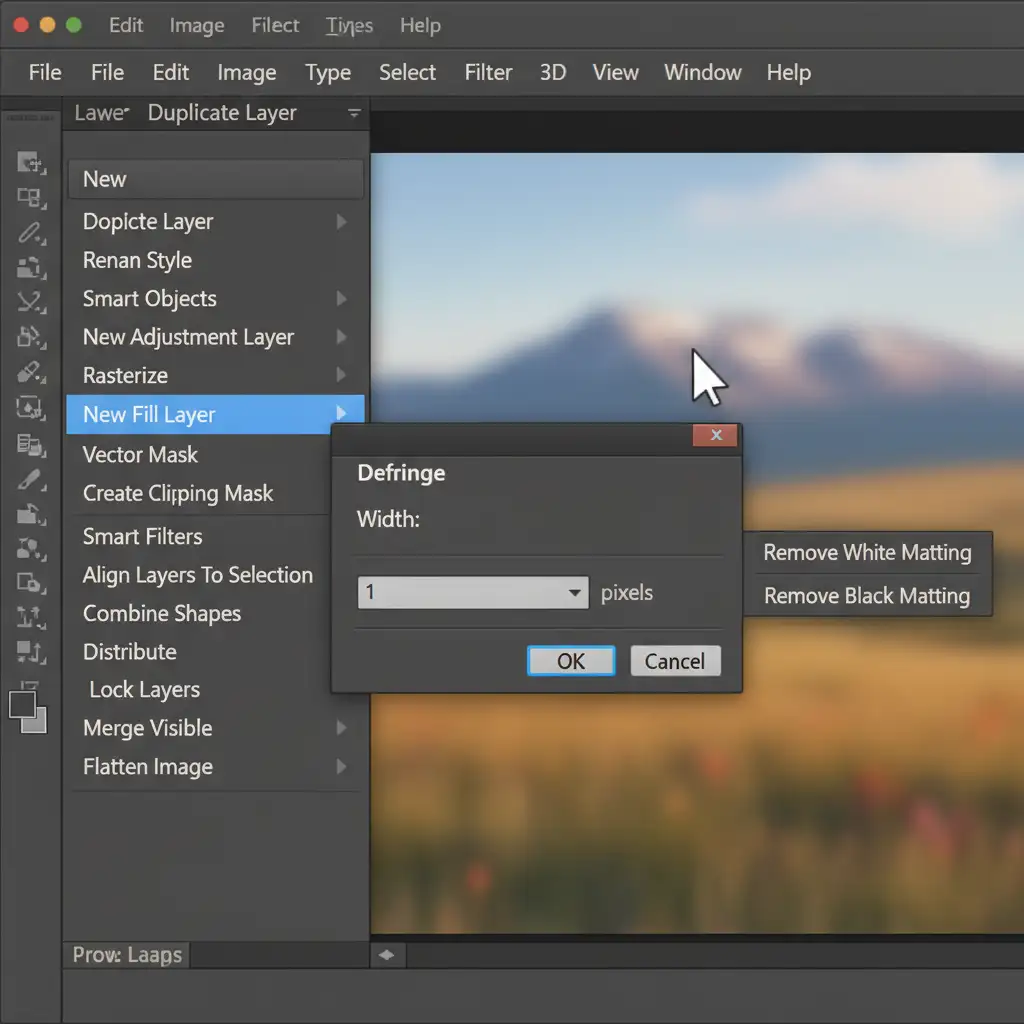
If a dark or light fringe remains after contracting the mask, apply the Defringe tool.
- Select the layer thumbnail (not the mask).
- Go to Layer > Matting > Defringe.
- Enter a width of 1 or 2 pixels and click OK. This replaces the edge pixels with the colors of the adjacent interior pixels, effectively erasing the artifact.
Method C: The Technical Deep-Dive (Paths & GPU Fixes)
For high-end commercial retouching, relying entirely on AI is a risk. The most reliable Photoshop Remove Background artifacts fix is a hybrid approach.
The Hybrid Clipping Path Technique
Generative Fill and automatic background removal tools should ideally be reserved for complex textures (like hair). For solid edges (like clothing, products, or skin), the AI is often inferior to traditional methods.
- Use the Pen Tool to draw a precise, vector-based clipping path around the solid edges of your subject.
- Convert the path to a selection, and apply it to your layer mask.
- Only use the AI or Refine Edge tools on the remaining complex edges. This guarantees perfect anti-aliasing on hard surfaces.
Fixing GPU Rendering Glitches
Occasionally, Generative AI tools will leave bizarre, blocky rendering artifacts that aren’t masking errors, but display glitches. If you notice square patches of mismatched lighting or pixelation that change when you zoom in and out, your graphics card may be misinterpreting the AI layer.
- Navigate to Edit > Preferences > Performance (Windows) or Photoshop > Settings > Performance (Mac).
- Uncheck Use Graphics Processor (or disable GPU compositing).
- Restart Photoshop. This forces the CPU to render the image, often clearing up Generative Fill display bugs.
Stop Wasting Time on Masking Artifacts
Knowing how to execute a Photoshop Remove Background artifacts fix is essential for modern editors. However, manually applying Minimum filters, defringing edges, and painting layer masks on hundreds of images is a massive, unprofitable time-drain.
If you are processing high-volume e-commerce imagery, fashion editorials, or real estate photos, let the experts handle the tedious work.
At Image Work India and Cloud Retouch, our professional retouchers don’t rely on glitchy automated buttons. We deliver flawless clipping paths, perfect anti-aliasing, and pixel-perfect edge refinement on every single image.
[Contact Image Work India today] to outsource your image masking and background removal, and get back to focusing on what you do best.


