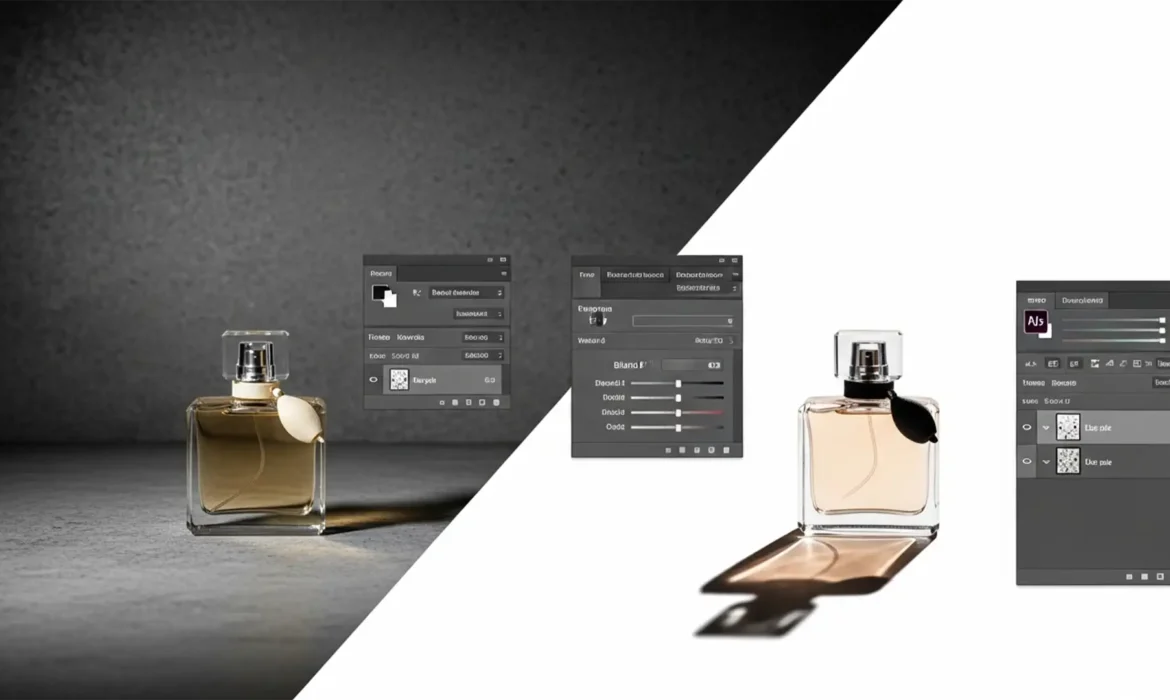
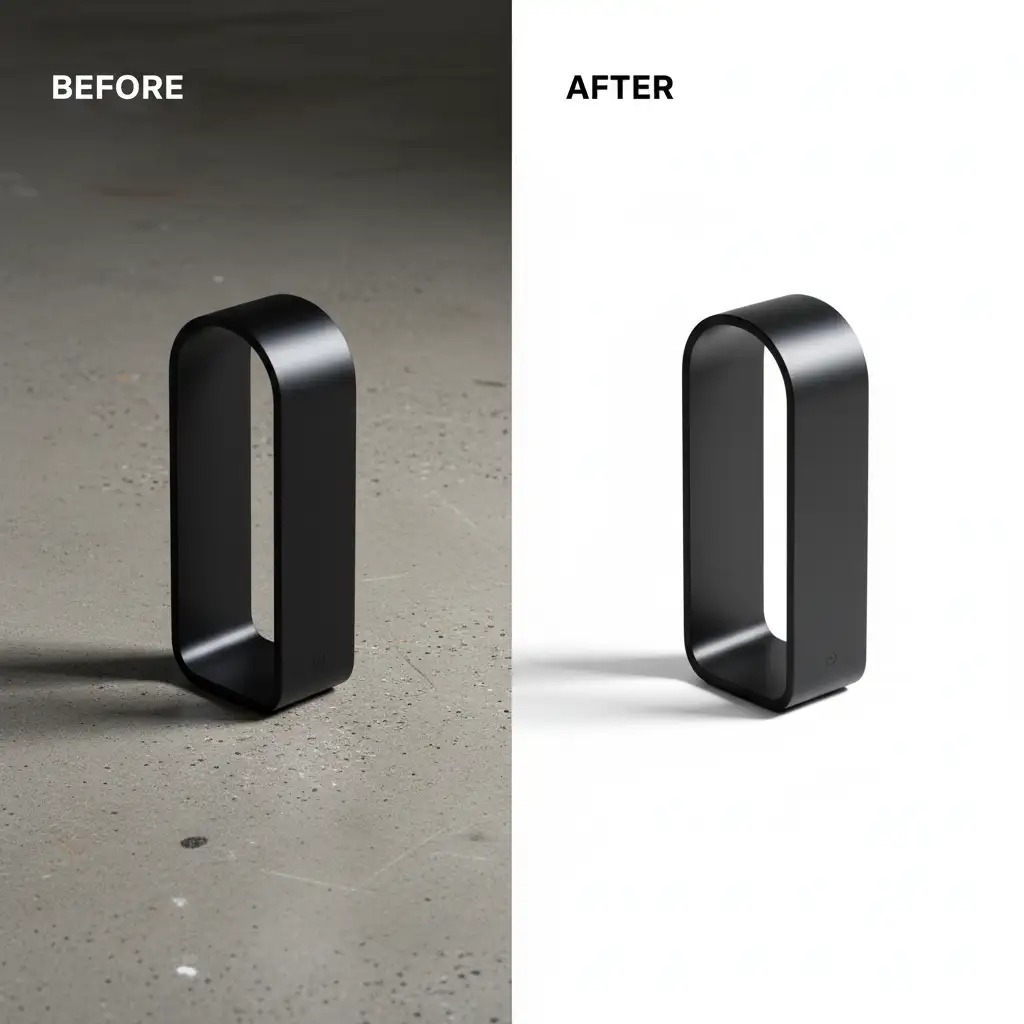
Nothing ruins high-end product photography faster than the dreaded “floating product” effect. When shooting items on textured or imperfect studio backdrops, preserving the natural drop shadow is a major technical hurdle. Shadows are not solid black pixels; they are translucent reductions in light. If you try to isolate a shadow using the Magic Wand or Quick Select tool, you will inevitably end up with jagged, artificial edges and severe pixel haloing.
To successfully extract original shadow from complex background setups in Photoshop v25.x, you must stop selecting pixels and start manipulating luminosity values.
In this guide, we will break down three professional, non-destructive editing workflows to seamlessly isolate original shadows, perfectly maintaining natural light falloff without carrying over unwanted background textures.
Why Standard Selection Tools Fail on Shadows
The core issue with shadow extraction lies in how digital sensors capture light. A natural shadow is a gradient of opacity. When product photographers shoot e-commerce items, the backdrop’s texture blends with the shadow’s gradient curve. Standard selection tools look for hard contrast edges, which simply do not exist in soft shadows.
To achieve a flawless composite, we must map the shadow’s exact gradient curve to an Alpha Channel or utilize specific blending algorithms. Here are the three best methods to achieve this.
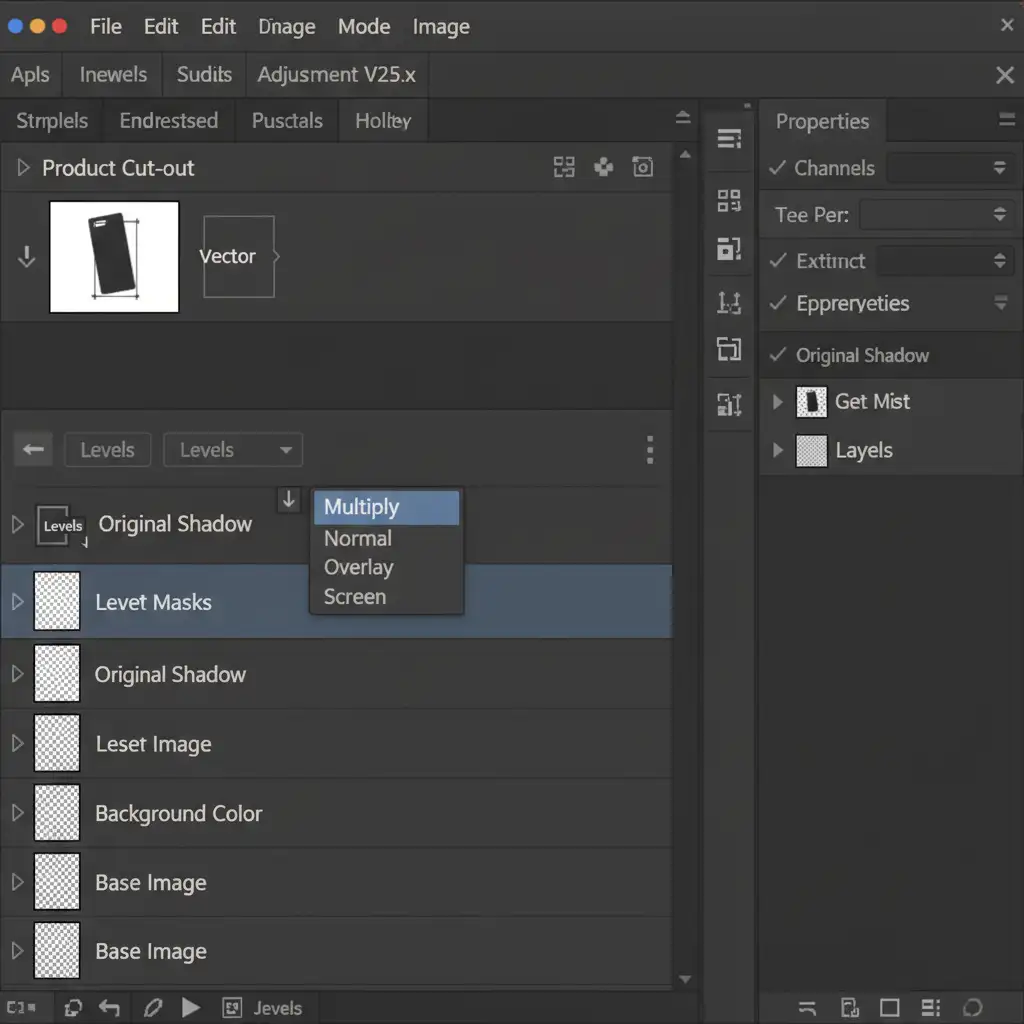
Method 1: The Multiply Blending Mode Technique (The Quick Fix)
If your background is relatively light but has minor textures or imperfections, the Multiply blend mode is the fastest way to extract the shadow. Multiply calculations darken the base color by multiplying it with the blend color, effectively turning pure white transparent while keeping darker shadow pixels intact.
Step-by-Step Workflow:
- Duplicate your background layer to preserve the original image data.
- Isolate the product: Create a precise Clipping Path using the Pen Tool, cut out the product, and place it on a new top layer.
- Desaturate the shadow: Select the duplicated background layer and press Ctrl+Shift+U (Windows) or Cmd+Shift+U (Mac) to remove all color data.
- Apply the Blend Mode: Change this desaturated layer’s Blending Mode to Multiply.
- Clean the background: Add a Levels Adjustment layer, clip it to the Multiply layer, and push the white slider to the left until the background texture turns pure white (which renders as transparent in Multiply mode), leaving only the smooth shadow.
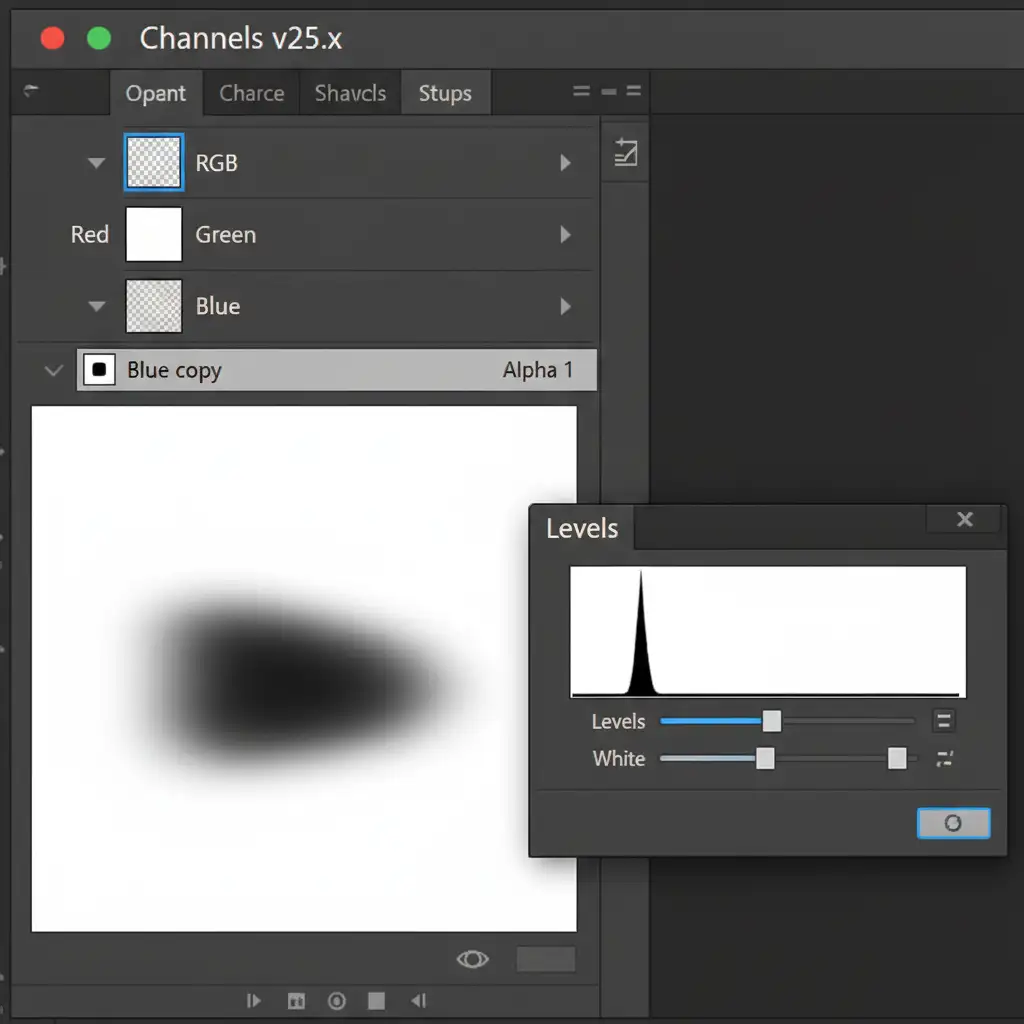
Method 2: Alpha Channel Extraction (The Pro Workaround)
When dealing with highly complex backgrounds where the Multiply method leaves too much dirt, Alpha Channels offer surgical precision. By extracting luminosity data directly from the color channels, you can create a perfect mask of the shadow’s light falloff.
Step-by-Step Workflow:
- Find the contrast: Open the Channels panel and click through the Red, Green, and Blue channels. Identify the channel with the most contrast between the shadow and the background (usually the Blue or Red channel).
- Duplicate the channel: Drag this high-contrast channel to the “New Channel” icon to duplicate it.
- Crush the values: Press Ctrl+L / Cmd+L to open the Levels dialogue for this specific channel. Crush the blacks and whites to isolate the shadow’s gradient, dropping out the background texture.
- Load as a selection: Ctrl-click (or Cmd-click) the thumbnail of the duplicated channel to load its luminosity values as an active selection.
- Invert and Fill: Invert the selection (Ctrl+Shift+I), create a new blank layer, and fill the active selection with pure black.
- Refine: Apply a Layer Mask to this new shadow layer to manually brush away any remaining background artifacts using a soft black brush.
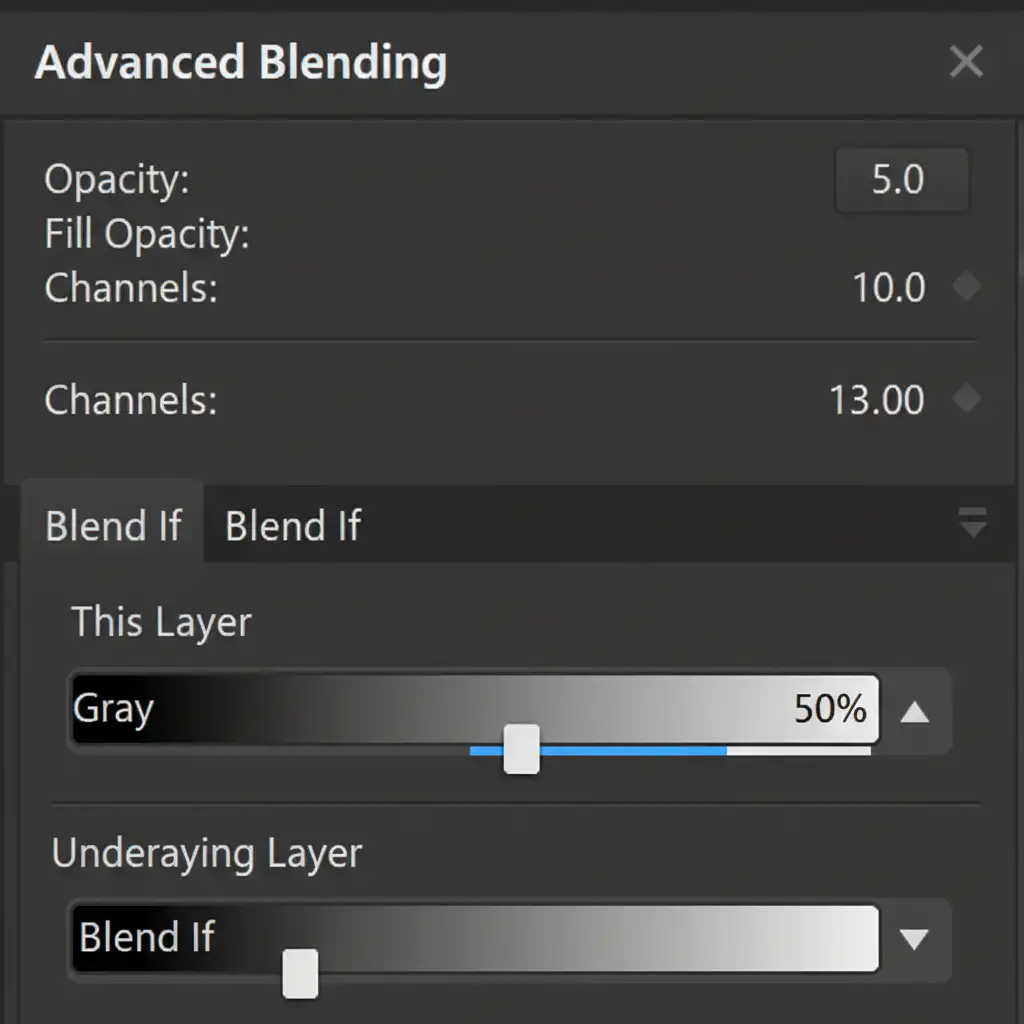
Method 3: Advanced Precision Using Blend If Sliders (Technical Deep-Dive)
For the ultimate non-destructive editing workflow, Photoshop’s Blend If sliders allow you to drop out complex background textures based on exact luminosity values, preserving the most realistic shadow gradients possible.
Step-by-Step Workflow:
- Setup the layers: Create a solid color adjustment layer (e.g., pure white) and place it below your cleanly cut-out product layer.
- Position the shadow layer: Place the original, unedited background layer above the solid white layer, but below the cut-out product layer.
- Open Layer Style: Double-click the original background layer to open the Layer Style dialogue box.
- Split the sliders: Look at the Blend If (Gray) section at the bottom. Hold Alt (Windows) or Option (Mac) and click the right-hand white slider on the ‘This Layer’ bar to split it in half.
- Dial in the shadow: Drag the left half of the split slider towards the shadows. Watch the canvas as the complex background seamlessly drops out, leaving only the darkest shadow pixels blending perfectly onto your new pure white layer below.
The Final Result: Flawless Realism
By avoiding standard selection tools and relying on luminosity-based extractions, your final image retains the exact spatial relationship and lighting of the original shot. There is no pixel haloing, no jagged edges, and the product sits naturally on its new background.
Scale Your Product Editing with Image Work India
Learning how to extract original shadow from complex background setups is essential for a single hero image, but what happens when you have thousands of product SKUs waiting to go live? Manually adjusting Alpha Channels and Blend If sliders for high-volume catalogs is a massive drain on your time and resources.
That is where we step in. Image Work India and Cloud Retouch specialize in high-volume, premium image editing for global e-commerce brands and professional photographers. Our team of expert retouchers handles complex clipping paths, advanced masking, and flawless original shadow extractions at scale.
Stop struggling with floating products and pixel halos. Let us ensure your entire catalog looks premium, realistic, and ready to convert on any marketplace. Contact Image Work India today for a free trial and see the difference pixel-perfect shadow extraction makes.


