
You’ve just generated a breathtaking portrait in Midjourney v6 or Stable Diffusion XL. The lighting is cinematic, the composition is flawless, and the subject’s face is perfect. Then, you look down. The subject has seven fused fingers bending at impossible angles. Sound familiar?
Fixing AI-generated hand distortion in portraits is the new standard in photo retouching. Because AI models struggle with complex skeletal structures, these anatomical anomalies ruin otherwise high-quality images. Simple spot healing won’t cut it. You need structural reconstruction to match skin texture, lighting direction, and anatomical proportion.
Here is the definitive guide to performing digital hand surgery in Photoshop.
Why AI Struggles with Anatomical Proportion
Generative AI models do not “understand” human anatomy. They predict pixel patterns based on training data. Because hands are highly articulated and appear in countless poses, angles, and lighting conditions, the AI frequently misinterprets the data, resulting in missing fingernails, extra digits, or plastic-looking skin.
To fix these issues in Photoshop (v25.x+), you must move beyond basic retouching and utilize advanced compositing and structural editing.
Method 1: The Quick Fix – Generative Fill Refinement
For minor distortions—like a slightly fused digit or a missing fingernail—Photoshop’s native AI tools can often handle the heavy lifting if guided correctly.
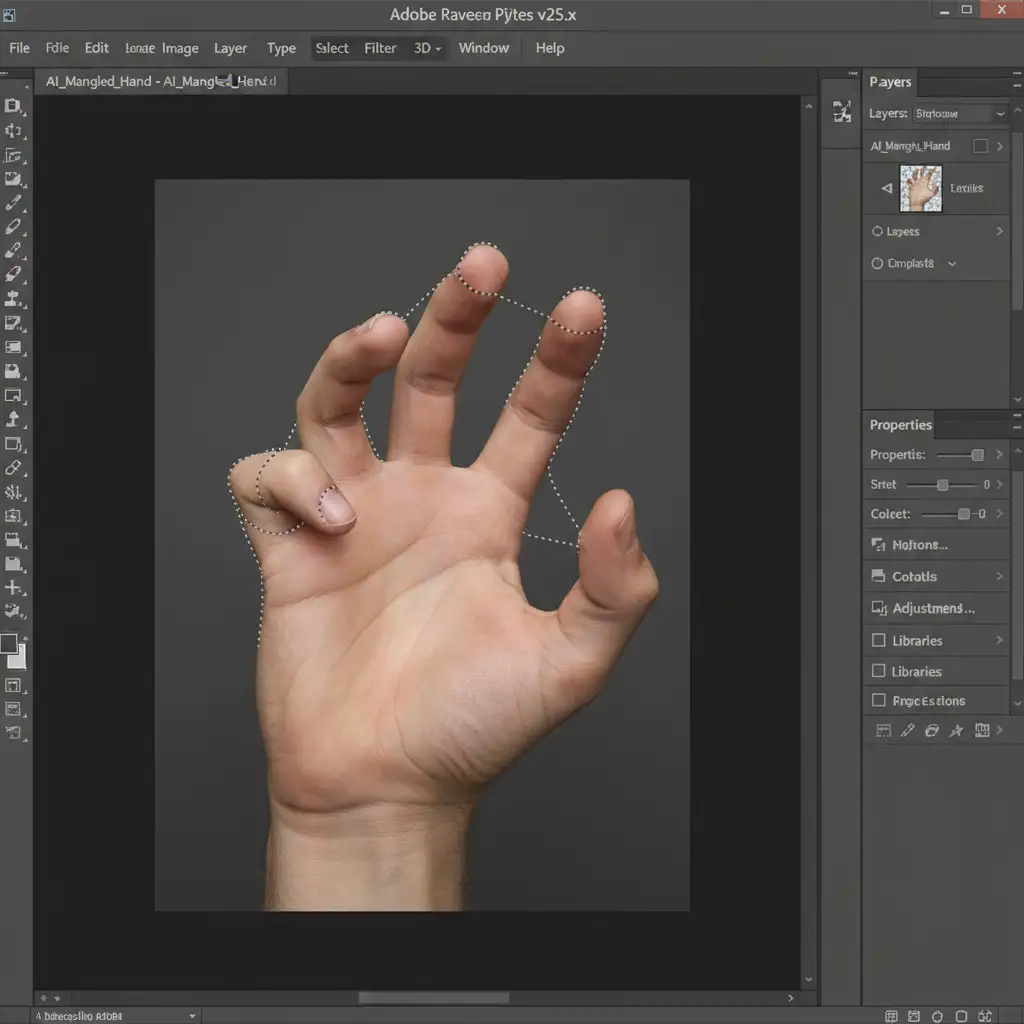
Step 1: Isolate the Distorted Area
Use the standard Lasso Tool to draw a precise selection around the mangled fingers. Keep the selection tight but leave enough surrounding pixels for the AI to understand the context of the hand’s lighting and angle.
Step 2: Prompting the Contextual Task Bar
Click Generative Fill on the Contextual Task Bar. Do not leave the prompt blank. To force the AI to correct the anatomical proportion, enter a highly specific prompt.
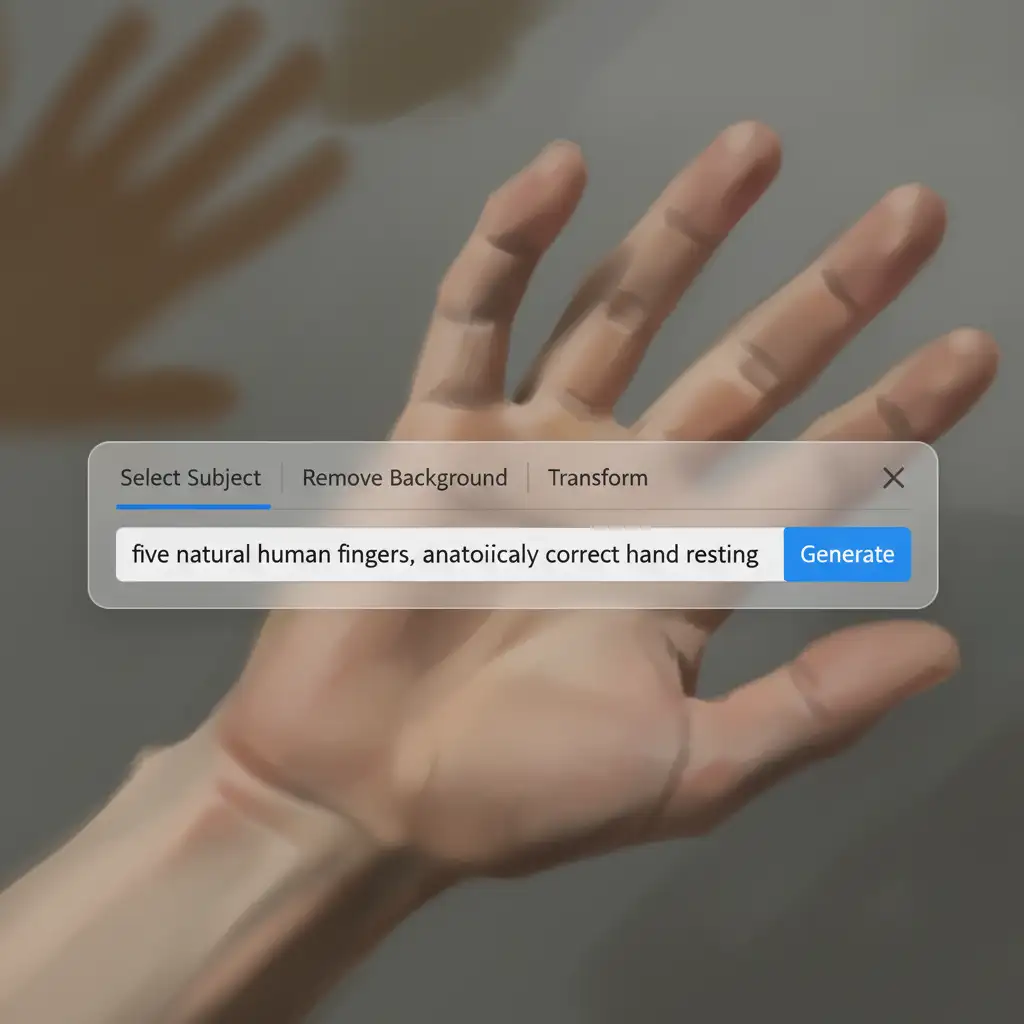
Type: ‘five natural human fingers, anatomically correct hand resting’. Click generate and cycle through the three variations. If the results look pasted, proceed to Method 2.
Method 2: The Pro Workaround – Compositing Real Hands
When Generative Fill fails, you must rely on traditional compositing. This involves sourcing a stock photo of a real hand that matches your portrait’s lighting direction and camera angle.
Step 1: Import and Convert to Smart Objects
Place your sourced hand as a New Layer above your AI portrait. Immediately right-click the layer and select Convert to Smart Object. This preserves the high-resolution data of the stock hand during transformations.
Step 2: Pose with Puppet Warp
Lower the opacity of the stock hand to 50% so you can see the distorted AI hand beneath it. Go to Edit > Puppet Warp.
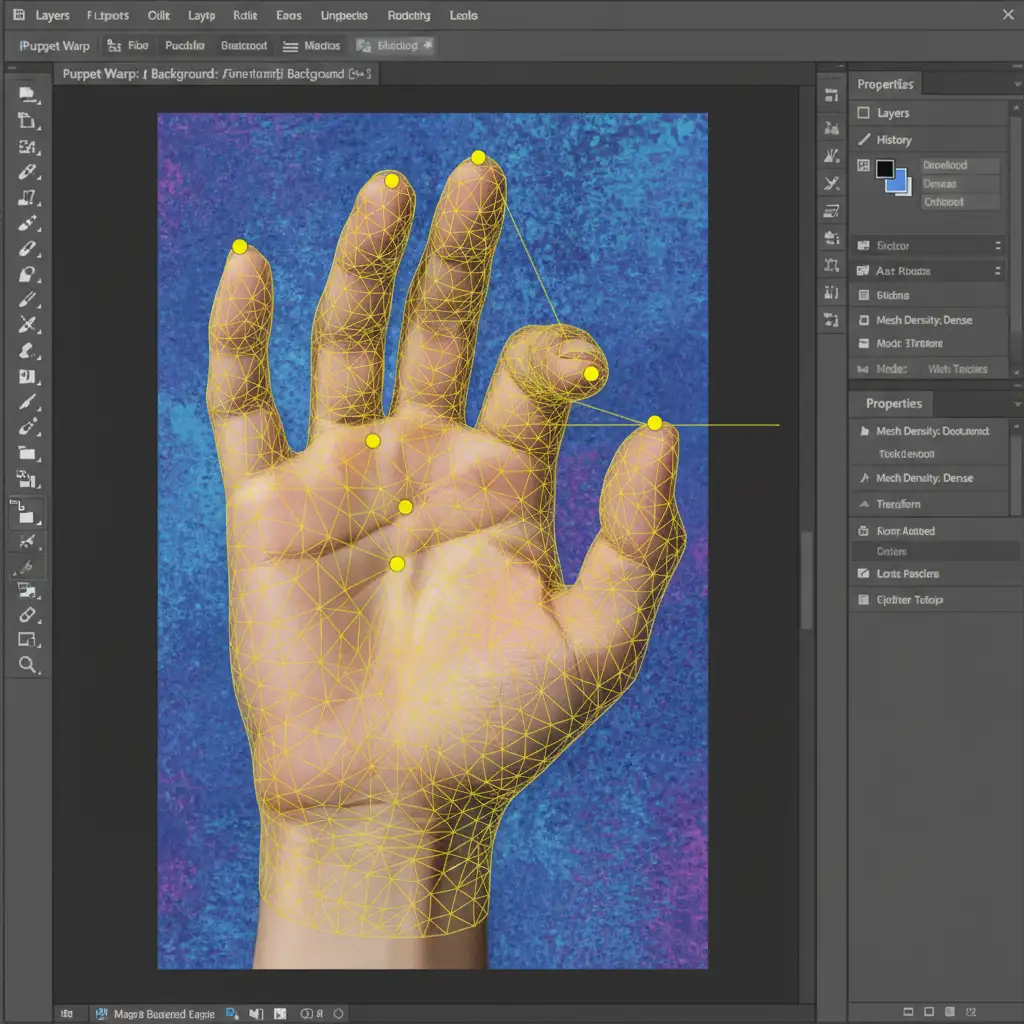
Place pins on the wrist, knuckles, and fingertips. Drag the pins to match the exact pose required for your portrait. Once aligned, hit Enter to apply the mesh.
Step 3: Seamless Layer Masking
Return the layer opacity to 100%. Add a Layer Mask to your Smart Object. Use a soft-edge brush painted with black to seamlessly blend the wrist and edges of the composited hand into the original subject’s arm.
Method 3: The Technical Deep-Dive – Frequency Separation & Liquify
For advanced cases where you need to salvage the existing AI hand but fix severe structural issues, combining Frequency Separation with the Liquify tool is the industry-standard approach.
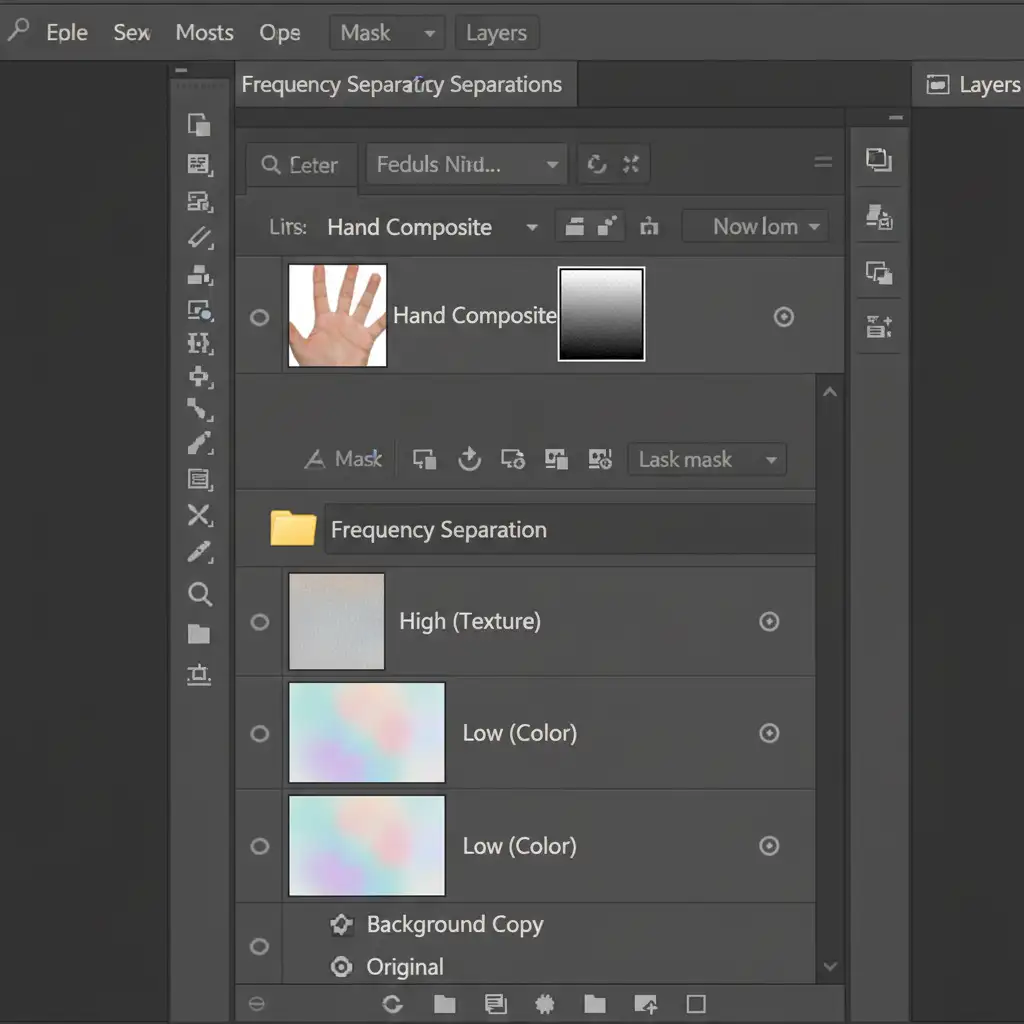
Step 1: Set Up Frequency Separation
Duplicate your background layer twice. Group them. Name the top layer “High (Texture)” and the bottom layer “Low (Color)”. Apply a Gaussian Blur to the Low layer, and an Apply Image calculation to the High layer. This separates the skin’s texture (pores, wrinkles) from its underlying color and lighting.
Step 2: Structural Rebuilding with Liquify
Create a merged stamp layer (Ctrl+Alt+Shift+E or Cmd+Opt+Shift+E). Go to Filter > Liquify. Use the Forward Warp Tool to literally push and pull disjointed knuckles and bent fingers back into correct anatomical positions.
Step 3: Texture and Lighting Polish
Return to your Frequency Separation group.
- Select the Low (Color) layer and use a soft Healing Brush to correct blotchy AI lighting and unnatural shadows.
- Select the High (Texture) layer and use the Clone Stamp Tool to rebuild missing skin pores, fingernail ridges, and knuckle wrinkles sourced from healthy parts of the image.
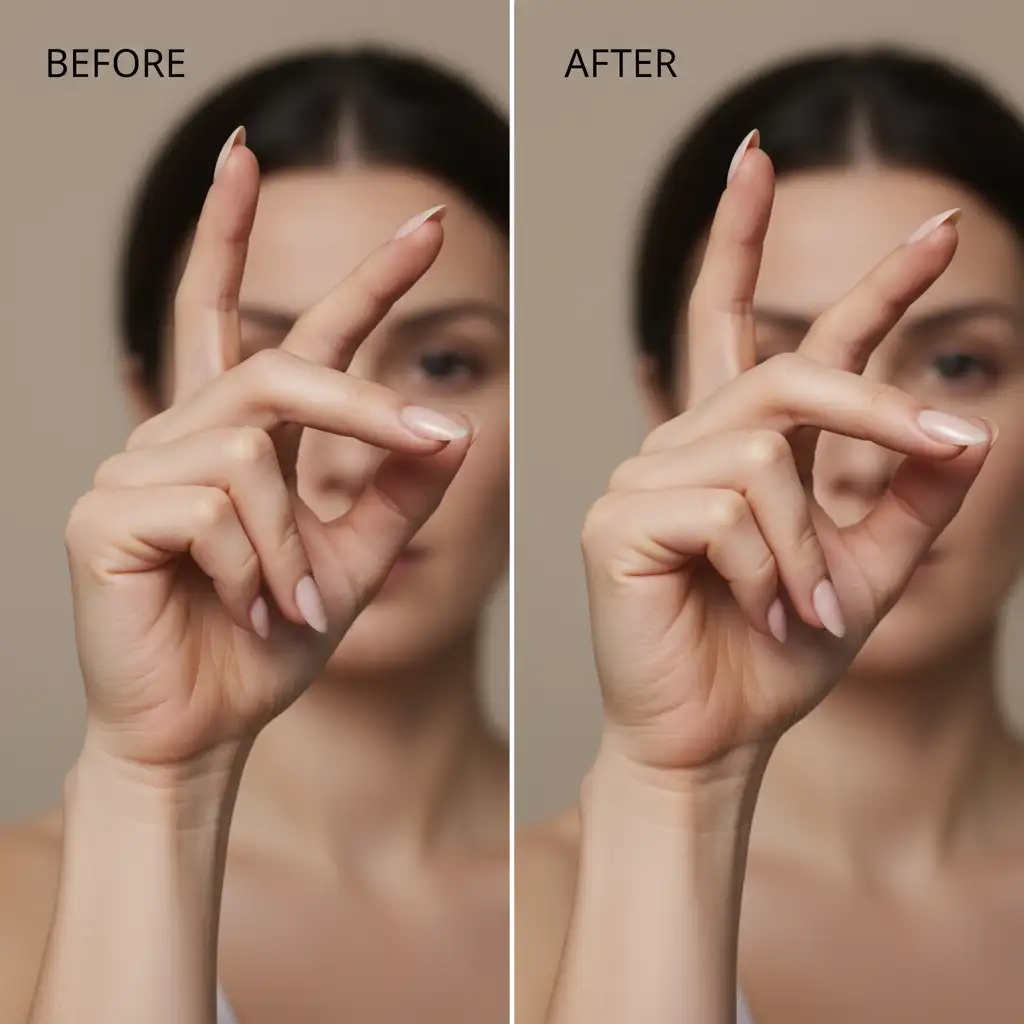
Before and After: The Final Polish
By combining these methods, you transition a distracting, distorted artifact into a photorealistic element that grounds your image in reality.
Scale Your AI Retouching with Image Work India
Fixing AI generated hand distortion in portraits is a meticulous, time-consuming process. While knowing how to use Frequency Separation, Puppet Warp, and Generative Fill is essential, executing these techniques on hundreds of AI-generated assets can bottleneck your entire production pipeline.
Struggling to fix complex AI artifacts in your high-volume projects? Outsource your post-production to Image Work India and Cloud Retouch. Our team of expert retouchers specializes in anatomical correction, advanced compositing, and flawless texture matching. We deliver anatomically perfect, high-end retouching at scale, so you can focus on creative generation while we handle the pixel-perfect polishing.
Contact Image Work India today to elevate your AI-generated imagery to professional standards.


