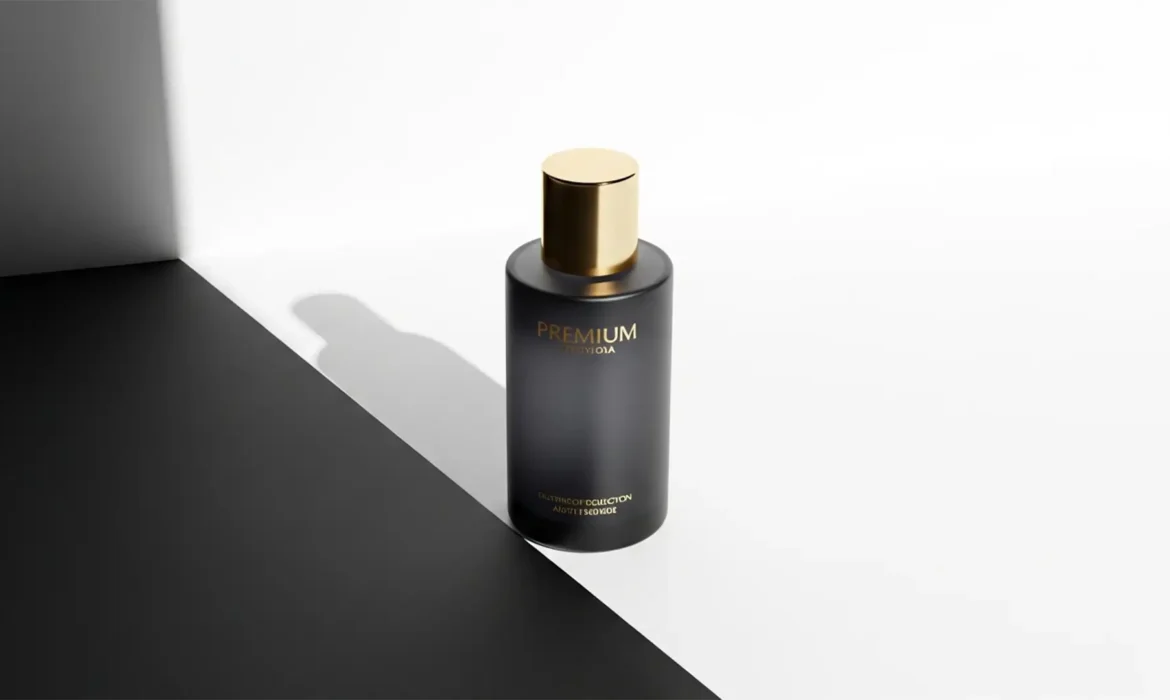
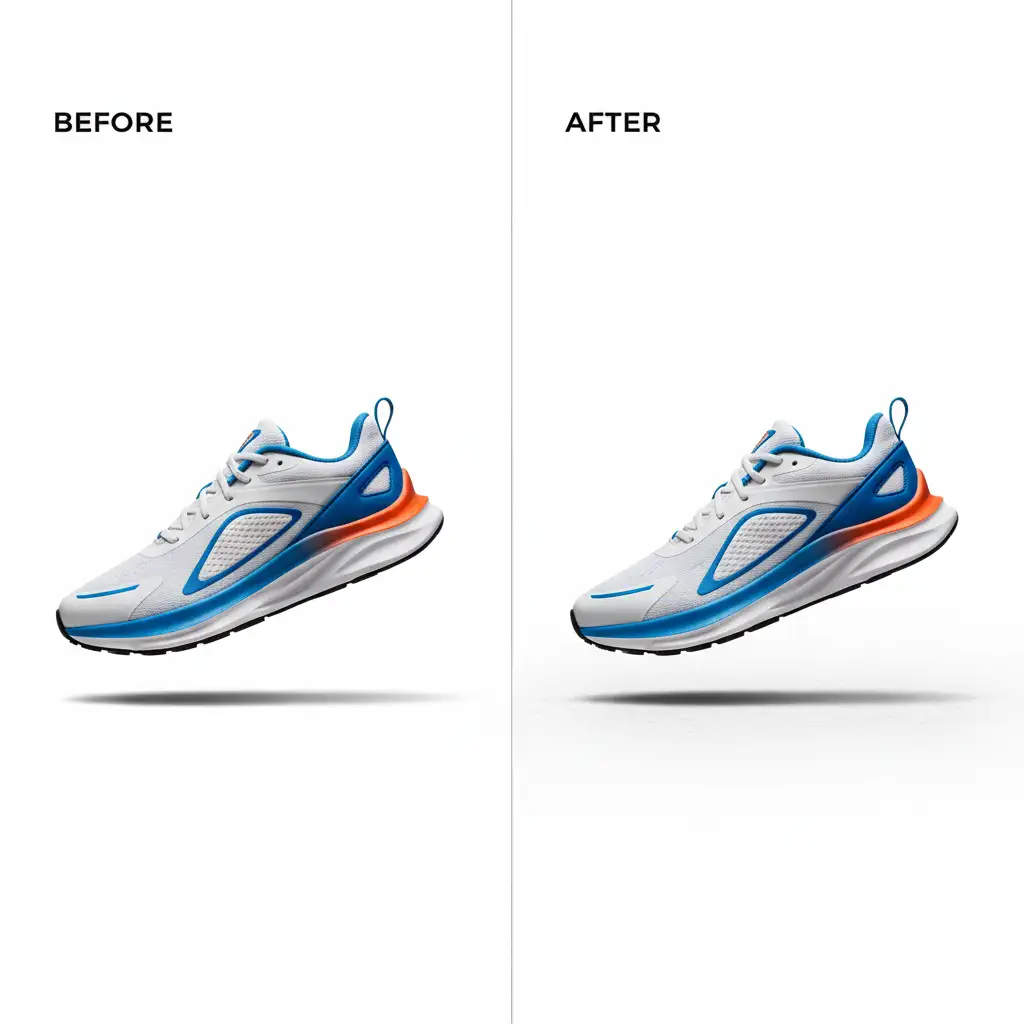
You’ve just spent hours executing the perfect clipping path or using the latest AI selection tool to isolate your e-commerce products. The backgrounds are perfectly white, the edges are crisp, but something is horribly wrong. Your products look like they are hovering in mid-air.
This is “floating product syndrome.” When you strip away a product’s original environment, you also strip away the physics of light that anchor it to a surface. Slapping on a standard Photoshop drop shadow layer style won’t fix it—it just creates a flat, 2D offset that looks undeniably fake.
To create realistic product shadows after background removal, you must replicate real-world light physics. This guide breaks down the exact 2024 Photoshop (v25.x) workflows to ground your products perfectly.
Understanding the Physics of a Real Shadow
Before opening Photoshop, it is critical to understand what makes a shadow look real to the human eye. A physically accurate shadow consists of two main components:
- Ambient Occlusion (The Contact Shadow): This is the very dark, sharp, and narrow line right where the object physically touches the floor plane. Light cannot easily reach this tight crevice.
- Light Attenuation (The Cast Shadow): This is the broader shadow cast by the object blocking the main light source. It is darker and sharper closer to the object, and becomes softer, lighter, and more diffused (blurred) as it extends outward.
If your editing workflow ignores either of these elements, the brain immediately registers the image as a poor photoshop job.
3 Workflows for Realistic Product Shadows After Background Removal
Depending on your time constraints and the complexity of the product, Adobe Photoshop v25.x offers three distinct methods to rebuild environmental shadows.
Method 1: The Quick Fix (Drop Shadow Layer Extraction)
If you are processing hundreds of SKUs and need a fast, acceptable grounding effect, extracting a standard drop shadow is your best starting point.
- Select your isolated product layer and apply a standard fx Drop Shadow.
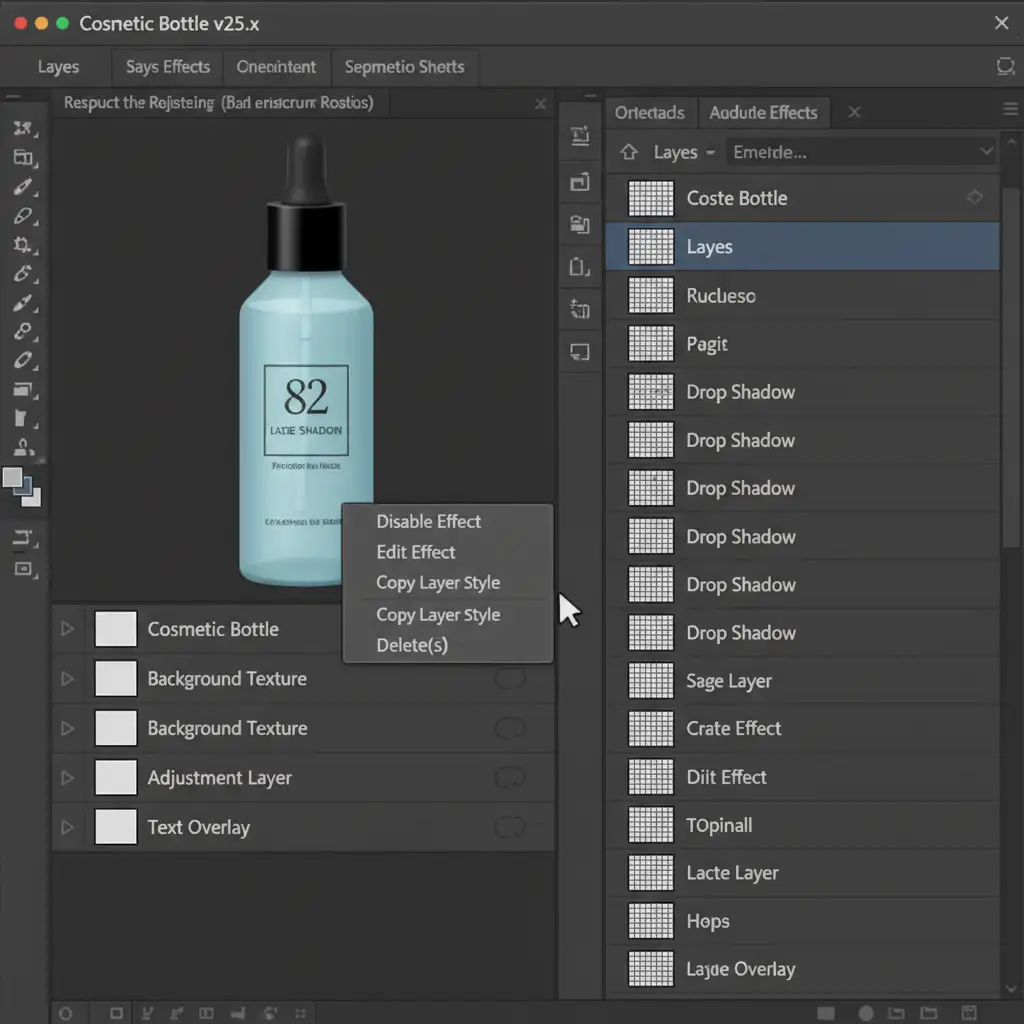
- In the Layers panel, right-click the word ‘Drop Shadow’ located beneath your product layer.
- Select Create Layer from the context menu. This detaches the shadow from the layer style and turns it into its own editable pixel layer.
- Select this new shadow layer and press Ctrl+T (Windows) or Cmd+T (Mac) to open the Transform tool.
- Right-click inside the bounding box and choose Distort.
- Pull the top transform nodes down and away to lay the shadow flat onto the 3D floor plane.
- Lower the layer opacity to roughly 30% for a subtle finish.
Method 2: The Pro Workaround (Manual Brush Layering)
For complex objects or when you need absolute control over the lighting direction, painting the shadows manually yields incredibly realistic results.
- Create two new blank layers underneath your isolated product layer.
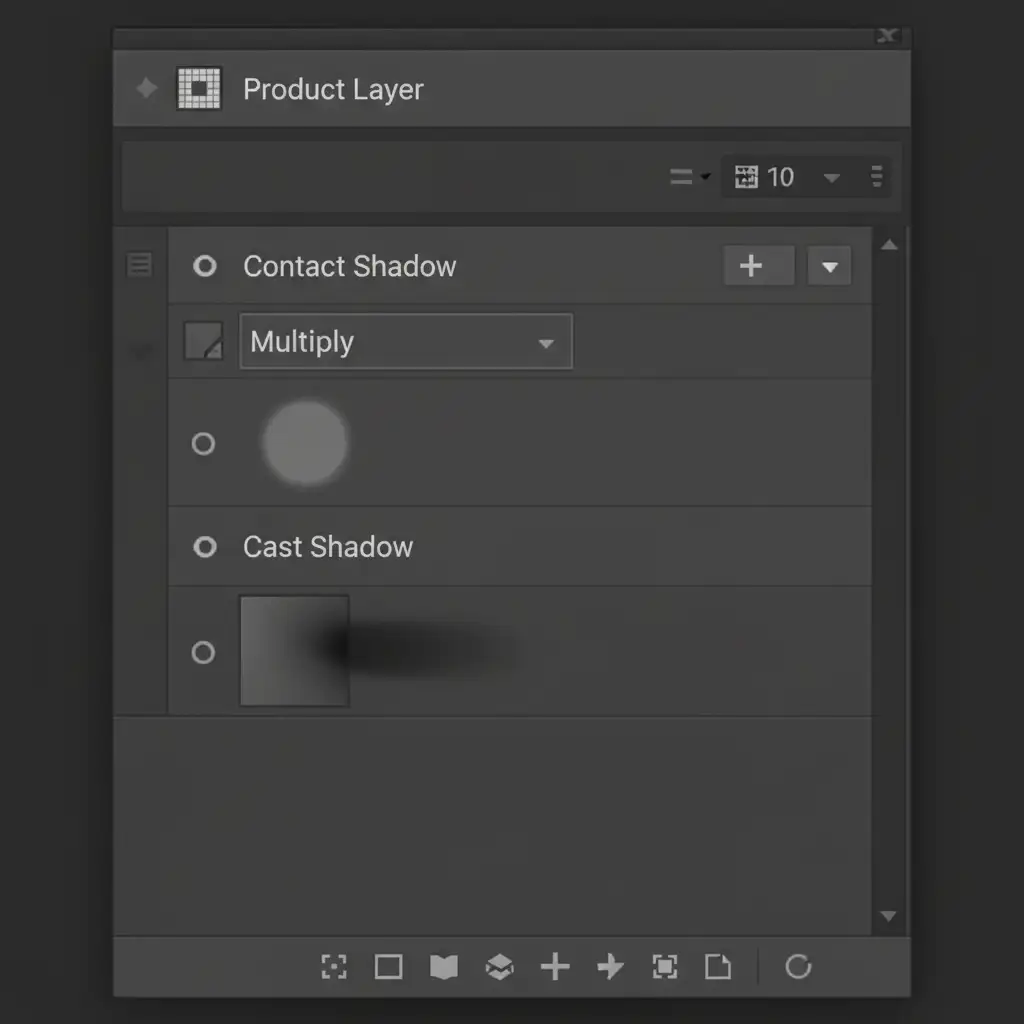
- Name the first layer Contact Shadow and the second layer Cast Shadow.
- Set the blend mode of both layers to Multiply blend mode. This ensures the shadow darkens the background naturally without looking painted on.
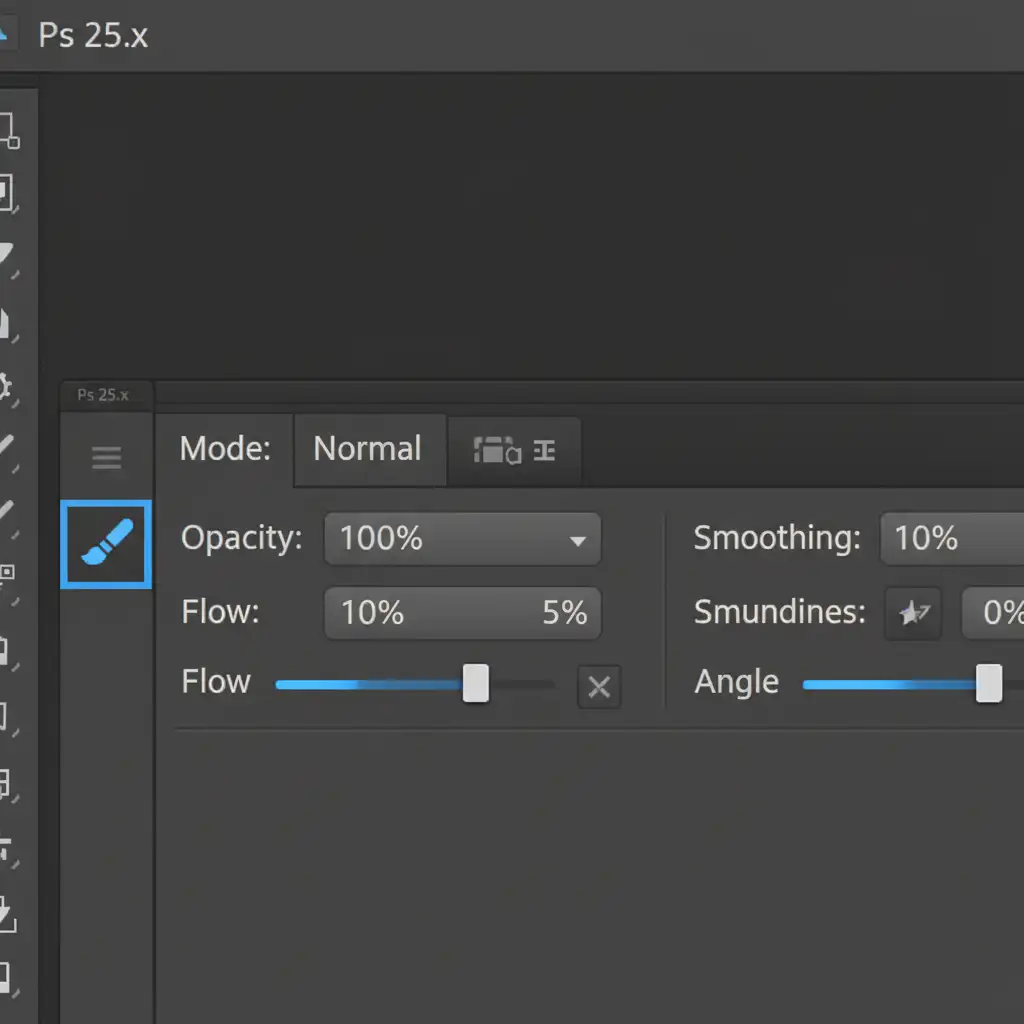
- Select the Brush Tool (B). Choose a soft round brush with black paint.
- In the top options bar, leave Opacity at 100% but drop your brush flow rate to exactly 5%. This allows you to build up the shadow gradually.
- Paint the Contact Shadow: On the Contact layer, paint a very tight, dark line exactly where the base of the product touches the floor. Keep the brush small.
- Paint the Cast Shadow: Switch to the Cast layer. Increase your brush size and paint a broader, softer shape extending away from the product, following your assumed light direction.
- Apply a slight Gaussian blur to the Cast Shadow layer to soften the edges further.
Method 3: The Technical Deep-Dive (Smart Object Gradient Mapping)
This is the industry-standard method for high-end e-commerce retouching. It creates a mathematically perfect shadow that accounts for both perspective and light falloff.
- Duplicate your isolated product layer.
- Right-click the duplicate and select Convert to Smart Object.
- Press Ctrl+U (Hue/Saturation) and drop the Lightness slider to -100 to turn the entire shape black.
- Press Ctrl+T, right-click, and select Flip Vertical. Drag this black silhouette down so its base touches the base of your actual product.
- Go to Edit > Perspective Warp. Adjust the grid so the shadow lays perfectly flat on the floor, matching the camera’s perspective.
- Add a layer mask to your Smart Object shadow.
- Select the Gradient Tool (G). Choose a black-to-white Linear Gradient. Drag the gradient across the layer mask starting from the base of the product and pulling outward. This causes the shadow to fade out realistically as it extends away.
- Finally, go to Filter > Blur > Gaussian Blur and apply a 5px radius to simulate natural light diffusion.
See It In Action
Want to see the Smart Object Gradient Mapping technique executed in real-time? Watch our workflow visualization below.
Stop Wasting Time on Repetitive Edits
Mastering how to create realistic product shadows after background removal is a fantastic skill, but it is incredibly time-consuming. When you have a seasonal catalog launch with 500+ SKUs, manually painting ambient occlusion and adjusting Perspective Warps on every single image will bottleneck your entire production pipeline.
You don’t have to do this alone.
At Image Work India and Cloud Retouch, our team of professional retouchers specializes in high-volume, high-end e-commerce photo editing. Whether you need precise clipping paths, flawless background removal, or pixel-perfect, physically accurate shadow generation, we deliver consistent, studio-quality results at scale.
Stop struggling with floating product syndrome. Contact Image Work India and Cloud Retouch today to get a free trial on your first batch of images, and let us ground your products so your sales can soar.


