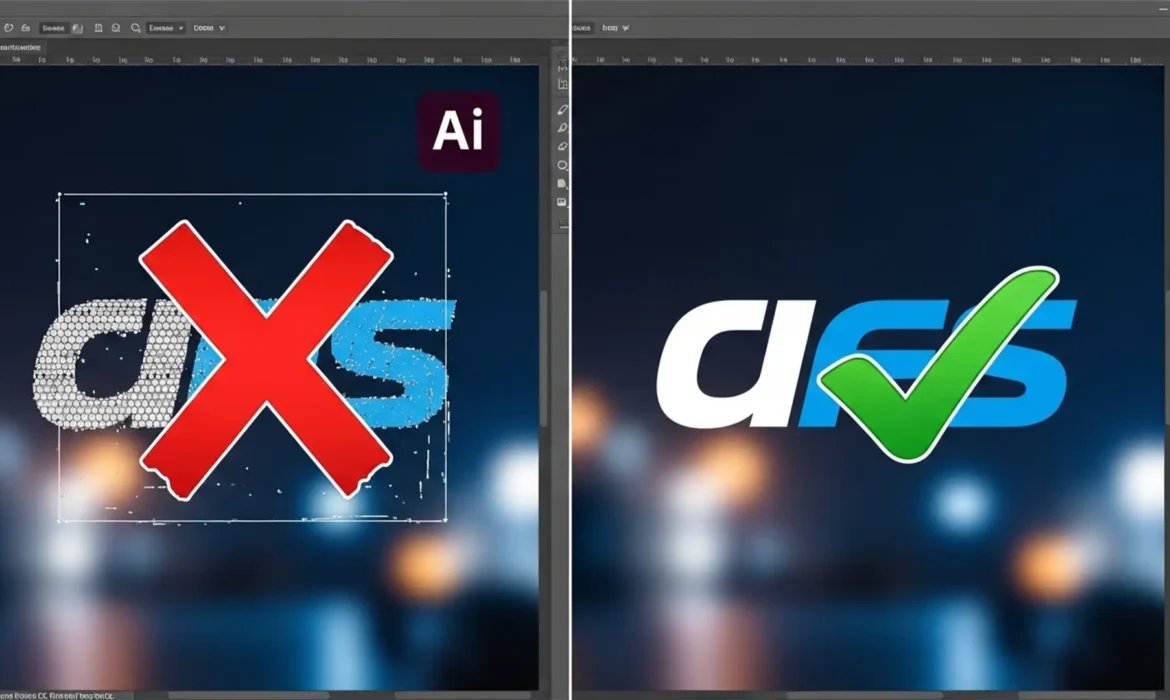
You click “Remove Background” in Photoshop, expecting a crisp, transparent logo ready for your client’s website. Instead, you get a disaster. The edges are jagged, the anti-aliasing is a mess, and the inside of the letter ‘O’ still has a solid white block. If you’re frustrated by Photoshop removing background failing on logos, you aren’t alone.
While Adobe’s one-click AI is a lifesaver for portraits and product photos, it consistently butchers flat graphics. In this technical guide, we will explain exactly why the AI struggles with high-contrast logos and show you three foolproof, 30-second methods to achieve perfect transparency every time.
Why Adobe Sensei AI Fails on Flat Logos
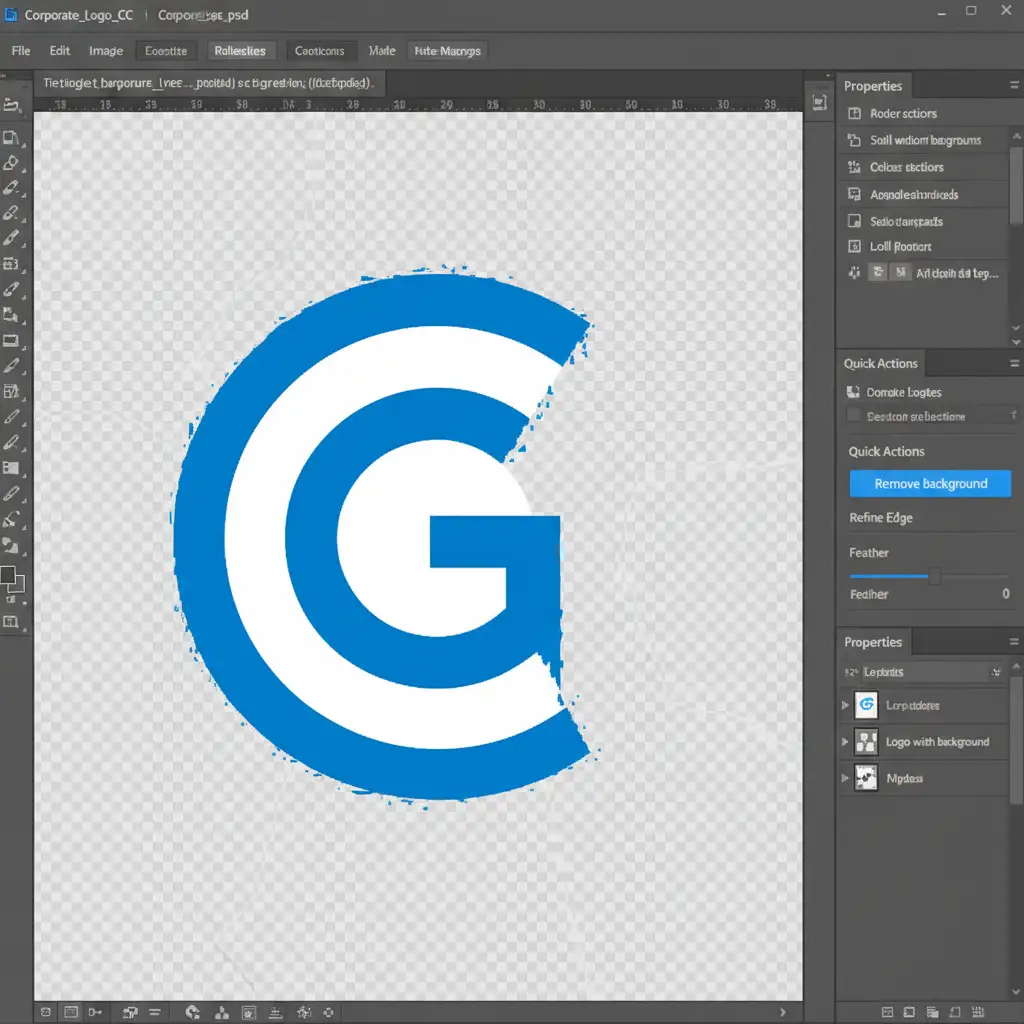
In Photoshop CC v22.x through v25.x+, the ‘Remove Background’ Quick Action is powered by Adobe Sensei AI. This machine learning model is incredibly powerful, but it has a specific bias: it is heavily trained on photographic subjects. It looks for people, animals, and objects that exhibit a natural depth of field.
Logos, however, are typically flat, 2D raster or vector graphics that completely lack depth data. Because of this, Sensei AI’s edge-detection algorithms misinterpret high-contrast geometric boundaries. It struggles to differentiate between the core branding elements and the background, especially when dealing with internal negative space. The result is severe artifacting, jagged anti-aliasing errors, or the partial deletion of the logo itself.
3 Professional Ways to Remove a Logo Background in Photoshop
If you want to stop destroying your graphics, you need to bypass the AI tools. Here are three contrast-based and manual selection methods that guarantee clean transparency.
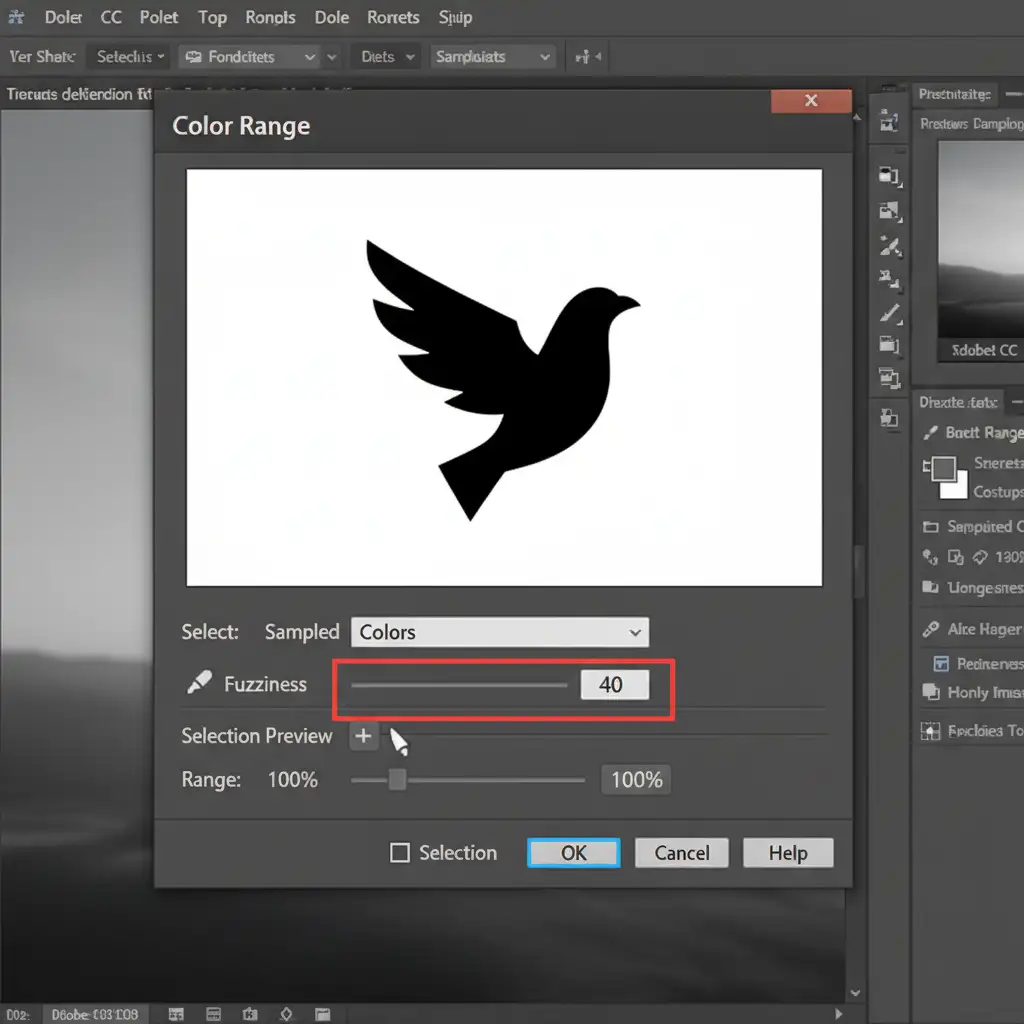
Method 1: The Color Range Tool (The 30-Second Fix)
When dealing with a solid background, the Color Range tool is your best friend. It targets specific color values rather than relying on AI to guess the subject.
- Navigate to Select > Color Range in the top menu.
- Use the eyedropper tool to click on the solid background color behind your logo.
- Adjust the Fuzziness slider (which acts as your tolerance level) until the logo appears as a stark black silhouette against a white background in the preview window.
- Click OK. You will see the marching ants perfectly hugging your logo’s edges.
- Invert the selection (Ctrl+Shift+I or Cmd+Shift+I) and click the Layer Mask icon.
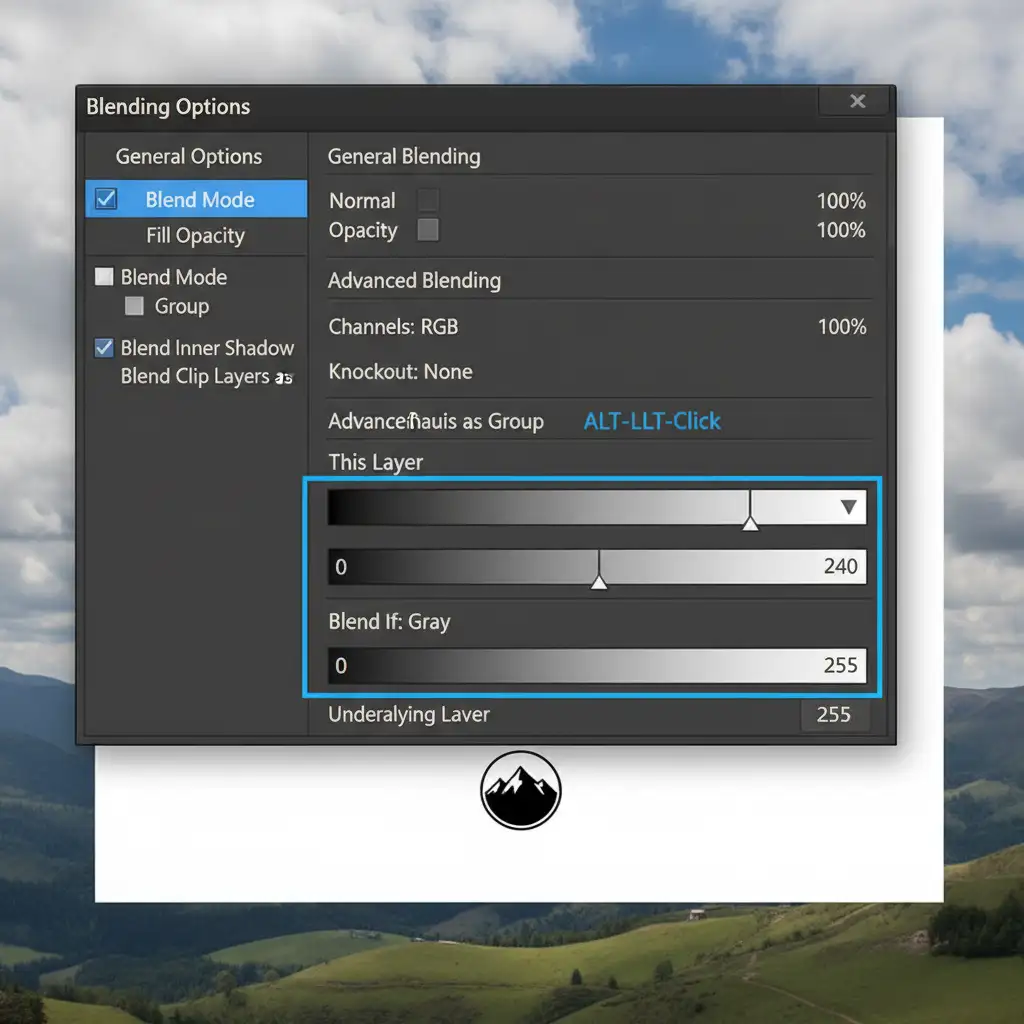
Method 2: The ‘Blend If’ Sliders (The Pro Workaround)
If you want a non-destructive method that doesn’t require masks or an alpha channel, the Blend If feature is an industry secret for instant background removal.
- Double-click your logo layer in the Layers panel to open the Layer Styles dialog box.
- Look at the Blend If section at the bottom of the main Blending Options screen.
- To remove a white background, go to the “This Layer” gradient bar. Hold ALT (Windows) or Option (Mac) and drag the left half of the top white slider inwards.
- Splitting the node ensures the background drops out instantly without creating jagged, pixelated edges.
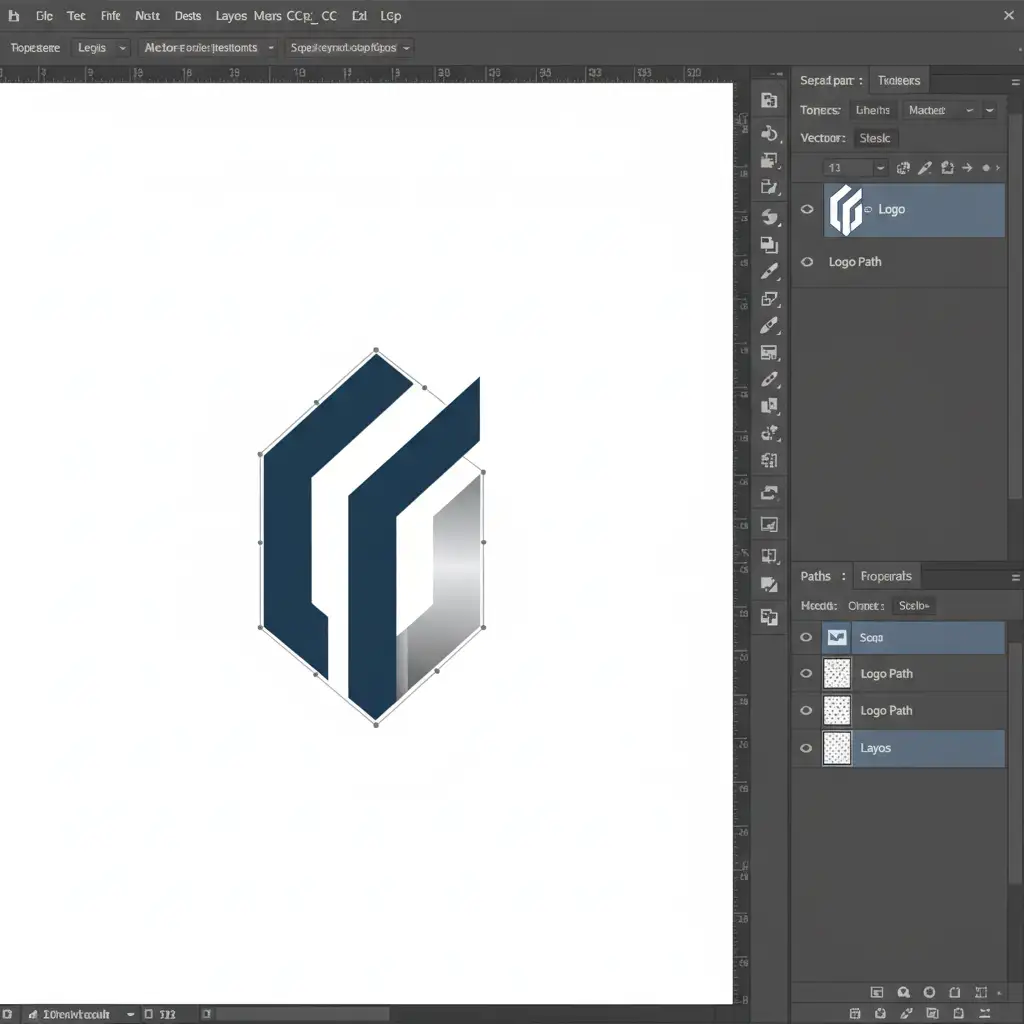
Method 3: The Pen Tool Vector Mask (The Lossless Standard)
The ultimate technical deep-dive for perfect logos is abandoning raster tools altogether. When you rasterize a logo, you are bound by pixels. By using the Pen Tool, you create a resolution-independent boundary.
- Select the Pen Tool (P).
- Carefully trace the geometric edges of your logo, paying special attention to smooth curves and sharp corners.
- Save the path in your Paths panel.
- Apply this path as a vector mask (or a clipping path if you are exporting for print).
This guarantees crisp, lossless edges regardless of how much you scale the image, completely bypassing the limitations of pixel-based AI.
Stop Struggling with Photoshop Background Removal
While these manual methods will save your graphics from AI artifacting, they can be incredibly time-consuming—especially if you are processing hundreds of brand assets, intricate crests, or complex typography.
If you need perfect, scalable logos for your enterprise but don’t have the hours to spend tracing them manually, Image Work India and Cloud Retouch are here to help. We provide pixel-perfect manual clipping paths, background removal, and full vector conversion services that AI simply cannot match.
Stop letting automated tools dictate the quality of your brand assets. Contact Cloud Retouch today to get flawless, hand-drawn clipping paths delivered on time, every time.


