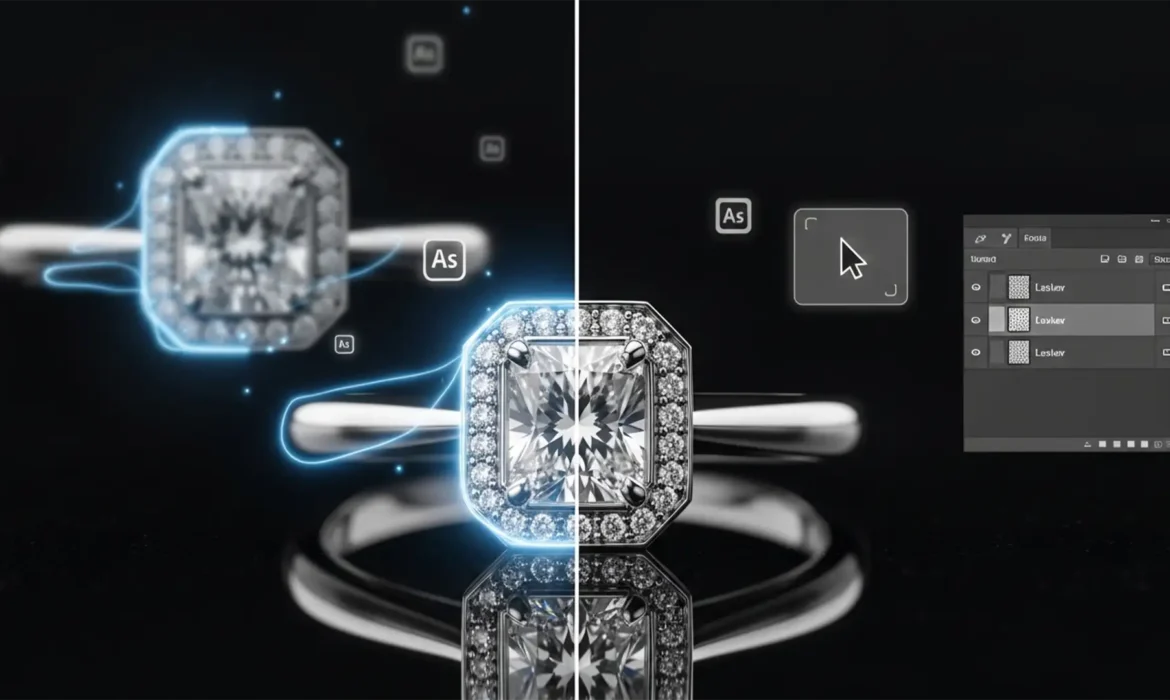
You just spent an hour shooting 40 perfectly bracketed frames of a high-end diamond ring. You load them into Photoshop, run the automated blending tools, and wait. But instead of a crisp, edge-to-edge masterpiece, you are left with mushy, translucent edges and glowing borders around the metal.
If you shoot macro photography, you know this pain intimately. These ghosting artifacts can ruin a luxury product catalog. Eliminating focus stacking halos in macro jewelry requires moving beyond automated algorithms and taking manual control of your pixels.
In this guide, we will break down exactly why these errors occur in Photoshop and walk you through three professional techniques to rebuild razor-sharp edges on your high-end jewelry and watch images.
Why Do Focus Stacking Halos Happen in Photoshop?
In Adobe Photoshop (v24.0 and newer), focus stacking relies heavily on the Auto-Align and Auto-Blend Layers algorithms. While incredibly powerful, these tools have distinct limitations when dealing with the razor-thin depth of field found in macro jewelry photography.
Halos and translucency usually occur due to two primary physical phenomena:
- Lens Breathing: As your lens shifts focus from the front of a ring to the back, the actual magnification of the subject changes slightly.
- Parallax Error & Micro-Vibrations: Microscopic camera movements or shifts in perspective between frames.
Because of these shifts, the Auto-Blend algorithm gets confused. It struggles to differentiate between the sharp foreground edges of the metal and the softly blurred background pixels of the adjacent frames. The result? Nasty ghosting artifacts that make solid gold look like translucent plastic.

3 Methods for Eliminating Focus Stacking Halos in Macro Jewelry
Relying solely on automated blending is insufficient for high-end retouching. Here are three ways to fix the problem, ranging from quick touch-ups to advanced pixel reconstruction.
Method 1: The Quick Fix (Clone Stamp & Blend Modes)
If the haloing is minor and isolated to a few small edges, you don’t need to rebuild the entire stack. You can use localized cloning to clean up the color bleed.
- Create a new blank layer at the top of your layer stack.
- Select the Clone Stamp Tool or Spot Healing Brush Tool.
- Change the tool’s Blend Mode in the top options bar to Darken (if the halo is lighter than the background) or Lighten (if the halo is darker).
- Sample a clean area of the background and carefully paint over the halo. The blend mode ensures you only affect the glowing artifact without damaging the sharp metal edge.
Method 2: The Pro Workaround (Manual Mask Recovery)
When Auto-Blend Layers fails, the original, sharp data still exists in your source files. You just need to find it and utilize manual layer masking.
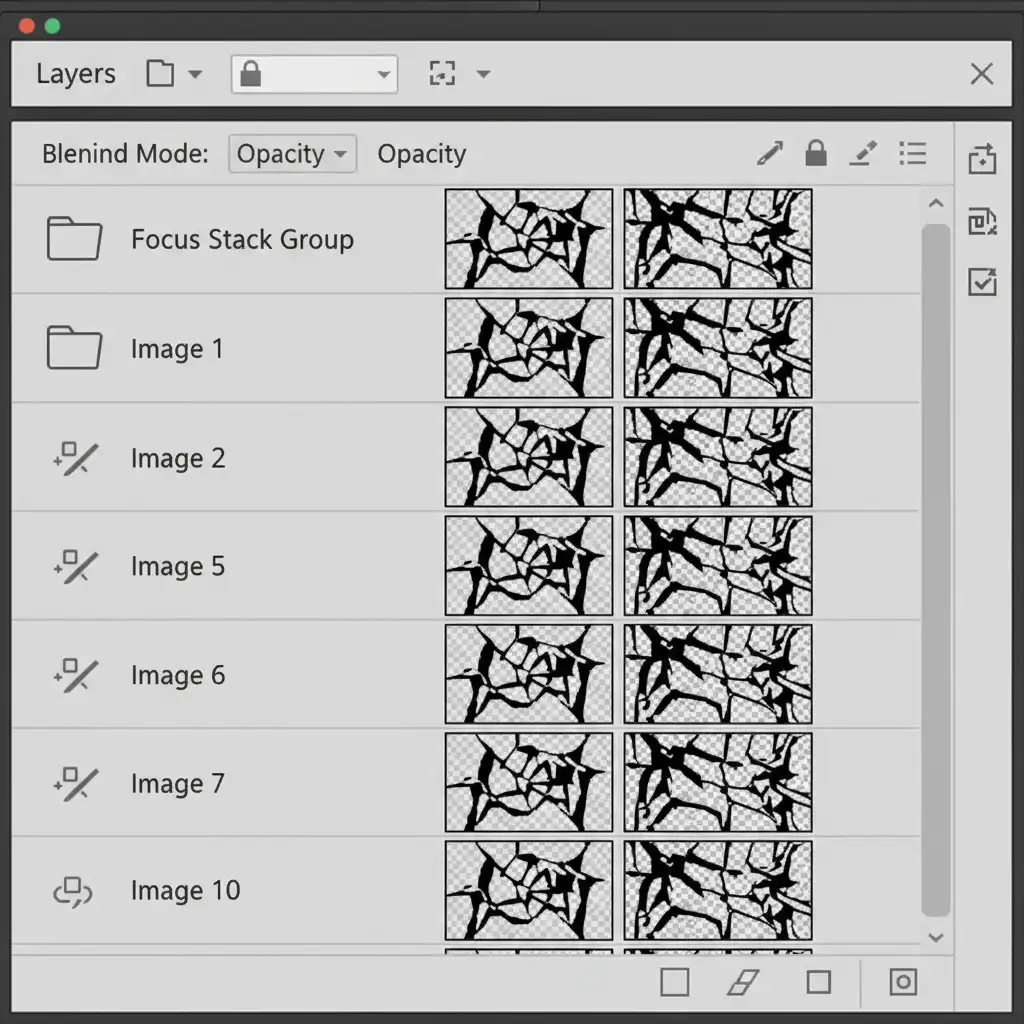
- Look through your original, unmerged source frames to find the specific layer where the problematic edge is perfectly in focus.
- Drag this source frame to the very top of your layer stack.
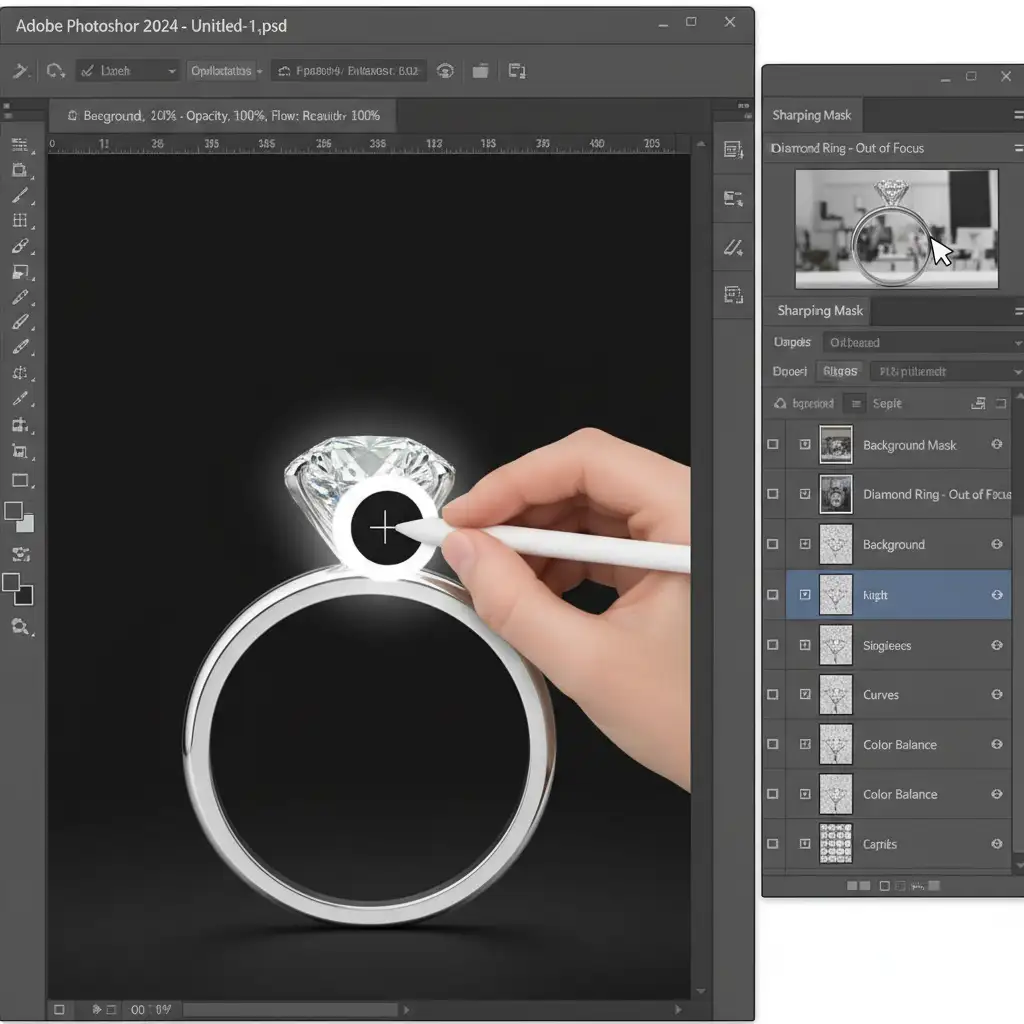
- Add a black layer mask to hide the entire layer (Alt / Option + Click the Layer Mask icon).
- Select a soft white brush.
- Carefully paint over the haloed edge on your merged image. This will reveal the clean, halo-free edge from the unmerged source file, effectively bypassing the algorithm’s mistake.
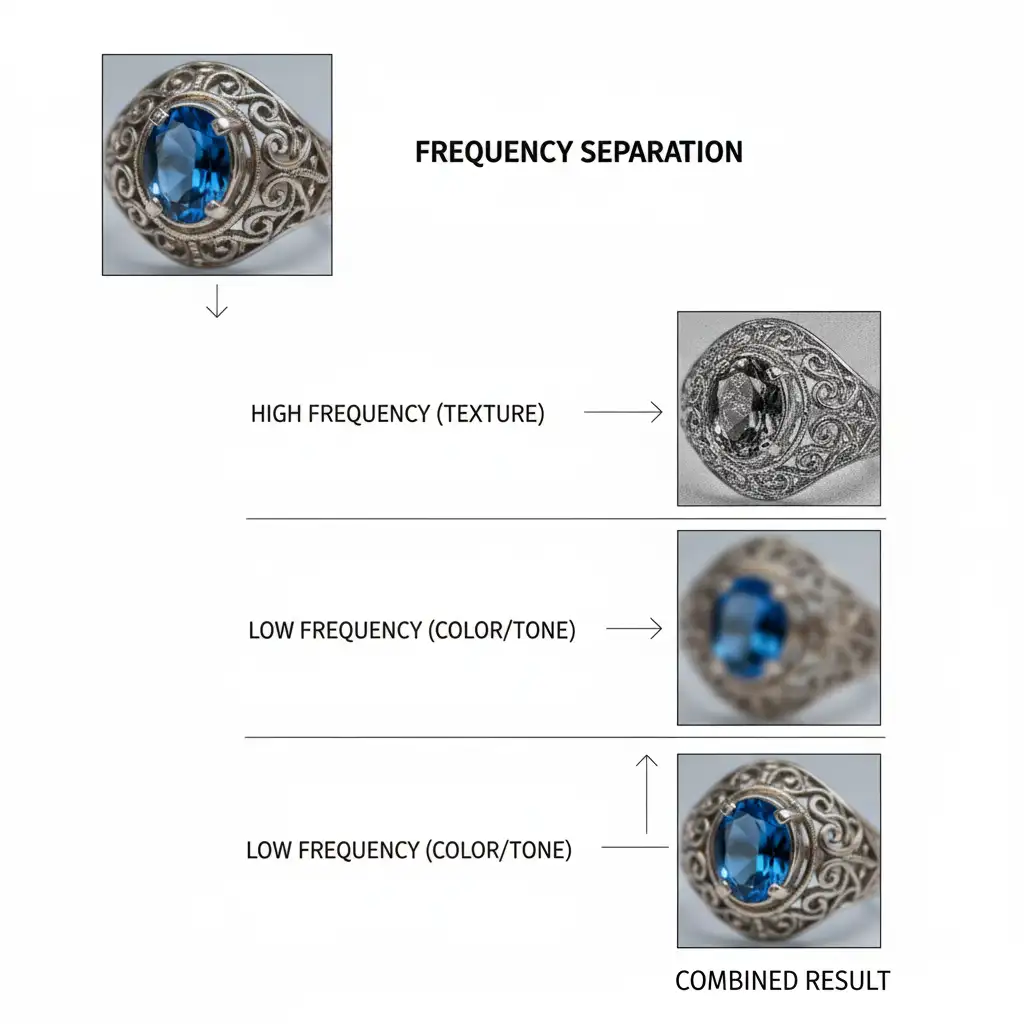
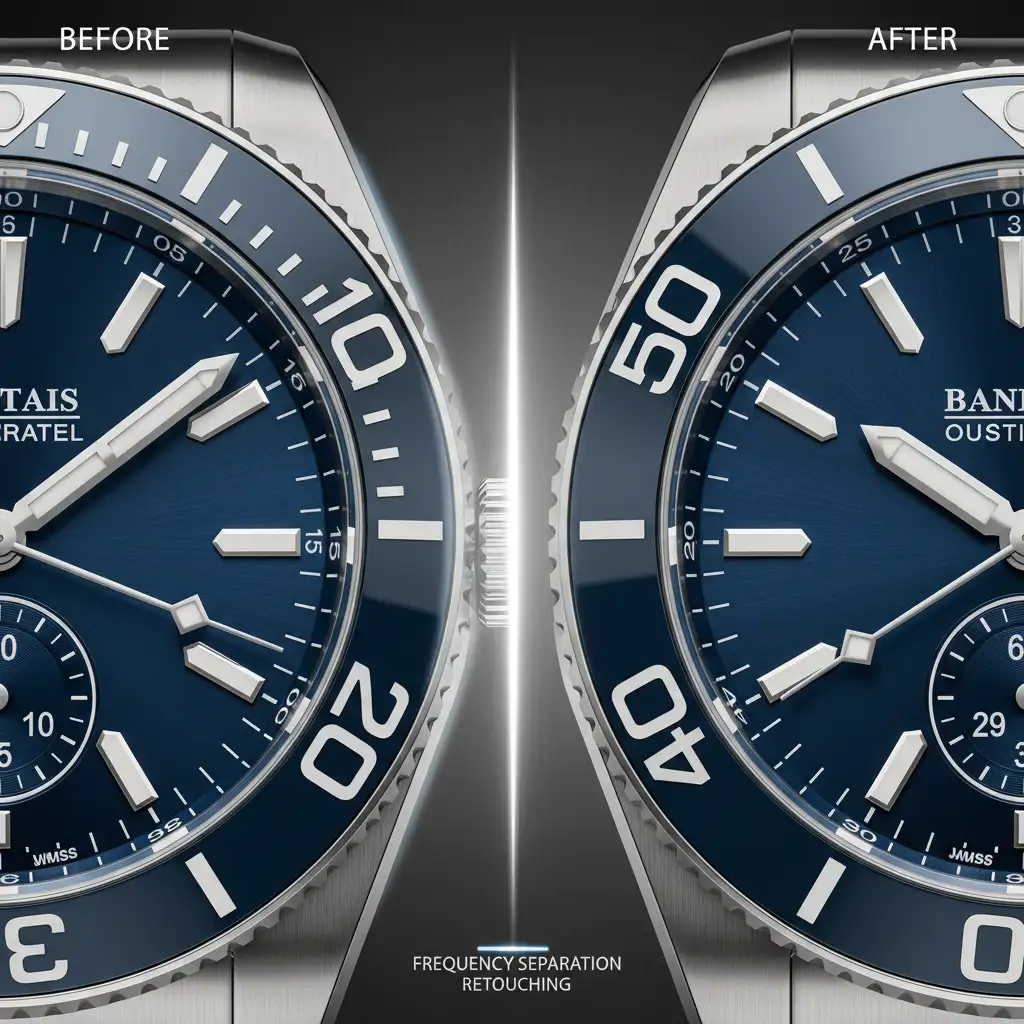
Method 3: The Technical Deep-Dive (Frequency Separation)
For the most stubborn focus stacking errors where both texture and color are compromised, Frequency Separation is the ultimate solution. This technique allows you to fix color bleeding without destroying the high-end metal finish or gemstone facets.
- Separate the Frequencies: Duplicate your final blended image twice. Name the bottom layer “Low Frequency” (Color/Tone) and the top layer “High Frequency” (Texture).
- Apply Blur: Apply a Gaussian Blur to the Low Frequency layer just until the metal texture disappears.
- Apply Image: Select the High Frequency layer, go to Image > Apply Image, subtract the Low layer, and change the blend mode to Linear Light.
- Fix the Color: Select the Mixer Brush Tool. On the Low Frequency layer, smoothly blend away the color halos and ghosting. Because the texture is on a separate layer, the metal will retain its realistic lighting and finish.
- Rebuild the Edge: Switch to the High Frequency layer. Use the Clone Stamp tool to sample a clean, sharp edge of the jewelry piece and stamp it over the damaged, blurry edge.
Stop Fighting Algorithms: Get Flawless Jewelry Edges
Eliminating focus stacking halos in macro jewelry is a tedious, pixel-level process. When you are dealing with dozens of focus-stacked images for a massive e-commerce catalog, spending 20 minutes manually recovering masks and running frequency separation on a single ring simply isn’t scalable.
Need pixel-perfect jewelry images without the headache? Don’t let focus stacking errors ruin a high-end catalog. Let the expert retouchers at Image Work India or Cloud Retouch handle the complex masking, blending, and artifact removal for you.
Our specialized team understands the exact physics of lens breathing and macro photography. We deliver flawless, razor-sharp results that make your jewelry shine. Contact us today to streamline your retouching workflow and elevate your product imagery.


