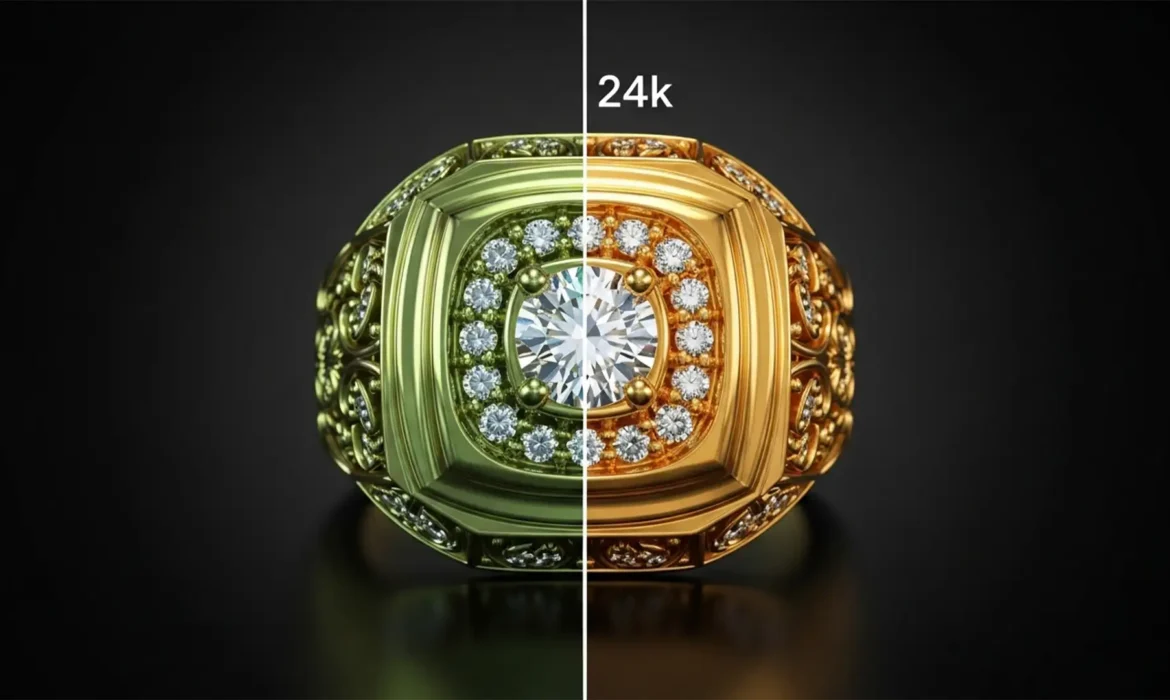
You’ve just paid for high-end product photography. The images look breathtaking on your photographer’s monitor—rich, warm, and luxurious. But the moment you upload them to your store, disaster strikes. Your premium gold jewelry suddenly looks green, dull, or brassy.
If you are battling this frustrating Shopify jewelry color shift, you aren’t alone. This common e-commerce nightmare happens when high-end camera color spaces clash with standard web browsers and mobile screens.
In this guide, we’ll reveal exactly why your gold correction is failing and how to fix it in Photoshop CC 2024 (v25.x) to guarantee your jewelry looks radiant on every device.
The Science Behind the Shift: Why Gold Turns Green Online
Before we jump into Photoshop, it is critical to understand why your images are degrading. The issue is rarely your photography; it is a technical mismatch in how computers and browsers translate color data.
The Adobe RGB vs. Display P3 Clash
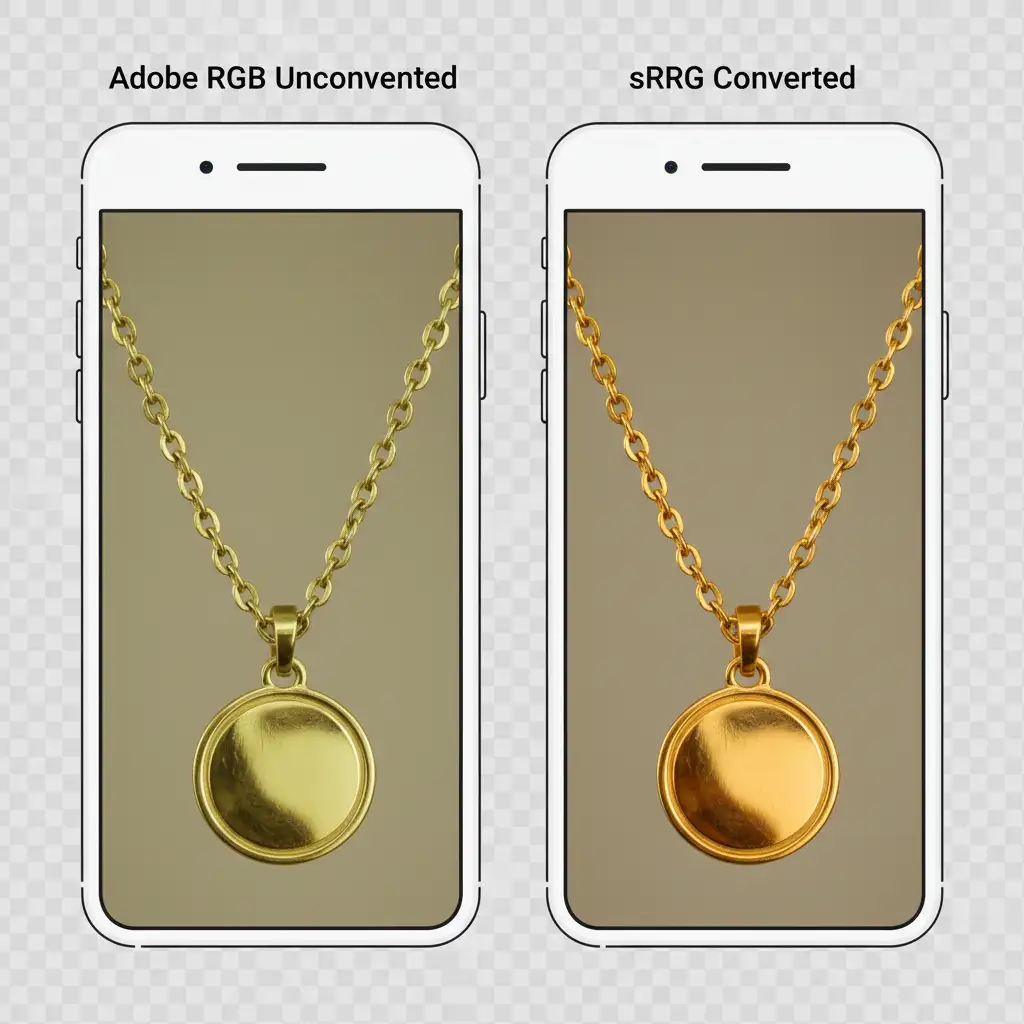
High-end DSLR and mirrorless cameras capture images in wide color gamuts like Adobe RGB or ProPhoto RGB. These formats hold a massive amount of color information, making them perfect for print.
However, web browsers and mobile devices—especially modern Apple devices utilizing Display P3 screens—expect standard web colors. When you upload an Adobe RGB image directly to Shopify without performing a proper color space conversion, the browser misinterprets the data. The result? Warm gold tones are stripped of their reds and yellows, leaving behind a desaturated, greenish, or brassy artifact.
The Culprit: Shopify’s WebP Compression
Adding fuel to the fire is Shopify’s aggressive image compression algorithm. To keep page load speeds fast, Shopify automatically converts standard images into WebP formats. While WebP compression is great for site speed, it is a form of lossy compression that can flatten the subtle gradient reflections that make gold look metallic and expensive.
How to Fix Shopify Jewelry Color Shift (Step-by-Step)
To achieve perfect Shopify jewelry color shift gold correction, you need to standardize your post-production workflow. Here are three proven methods using Adobe Photoshop CC 2024.
Method 1: The Quick Fix (Color Space Conversion)
The most critical step in e-commerce image optimization is ensuring your image is in the exact color space the web expects.
- Open your high-res jewelry image in Photoshop.
- Navigate to Edit > Convert to Profile.
- In the dialog box, look at the Destination Space. Select sRGB IEC61966-2.1.
- Ensure the Use Dither box is checked to prevent color banding in the gold’s gradients, and click OK.
When exporting, do not just hit “Save.” Go to File > Export > Save for Web (Legacy). In the right-hand panel, it is absolutely vital that you check the Embed color profile box. This attaches a tiny piece of metadata to your image telling Shopify exactly how to render the gold.
[Image Placeholder: Screenshot of Save for Web (Legacy) settings showing Embed Color Profile checked.] Alt-Text: Photoshop Save for Web Legacy export window demonstrating the Embed Color Profile checkbox being selected.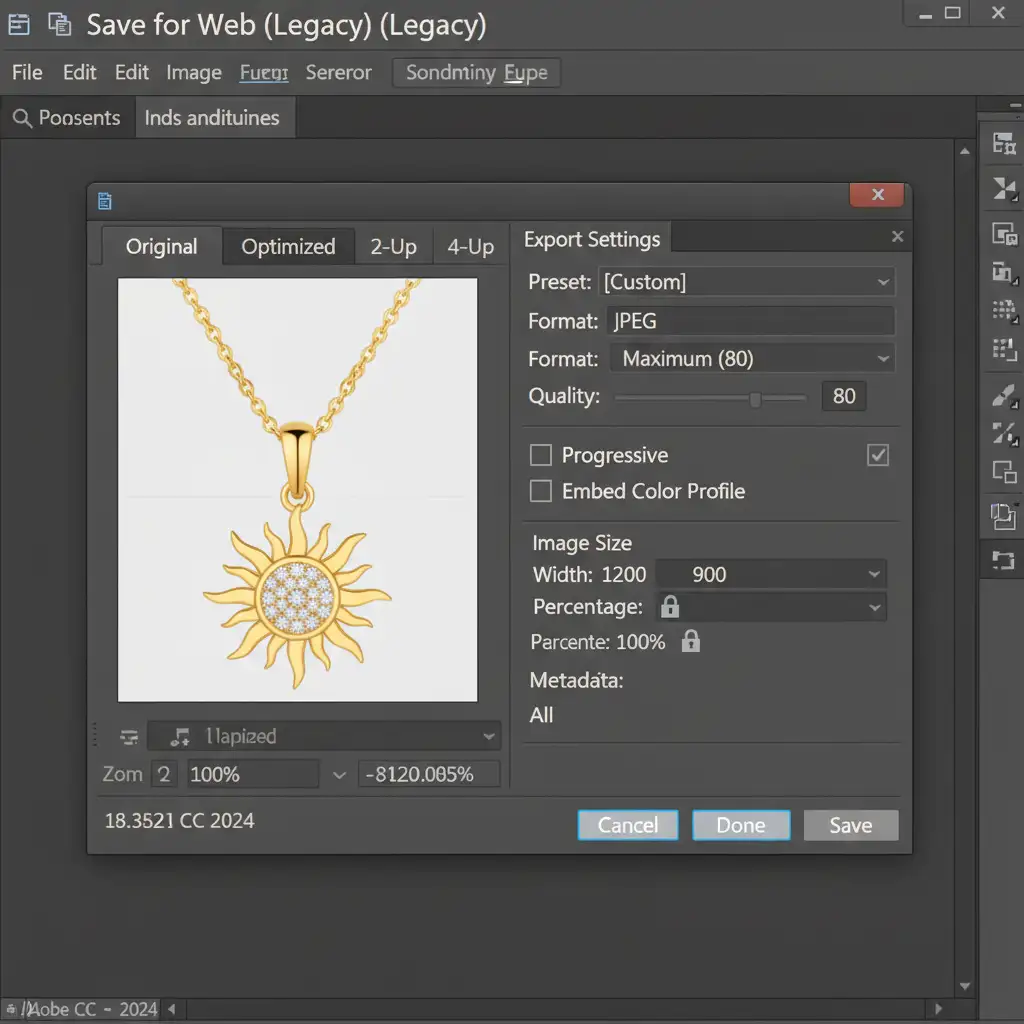
Method 2: The Pro Workaround (Hue/Saturation Adjustment)
Sometimes, simply converting to sRGB isn’t enough to fight off the dullness caused by Shopify’s WebP conversion. You need to proactively overcompensate for the compression.
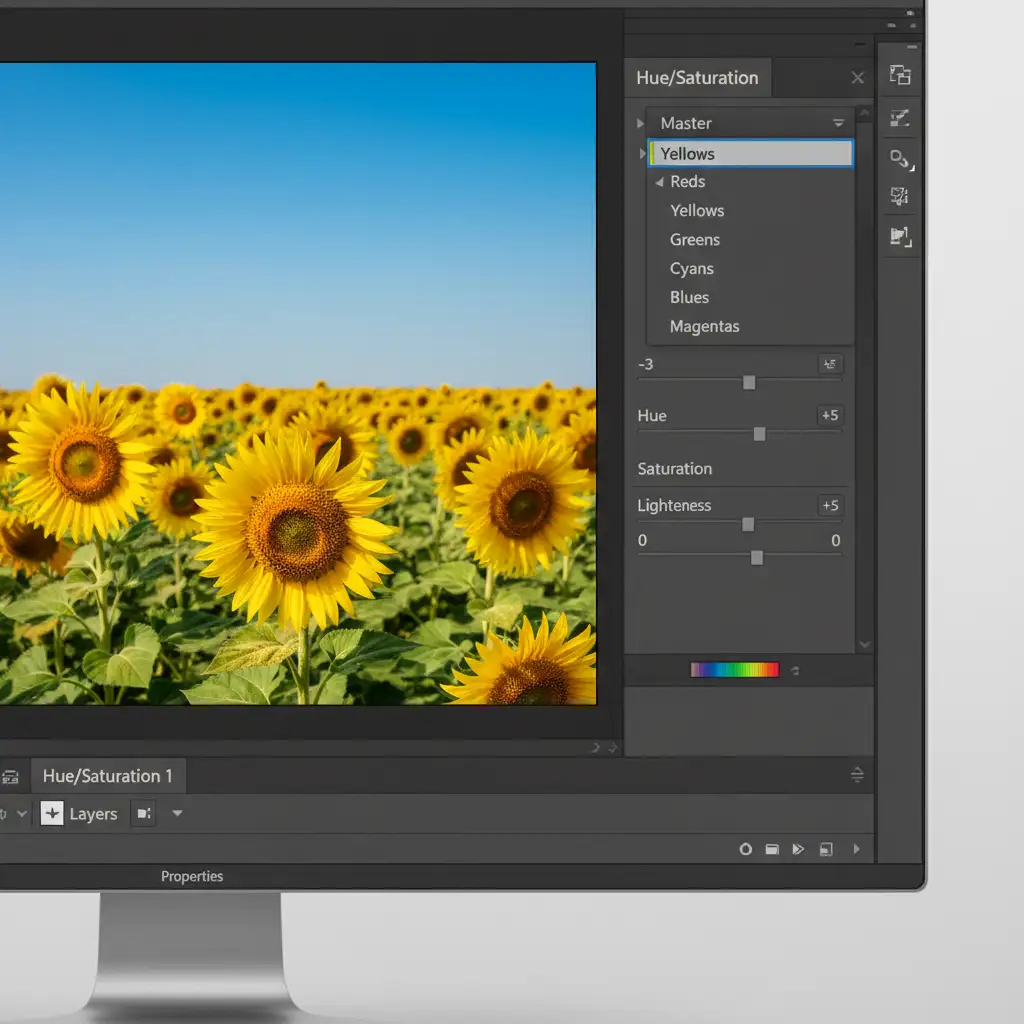
- In Photoshop, create a selection mask isolating just the gold jewelry (leaving out the background and any gemstones).
- Add a Hue/Saturation adjustment layer.
- Instead of adjusting the Master channel, click the dropdown and target the Yellows channel.
- Slightly shift the Hue slider towards red (usually between -2 to -5).
- Boost the Saturation slider (+5) to counteract the dullness of web compression.
Method 3: The Technical Deep-Dive (Bypassing Lossy Compression)
If you are uploading high-ticket hero images and absolutely cannot afford any degradation, you can force Shopify to bypass its standard lossy compression algorithms.
Shopify triggers heavy compression on large JPEGs. To bypass this:
- Resize your image to exactly 2048×2048 pixels.
- Go to File > Export > Export As.
- Ensure “Embed Color Profile” and “Convert to sRGB” are checked.
- Save the file as a high-quality PNG-24.
Because PNG-24 is a lossless format, uploading it at Shopify’s preferred 2048×2048 resolution often bypasses the aggressive JPEG-to-WebP conversion. Your gold will retain its exact, luxurious color representation.
Stop Guessing. Let the Experts Handle Your Gold Correction.
Managing color gamuts, masking intricate chains, and fighting e-commerce compression algorithms is incredibly time-consuming. When you are managing a jewelry brand, your time is better spent on sales and design, not troubleshooting Photoshop settings.
Struggling to keep your gold looking luxurious online? Hire Image Work India and Cloud Retouch for expert jewelry color correction. Our high-end retouching teams specialize in the technical nuances of e-commerce platforms. We provide precise masking, targeted color shifts, and flawless batch processing that guarantees pixel-perfect consistency across your entire Shopify store.


