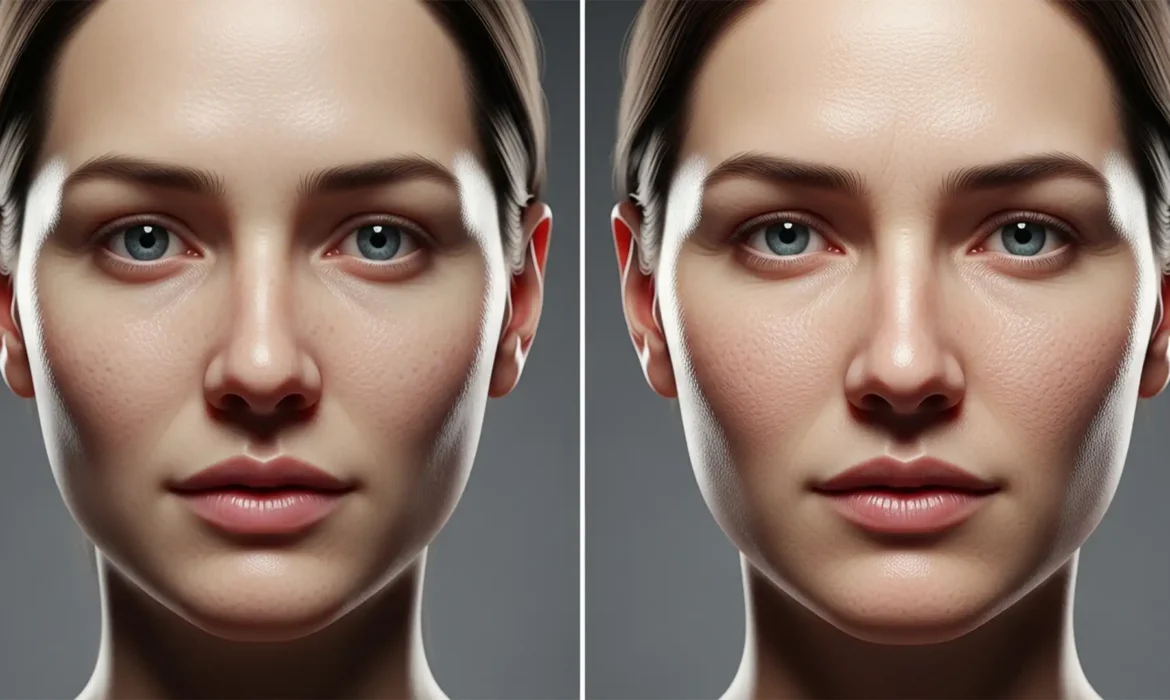
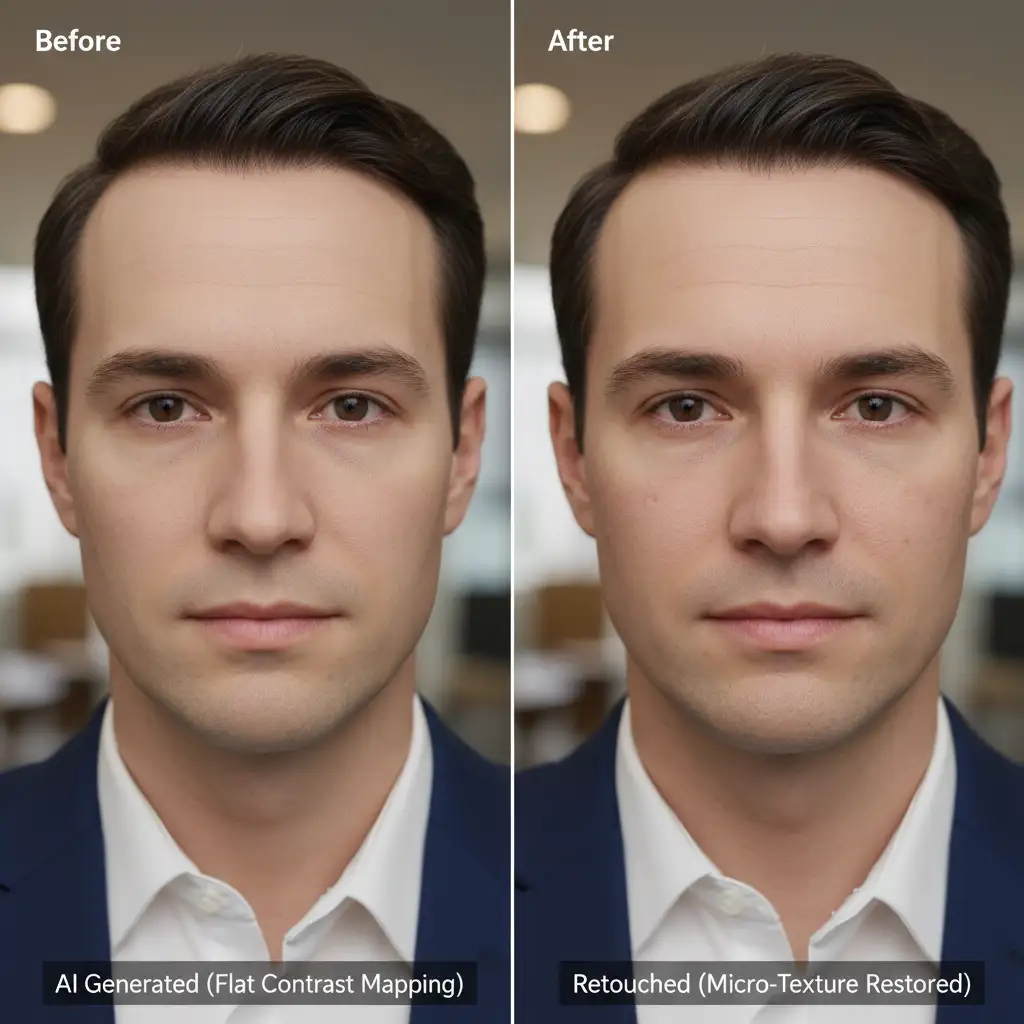
Are your AI-generated corporate portraits suffering from the dreaded “uncanny valley” effect? While models like Midjourney v6 and Stable Diffusion produce stunning compositions, they consistently fail at one crucial detail: human skin. Excessive pixel smoothing leaves these digital faces looking like plastic mannequins, completely lacking the epidermal micro-textures, pores, and subtle peach fuzz that make a photo credible.
If you are using these images for professional branding, this mathematical perfection is a massive liability. To make these portraits usable, you need to break up the flat contrast mapping and reintroduce human imperfections.
Here is your comprehensive, technical guide to using Photoshop v24.x-v25.x to restore skin texture in AI headshots, taking them from mathematically generated to photorealistic.
Why AI Headshots Look “Fake”
The core issue with AI generation is how it handles light interaction on human skin. Instead of rendering individual pores, AI algorithms rely on flat contrast mapping to simulate a face. This results in a mathematical gradient that smooths out everything. To fix this, we have to manually introduce procedural or grafted noise maps that mimic how real light scatters across natural skin imperfections.
3 Methods to Restore Skin Texture in AI Headshots
Depending on your time constraints and the required level of realism, there are three professional approaches to solving this problem in Photoshop.
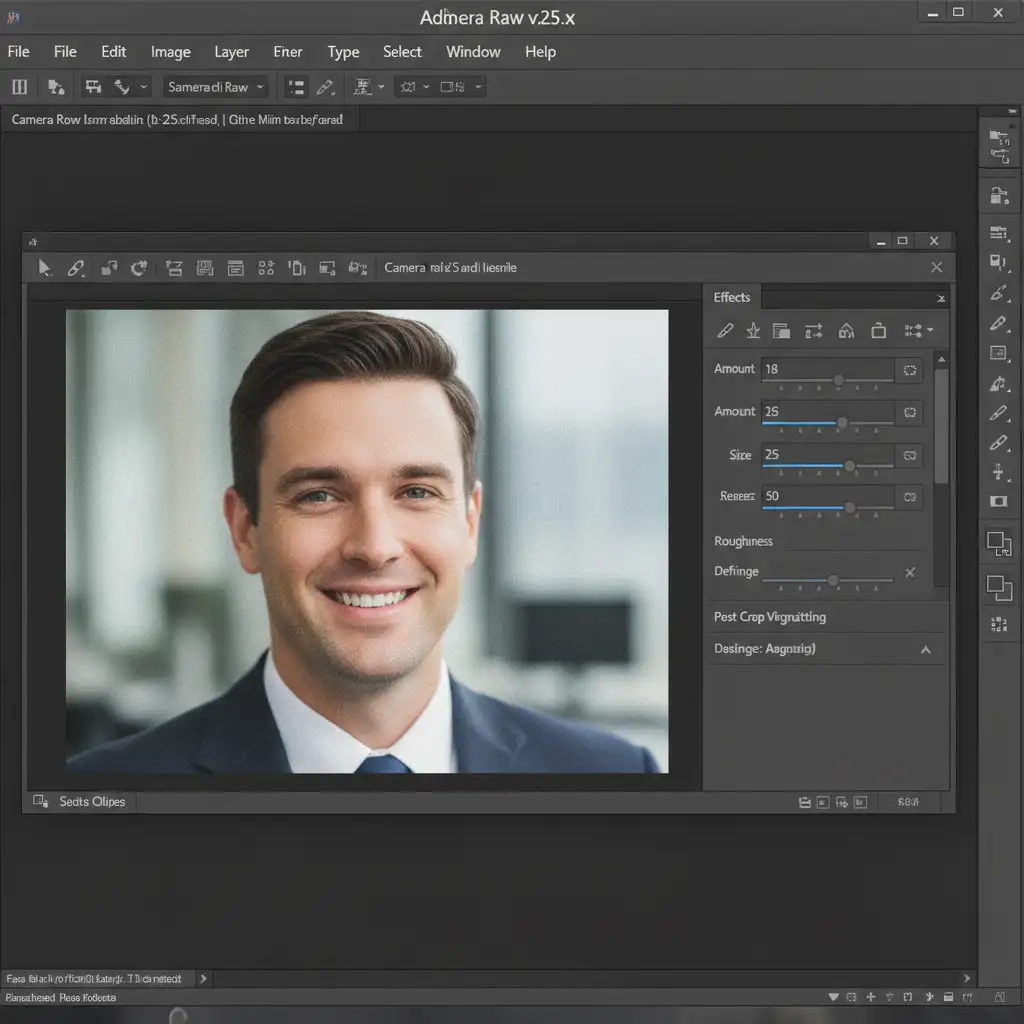
Method 1: The Quick Fix (Adobe Camera Raw)
If you need to instantly break up the plasticky AI look across a batch of images, utilizing Adobe Camera Raw is the most efficient method.
- Open your AI headshot in Photoshop.
- Convert your image layer to a Smart Object.
- Navigate to Filter > Camera Raw Filter.
- Open the Effects panel.
- Apply the following settings to introduce a controlled, filmic texture:
- Amount: 15-20
- Size: 25
- Roughness: 50
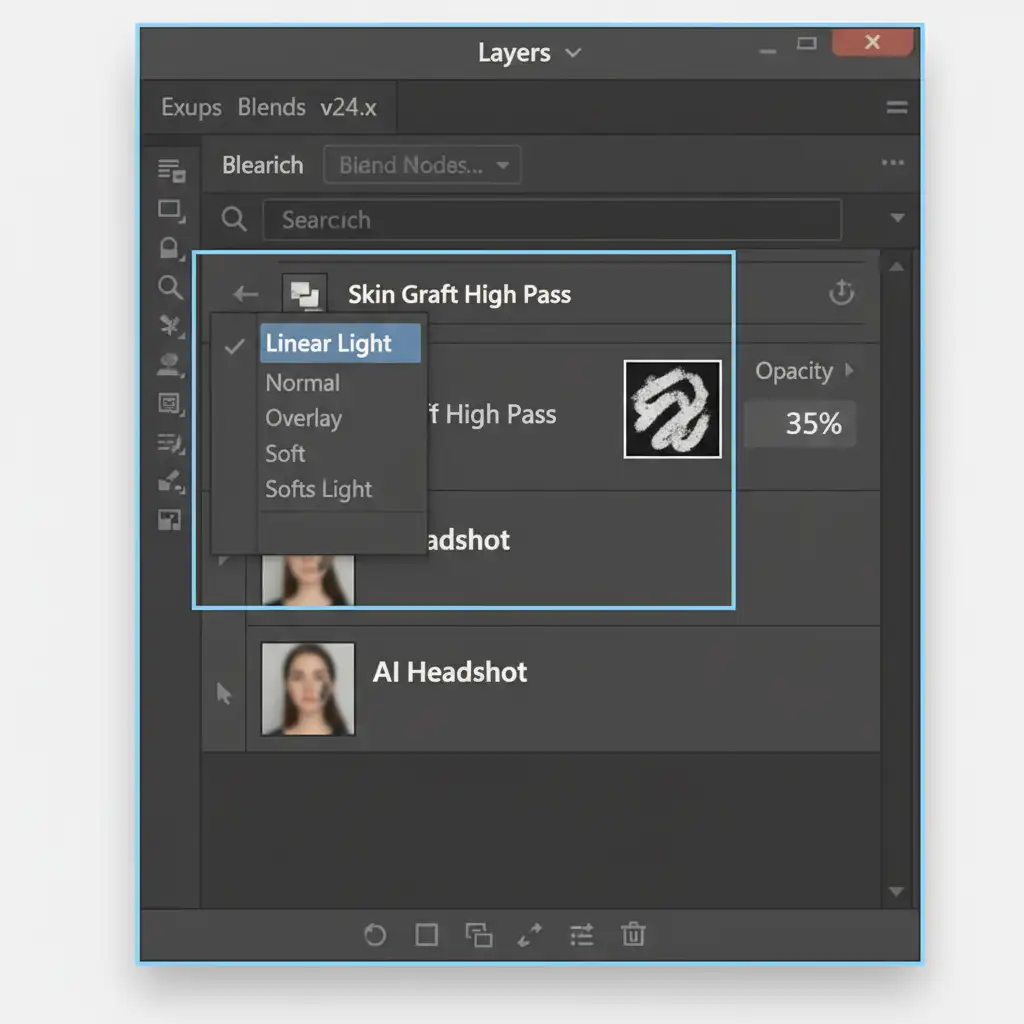
Method 2: The Pro Workaround (Skin Texture Grafting)
For high-end retouching, you cannot rely on uniform grain. You need actual epidermal mapping. This involves grafting real human skin textures onto the AI image.
- Source a high-resolution stock photo of real human skin with prominent pores.
- Paste this texture layer directly over your AI face.
- Desaturate the texture layer completely (Image > Adjustments > Desaturate).
- Apply a High Pass filter (Filter > Other > High Pass) with a Radius of 2-4px to isolate the micro-textures.
- Change the layer’s Blend Mode to Linear Light or Overlay.
- Lower the layer Opacity to 30-40%.
- Use Layer Masking to paint the texture only onto the skin areas, carefully avoiding the eyes, lips, and hair.
Method 3: The Technical Deep-Dive (Procedural Noise Generation)
When you don’t have a donor image for skin grafting, you can use procedural noise generation to synthesize highly realistic pores from scratch. This method gives you ultimate control over the lighting direction and depth of the pores.
- Create a new layer and fill it with 50% gray (Edit > Fill > 50% Gray).
- Set this layer’s Blend Mode to Soft Light.
- Go to Filter > Noise > Add Noise. Set the Amount to 5-10%, select Gaussian, and check “Monochromatic”.
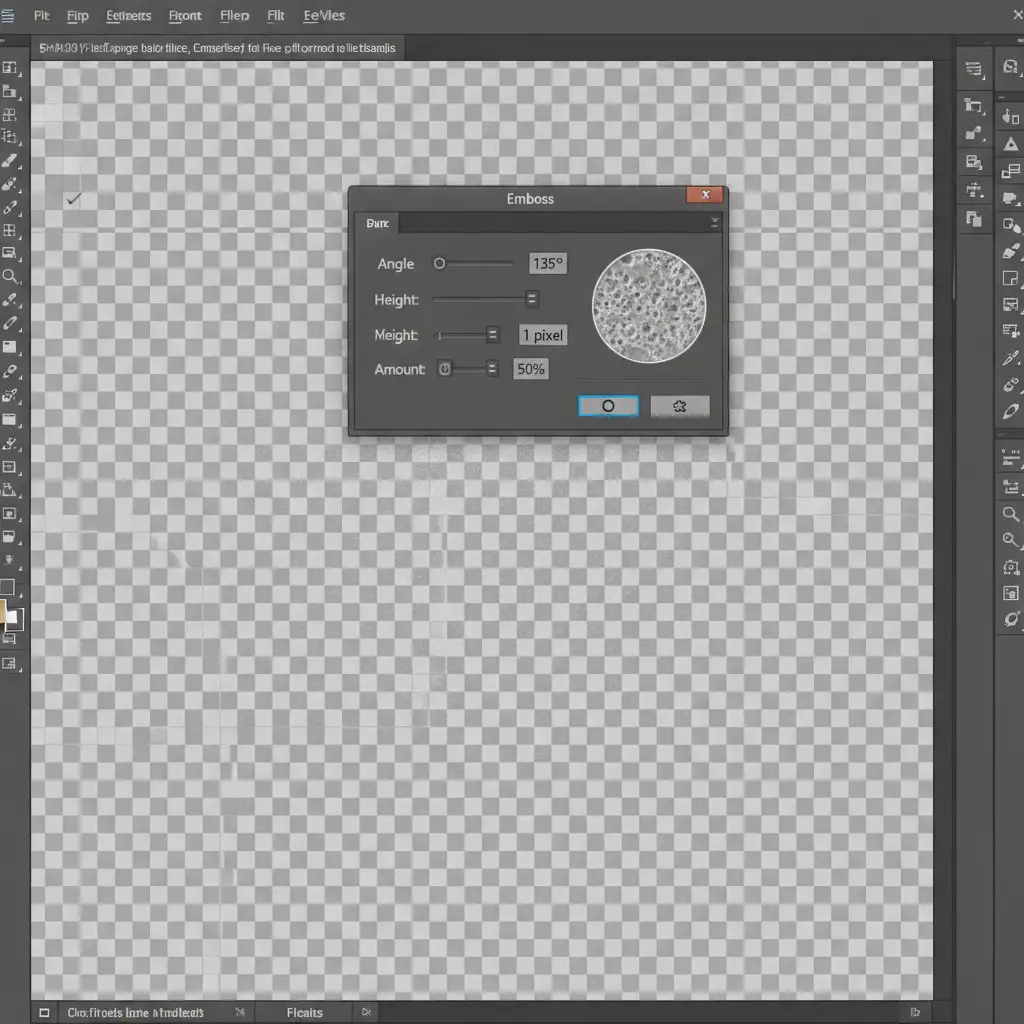
- Go to Filter > Stylize > Emboss.
- Angle: Match the exact lighting direction of your AI headshot.
- Height: 1px
- Amount: 50%
- Apply a very slight Gaussian Blur (0.5px) to soften the harsh digital noise into organic-looking pores.
- Mask out the non-skin areas just as you did in Method 2.

Advanced Retouching: Maintaining Lighting Integrity
When you restore skin texture in AI headshots, you run the risk of altering the underlying luminosity of the image. To prevent this, advanced retouchers often pair procedural noise generation with frequency separation.
By separating the image into a low-frequency layer (color and tone) and a high-frequency layer (texture), you can apply your High Pass filters and blend modes exclusively to the high-frequency data. This ensures that the natural shadows and highlights generated by the AI remain mathematically pristine while the surface texture becomes 100% human.
Need Flawless, Humanized AI Headshots?
Fixing the uncanny valley effect requires a deep understanding of epidermal mapping, procedural noise generation, and advanced Photoshop masking. If you are generating hundreds of AI images for a corporate directory, marketing campaign, or brand overhaul, manually applying these fixes to every single image is incredibly time-consuming.
You don’t have to do it alone. Image Work India and Cloud Retouch specialize in high-end, bulk image editing and AI image humanization. Our expert retouchers know exactly how to restore skin texture in AI headshots, ensuring your digitally generated assets look 100% authentic, professional, and credible.
Stop settling for plastic-looking AI. Contact Image Work India and Cloud Retouch today to bring natural, professional realism to your AI campaigns.


