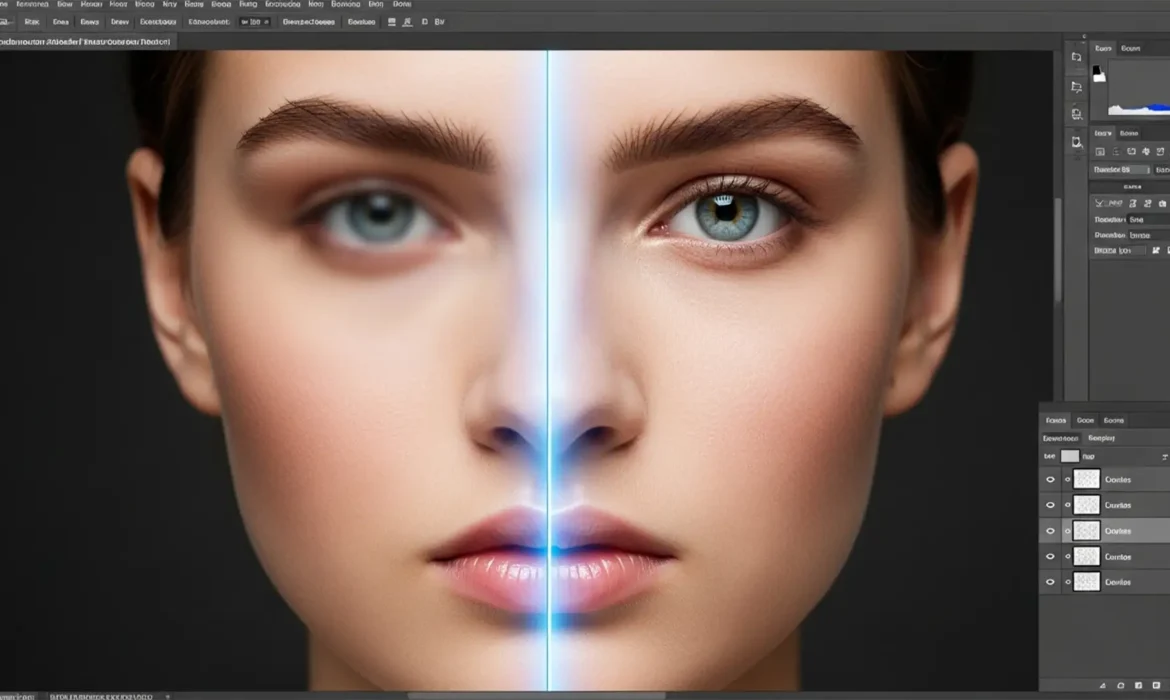
You just spent hours color-grading a flawless 16-bit file, only to use the Remove Tool and find it left a soft, muddy, low-resolution patch right over your subject’s skin. If you are experiencing this, you are not alone.
In Photoshop 2024 (v25.x), the AI-powered Remove Tool is a massive time-saver, but it frequently outputs blurry artifacts on high-resolution images. This ruins the high-frequency texture-like film grain or skin pores-that professional retouchers work so hard to preserve.
Fortunately, this isn’t a permanent flaw. From tweaking your Image Processing Preferences to leveraging advanced frequency separation, here is the ultimate photoshop 2024 remove tool blur fix guide to get your retouching back to pixel-perfect sharpness.
Why is the Photoshop 2024 Remove Tool Blurry?
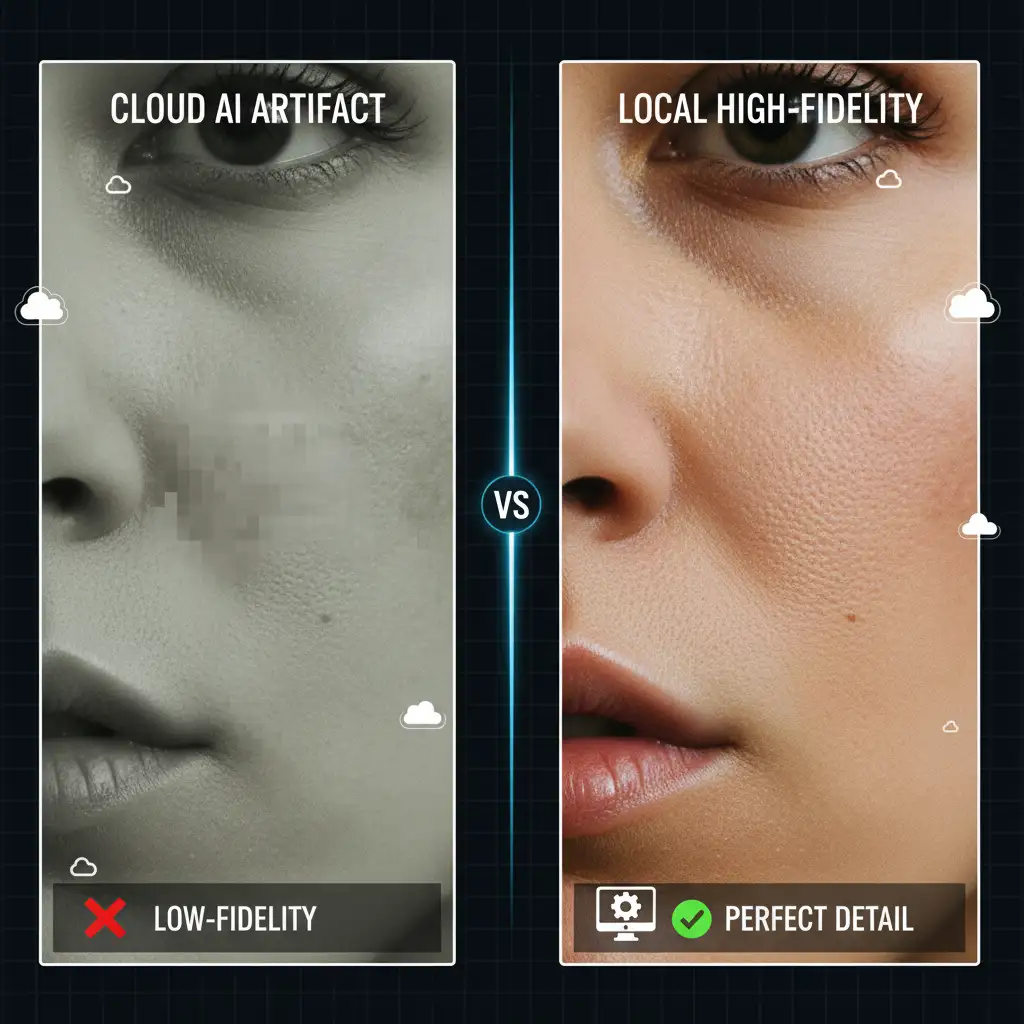
The root cause of the blur comes down to how Adobe’s Generative AI handles data. By default, Photoshop 2024 often prioritizes speed over quality by using cloud-based processing. When working on large, multi-layered 16-bit files, the cloud compresses your image data, resulting in a soft, low-resolution output that fails to match the surrounding high-frequency texture.
Additionally, hardware bottlenecks-such as insufficient VRAM, disabled GPU acceleration, or conflicts with the “Sample all layers” function-force the AI model to default to lower-quality CPU rendering.
Here is how to fix it, ranging from quick settings adjustments to professional retouching workarounds.
Method A: The Quick Fix (Settings Adjustments)
If you need an immediate solution, changing how Photoshop processes the Remove Tool’s AI generation will solve the problem 90% of the time.
1. Switch to Device-Based Image Processing
The most effective way to bypass cloud compression blur is to force Photoshop to use your local hardware.
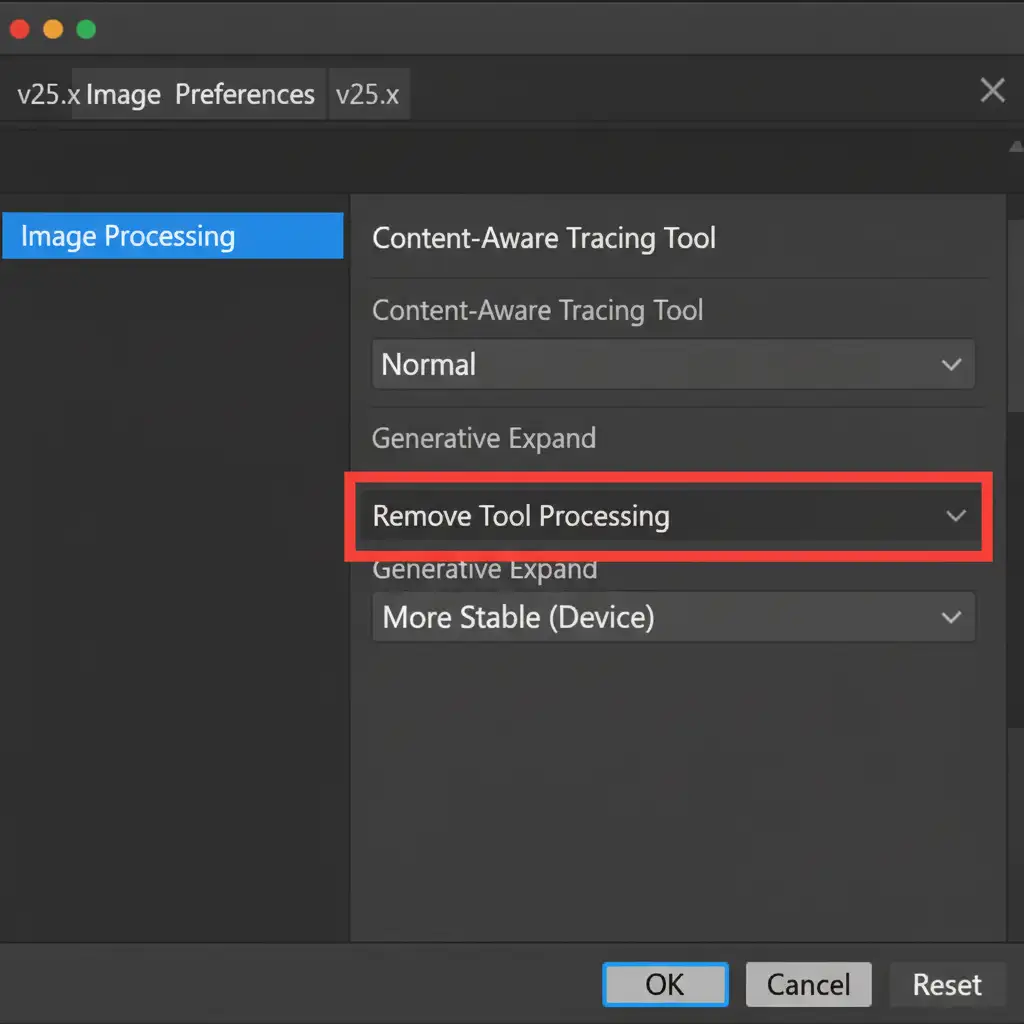
- Navigate to Edit > Preferences > Image Processing (Windows) or Photoshop > Settings > Image Processing (Mac).
- Locate the Remove Tool Processing dropdown menu.
- Change the setting from “Faster (Cloud)” to “More Stable (Device)”.
This forces Photoshop to utilize your local machine’s processing power, ensuring the AI model analyzes the actual uncompressed pixels of your document rather than a compressed cloud version.
2. Optimize the Options Bar Workflow
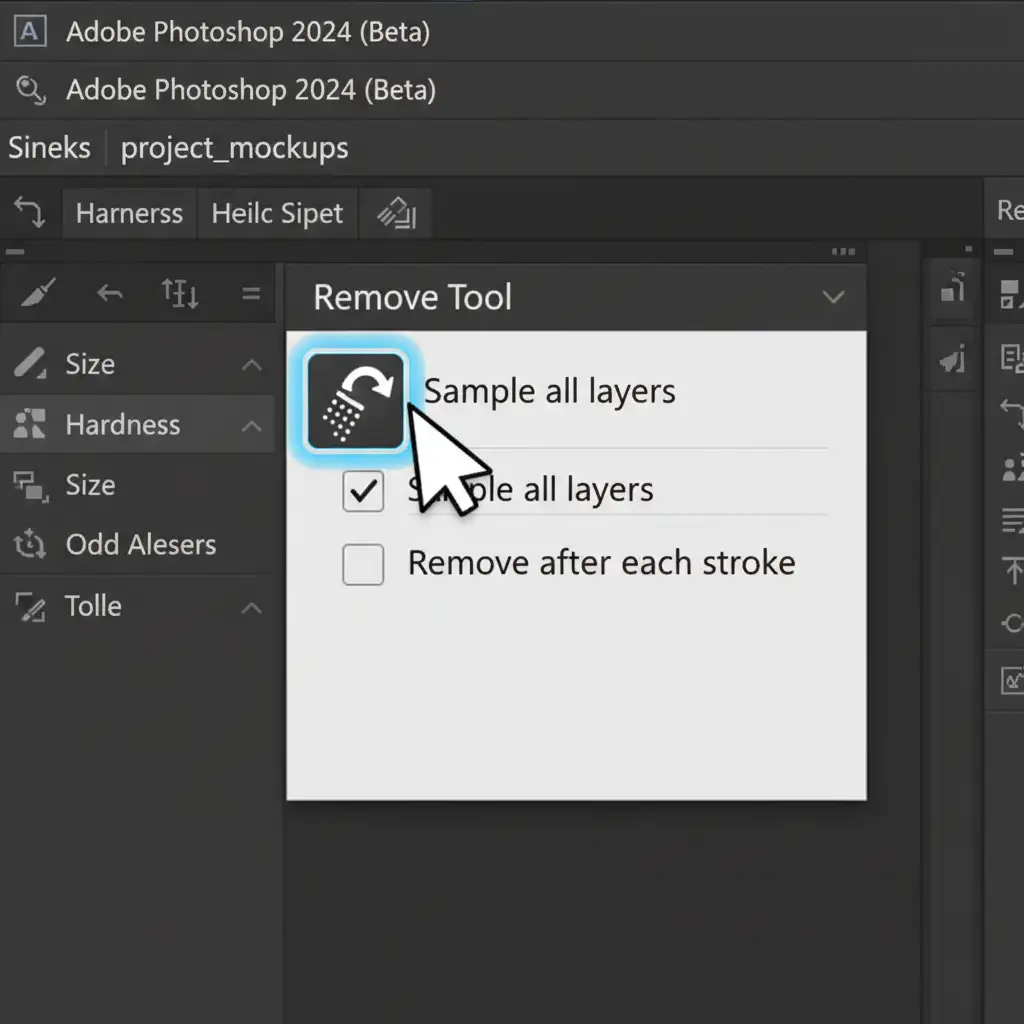
Sometimes, the Remove Tool blurs because it lacks context. By adjusting your tool behavior, you give the AI more surrounding data to sample from.
Look at the top Options bar when the Remove Tool is selected. Uncheck the “Remove after each stroke” box. This allows you to paint over multiple distracting elements at once before hitting Enter to process them. Providing a larger continuous area gives the generative model better context for matching textures.
Method B: The Pro Workaround (Advanced Retouching)
When working on high-end commercial imagery, relying solely on AI is risky. The best approach is a non-destructive editing workflow.
3. Use Frequency Separation for High-Frequency Textures
If you are working on complex textures and the AI still struggles, separate your color data from your texture data.
- Create a new blank layer and ensure Sample all layers is checked in the Options bar.
- Attempt your removal. If it results in a blurry patch, delete the layer and set up a Frequency Separation group.
- Use the Remove Tool only on the Low-Frequency (color and tone) layer to handle the bulk of the object removal.
- Switch to the High-Frequency (texture) layer and use the Clone Stamp tool to manually copy sharp, matching grain or pores over the area.
This guarantees that your high-frequency texture remains mathematically perfect, while the AI handles the heavy lifting of color blending.
Method C: The Technical Deep-Dive (Hardware Optimization)
Because the “More Stable (Device)” setting relies heavily on your local hardware, your system must be optimized to handle the computational load.
4. Enable GPU Acceleration and Clear Cache
If Photoshop runs out of VRAM or system memory, it will throttle the AI’s output quality.
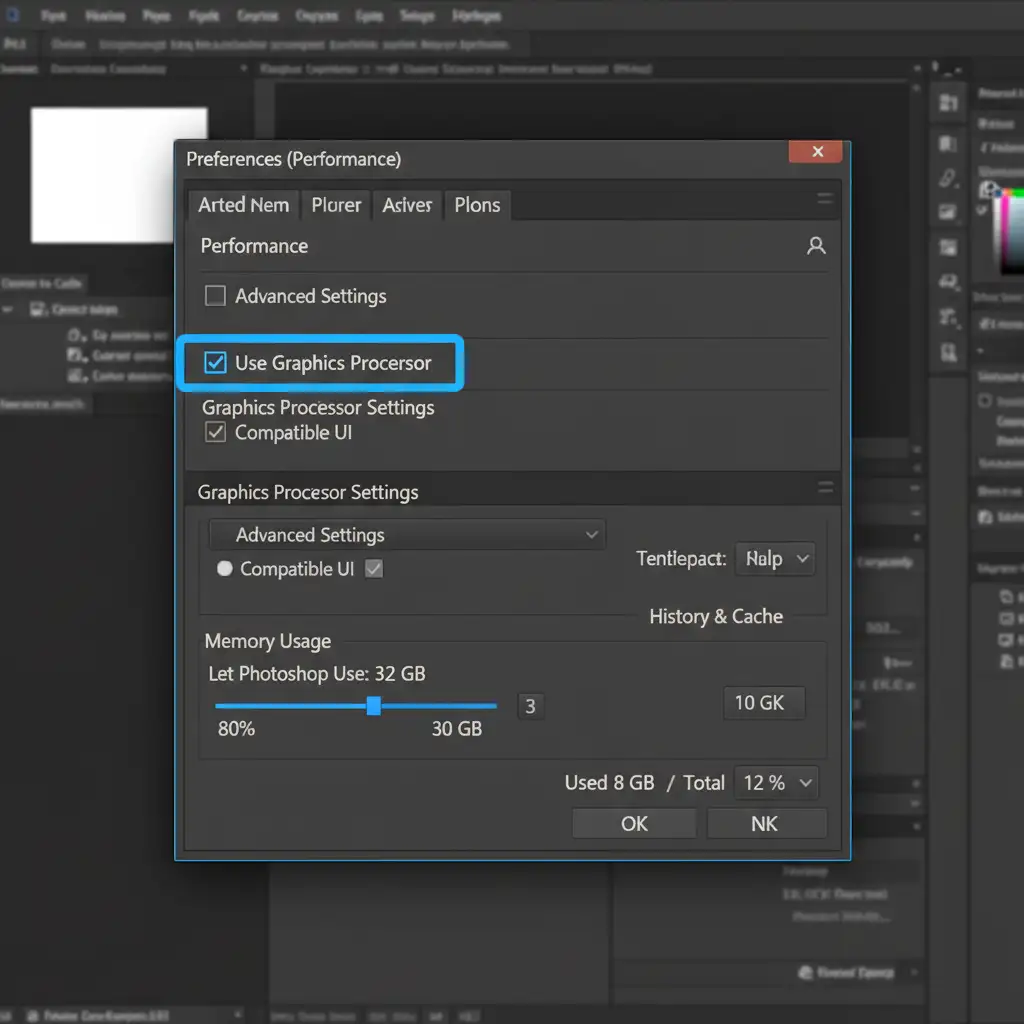
- Go to Edit > Preferences > Performance.
- Ensure Use Graphics Processor is enabled.
- If you’ve been working for hours on a heavy 16-bit file, your cache might be full. Go to Edit > Purge > All to clear the memory cache and give the Remove Tool a clean slate.
5. Update Graphics Drivers
Outdated drivers are a leading cause of AI rendering failures in Adobe software. If your GPU isn’t communicating properly with Photoshop, the system bypasses GPU acceleration entirely.
Windows users should open GeForce Experience or Nvidia App and update to the latest Nvidia Studio Drivers (avoid Game Ready drivers for professional retouching). Mac users should ensure their Apple Silicon macOS is fully updated to the latest version to maintain optimal Metal API performance.
Stop Fighting AI Artifacts-Let the Experts Handle It
Troubleshooting a photoshop 2024 remove tool blur fix is frustrating when you have strict deadlines. While adjusting your Image Processing Preferences and utilizing Frequency Separation can save your 16-bit files, it still requires tedious manual intervention.
Stop wasting time fixing AI artifacts. At Image Work India and Cloud Retouch, our expert retouching teams specialize in flawless, high-end image editing. From complex non-destructive editing workflows to pixel-perfect texture matching, we handle the technical heavy lifting so you can focus on scaling your business.
Need high-volume, professional retouching that AI simply can’t match? Contact Image Work India and Cloud Retouch today for a custom quote and experience true pixel perfection.


